It was 7:45 PM on a Tuesday, and I was standing in front of my open freezer, feeling that familiar pang of regret. We had bought shrimp three days ago with the best intentions of making something fancy. But fancy never happens on a random Tuesday when work runs late and the kids are hungry. The shrimp were still frozen solid, wrapped in plastic that was starting to frost over.
I could have ordered takeout. I could have made grilled cheese again. But I had these shrimp, and I had a heavy cast-iron skillet, and I had about fifteen minutes before I needed to be “on” as a parent again. So I threw together what I thought would be a quick, mediocre shrimp dish. I just wanted it done.
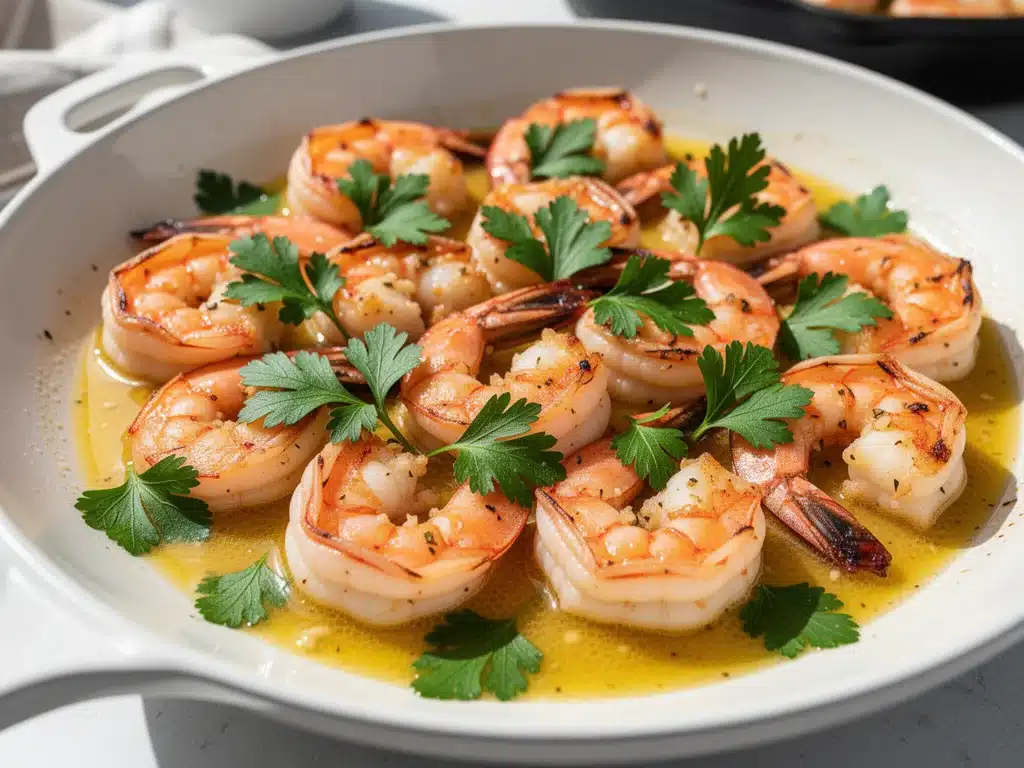
Then, the smell hit me. Garlic hitting hot butter. It’s a scent that instantly transforms a house from “tired family home” to “somewhere I actually want to be.” I tossed in some fresh parsley right at the end, just because it was there, and suddenly, my kitchen smelled like a bistro in Marseille. My kids stopped complaining. My husband asked for seconds. And I realized I had just made one of the best dinners I’d had in months, without turning on the oven or spending more than twenty minutes.
This Garlic Butter Shrimp Skillet with Fresh Parsley has since become my go-to rescue plan. I’ve made it at least fifteen times in the last six months. It’s not just because it’s easy (though it is stupid simple). It’s because it feels special without requiring special effort. It’s golden, buttery, garlicky, and fresh all at once. If you’re looking for a weeknight dinner that actually tastes like you tried, this is it. Trust me, you’re going to make this on repeat.
Why You’ll Love This Recipe
There are about ten reasons I keep coming back to this skillet, but here are the ones that matter most when you’re tired and hungry.
Lightning Fast — Seriously, this is a 15-minute meal from start to finish. I’ve timed it. If you have the shrimp thawed (or even if you’re quick with a cold water bath), you’re eating in the time it takes to watch one episode of a show you don’t even care about. It’s perfect for those nights when you want to be in and out of the kitchen before the kids realize you’re there.
One Pan Wonder — This is the biggest selling point for me. One skillet. One serving dish. Minimal cleanup. I hate washing dishes as much as I hate cooking them, and this recipe respects my time. I can throw everything in one pan, cook it, serve it, and only have to wash one skillet and a cutting board. That’s it.
Restaurant Quality at Home — I’ve paid $25 for shrimp scampi at restaurants that tasted like they were microwaved. This tastes better than most places I’ve been to. The key is getting that garlic golden (not burnt) and using enough butter to make your heart happy. It feels indulgent, but it’s just shrimp, butter, garlic, and parsley.
Flexible and Forgiving — Did you buy jumbo shrimp instead of medium? Great, just cook them 30 seconds longer. Did you run out of parsley? Use basil. Or thyme. Or nothing. This recipe is incredibly forgiving. It doesn’t require precise measurements or fancy techniques. It just requires heat and a willingness to stir.
Budget-Friendly Luxury — Shrimp can be expensive, but this recipe uses a modest amount—about 1 to 1.5 pounds—and stretches it with crusty bread or over rice to feed 4 people. It feels like a treat without breaking the bank. I usually keep frozen shrimp in the freezer specifically for this reason: instant luxury when needed.
This is my answer to “what’s for dinner?” when I don’t want to think. It’s reliable, delicious, and makes everyone at the table happy. No arguments, no picky eating, just good food.
Ingredients You’ll Need
Here’s the best part: you probably have most of this already. It’s a simple list, but the quality of the ingredients matters more than you’d think. I’m particular about three things here, and I’ll tell you exactly why.
For the Shrimp
Shrimp (1.5 pounds / 680g) — Look for raw, peeled, and deveined shrimp. I prefer “wild-caught” if you can find it, but farmed works fine too. Size matters: go for large (21-25 count per pound) or extra-large (16-20 count). If you get jumbo, just reduce the cooking time slightly. Avoid pre-cooked shrimp—it gets rubbery. You want raw so you can control the texture.
Butter (4 tablespoons / 60g) — Unsalted butter is best so you can control the saltiness. I use European-style butter when I have it because it’s richer and has a higher fat content, which makes the sauce more luxurious. But regular unsalted butter works perfectly fine. Don’t use margarine. Seriously. It just doesn’t taste the same.
Garlic (6-8 cloves, minced / about 3-4 tablespoons) — Yes, that much garlic. Don’t skimp. Fresh garlic is non-negotiable here. Jarred garlic has a metallic, preserved taste that ruins the brightness of this dish. Mince it yourself. If you’re feeling lazy, buy pre-peeled cloves from the produce section—it saves time without sacrificing flavor.
White Wine (½ cup / 120ml) — This deglazes the pan and adds acidity to cut through the richness. I use a dry Pinot Grigio or Sauvignon Blanc. If you don’t drink wine, substitute with chicken broth plus a teaspoon of lemon juice. The acid is key. Don’t skip it.
Lemon Juice (1 tablespoon / 15ml) — Freshly squeezed. Bottled lemon juice tastes like cleaning product. Cut a lemon and squeeze it. The acid brightens the whole dish.
For the Finish
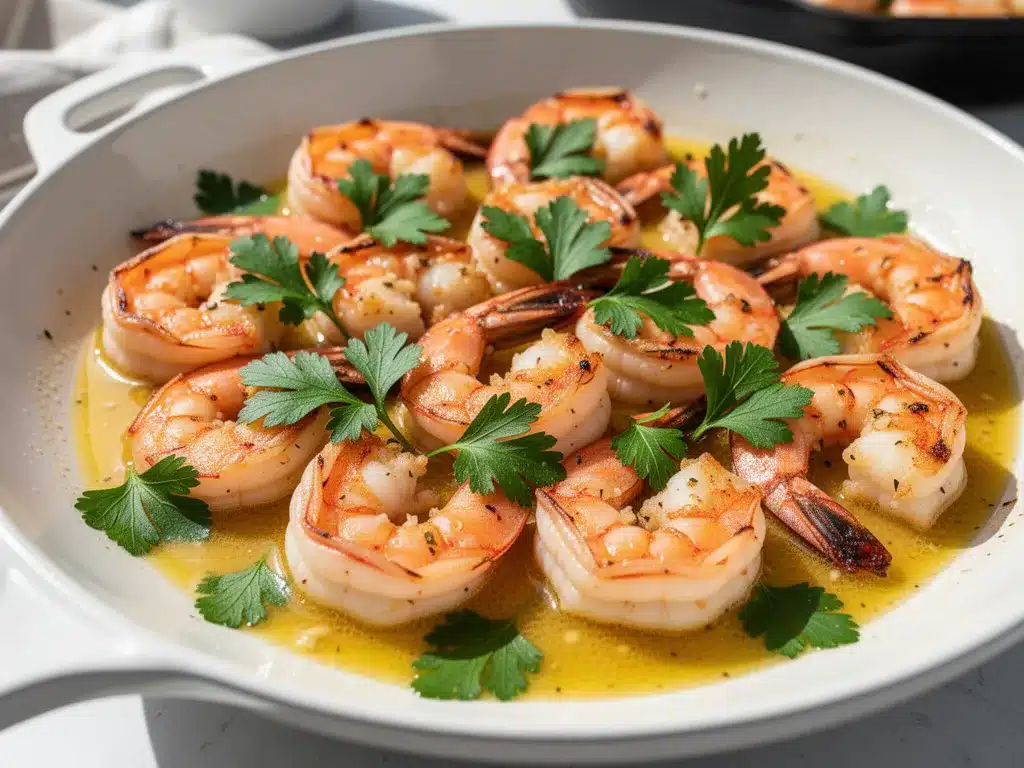
Fresh Parsley (½ cup, chopped / about 30g) — Flat-leaf (Italian) parsley is best. It has a cleaner, brighter flavor than curly parsley. Curly parsley is fine if that’s all you have, but flat-leaf tastes better. Chop it roughly. Don’t mince it into oblivion. You want bits of green in every bite.
Red Pepper Flakes (¼ teaspoon) — Optional, but I recommend it. It adds a tiny kick that keeps the dish from being too rich. Start with less if you’re sensitive to spice. You can always add more.
Salt and Black Pepper — To taste. I usually add salt to the shrimp before cooking, but go easy since the butter and any added broth already have salt.
Optional Add-ins — I sometimes add a handful of cherry tomatoes or a splash of heavy cream if I want it extra rich. But honestly? The classic version is perfect. Don’t overcomplicate it.
Equipment Needed
You don’t need fancy equipment for this. Here’s what I actually use.
Large Skillet or Sauté Pan — I use a 12-inch cast-iron skillet. It holds heat well and gives you surface area for browning. Stainless steel works too. Non-stick is fine, but you won’t get the same fond (those brown bits) that adds flavor. Avoid small pans—you need room for the shrimp to sear, not steam.
Wooden Spoon or Spatula — For stirring. Silicone works too. Don’t use metal if you’re using non-stick.
Cutting Board — Any size works. I use plastic for easier cleanup.
Sharp Knife — For chopping parsley and mincing garlic. A dull knife makes mincing garlic a nightmare.
Measuring Spoons — Standard stuff. Dollar store versions work fine.
Colander — For rinsing the shrimp if needed.
Optional but nice: Zester or Microplane — If you want to add lemon zest, this makes it easy. Tongs — Great for tossing the shrimp in the pan.
How to Make It: Step-by-Step
Alright, let’s make this! I’m walking you through exactly how I do it, including the little tricks I’ve picked up.
Step 1: Prep Your Shrimp (5 minutes)
If your shrimp are frozen, thaw them first. The fastest way is to put them in a bowl of cold water for 10-15 minutes. Pat them completely dry with paper towels. This is crucial. Wet shrimp steam instead of sear. You want them dry so they get that golden color. Season lightly with salt and pepper. Set aside.
Step 2: Melt the Butter (2 minutes)
Heat your large skillet over medium-high heat. Add the butter. Let it melt and foam. Watch it closely. You want it to turn a light golden brown (beurre noisette). This takes about 2-3 minutes. It should smell nutty. If it burns, start over. Burnt butter tastes bitter.
Step 3: Sear the Shrimp (3-4 minutes)
Add the shrimp to the pan in a single layer. Don’t overcrowd the pan. If you’re using a large skillet, they should fit comfortably. If not, cook in two batches. Sear for 1-2 minutes per side until pink and opaque. Remove shrimp to a plate. Don’t overcook them—they’ll cook again later. Set aside.
Step 4: Make the Sauce (2 minutes)
Reduce heat to medium. Add the minced garlic and red pepper flakes to the same pan. Stir constantly for 30-60 seconds until fragrant. Do not let the garlic brown! Then, pour in the white wine (or broth). Scrape up any brown bits from the bottom of the pan. Let it simmer for 1 minute to reduce slightly.
Step 5: Combine and Finish (2 minutes)
Add the shrimp back to the pan along with any juices on the plate. Squeeze in the lemon juice. Toss everything together for 1 minute to heat through. Remove from heat. Stir in the fresh parsley. Taste and adjust salt if needed.
Step 6: Serve
Serve immediately. Spoon the garlic butter sauce over the top. I usually serve this with crusty bread to soak up every drop of sauce, or over rice or pasta. Garnish with extra parsley if you want.
Total Time: About 15 minutes (5 minutes prep, 10 minutes cooking)
Built-in Troubleshooting:
- Shrimp rubbery? You overcooked them. Shrimp cook fast. 1-2 minutes per side is usually enough. They curl into a “C” shape when done. If they curl into an “O”, they’re overdone.
- Sauce too thin? Let the wine reduce a bit longer before adding shrimp back.
- Sauce too salty? Add a squeeze more lemon juice or a pinch of sugar to balance it.
Expert Tips & Tricks
Here’s everything I’ve learned from making this dozens of times. These tips will save you from my mistakes.
Pat Those Shrimp Dry
This is the #1 tip. Wet shrimp = steamed shrimp. Dry shrimp = seared, sweet, tender shrimp. I keep paper towels handy just for this. If you skip this step, you’ll be disappointed.
Don’t Crowd the Pan
If you put too many shrimp in at once, the temperature drops and they release moisture. They steam instead of sear. Cook in batches if you need to. It takes 2 extra minutes but makes a huge difference.
Watch the Garlic
Garlic burns fast. Once you add it to the hot butter, stir constantly. 30 seconds is plenty. If it turns brown, it’s bitter. Remove from heat immediately if it’s getting too dark.
Use Good Butter
This is a butter-forward dish. Cheap butter tastes flat. Use unsalted, high-quality butter. It’s worth the extra dollar. Your taste buds will thank you.
Fresh Parsley at the End
Don’t cook the parsley. Add it off heat. Cooking it destroys the fresh, bright flavor. You want that pop of green and freshness at the end.
Pro Trick: Lemon Zest
Add the zest of half a lemon along with the juice. It adds aroma and depth that juice alone doesn’t provide. I do this every time now.
Pro Trick: Toasted Bread
Serve with toasted baguette slices rubbed with a clove of raw garlic. It’s simple, but it elevates the meal instantly.
Variations & Substitutions
Once you’ve nailed the basic version, here’s how you can mix it up. I’ve tried all of these.
Creamy Garlic Shrimp
Stir in ½ cup heavy cream or half-and-half after deglazing with wine. Makes it richer, like a shrimp scampi. My kids love this version.
Spicy Shrimp
Double the red pepper flakes to ½ teaspoon. Or add a dash of cayenne. For heat lovers, this is a game-changer.
Herb Swap
No parsley? Use fresh basil, cilantro, or dill. Basil is great with the lemon. Cilantro is good if you’re going Mexican-style (add lime instead of lemon).
Veggie Boost
Add sliced bell peppers or asparagus to the pan with the garlic. Cook them for 2 minutes before adding shrimp back. Adds color and nutrition.
Gluten-Free
This recipe is naturally gluten-free! Just make sure your wine and broth are GF. Serve over rice or zucchini noodles instead of pasta.
Dairy-Free
Swap butter for olive oil or dairy-free butter. It’s not as rich, but it still works. Add extra lemon juice to compensate for the lost richness.
Protein Swap
You can use this same method for scallops or white fish. Just adjust cooking time—fish cooks faster than shrimp.
Serving & Storage
How to Serve:
I usually serve this straight from the skillet at the dinner table—it looks rustic and stays warm. But here are other ways I’ve enjoyed it:
Side Dishes:
- Crusty French baguette (essential for soaking up sauce)
- Fluffy white rice or pilaf
- Angel hair pasta or linguine
- Simple arugula salad with lemon vinaigrette
- Roasted asparagus or green beans
Toppings Bar:
When I have guests, I put out: extra lemon wedges, red pepper flakes, grated Parmesan, fresh parsley. Everyone customizes their bowl.
Wine Pairing:
Not a wine expert, but my wine-snob friend says Pinot Grigio, Sauvignon Blanc, or a light Chardonnay works great. Something crisp and acidic.
Storage Instructions:
Refrigerator:
Store in an airtight container for up to 2 days. The shrimp will continue to cook slightly in the fridge, so reheat gently.
Reheating:
Best method: Add to a skillet with a splash of water or broth over low heat. Warm gently for 1-2 minutes. Do not microwave—it makes shrimp rubbery. If you must microwave, do it in 30-second bursts with a splash of water.
Freezing:
Honestly, this doesn’t freeze well. Cooked shrimp get rubbery and the sauce separates. Make it fresh. If you must freeze, freeze the sauce separately, but it’s not ideal.
Meal Prep:
Prep the shrimp and mince the garlic ahead of time. Store in the fridge. When you’re ready, just cook. Takes 10 minutes active time.
Nutrition Information
I’m not a nutritionist, but here’s the breakdown if you’re tracking.
Per Serving (based on 4 servings):
- Calories: 320
- Protein: 28g
- Carbs: 4g
- Fiber: 0g
- Sugar: 1g
- Fat: 22g
- Saturated Fat: 12g
- Cholesterol: 240mg
- Sodium: 350mg
What’s Good:
- High in protein from the shrimp
- Low in carbs (great for low-carb diets)
- Rich in healthy fats (if using good butter)
What to Know:
- Higher in calories from butter
- High in cholesterol (from shrimp)
- Contains dairy
My Take:
Look, this is comfort food with butter and shrimp. It’s not a diet recipe. But it’s high in protein and low in carbs, which balances it out. When I want to make it lighter, I use less butter and serve it over zucchini noodles. But usually? I just eat a reasonable portion and enjoy it.
Final Thoughts
So that’s my go-to garlic butter shrimp skillet! I’ve probably talked your ear off at this point, but when you make a recipe this often, you have a lot to say about it.
This has saved weeknight dinners more times than I can count. It’s my answer to “what’s for dinner” when I’m tired, don’t want takeout, and still want something that tastes really good. My kids are happy, my husband’s happy, and I’m happy because I’m not stressed about cooking.
Make it yours! Try different add-ins, swap in your favorite vegetables, adjust the garlic (though more is always better in my opinion). The best recipes are the ones you adapt to your family’s tastes.
If you make this, drop a comment and let me know what you think! I love hearing how recipes turn out in your kitchen. And if something doesn’t work, tell me that too—I’m here to help troubleshoot.
Happy cooking! And I hope your kitchen smells half as good as mine does right now.
Frequently Asked Questions
Can I use frozen shrimp?
Yes! Just thaw them first. The fastest way is to put them in a bowl of cold water for 10-15 minutes. Drain and pat dry thoroughly. Do not cook them frozen—they’ll release too much water and steam instead of sear.
Why did my shrimp turn out rubbery?
You overcooked them. Shrimp cook incredibly fast. They’re done when they turn pink and opaque, usually 1-2 minutes per side. If they curl into a tight “O” shape, they’re overdone. Aim for a “C” shape.
Can I substitute white wine with something else?
Yes. Use chicken broth plus 1 tablespoon of lemon juice or white wine vinegar. The acid is important to cut through the butter. Don’t skip the acid entirely.
How do I store leftovers?
Store in an airtight container in the fridge for up to 2 days. Reheat gently in a skillet with a splash of water or broth. Do not microwave, as it makes the shrimp rubbery.
Can I make this ahead of time?
Not really. Shrimp are best cooked fresh. However, you can prep the shrimp (peel, devein, pat dry) and mince the garlic ahead of time. Store them separately in the fridge. When you’re ready, just cook. It takes 10 minutes.
Is this recipe gluten-free?
Yes! Shrimp, butter, garlic, wine, and parsley are all naturally gluten-free. Just make sure your wine and any broth you use are certified gluten-free. Serve over rice or with gluten-free bread.
Can I use olive oil instead of butter?
You can, but the flavor won’t be as rich. I recommend using half butter and half olive oil for a balance of flavor and higher smoke point. If you use all olive oil, add a pinch of salt to compensate for the lack of butter saltiness.
Pin This Recipe!
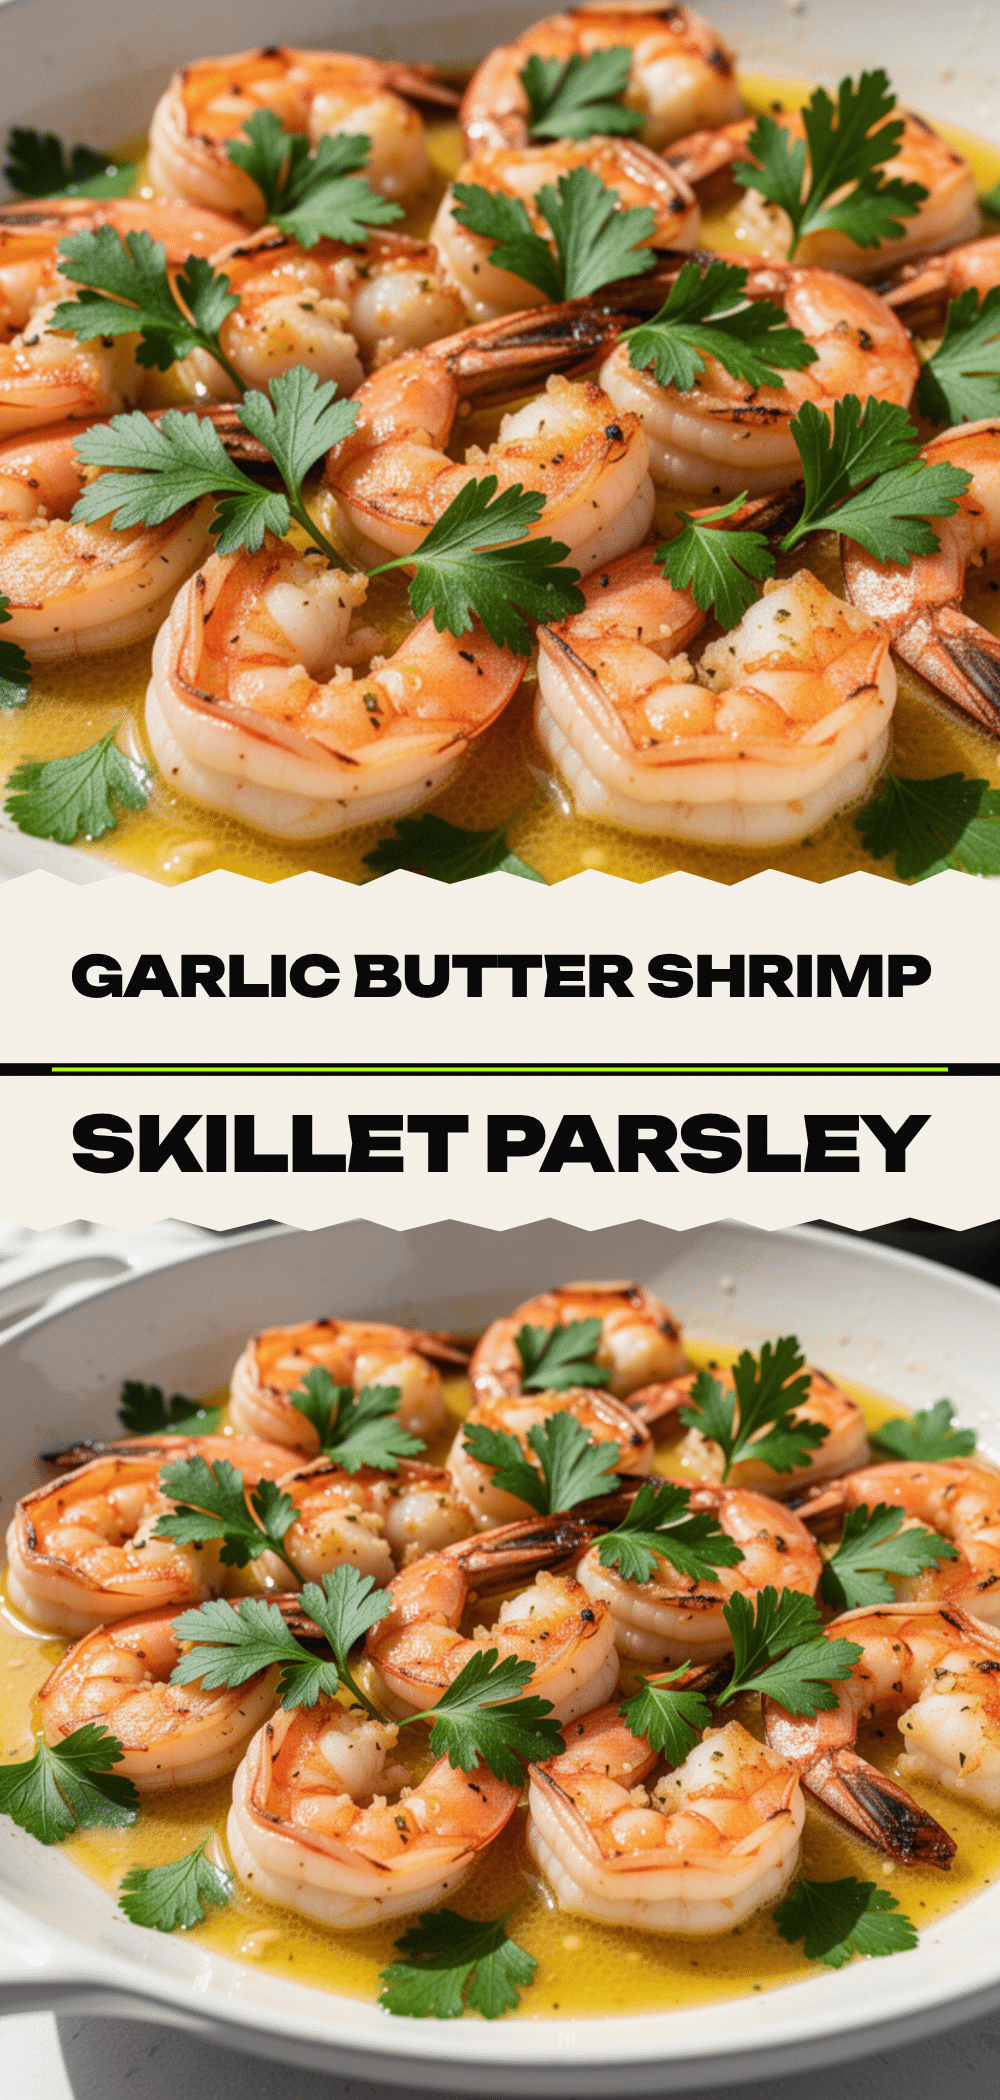
Garlic Butter Shrimp Skillet with Fresh Parsley
- Total Time: 15 minutes
- Yield: 4 servings 1x
Description
A quick, 15-minute weeknight dinner featuring seared shrimp in a rich garlic butter sauce with white wine and fresh parsley. It’s a one-pan meal that feels restaurant-quality but is easy enough for busy families.
Ingredients
- 1.5 pounds raw, peeled, and deveined shrimp (large or extra-large)
- 4 tablespoons unsalted butter
- 6–8 cloves garlic, minced
- ½ cup dry white wine (such as Pinot Grigio or Sauvignon Blanc)
- 1 tablespoon fresh lemon juice
- ½ cup fresh flat-leaf parsley, chopped
- ¼ teaspoon red pepper flakes (optional)
- Salt and black pepper to taste
Instructions
- Thaw frozen shrimp if necessary by soaking in cold water for 10-15 minutes. Pat shrimp completely dry with paper towels and season lightly with salt and pepper.
- Heat a large skillet (preferably cast-iron or stainless steel) over medium-high heat. Add butter and melt until it foams and turns a light golden brown (beurre noisette), about 2-3 minutes.
- Add shrimp to the pan in a single layer, ensuring not to overcrowd. Sear for 1-2 minutes per side until pink and opaque. Remove shrimp to a plate and set aside.
- Reduce heat to medium. Add minced garlic and red pepper flakes to the same pan. Stir constantly for 30-60 seconds until fragrant, being careful not to burn the garlic.
- Pour in the white wine (or broth substitute) and scrape up any brown bits from the bottom of the pan. Simmer for 1 minute to reduce slightly.
- Return shrimp and any accumulated juices to the pan. Squeeze in lemon juice and toss everything together for 1 minute to heat through.
- Remove from heat and stir in fresh parsley. Taste and adjust salt if needed.
- Serve immediately with crusty bread, rice, or pasta.
Notes
Patting the shrimp dry is crucial to ensure they sear rather than steam. Do not overcrowd the pan; cook in batches if necessary. Garlic burns quickly, so stir constantly once added. For a creamy version, stir in heavy cream after deglazing. This recipe is naturally gluten-free but check wine/broth labels. Avoid microwaving leftovers as it makes shrimp rubbery; reheat gently in a skillet.
- Prep Time: 5 minutes
- Cook Time: 10 minutes
- Category: Main Course
- Cuisine: American
Nutrition
- Serving Size: Approximately 1/4 of
- Calories: 320
- Sugar: 1
- Sodium: 350
- Fat: 22
- Saturated Fat: 12
- Carbohydrates: 4
- Protein: 28
Keywords: garlic butter shrimp, weeknight dinner, quick recipes, one pan meal, seafood, easy shrimp recipe, garlic shrimp, skillet dinner


