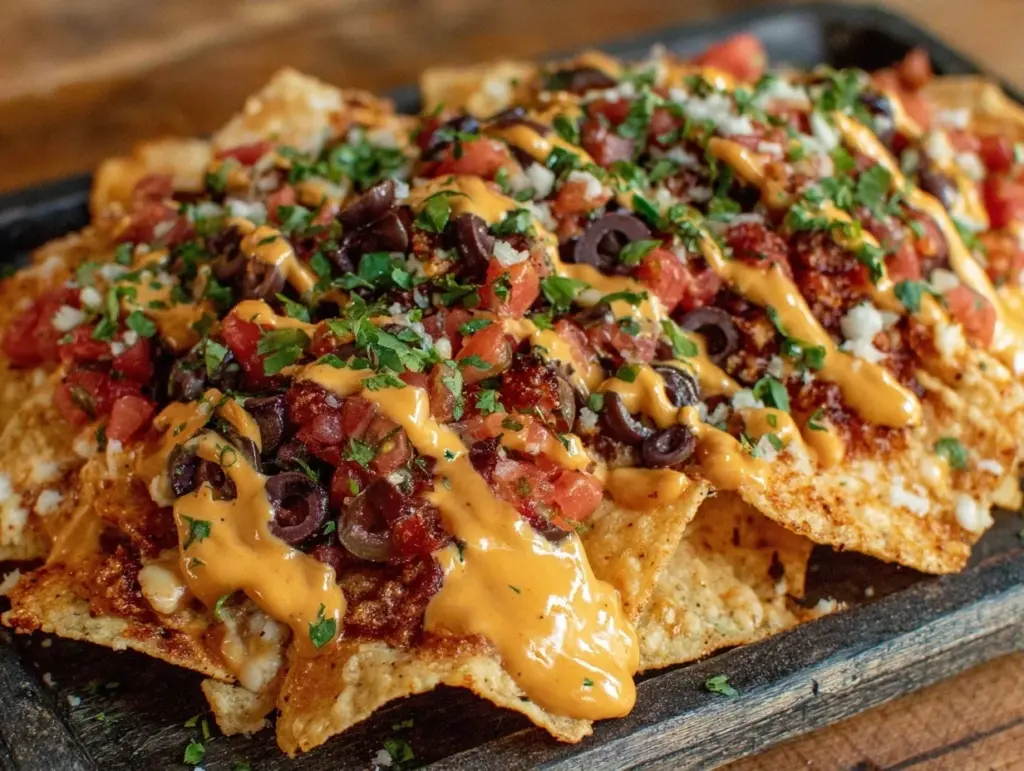
Last year, I stood in my kitchen watching my seven-year-old stare at a bag of tortilla chips like they were alien artifacts. It was Super Bowl Sunday, the house was loud, and I was trying to assemble a snack spread that wouldn’t result in tears or a trip to the ER. I tried to make everything perfectly in advance. I chopped the peppers. I seasoned the meat. I grated the cheese. The result? A sad, cold pile of ingredients on the counter while my kids played video games and I felt like a glorified waiter.
It hit me right then: I didn’t need a dinner solution. I needed a project. I needed something that turned snack time into family time. So, I scrapped the plan. I pulled out three baking sheets, a bowl of plain chips, and I said, “Okay, team. You’re in charge. I’m just the safety supervisor.”
That afternoon, I learned more about patience and teamwork than I did watching the game. The Game Day Loaded Nacho Bar isn’t just a recipe; it’s a way to get your kids out of their chairs and into the kitchen without a fight. It’s messy, it’s loud, and it’s absolutely delicious. I’ve made this setup for three big games now, and honestly, the nachos are just the bonus. The real win is watching my kids proudly present their creations to the couch crew, saying, “I made this!”
If you’re tired of feeding picky eaters or wrestling toddlers into a dining chair, you need to try this. This approach works because it hands control to your little ones. It’s interactive, it’s safe, and it tastes like victory. Let me walk you through how to set this up so your kitchen becomes the most popular spot in the house.
Why You’ll Love This Setup
I know what you’re thinking. “Nachos? Again?” But hear me out. This isn’t just dumping cheese on chips. It’s a customizable buffet that grows with your family. Here is why this has become my go-to for any occasion, big or small.
- It Turns Cooking Into Play — My kids think they’re playing “restaurant” while actually learning to measure and mix. Last time, my daughter spent ten minutes carefully arranging jalapeños in a smiley face pattern. That’s engagement.
- Zero Food Waste — Because everyone builds their own, no one gets stuck with a pile of green peppers they hate. If your kid hates beans, they skip them. If your partner loves extra salsa, they go heavy. It’s the ultimate crowd-pleaser.
- It’s Actually Healthy(ish) — I know, nachos. But when you control the toppings, you can sneak in black beans, corn, and lean ground turkey. Plus, the kids are more likely to eat vegetables if they picked them out themselves. I’ve seen my son eat three jalapeños this way.
- Minimal Cleanup — Because the nachos are built on individual plates or small sheets, I only wash a few bowls instead of a sink full of prep dishes. This is huge for game day sanity.
- Teaches Kitchen Safety — I let them handle the cold toppings, but I handle the hot oven part. It’s a great way to teach them what is safe for them to touch versus what needs an adult. It builds confidence in the kitchen.
- Flexible for Any Team — Whether it’s the Super Bowl, a birthday party, or just a rainy Tuesday, this format works. You can swap in different cheeses or proteins depending on what you have in the fridge. It’s the cheesy ground beef of snack bars, but way more fun.
This is my go-to when I want my kids to feel capable and fed at the same time. It takes the pressure off me to be a perfect chef and lets us just have fun together.
Key Ingredients for the Perfect Build
The secret to a great nacho bar isn’t just the chips; it’s the balance of textures and flavors. You want something crunchy, something creamy, something spicy, and something fresh. Here is exactly what I buy and why.
Tortilla Chips
(1 large bag, approx. 12 oz / 340g) — I use standard thick-cut yellow corn chips. Do not buy the thin restaurant-style ones; they break too easily when kids are handling them. Look for a bag that has sturdy triangles. I usually buy two bags because kids eat faster than you think.
Sharp Cheddar Cheese
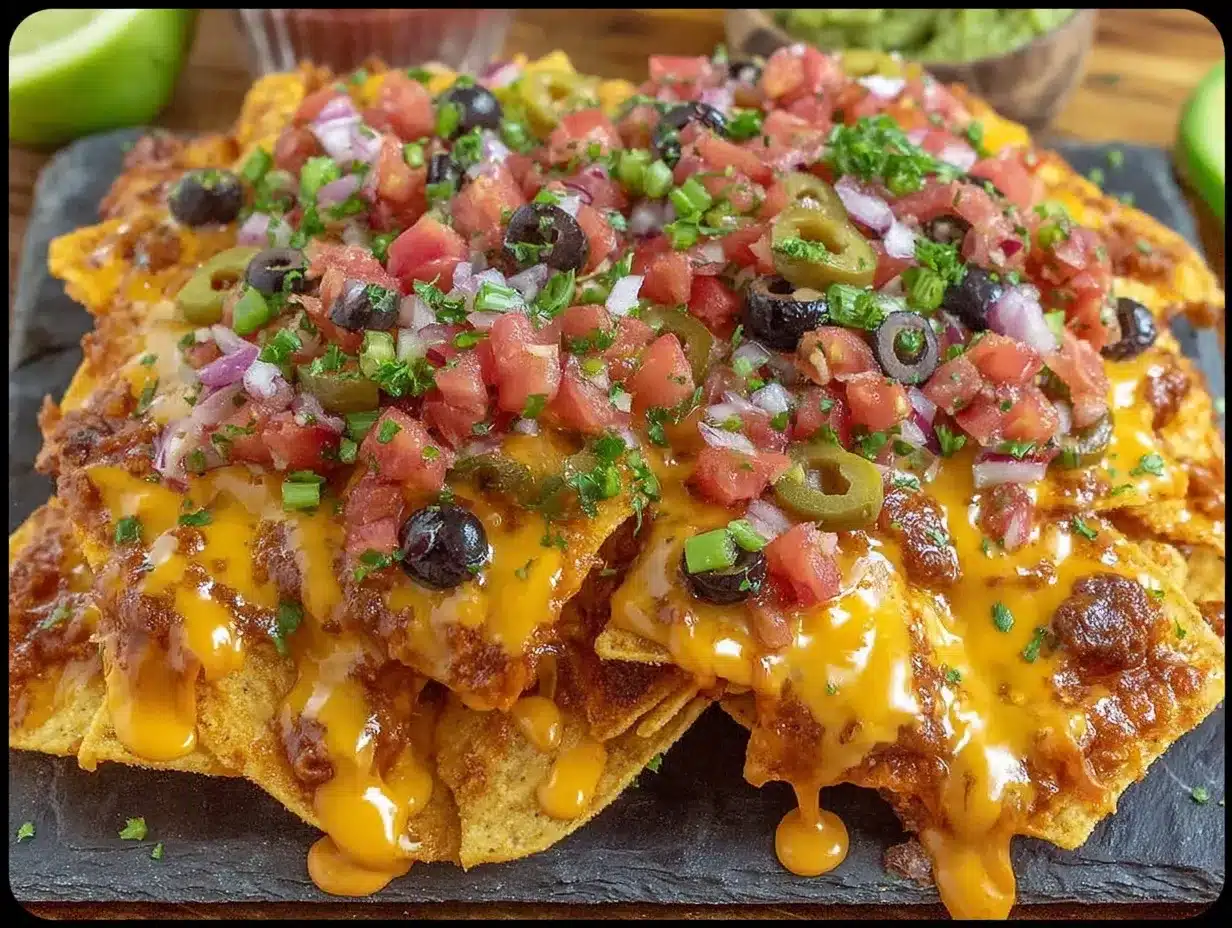
(2 cups shredded / 200g) — Real cheese only. Pre-shredded cheese has cellulose that prevents it from melting smoothly. I buy a block and shred it myself. Sharp cheddar has the best flavor, but I mix in a little Monterey Jack for that gooey stretch. If you’re making a shredded chicken enchilada dish later, this cheese works perfectly there too.
Ground Meat
(1 lb / 450g lean ground turkey or beef) — I prefer turkey for a lighter option, but beef is classic. Season it with taco seasoning, but keep it mild for the kids. You want the flavor to come through without overpowering the cheese. Brown it thoroughly and drain all the fat. Greasy meat makes soggy chips.
Black Beans
(1 can, 15 oz / 425g, drained and rinsed) — These add protein and fiber. Rinsing them well is crucial so they don’t make the chips wet. My kids love the texture, and it makes the nachos feel more like a meal.
Salsa Verde or Pico de Gallo
(1 cup / 240g) — I use a mild salsa verde for the kids and a chunky pico for the adults. The acidity cuts through the heavy cheese. If you’re short on time, a good quality jarred salsa works, but fresh is better for that crunch.
Sour Cream and Greek Yogurt Mix
(1/2 cup sour cream + 1/2 cup plain Greek yogurt) — I mix these 50/50. It lightens up the sour cream so it’s not too heavy, and the yogurt adds a nice tang. Drizzle this *after* baking so it stays cool and creamy.
Jalapeños
(1/2 cup sliced / 50g) — Fresh or pickled, your choice. Pickled are easier for kids to handle and less messy. If your kids are brave, let them add fresh ones. It teaches them about spice levels.
Tools Needed
You don’t need fancy equipment. Here’s what I use to keep things simple and safe for little hands.
Large Baking Sheets — I use two standard half-sheet pans. If you have small kids, use individual cookie sheets or even large plates. The key is surface area so the chips don’t overlap too much.
Metal Spatula — For lifting the hot nachos out of the oven. Keep this away from kids. This is an adult-only tool.
Measuring Cups and Spoons — Give your kids their own set. It’s safer and teaches them math. I let them measure the beans and corn.
Small Bowls — One for each topping. Pre-portioning everything before you start makes the assembly line run smoother. It’s like a mise en place for kids.
Oven Mitts — Essential. Let your kids wear them to feel important, but you handle the hot pans.
How to Build the Game Day Loaded Nacho Bar
Here is the step-by-step. I’ve broken this down so you can hand off tasks safely. Total time is about 20 minutes active, plus 5 minutes in the oven.
Step 1: Prep the Toppings (10 minutes)
While the oven preheats to 375°F (190°C), get everything ready. This is the perfect time for kids to help. Have them rinse the beans and drain the corn. They can tear up lettuce (if using) or wash the jalapeños. I let them measure the cheese into a bowl. It’s messy, but it’s part of the fun. Set all toppings in small bowls on the counter.
Step 2: Cook the Meat (10 minutes)
Heat a skillet over medium-high heat. Add the ground meat. Break it up with a spoon. Once browned, drain the fat. Stir in 1 packet of taco seasoning and 1/4 cup water. Simmer for 2 minutes. Let it cool slightly. This is an adult step for safety. If you want a leaner option, you can use ground chicken here for a similar flavor profile.
Step 3: The Chip Base (5 minutes)
Spread a single layer of chips on your baking sheets. Do not stack them. If they overlap, the chips in the middle won’t get crispy. Let your kids arrange the chips. They can make patterns or just dump them in. Just ensure it’s mostly one layer.
Step 4: The Cheese Layer (2 minutes)
Sprinkle a generous amount of cheese over the chips. This acts as the glue. Without enough cheese, the toppings slide off. My kids love this step because they get to cover everything up. Go heavy here.
Step 5: Add the Toppings (5 minutes)
Now, the fun part. Let your kids add the toppings. Meat, beans, corn, jalapeños. They can be creative. If you’re making a cheesy ground beef quesadilla later, you can save some of this seasoned meat for that. For now, distribute it evenly.
Step 6: Bake (5-7 minutes)
Put the sheets in the oven. Bake until the cheese is bubbly and golden. Watch closely! Cheese goes from melted to burnt in seconds. Take them out when it looks gooey.
Step 7: The Cool Down (2 minutes)
Let the nachos sit for two minutes. This helps the cheese set slightly so toppings don’t slide off when you pick them up. Then, add the cold toppings: sour cream mix, salsa, and fresh cilantro.
Total Time Breakdown: 10 min prep + 10 min cook + 5 min assemble + 7 min bake = ~32 minutes. Perfect for a halftime snack.
Expert Tips from a Mom Who’s Made This a Dozen Times
Here’s everything I learned from making this too many times. Some of these are hard-learned lessons.
Don’t Overcrowd the Pan — This is the #1 mistake. If chips overlap, they steam instead of crisp. I learned this the hard way when I tried to fit too many on one tray. The middle chips got soggy. Use two pans if you have to. Space is good.
Drain Your Beans Thoroughly — Wet beans are the enemy of crunch. I use a fine-mesh strainer and press them with a paper towel. It takes an extra minute, but it’s worth it. Your kids can help with this step too.
Keep Toppings Separate Until Serving — Do not mix the salsa or sour cream into the hot nachos right away. It makes them mushy. Add the wet toppings after baking. This keeps the texture contrast that makes nachos great.
Use a Light Hand with Salsa — Salsa has water. If you dump too much, your nachos become soup. Use a slotted spoon to scoop out the solids, or drizzle sparingly. Fresh pico is better than liquidy jarred salsa for this reason.
Let Them Clean As They Go — This is a parenting hack. Give your kids a small trash bowl for chip bags and a damp cloth for spills. It teaches responsibility and keeps the kitchen from becoming a disaster zone. It’s harder to clean a big mess than a small one.
Recipe Variations to Keep It Fresh
Once you’ve nailed the basic version, here’s how to mix it up. I rotate these based on what’s in the fridge or what the team is cheering for.
Chicken Nachos — Swap the ground meat for shredded rotisserie chicken. Toss it with a little lime juice and cumin. It’s lighter and faster since the chicken is already cooked. This pairs well with rotisserie chicken leftovers.
Veggie Power — Skip the meat entirely. Add roasted sweet potatoes, black beans, corn, and avocado. Top with a cilantro-lime yogurt sauce. Surprisingly filling and delicious. My vegetarian friend loves this version.
Breakfast Nachos — For Sunday morning games, swap cheese for scrambled eggs and bacon bits. Add hash browns. Top with salsa. It’s a brunch version that kids love.
Spicy Jalapeño Popper — Add cream cheese dollops on top before baking. Sprinkle with bacon bits. For the kids, keep the bacon off and add extra cheddar. This is rich and indulgent.
Gluten-Free Option — Simply use certified gluten-free tortilla chips. Most corn chips are naturally GF, but always check the label for cross-contamination warnings. The rest of the ingredients are naturally GF.
Serving & Storage
Serving: I serve these straight from the baking sheet to the coffee table, or onto individual plates for the kids. Pair with a big bowl of popcorn or frozen peach slush for drinks. It’s a complete finger-food experience.
Storage: Leftover baked nachos get soggy fast. I recommend storing the components separately. Keep the meat, beans, and cheese in the fridge. Reheat the chips in the oven for 3 minutes to crisp them back up. Do not microwave the chips. The wild rice mushroom soup I make on weeknights is great for leftovers, but nachos are best fresh.
Freezer: This does not freeze well. The cheese separates and the chips lose their crunch. Make it fresh and eat it fresh. That’s the rule.
Nutrition Information
I’m not a nutritionist, but here’s the breakdown per serving (approx. 1 cup nachos):
| Nutrient | Amount |
|---|---|
| Calories | 450 kcal |
| Protein | 20g |
| Carbs | 35g |
| Fat | 28g |
| Sodium | 600mg |
My Take: This is comfort food. It’s high in sodium and fat because it’s nachos. But it’s better than store-bought chips because you control the ingredients. Adding beans and veggies adds fiber. It’s a balanced indulgence, especially if you use turkey and Greek yogurt.
Final Thoughts
Building a Game Day Loaded Nacho Bar is about more than food. It’s about creating memories in the kitchen. It’s about watching your kid’s eyes light up when they realize they made something delicious. It’s about shared time, laughter, and maybe a few spilled beans.
I encourage you to let go of perfection. Let the chips be uneven. Let the cheese be messy. Let your kids make a mess. That’s where the magic is. If you make this, drop a comment! I love hearing how it turns out in your kitchen. What toppings did your kids pick? Happy cooking!
Frequently Asked Questions
Can I make this ahead of time?
You can prep the toppings ahead, but do not assemble and bake until right before serving. Baked nachos lose their crunch within 15 minutes. Prep the meat and chop the veggies in the morning, then assemble in the evening.
My kids hate jalapeños. What can I substitute?
Try roasted red peppers or mild banana peppers. They add color and a little tang without the heat. You can also just skip the spice and add extra corn or black beans for texture.
Can I use a slow cooker instead of the oven?
Yes! I use a slow cooker for large parties. Layer chips, cheese, and toppings. Keep it on low. Stir occasionally to prevent burning. It keeps the nachos warm for hours. Just be careful not to let the bottom layer burn.
Is this recipe gluten-free?
It can be! Just ensure your tortilla chips are certified gluten-free. Most plain corn chips are, but flavored ones might have wheat flour. Check the label. All other ingredients are naturally GF.
How do I keep the chips crispy?
Don’t stack the chips. Use a single layer. Bake at a high enough temperature (375°F) to melt the cheese quickly without steaming the chips. Add wet toppings like salsa *after* baking.
Can I freeze the leftover seasoned meat?
Yes! The seasoned ground meat freezes well for up to 3 months. Use it for tacos, meatloaf, or burritos later. It’s a great meal prep hack.
Pin This Recipe!
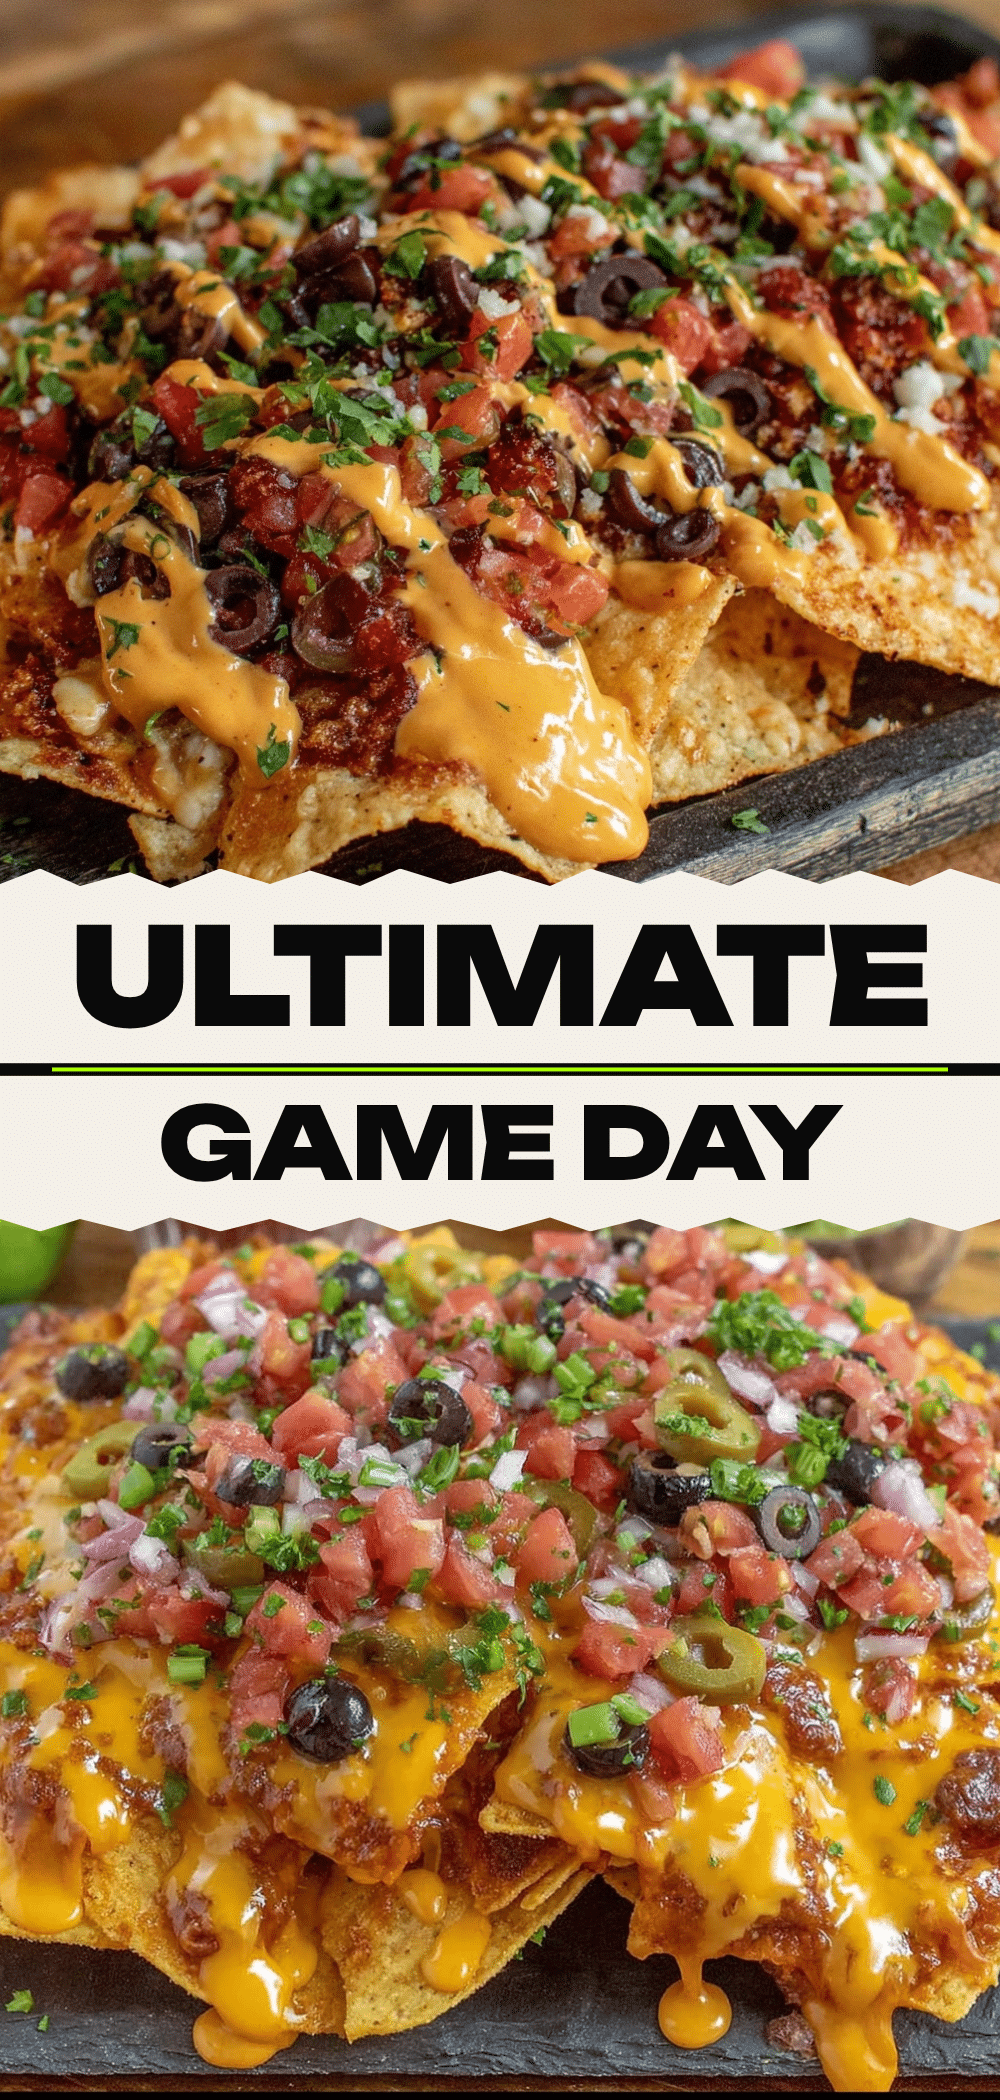
Game Day Loaded Nacho Bar: Best Recipe for Kids to Help Make
- Total Time: 32 minutes
- Yield: 4 servings 1x
Description
An interactive, customizable nacho bar designed to get kids involved in the kitchen. This recipe turns snack time into a fun family project with minimal cleanup and flexible ingredients.
Ingredients
- 1 large bag (approx. 12 oz / 340g) thick-cut yellow corn tortilla chips
- 2 cups (200g) shredded sharp cheddar cheese
- 1 lb (450g) lean ground turkey or beef
- 1 packet taco seasoning
- 1/4 cup water
- 1 can (15 oz / 425g) black beans, drained and rinsed
- 1 cup (240g) salsa verde or pico de gallo
- 1/2 cup sour cream
- 1/2 cup plain Greek yogurt
- 1/2 cup (50g) sliced jalapeños (fresh or pickled)
Instructions
- Preheat oven to 375°F (190°C).
- Cook ground meat in a skillet over medium-high heat until browned. Drain fat, then stir in taco seasoning and water. Simmer for 2 minutes and let cool slightly.
- Spread a single layer of tortilla chips on large baking sheets.
- Sprinkle shredded cheese generously over the chips.
- Distribute cooked meat, black beans, and jalapeños evenly over the cheese.
- Bake for 5-7 minutes until cheese is bubbly and golden.
- Remove from oven and let sit for 2 minutes to allow cheese to set.
- Top with a mixture of sour cream and Greek yogurt, salsa, and fresh cilantro before serving.
Notes
Do not overcrowd the pan; use a single layer of chips to ensure crispiness. Drain beans thoroughly to prevent soggy chips. Add wet toppings like salsa and sour cream after baking to maintain texture. Leftovers do not freeze well; store components separately if needed.
- Prep Time: 20 minutes
- Cook Time: 12 minutes
- Category: Appetizer
- Cuisine: Mexican
Nutrition
- Serving Size: Approx. 1 cup nachos
- Calories: 450
- Sugar: 3
- Sodium: 600
- Fat: 28
- Saturated Fat: 12
- Carbohydrates: 35
- Fiber: 4
- Protein: 20
Keywords: nacho bar, game day snacks, kid-friendly recipes, interactive cooking, super bowl food, family dinner, easy appetizer


