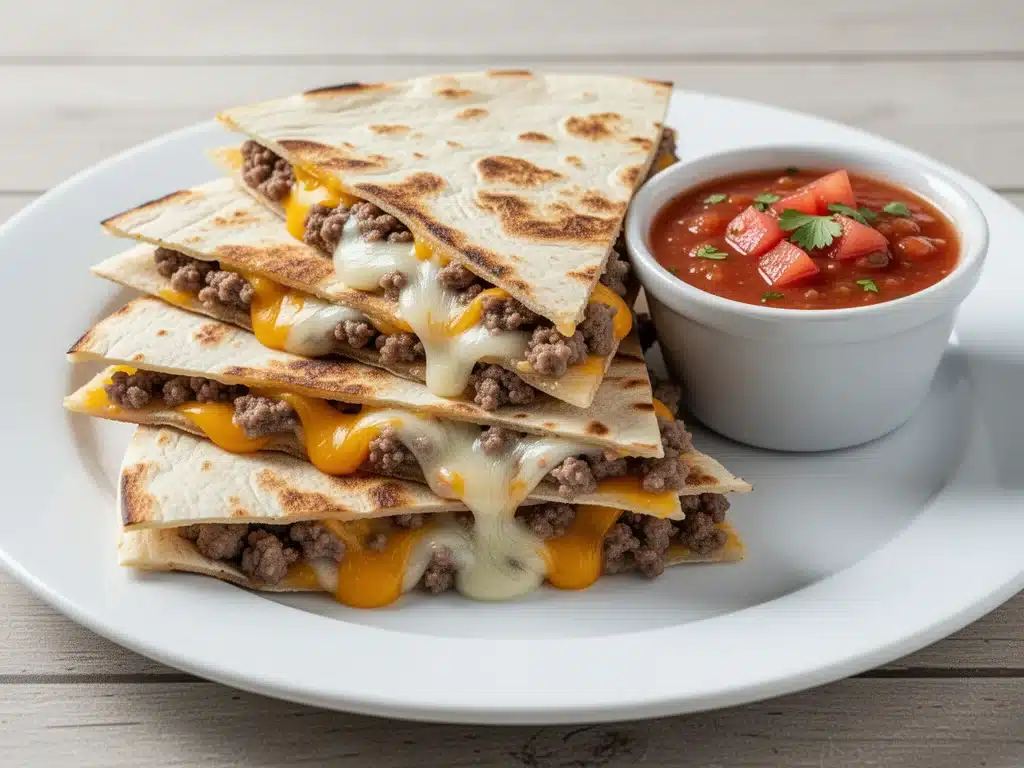
It’s 4:45 PM on a Tuesday in September. The house is quiet in that specific, terrifying way it gets after school lets out—the kids have just walked through the door, their backpacks are dropped with a thud, and they are already asking, “What’s for dinner?”
I used to panic. I’d stare into the fridge, hoping a meal would magically materialize, while my kids hovered like hungry vultures. Then I discovered the Back to School Cheesy Ground Beef Quesadillas with Salsa Dip. It’s not just dinner. It’s a peace treaty. It’s the reason I stopped ordering takeout three years ago and started actually enjoying cooking again.
Here’s the thing about these quesadillas: they are the ultimate hack for busy weeknights. They take 20 minutes from start to finish. They use ingredients I already have in my pantry and fridge. And the best part? They come with a side of salsa for dipping, which keeps the kids entertained while I actually sit down to eat with them for once.
I’ve made this recipe at least fifty times since August started. I’ve tweaked the cheese ratios, tested different tortillas, and even convinced my picky 8-year-old (who only eats white bread and chicken nuggets) to eat three of them. If you’re drowning in the back-to-school rush, need a meal that’s better than takeout but costs half as much, or just want to feed a growing family without spending hours in the kitchen, this is your answer.
This isn’t some complicated, gourmet dish that requires a culinary degree. It’s honest, hearty, cheesy comfort food that tastes like a Friday night treat but happens on a Tuesday. Let’s get into why this recipe has saved my sanity, and exactly how you can make it tonight.
Why You’ll Love This Quesadilla Recipe
There are a dozen reasons I keep coming back to these cheesy ground beef quesadillas, but if you’re short on time, here are the big ones:
Stupid Simple — Seriously. If you can brown ground beef and melt cheese, you can make this. I’ve walked my teenager through it over FaceTime while he’s at college. He made it three nights in a row.
Lightning Fast — 20 minutes. Total. That includes chopping the onion (if you’re fancy) and cleaning up. I make this on nights when I get home from work at 6:30 PM and realize I forgot to thaw chicken.
The Salsa Dip Factor — This is the secret weapon. Kids love dipping. It turns a simple meal into an interactive experience. I’ve seen my kids argue over who gets the last tortilla chip for dipping, which is progress.
Pantry-Friendly — You probably have 90% of this already. Ground beef, tortillas, cheese, salsa. If you have those, you have dinner. No special trips to the store.
Budget-Smart — Feeds 4-6 people for under $15. That’s less than one order of takeout tacos, and this tastes better. Plus, you control the salt and grease levels.
Makes Amazing Leftovers — Okay, be honest. They’re best fresh out of the pan. But if you have leftovers (unlikely, but possible), they reheat surprisingly well in a skillet. I even eat them cold for lunch the next day, and I’m not ashamed to admit it.
This is my go-to when I need dinner to just work. No complicated techniques, no weird ingredients, just reliable, delicious food that makes everyone happy. And honestly? It’s better than the place down the street.
Ingredients You’ll Need
Here’s the best part: you probably have most of this already. I’m particular about three ingredients here, and I’ll tell you exactly why. The rest is basic pantry stuff.
For the Filling
Ground beef (1 pound / 450g) — I use 80/20 fat ratio. It’s juicier and more flavorful. If you’re health-conscious, 90/10 works, but you’ll need to drain it more thoroughly. Don’t skimp on quality here; it’s the main event.
Yellow onion (1 medium, finely diced / about 150g) — This adds sweetness and depth. I dice it small so it cooks down and disappears into the meat. If you hate onions, you can skip it, but you’re missing out on flavor.
Garlic (3 cloves, minced / about 1 tablespoon) — Fresh only. No jarred garlic in this recipe. It makes a huge difference in the flavor profile. Mince it fine so it doesn’t burn.
Taco seasoning (2 tablespoons) — I make my own mix (see tips below), but store-bought works fine. I prefer a mild to medium heat. If you like it spicy, add a teaspoon of cayenne.
Water (¼ cup / 60ml) — This helps dissolve the seasoning and creates a little sauce that binds the meat to the cheese.
For the Quesadillas
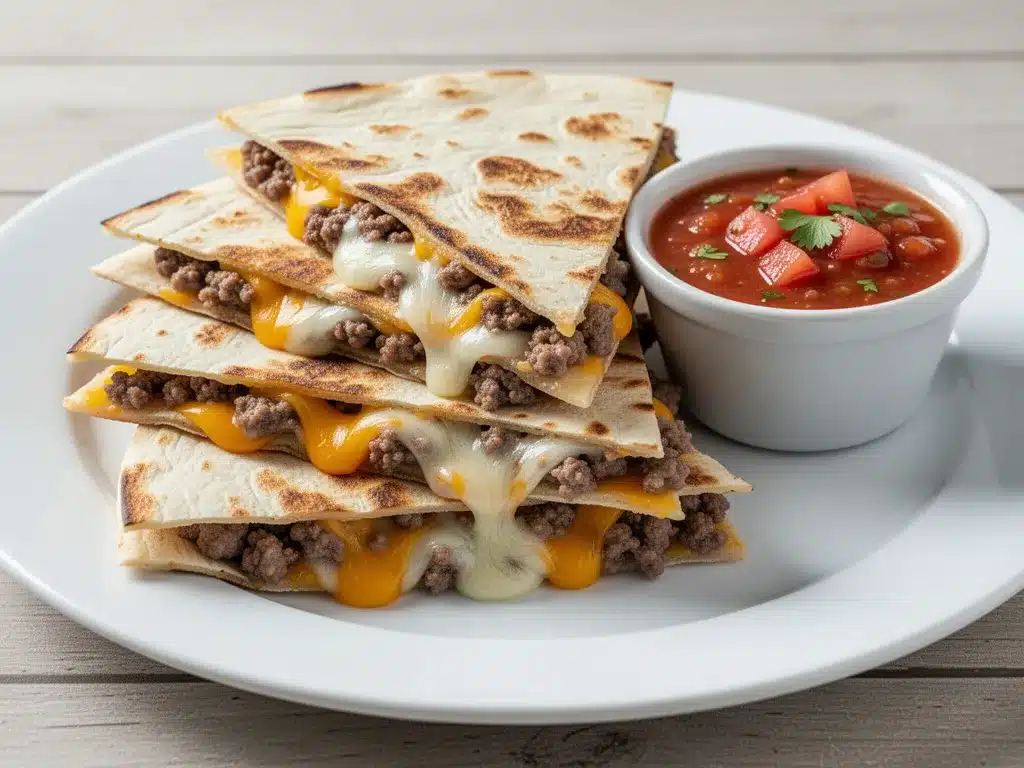
Flour tortillas (8 large, 10-inch / about 25cm) — These are crucial. Corn tortillas crack and don’t melt the same way. I use flour because they get that perfect golden-brown crispiness. Brands like Mission or La Tortilla Factory work great.
Shredded Mexican cheese blend (2 cups / 200g) — This is usually a mix of cheddar, Monterey Jack, and queso quesadilla. It melts beautifully. I buy pre-shredded when I’m lazy, but block cheese melts better. Pro tip: Toss pre-shredded with a teaspoon of cornstarch to prevent clumping.
Shredded cheddar cheese (1 cup / 100g) — I add extra cheddar for that sharp, tangy flavor. It balances the mildness of the blend.
For the Salsa Dip
Store-bought salsa (1 cup / 240g) — I use a medium-chunk salsa. If you’re feeling ambitious, make fresh pico de gallo, but for a Tuesday night? Store-bought is perfectly fine. I like Pace or Herdez.
Sour cream (½ cup / 120g) — Optional, but I stir it into the salsa for a creamy, cool contrast to the hot, spicy quesadillas. It’s a game-changer.
Cilantro (2 tablespoons, chopped) — Fresh cilantro brightens up the salsa. If you hate cilantro (it’s the soap leaf, I get it), skip it.
Lime juice (1 teaspoon) — A squeeze of fresh lime adds acidity that cuts through the richness of the cheese and beef.
Equipment Needed
You don’t need fancy equipment for this. Here’s what I actually use:
Large skillet (12-inch / 30cm) — I use a cast iron skillet or a heavy-bottomed non-stick pan. It needs to be big enough to hold two quesadillas at a time. If your pan is too small, you’ll crowd the tortillas and they won’t crisp up.
Wooden spoon or spatula — For stirring the beef and flipping the quesadillas. A silicone spatula works too, but I prefer wood because it doesn’t scratch my pans.
Knife and cutting board — For dicing the onion and mincing garlic. Sharp knives are safer and easier. I learned this the hard way with a dull knife and a bleeding thumb.
Measuring cups and spoons — Standard stuff. Dollar store versions work fine.
Tongs — Helpful for flipping the quesadillas if you’re nervous about breaking them. But a spatula works too.
Serving plate — Big enough to hold the quesadillas and keep them warm while you make the rest.
Small bowl — For mixing the salsa dip.
Optional but nice:
Garlic press — Saves time but not necessary. Mincing works fine.
Pizza cutter — Makes slicing the quesadillas into wedges easier and cleaner than a knife.
How to Make It: Step-by-Step
Alright, let’s make this! I’m walking you through exactly how I do it, including the little tricks I’ve picked up.
Step 1: Prep Your Ingredients (5 minutes)
Before you start cooking, chop your onion, mince your garlic, and measure everything out. I know it seems fussy, but it makes the actual cooking way less stressful. Grate your cheese while you’re at it. Once you start cooking, things move fast.
Step 2: Cook the Beef (8-10 minutes)
Heat a large skillet over medium-high heat. Add the ground beef and diced onion. Break up the beef with your wooden spoon as it cooks. Cook for 6-8 minutes until the beef is browned and the onions are soft. Drain any excess grease if there’s too much (leave a little for flavor). Add the minced garlic and taco seasoning. Stir well. Pour in the water and simmer for 2 minutes until the liquid thickens and coats the meat. Remove from heat and set aside.
Step 3: Make the Salsa Dip (2 minutes)
While the beef cooks, mix the salsa, sour cream, cilantro, and lime juice in a small bowl. Taste and adjust seasoning. If it’s too thick, add a splash of water. If it’s too thin, add more sour cream. Set aside.
Step 4: Assemble the Quesadillas (5 minutes)
Return the skillet to medium heat. Add a little oil or butter to the pan. Place one tortilla in the pan. Sprinkle half of the cheese over one half of the tortilla. Add a generous scoop of the beef mixture on top of the cheese. Top with more cheese (this acts as glue). Fold the tortilla in half, pressing down gently with your spatula.
Step 5: Cook Until Golden (3-4 minutes per side)
Cook for 2-3 minutes until the bottom is golden brown and crispy. Carefully flip the quesadilla. Cook for another 2-3 minutes until the other side is golden and the cheese is fully melted. Remove to a plate. Repeat with the remaining tortillas. You’ll need to do this in batches if your pan is small.
Step 6: Serve
Cut each quesadilla into wedges using a pizza cutter or knife. Serve immediately with the salsa dip on the side. Garnish with extra cilantro or a dollop of sour cream if you like.
Total Time: About 20 minutes (5 minutes prep, 15 minutes cooking)
Expert Tips & Tricks
Here’s everything I’ve learned from making this dozens of times. These tips will save you from my mistakes.
Don’t Overcrowd the Pan
This is the #1 mistake. If you try to cook too many quesadillas at once, they’ll steam instead of crisp. Cook 1-2 at a time. It’s worth the extra few minutes.
Double-Layer the Cheese
Put cheese on the tortilla, then the filling, then more cheese on top. The top layer of cheese helps seal the quesadilla shut so the filling doesn’t fall out. I learned this the hard way with a messy plate and a frustrated kid.
Use Low Heat for Melting
If your pan is too hot, the tortilla will burn before the cheese melts. Medium heat is perfect. Patience pays off.
Make Your Own Taco Seasoning
Store-bought packets often have too much sodium and weird fillers. Mix 1 tablespoon chili powder, 1 teaspoon cumin, 1 teaspoon garlic powder, 1 teaspoon paprika, ½ teaspoon oregano, and ½ teaspoon salt. It’s fresher and cheaper.
Keep Them Warm
If you’re making a big batch, put the cooked quesadillas on a baking sheet in a 200°F (95°C) oven while you finish the rest. They’ll stay warm and crisp.
Common Mistakes (and how to avoid them):
Mistake: Quesadillas are soggy
Fix: You didn’t cook them long enough on medium heat. Let them get crispy. Also, make sure you drained the beef well.
Mistake: Filling falls out
Fix: You didn’t use enough cheese as glue. Press down gently when folding.
Mistake: Tortilla burns
Fix: Heat is too high. Lower it and cook slower.
Variations & Substitutions
Once you’ve nailed the basic version, here’s how you can mix it up. I’ve tried all of these.
Chicken Version
Swap ground beef for shredded rotisserie chicken. Sauté the chicken with the taco seasoning for 2 minutes. It’s lighter and still delicious.
Vegetarian Version
Skip the beef. Use black beans or refried beans instead. Add corn and bell peppers to the mix. It’s just as filling.
Spicy Version
Add diced jalapeños to the beef mixture. Use a hot salsa for dipping. Add a pinch of cayenne to the seasoning.
Bacon Lover’s
Cook 4-6 strips of bacon until crispy. Crumble it and mix it into the beef. It’s rich and savory.
Gluten-Free
Use corn tortillas instead of flour. Make sure your taco seasoning is certified gluten-free. Everything else is naturally GF.
Dairy-Free
Use dairy-free cheese shreds (like Violife or Daiya) and skip the sour cream in the dip. It’s not quite the same, but it works.
Serving & Storage
How to Serve:
I usually serve these straight from the pan to the plate—they look rustic and stay warm. But here are other ways I’ve enjoyed them:
Side Dishes:
Simple green salad with lime vinaigrette
Rice and beans
Guacamole and chips
Elote (Mexican street corn)
Toppings Bar:
When I have guests, I put out: extra salsa, sour cream, guacamole, jalapeños, cilantro, and hot sauce. Everyone customizes their bowl.
Storage Instructions:
Refrigerator:
Store in an airtight container for up to 3 days. The tortillas might get a bit soft, but they reheat well.
Reheating:
Best method: Skillet over medium heat for 2 minutes per side. Crispy again!
Microwave method: 30-60 seconds. It’ll be soft, but edible.
Freezing:
Yes, you can freeze them! Wrap each quesadilla in foil or plastic wrap. Freeze for up to 3 months. Reheat in the oven at 350°F (175°C) for 15-20 minutes.
Pro tip: If leftovers are drying out, reheat them in the skillet with a tiny splash of water to steam them slightly before crisping.
Nutrition Information
I’m not a nutritionist, but here’s the breakdown if you’re tracking.
Per Serving (based on 4 servings, 2 quesadillas each):
| Nutrient | Amount |
|---|---|
| Calories | 580 |
| Protein | 28g |
| Carbs | 42g |
| Fiber | 3g |
| Fat | 32g |
| Sodium | 650mg |
What’s Good:
Decent protein from beef and cheese. Can add vegetables to boost nutrition.
What to Know:
Higher in calories from cheese and tortillas. Contains dairy and gluten. Moderate sodium (use low-sodium seasoning to reduce).
My Take:
Look, this is comfort food. It’s not a diet recipe. But it’s way better than takeout, costs less, and I know exactly what’s in it. When I want to make it lighter, I use lean beef and less cheese. But usually? I just eat a reasonable portion and enjoy it.
Final Thoughts
So that’s my go-to Back to School Cheesy Ground Beef Quesadillas with Salsa Dip! I’ve probably talked your ear off at this point, but when you make a recipe this often, you have a lot to say about it.
This has saved weeknight dinners more times than I can count. It’s my answer to “what’s for dinner” when I’m tired, don’t want takeout, and still want something that tastes really good. My kids are happy, my husband’s happy, and I’m happy because I’m not stressed about cooking.
Make it yours! Try different add-ins, swap in your favorite vegetables, adjust the spice level. The best recipes are the ones you adapt to your family’s tastes.
If you make this, drop a comment and let me know what you think! I love hearing how recipes turn out in your kitchen. And if something doesn’t work, tell me that too—I’m here to help troubleshoot.
Happy cooking! And I hope your kitchen smells half as good as mine does right now.
Frequently Asked Questions
Can I use ground turkey instead of beef?
Yes! Ground turkey works great. Just make sure it’s 93% lean or higher so it doesn’t dry out. You might need to add a tablespoon of oil to the pan. It’s lighter but still tasty.
Why did my quesadillas fall apart?
Usually means you didn’t use enough cheese as glue, or you flipped them too early. Let the bottom get golden and crispy before flipping. Press down gently when folding.
Can I make these ahead of time?
Sort of. You can prep the beef mixture ahead and store it in the fridge. Assemble and cook right before serving. The tortillas won’t stay crisp if you assemble them early.
What kind of cheese is best?
A blend of cheddar and Monterey Jack is classic. Queso quesadilla cheese melts the best, but it’s hard to find. Any melting cheese works. Avoid pre-shredded if you can—it has anti-caking agents that prevent smooth melting.
Can I freeze the salsa dip?
No. The sour cream will separate and become grainy when thawed. Make the dip fresh each time. It takes 2 minutes.
How do I reheat leftovers without them getting soggy?
Air fryer or skillet is best. Microwave makes them soft. If you must microwave, do it in short bursts and let them sit for a minute to crisp up slightly.
Can I make these in the oven?
Yes! Place quesadillas on a baking sheet, brush with oil, and bake at 400°F (200°C) for 10-12 minutes, flipping halfway. They’ll be crispier but take longer.
Pin This Recipe!
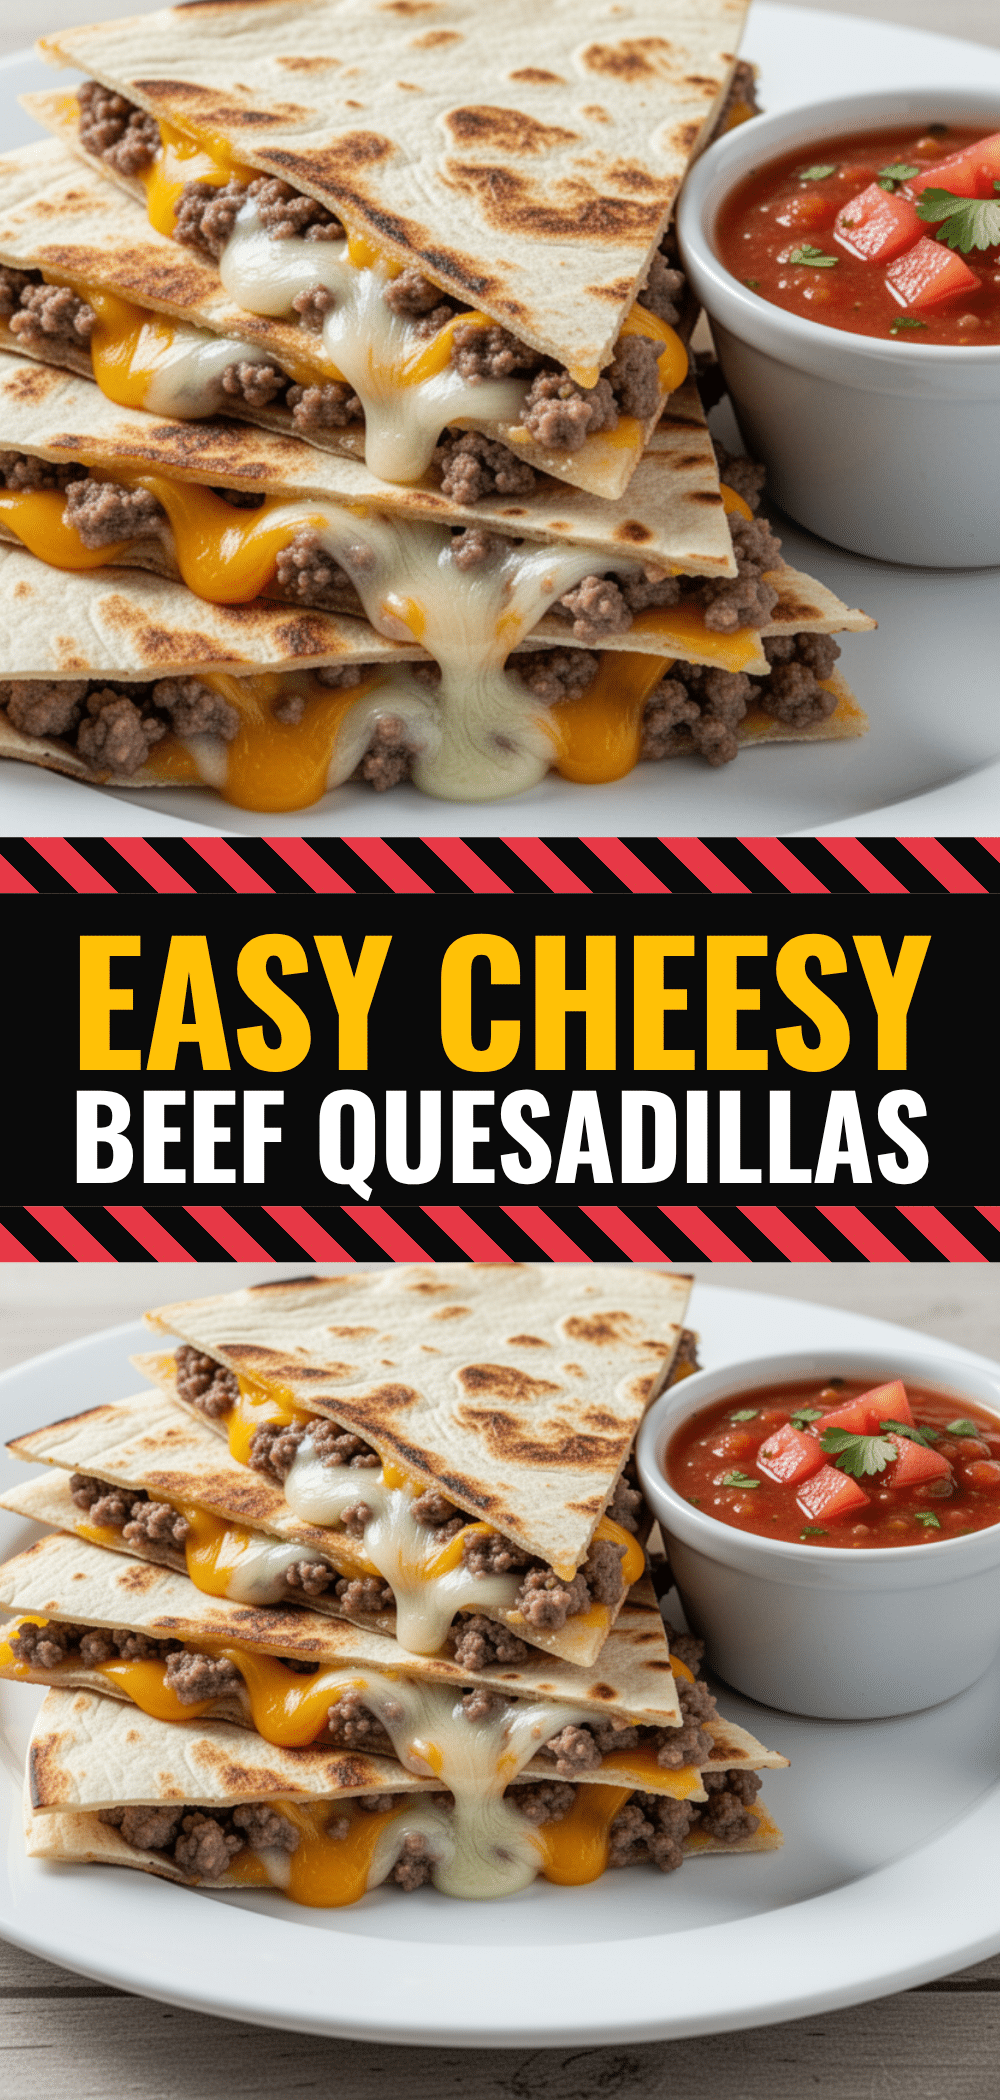
Back to School Cheesy Ground Beef Quesadillas with Salsa Dip
- Total Time: 20 minutes
- Yield: 4 servings 1x
Description
A quick and easy 20-minute weeknight dinner featuring crispy quesadillas filled with seasoned ground beef and melted cheese, served with a creamy salsa dip.
Ingredients
- 1 pound ground beef (80/20 fat ratio)
- 1 medium yellow onion, finely diced
- 3 cloves garlic, minced
- 2 tablespoons taco seasoning (or homemade mix)
- 1/4 cup water
- 8 large flour tortillas (10-inch)
- 2 cups shredded Mexican cheese blend
- 1 cup shredded cheddar cheese
- 1 cup store-bought medium-chunk salsa
- 1/2 cup sour cream
- 2 tablespoons fresh cilantro, chopped
- 1 teaspoon lime juice
Instructions
- Prep ingredients: Dice onion, mince garlic, and measure out all components.
- Heat a large skillet over medium-high heat. Add ground beef and diced onion, breaking up the beef with a spoon.
- Cook beef and onion for 6-8 minutes until beef is browned and onions are soft. Drain excess grease if necessary.
- Add minced garlic and taco seasoning to the skillet. Stir well.
- Pour in water and simmer for 2 minutes until liquid thickens and coats the meat. Remove from heat.
- While beef cooks, mix salsa, sour cream, cilantro, and lime juice in a small bowl to create the dip.
- Return skillet to medium heat and add a little oil or butter.
- Place one tortilla in the pan. Sprinkle half of the cheese on one half of the tortilla.
- Add a generous scoop of beef mixture on top of the cheese, then top with more cheese.
- Fold the tortilla in half and press down gently with a spatula.
- Cook for 2-3 minutes until the bottom is golden brown and crispy.
- Carefully flip the quesadilla and cook for another 2-3 minutes until the other side is golden and cheese is melted.
- Remove to a plate and repeat with remaining tortillas.
- Cut quesadillas into wedges and serve immediately with salsa dip.
Notes
Do not overcrowd the pan; cook 1-2 quesadillas at a time to ensure crispiness. Use cheese as ‘glue’ by layering it on top of the filling to prevent the quesadilla from falling apart. If making a large batch, keep cooked quesadillas warm in a 200°F oven. For a gluten-free version, use corn tortillas. For a vegetarian version, substitute beef with black beans or refried beans.
- Prep Time: 5 minutes
- Cook Time: 15 minutes
- Category: Main Course
- Cuisine: Mexican
Nutrition
- Serving Size: 2 quesadillas per se
- Calories: 580
- Sodium: 650
- Fat: 32
- Carbohydrates: 42
- Fiber: 3
- Protein: 28
Keywords: quesadillas, ground beef, quick dinner, weeknight meals, family friendly, salsa dip, cheesy, easy recipe, back to school


