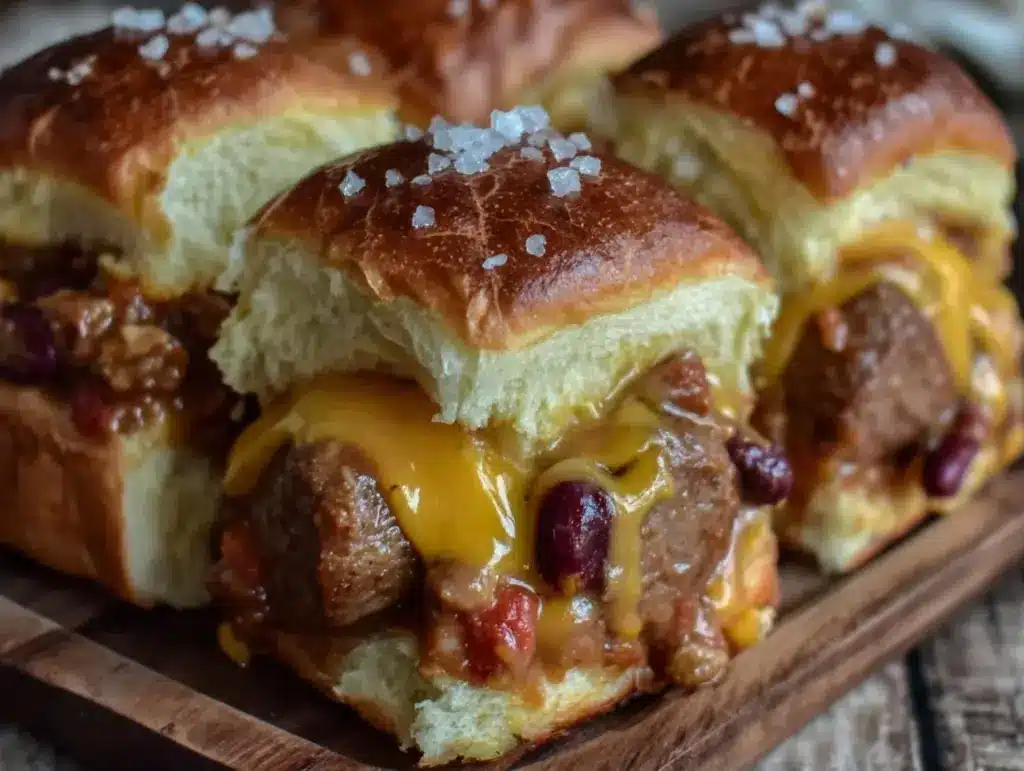
My grandfather didn’t believe in shortcuts. Not in his garden, not in his woodworking, and certainly not in his cooking. I remember sitting on the tailgate of his old Ford pickup back in 1998, the autumn air crisp enough to make my fingers numb, watching him assemble what he called “the only slider worth eating.” He wasn’t using brioche buns or fancy artisanal cheeses. He was using soft, warm hot dog buns, a chili that had been simmering since noon, and enough cheddar cheese to make a grown man weep.
He called them his “Tailgate Chili Cheese Dog Sliders.” I called them the best thing I’d ever tasted. Back then, I thought he was just making hot dogs with chili. Now, after years of testing and tweaking, I realize he was building a flavor bomb. The sweetness of the caramelized onions in the chili, the snap of the frankfurter, the sharp melt of the cheese, and the softness of the bun—it was a perfect balance. It wasn’t just food; it was comfort wrapped in foil.
I’ve made these Tailgate Chili Cheese Dog Sliders for Game Day every season since. Some years I stick to his original method, slow and steady. Other times, I tweak it with a little kick from jalapeños or a swap to turkey dogs for something lighter. But the core remains the same: quality ingredients, patience, and a whole lot of love. If you’re looking for a way to feed a crowd without stressing yourself out, this is your answer. These sliders are the real deal, just like he taught me.
There’s something magical about pulling a tray of these out of the oven right before kickoff. The smell hits you first—savory, cheesy, and slightly spicy. It draws people in. I’ve watched strangers at tailgates ask for the recipe, and I’ve watched my own family fight over the last one. It’s become a tradition in our house, a way to gather, eat, and enjoy the game together. And honestly? It’s easier than you think.
Why You’ll Love This Recipe
Let’s be real. Game day cooking can be a nightmare. You’re trying to juggle multiple dishes, keep things warm, and still enjoy the party. That’s where these sliders shine. They are the ultimate crowd-pleaser for a reason. Here’s why this Tailgate Chili Cheese Dog Sliders for Game Day recipe has earned a permanent spot in my rotation.
One-Pan Wonder — I once tried making these separately and ended up with a kitchen that looked like a war zone. By assembling them in a single baking dish, I save time and cleanup. The heat circulates evenly, melting the cheese and warming the buns in one go. It’s efficient without feeling rushed.
Make-Ahead Friendly — You can assemble these fully up to 4 hours before the game. I do it while watching the pre-game shows. Then, they go into the fridge. When it’s time to eat, they just need a quick bake. This means I’m not stuck in the kitchen while my friends are drinking beer and arguing about the draft.
Customizable for Everyone — Not everyone eats the same. I have vegetarian friends, folks who can’t handle spice, and those who want extra crunch. With this recipe, you can swap the dogs, change the cheese, or adjust the chili heat. It’s flexible enough to handle any dietary need at your table.
Portable and Mess-Free(ish) — Tailgating requires food that travels well. These sliders stay together in the box. They don’t fall apart in your hands like a loose sandwich. Yes, there will be some cheese drip, but that’s part of the charm. Just hand out plenty of napkins.
Nostalgic Flavor Profile — This isn’t just fast food. It’s a elevated version of a childhood classic. The combination of sweet, savory, and spicy hits all the right notes. It reminds people of their own favorite moments, whether it’s a high school football game or a family BBQ. It connects us.
This is my go-to when dinner needs to just work. It’s reliable, delicious, and brings people together. You won’t regret making them.
Key Ingredients
The beauty of this recipe lies in its simplicity. You don’t need exotic spices or hard-to-find items. You need good quality basics. Here’s what I use and why it matters.
Hot Dogs or Franks (12 count / 12 units) — I prefer beef franks for that classic snap. Look for a brand with minimal fillers. If you want a lighter option, turkey dogs work well, though they lack that specific chew. Avoid the cheap, pink ones from the dollar store. Your taste buds will thank you.
Chili (24 oz / 680 g) — I make my own, but a good canned chili works in a pinch. If using canned, I add a tablespoon of chili powder and a dash of cumin to boost the flavor. Homemade is better because you control the texture and spice level. I like mine chunky but not soupy.
Cheddar Cheese (1.5 cups shredded / 170 g) — Sharp cheddar is non-negotiable. It has enough flavor to stand up to the chili and meat. Pre-shredded cheese contains anti-caking agents that prevent it from melting smoothly. Buy a block and shred it yourself. It makes a huge difference in the final texture.
Hot Dog Buns (12 buns / 12 units) — Use soft, white buns. Pretzel buns are delicious but too dense for this. You want something that yields to the pressure of your hand. Toasting them lightly before assembly helps them hold up to the wet chili.
Yellow Onion (1 medium / 150 g) — Sweet onions add depth to the chili. I sauté them until they’re translucent before adding the meat. This step is crucial for building a rich base flavor. Don’t skip it.
Ground Beef (1 lb / 450 g) — For homemade chili, I use 80/20 ground beef. It has enough fat to stay juicy. Lean beef turns dry and crumbly. Brown it well before draining excess grease, but leave a little for flavor.
Tomato Paste (2 tbsp / 30 g) — This thickens the chili and adds a concentrated tomato flavor. It’s the secret weapon for a robust sauce. Canned tomatoes alone can be too watery.
Cumin and Chili Powder (1 tsp each / 5 g) — The backbone of the spice blend. Fresh spices make a difference. If your cumin is two years old, replace it. It’s cheap insurance for better flavor.
Tools Needed
You don’t need fancy equipment. Here’s what I use.
9×13 Baking Dish — I use a ceramic one because it retains heat well. Glass works too, but ceramic keeps the buns warm longer.
Large Skillet — For browning the beef and onions. Cast iron is ideal for even heating.
Wooden Spoon — For stirring the chili without scratching the pan.
Sharp Knife — For slicing the hot dogs lengthwise. A dull knife will crush the buns.
Aluminum Foil — To cover the sliders if they brown too quickly.
How to Make Tailgate Chili Cheese Dog Sliders for Game Day
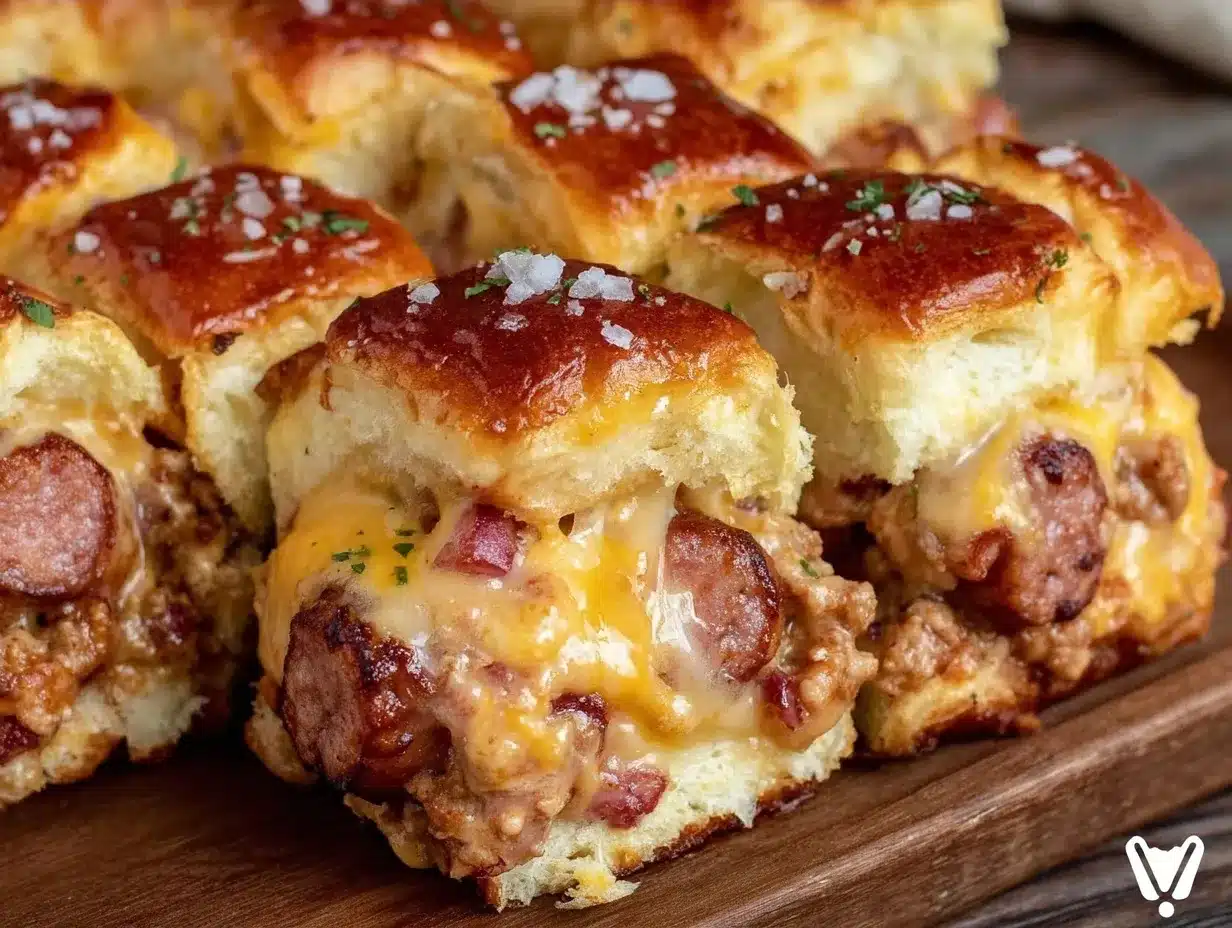
Let’s get cooking. I’m walking you through exactly how I do it, step by step.
Step 1: Prepare the Chili (20 minutes)
Start with the chili. In your large skillet, heat a tablespoon of oil over medium heat. Add the diced yellow onion and cook for 5 minutes until soft and translucent. Add the ground beef and cook until browned, breaking it up with a spoon. Drain any excess grease, leaving about a tablespoon.
Stir in the tomato paste, cumin, and chili powder. Cook for 1 minute to toast the spices. Add the canned tomatoes (if using) and water. Simmer for 10 minutes. If you’re using canned chili, just heat it through and stir in the spices. The goal is a thick, flavorful sauce. Set aside.
Step 2: Slice the Buns (5 minutes)
Preheat your oven to 375°F (190°C). Take your hot dog buns and slice them in half horizontally. You now have 24 bun halves. This creates the “slider” format. It’s easier to eat and allows for more topping per bite.
Optional but recommended: Lightly toast the cut sides of the buns in a dry pan for 30 seconds. This prevents them from getting soggy from the chili. I do this every time now. It’s a small step that makes a big difference.
Step 3: Assemble the Sliders (10 minutes)
Place the bun halves, cut side up, in your 9×13 baking dish. Cut each hot dog in half lengthwise. Place one half on each bun bottom. You’re now building your base.
Spoon a generous amount of chili over each hot dog. Don’t be shy. The bun needs to be soaked in flavor. Then, sprinkle shredded cheddar cheese over the chili. You want full coverage. If some spots are bare, add more cheese.
Step 4: Bake and Serve (10 minutes)
Place the dish in the oven. Bake for 8-10 minutes, or until the cheese is bubbly and golden. Keep an eye on it. Ovens vary. If the cheese starts to brown too much, cover loosely with foil.
Remove from the oven. Let them rest for 2 minutes. This allows the cheese to set slightly so it doesn’t slide off. Top with diced pickles, jalapeños, or onions if you like. Serve immediately. These are best eaten hot, straight from the pan.
Total Time: 45 minutes (including prep and cooking).
Expert Tips
Here’s everything I learned from making this too many times.
The Game-Changers
Don’t Skimp on the Cheese
This is the #1 mistake. People try to save calories and use less cheese. It’s a mistake. The cheese binds the chili and bun together. Without it, you have a mess. Use the full amount. It’s worth it.
Toast the Buns First
I learned this the hard way. The first time I made these, the buns turned to mush. Toasting them creates a barrier. It’s a simple trick that elevates the texture. Do it.
Chili Consistency Matters
If your chili is too watery, the sliders will fall apart. If it’s too thick, it won’t soak in. Aim for a consistency like thick soup. If it’s too thin, simmer it longer. If it’s too thick, add a splash of water.
Common Problems & Solutions
Sliders Falling Apart
This happens if you use too much chili or soft buns. Use less chili or toast the buns. Also, let them rest after baking.
Cheddar Not Melting
Pre-shredded cheese doesn’t melt well. Shred your own. Also, ensure the oven is fully preheated.
Buns Too Dry
If you toasted them too long, they’ll be hard. Toast lightly. Or, brush with a little butter before baking.
Pro Tricks
Freeze the Chili
Make a double batch of chili. Freeze it in portions. It’s ready to go whenever you need a quick meal.
Add a Kick
Mix diced jalapeños into the chili for extra heat. It’s a great option for spice lovers.
Recipe Variations
Once you’ve nailed the basic version, here’s how to mix it up.
Vegetarian Sliders
Swap the beef for lentils or mushrooms. Use veggie dogs. The chili base remains the same. It’s hearty and satisfying.
Spicy Jalapeño Sliders
Add diced jalapeños to the chili and use pepper jack cheese. It’s a flavor explosion. Great for those who like heat.
BBQ Bacon Sliders
Swap the chili for BBQ sauce. Add crispy bacon bits. It’s a different profile but equally delicious. I make these for the BBQ fans at my table.
Gluten-Free Option
Use gluten-free buns and ensure your chili and dogs are GF. Most brands have options now. The method stays the same.
Dairy-Free Option
Use dairy-free cheese and a vegan chili. It’s surprisingly good. Many vegan cheeses melt well if you choose the right brand.
Breakfast Sliders
Swap the chili for a breakfast sausage gravy. Use egg and cheese. It’s a fun twist for weekend brunch.
Serving & Storage
Serving:
I serve these straight from the dish. They look rustic and inviting. Pair them with a side of grilled bacon-wrapped corn for a complete game day spread. A simple cucumber tomato salad cuts through the richness. For drinks, I like a spiked watermelon lemonade or a cold beer.
Storage:
These don’t freeze well after baking because the buns get soggy. Store leftovers in the fridge for up to 3 days. Reheat in the oven at 350°F for 10 minutes. Microwaving makes the buns tough. Avoid it.
Meal Prep:
Assemble the sliders in the baking dish, cover, and refrigerate for up to 4 hours before baking. This is my preferred method for game day. It saves time and reduces stress.
Nutrition Information
I’m not a nutritionist, but here’s the breakdown per slider (one half-bun with toppings).
| Nutrient | Amount |
|---|---|
| Calories | 280 kcal |
| Protein | 12 g |
| Carbs | 25 g |
| Fiber | 2 g |
| Fat | 14 g |
| Sodium | 650 mg |
My Take:
This is comfort food. It’s not diet food. It’s salty, cheesy, and satisfying. But it’s better than takeout and I know what’s in it. Enjoy it as a treat, not a daily staple.
Final Thoughts
These Tailgate Chili Cheese Dog Sliders for Game Day are more than just a snack. They’re a memory. They’re a way to connect with family and friends. They’re a testament to the idea that simple ingredients, treated with respect, can create something extraordinary.
If you make this, drop a comment! I love hearing how it turns out in your kitchen. Did you add jalapeños? Did you use turkey dogs? I want to know. Share your variations and let’s learn from each other.
Happy cooking!
FAQs
Can I make these ahead of time?
Yes. Assemble them fully, cover with foil, and refrigerate for up to 4 hours. Bake just before serving. This is the best way to manage game day cooking.
Can I freeze the sliders?
I don’t recommend freezing them after baking. The buns will become soggy and lose their texture. Freeze the chili separately if you want to prep ahead.
What cheese is best for melting?
Sharp cheddar is great, but Monterey Jack or Gouda melt even smoother. I often mix cheddar with jack for the perfect melt and flavor.
Can I use hot dog buns from the freezer?
Yes. Just thaw them before assembling. If they’re still cold, the chili will cool them down too much. Room temperature buns work best.
How do I keep them warm in the car?
Keep them in the baking dish with the foil tightly sealed. Place the dish in a cooler (without ice) or an insulated bag. They’ll stay warm for about an hour.
Is there a spicy version?
Absolutely. Add diced jalapeños to the chili and use pepper jack cheese. You can also add a dash of cayenne pepper to the beef mixture.
Can I use ground turkey instead of beef?
Yes. Use lean ground turkey and add a little more oil to the pan. It’s a lighter option that still tastes great.
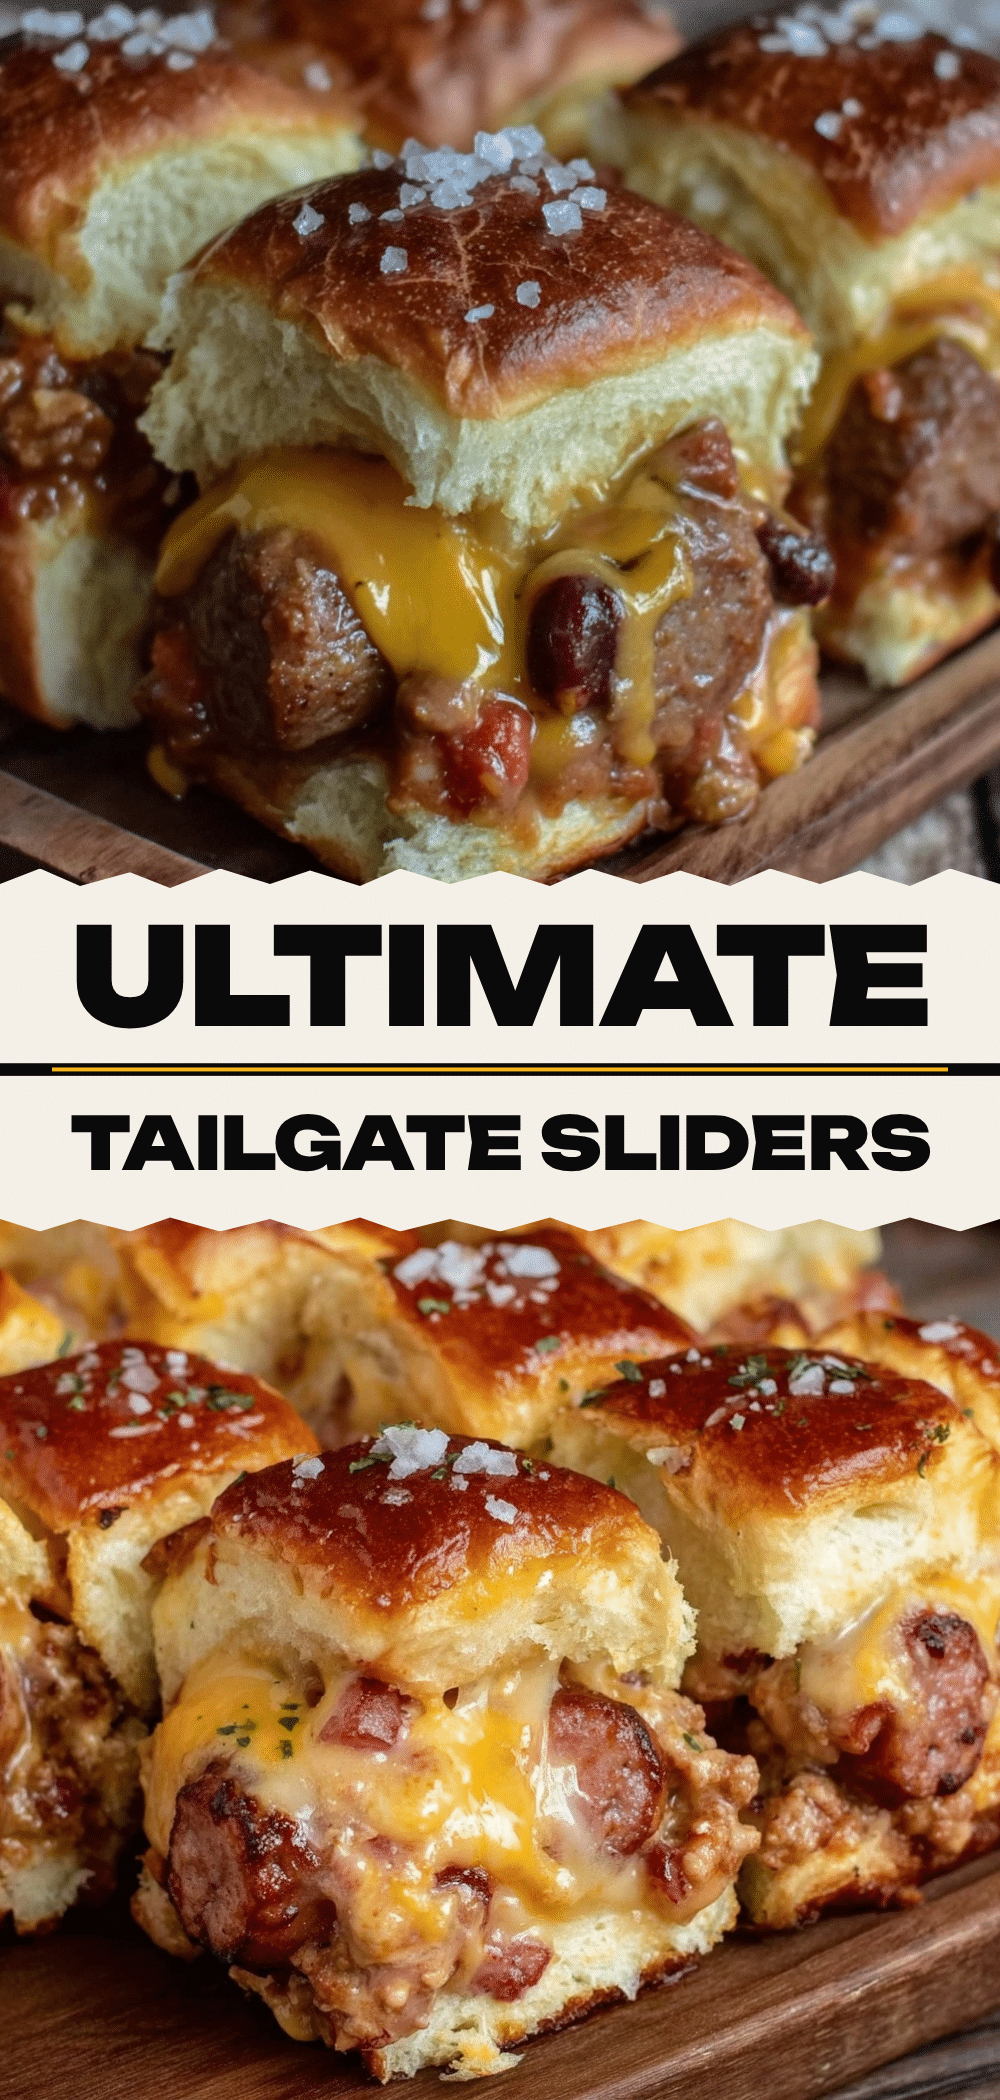
Pin This Recipe!
Tailgate Chili Cheese Dog Sliders: The Real Way My Grandfather Made Them
- Total Time: 45 minutes
- Yield: 24 sliders 1x
Description
A nostalgic and crowd-pleasing game day recipe featuring soft hot dog buns, homemade chili, and melted cheddar cheese, baked to perfection in a single pan.
Ingredients
- 12 hot dogs or franks
- 24 oz chili (homemade or canned)
- 1.5 cups shredded sharp cheddar cheese
- 12 hot dog buns
- 1 medium yellow onion, diced
- 1 lb ground beef (80/20)
- 2 tbsp tomato paste
- 1 tsp cumin
- 1 tsp chili powder
- 1 tbsp oil (for cooking)
- Optional: diced pickles, jalapeños, or onions for topping
Instructions
- Preheat oven to 375°F (190°C).
- In a large skillet, heat oil over medium heat. Add diced onion and cook for 5 minutes until soft and translucent.
- Add ground beef to the skillet and cook until browned, breaking it up with a spoon. Drain excess grease, leaving about a tablespoon.
- Stir in tomato paste, cumin, and chili powder. Cook for 1 minute to toast spices. Add canned tomatoes and water if making from scratch, or heat canned chili and stir in spices. Simmer for 10 minutes until thick. Set aside.
- Slice hot dog buns in half horizontally to create 24 bun halves. Optionally, lightly toast the cut sides in a dry pan for 30 seconds to prevent sogginess.
- Place bun halves, cut side up, in a 9×13 baking dish.
- Cut each hot dog in half lengthwise and place one half on each bun bottom.
- Spoon a generous amount of chili over each hot dog.
- Sprinkle shredded cheddar cheese evenly over the chili.
- Bake for 8-10 minutes until cheese is bubbly and golden. Cover with foil if browning too quickly.
- Remove from oven and let rest for 2 minutes before serving.
Notes
Toast buns first to prevent them from getting soggy. Use sharp cheddar for better melting and flavor. Chili should be thick, not soupy, to maintain slider structure. Can be assembled up to 4 hours ahead and refrigerated before baking.
- Prep Time: 20 minutes
- Cook Time: 25 minutes
- Category: Appetizer
- Cuisine: American
Nutrition
- Serving Size: 1 slider (one half-b
- Calories: 280
- Sugar: 4
- Sodium: 650
- Fat: 14
- Saturated Fat: 6
- Carbohydrates: 25
- Fiber: 2
- Protein: 12
Keywords: tailgate, chili cheese dog, sliders, game day, football food, comfort food, easy recipe, crowd pleaser


