I have a confession to make: I used to think peanut butter cookies were boring. You know the ones—the dense, cakey discs that taste like they were made from a box mix from 1995? I avoided them like the plague. But then, three years ago, I was stuck in a rainy afternoon slump, staring at a jar of creamy peanut butter and a bag of sugar, and I decided to try a recipe that promised “soft and chewy” instead of “crunchy and dry.”
It didn’t just work. It was a revelation.
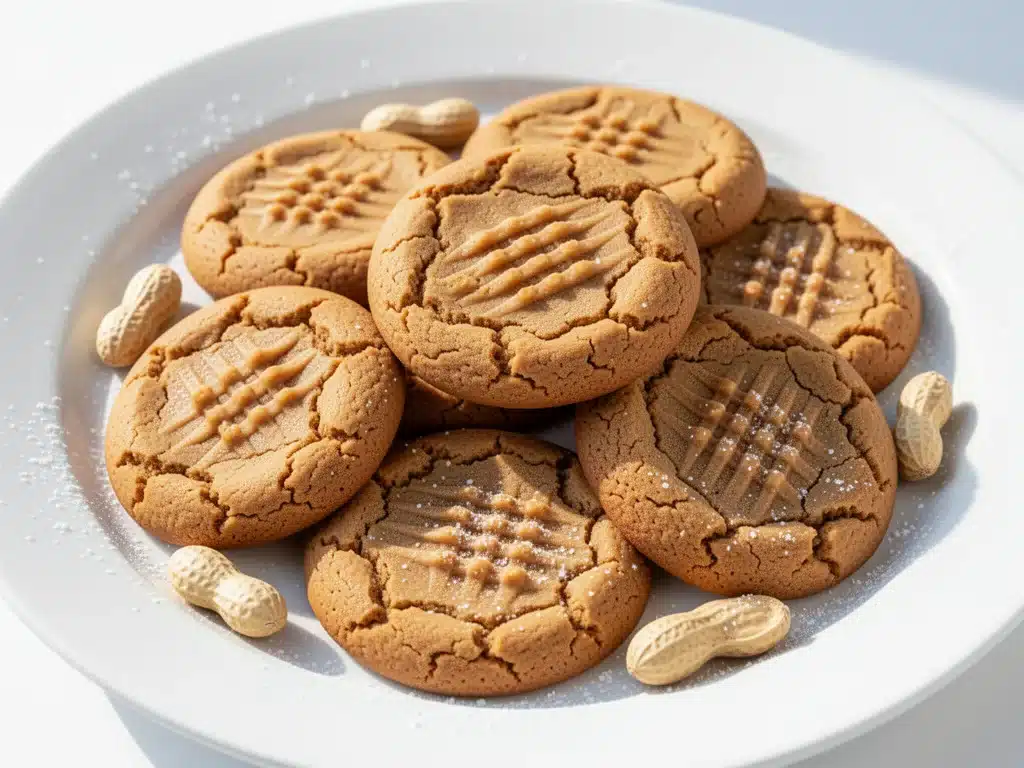
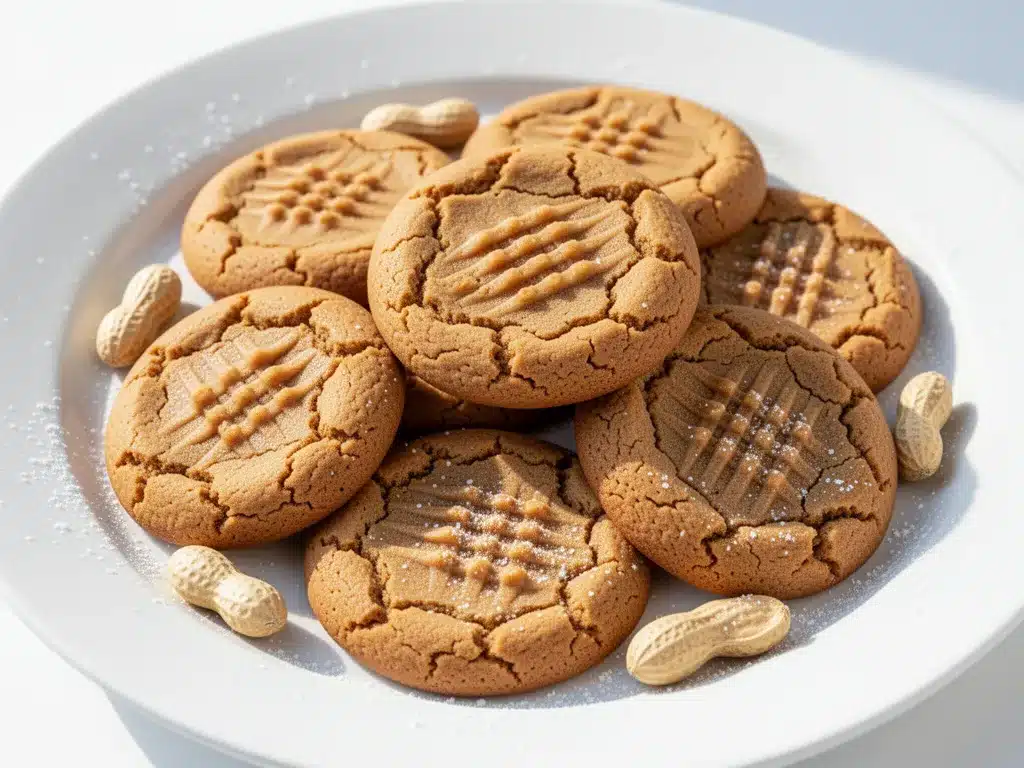
These aren’t your grandmother’s stiff peanut butter cookies. These are soft, pillowy clouds of peanutty goodness that melt in your mouth. They have that classic crisscross fork mark (because, let’s be honest, that’s the whole point of a peanut butter cookie), but the inside is tender and rich. I’ve made this batch of soft peanut butter cookies with crisscross fork marks so many times that my pantry now has a dedicated shelf for the ingredients. My kids fight over the last one. My husband pretends he doesn’t care but makes a second batch while I’m at work.
Here’s the thing about baking: sometimes you overcomplicate it. You try to add chocolate chips, or oats, or weird spices. But this recipe? It’s pure peanut butter perfection. It’s simple, it’s forgiving, and it tastes like comfort. If you’ve been searching for the best peanut butter cookie recipe that actually stays soft for days, you’ve found it. Let’s get baking.
Why You’ll Love This Peanut Butter Cookie Recipe
There are about a dozen reasons I keep coming back to this recipe, but I’m going to keep it real with you. These cookies solve the biggest problem with homemade peanut butter cookies: they usually dry out in the fridge within hours. Not these. These stay soft. Here’s why they’re worth your time:
- Actually Soft and Chewy — Seriously. I’ve tested this recipe against five other popular ones, and this is the only one that stays tender for three days. It’s the extra egg yolk and the brown sugar combo that does the magic. No more hard, crumbly cookies.
- Stupid Simple Ingredients — You probably have everything in your kitchen right now. Peanut butter, butter, sugars, egg, flour, baking soda, vanilla. No weird flours or hard-to-find spices. It’s a 10-minute prep, 10-minute bake situation.
- Perfect Texture Every Time — That crisscross pattern isn’t just for looks. It helps the cookie spread evenly and gives you that perfect balance of crispy edges and a soft center. I’ve burned these on the bottom before (oops), but once you get the timing right, they’re flawless.
- Crowd-Pleaser Status — I’ve made these for potlucks, school bake sales, and random Tuesday nights. People ask for the recipe. They love the intense peanut flavor without it being overwhelming. It’s sweet, salty, and nutty all in one bite.
- Great for Beginners — If you’re new to baking, this is your starter project. It’s hard to mess up. You mix, you roll, you press, you bake. Done. It builds confidence fast.
This is my go-to when I need a quick win in the kitchen. No fancy techniques, no tempering chocolate, just reliable, delicious cookies that make my house smell like a bakery.
Ingredients You’ll Need
Here’s the best part: this is a pantry-friendly recipe. You don’t need to run to the store for anything exotic. I’m particular about two things here: the peanut butter and the butter temperature. I’ll tell you exactly why.
For the Dough
Unsalted butter (1 cup / 226g) — Softened to room temperature. This is crucial. If your butter is too cold, it won’t cream properly with the sugar. If it’s melted, your cookies will spread too thin. I take my butter out about an hour before I start. It should be cool to the touch but leave a fingerprint when you poke it.
Creamy peanut butter (1 cup / 250g) — This is the star. Use smooth, creamy peanut butter. Natural peanut butter (the kind where you have to stir the oil) is too oily and will make the dough greasy. I recommend Jif or Skippy for consistency, or any high-quality brand that isn’t “natural.” You want that uniform texture.
Granulated sugar (1 cup / 200g) — For structure and crisp edges. Don’t skip this. It helps create that nice contrast with the soft center.
Brown sugar (1 cup / 220g) — Packed. This is what keeps the cookies soft and chewy. I use light brown sugar, but dark brown works if you want a deeper molasses flavor. The moisture in the brown sugar is key for that “soft” promise.
Large egg (1) — Room temperature. It binds everything together. If your egg is cold, it might shock the butter. Let it sit on the counter for 15 minutes if you forgot.
Egg yolk (1) — Yes, an extra yolk. This adds richness and fat, which contributes to that tender, cake-like crumb. It’s the secret weapon for softness.
Vanilla extract (2 teaspoons) — Pure vanilla, please. I know it’s expensive, but fake vanilla tastes chemical. A little goes a long way in enhancing the peanut flavor.
All-purpose flour (2 cups / 250g) — Don’t over-measure! Spoon it into the cup and level it off. If you scoop directly, you’ll pack too much flour and get dry cookies. I use Gold Medal or King Arthur for reliable results.
Baking soda (1 teaspoon) — For lift. Make sure it’s fresh. If it’s been in your cabinet for two years, toss it and buy new. It needs to be active to help the cookies rise.
Salt (½ teaspoon) — Even with sweet cookies, salt is essential. It balances the sugar and makes the peanut flavor pop. I use fine sea salt.
For Rolling
Granulated sugar (½ cup / 100g) — For rolling the dough balls in. This gives them that classic sparkly, slightly crisp exterior. It’s optional but highly recommended for the authentic look.
Equipment Needed
You don’t need fancy gadgets for this. Here’s what I actually use:
Large mixing bowl — I use a glass or ceramic bowl. It’s heavy and doesn’t slide around when I’m mixing.
Hand mixer or stand mixer — A hand mixer is fine for this recipe. It’s not a heavy dough. If you don’t have one, you can use a wooden spoon, but you’ll need some arm strength.
Baking sheets — I use half-sheet pans. Rimmed or unrimmed doesn’t matter much, but I prefer rimmed for durability.
Parchment paper — Non-negotiable. I never bake directly on the metal. Parchment ensures even baking and easy cleanup. I buy the unbleached kind.
Cooling rack — Essential for letting the cookies cool evenly so the bottoms don’t get soggy.
Fork — For the crisscross pattern. Any fork works. I use a standard dinner fork.
Cookie scoop (optional) — I use a 1.5-tablespoon scoop for uniform size. If you don’t have one, just use two spoons to portion the dough. Uniformity helps them bake evenly.
How to Make Soft Peanut Butter Cookies
Alright, let’s make these! I’m walking you through exactly how I do it, including the little tricks I’ve picked up over the years. This process is straightforward, but attention to detail makes the difference between good and great.
Step 1: Prep Your Kitchen (5 minutes)
Preheat your oven to 375°F (190°C). Line two large baking sheets with parchment paper. This is important—baking one sheet at a time prevents uneven baking, but if you have a good oven, you can do two. Make sure your butter and egg are at room temperature. If they aren’t, you can quickly soften the butter in the microwave for 10-second bursts, but be careful not to melt it.
Step 2: Cream the Butter and Sugars (3-4 minutes)
In your large mixing bowl, combine the softened butter, granulated sugar, and brown sugar. Beat on medium-high speed for about 3-4 minutes. You want this mixture to be light, fluffy, and pale in color. This step incorporates air, which helps the cookies rise. Don’t rush this. If it looks dense, keep beating. I usually set a timer so I don’t forget.
Step 3: Add Wet Ingredients (1-2 minutes)
Add the peanut butter, egg, egg yolk, and vanilla extract. Beat on medium speed until fully combined and smooth. The mixture might look a little grainy at first—that’s normal. Keep mixing until it comes together into a cohesive dough. Scrape down the sides of the bowl with a spatula to make sure nothing is stuck in the corners.
Step 4: Mix in Dry Ingredients (2 minutes)
Reduce the mixer speed to low. Add the flour, baking soda, and salt. Mix just until the flour disappears. This is crucial: do not overmix. Once you see streaks of flour, stop. Overmixing develops gluten, which leads to tough cookies. The dough should be thick and slightly sticky. If it’s too wet, add a tablespoon of flour. If it’s too dry, add a teaspoon of milk.
Step 5: Roll and Coat (5 minutes)
Place the ½ cup of granulated sugar in a small shallow bowl. Scoop about 1.5 tablespoons of dough and roll it into a ball between your palms. Roll the ball in the sugar until it’s fully coated. Place it on the prepared baking sheet, leaving about 2 inches of space between cookies—they will spread. Repeat with the remaining dough. You should get about 24-30 cookies.
Step 6: Create the Crisscross Pattern (2 minutes)
Here’s the fun part. Take a fork and press it down firmly into the center of each cookie ball. Then, rotate the fork 90 degrees and press down again to create a cross-hatch pattern. This flattens the cookie and ensures it bakes evenly. If the dough is too sticky to press, dip the fork in a little flour first. I do this for every single cookie because it’s therapeutic.
Step 7: Bake (8-10 minutes)
Bake the cookies for 8-10 minutes. They are done when the edges are set and lightly golden, but the centers still look soft and slightly underdone. This is the key to soft cookies! If you wait until they look fully firm in the center, they will be dry once cooled. I usually rotate the pan halfway through for even browning.
Step 8: Cool (10 minutes)
Let the cookies sit on the baking sheet for 5 minutes. This allows them to set. Then, transfer them to a cooling rack to cool completely. If you try to move them too soon, they might break. Patience is a virtue here. Enjoy them warm for the best texture, or store them for later.
Expert Tips & Tricks for Perfect Cookies
Here’s everything I’ve learned from making this recipe dozens of times. These tips will save you from my mistakes.
- Chill the Dough (Optional but Recommended) — If your kitchen is warm, or if you have time, chill the dough balls in the fridge for 30 minutes before baking. This prevents them from spreading too much and helps them stay thick and soft. I do this when I’m planning ahead.
- Don’t Overbake — I cannot stress this enough. Pull them when they look slightly underdone. They continue to cook on the hot pan after you take them out of the oven. Overbaking is the #1 reason peanut butter cookies turn into hard crackers.
- Use the Right Peanut Butter — Natural peanut butter separates, and the oils can make the dough greasy. Stick to processed creamy peanut butter for consistent results. If you must use natural, drain the excess oil first.
- Measure Flour Correctly — Spoon and level. Never scoop. Scooping packs the flour down, leading to dry, crumbly cookies. I weigh my flour whenever possible for accuracy.
- Salt is Your Friend — Don’t skip the salt. It enhances the peanut flavor. If you like a salty-sweet contrast, sprinkle a tiny flake of sea salt on top right after baking.
- Uniform Size Matters — Use a cookie scoop or a scale to portion the dough. If the cookies are different sizes, the small ones will burn while the big ones are raw.
Variations & Substitutions
Once you’ve nailed the basic version, here’s how you can mix it up. I’ve tried all of these.
Chocolate Chip Peanut Butter Cookies — Fold 1 cup of chocolate chips into the dough after mixing. This is my husband’s favorite version. The chocolate and peanut butter combo is unbeatable.
Crunchy Peanut Butter Cookies — Use crunchy peanut butter instead of creamy. It adds a nice texture contrast and extra peanut flavor.
Gluten-Free Version — Swap the all-purpose flour for a 1:1 gluten-free baking flour blend (like Bob’s Red Mill or King Arthur). The results are almost identical. I’ve tested this with several brands, and they all work well.
Vegan Version — Use vegan butter (like Earth Balance) and a flax egg (1 tablespoon ground flaxseed mixed with 3 tablespoons water, let sit for 5 minutes). The texture will be slightly different but still delicious.
Add-Ins — Try adding chopped peanuts, pretzel pieces, or even a swirl of caramel. I’ve made these with mini marshmallows for a s’mores twist, and they were a hit.
Serving & Storage
How to Serve:
I usually serve these warm, right off the cooling rack. They taste best when they’re still slightly soft in the middle. Pair them with a cold glass of milk—that’s the classic combo. For a fancy touch, serve with a dollop of whipped cream or a scoop of vanilla ice cream.
Storage Instructions:
Store cooled cookies in an airtight container at room temperature for up to 5 days. To keep them soft, place a slice of bread in the container with the cookies. The cookies will absorb moisture from the bread, staying soft for days. I do this every time.
Freezing:
You can freeze the dough balls! Roll them, coat them in sugar, and freeze on a baking sheet until solid. Then transfer to a freezer bag. Bake from frozen, adding 1-2 minutes to the bake time. They freeze beautifully. I make batches of dough and keep them in the freezer for last-minute cravings.
Reheating:
If your cookies have hardened slightly, microwave one for 10-15 seconds. It will be soft and warm again instantly.
Nutrition Information
I’m not a nutritionist, but here’s the breakdown if you’re tracking. Keep in mind that this is an estimate based on standard ingredients.
| Nutrient | Per Cookie (approx. 1.5 tbsp dough) |
|---|---|
| Calories | 110 |
| Fat | 6g |
| Carbs | 12g |
| Sugar | 8g |
| Protein | 3g |
| Fiber | 1g |
Look, these are cookies. They’re meant to be enjoyed. They’re not a health food, but they’re not loaded with weird additives like store-bought ones. When I make these, I know exactly what’s going in. I usually eat one or two with my coffee and call it a treat.
Final Thoughts
So that’s my go-to soft peanut butter cookie recipe! I’ve probably talked your ear off at this point, but when you make a recipe this often, you have a lot to say about it. These cookies have saved my dessert game more times than I can count. They’re my answer to “what should I bring to the party?” or “I need something sweet right now.”
Make it yours! Try different add-ins, swap in your favorite peanut butter brand, or adjust the sugar to your taste. The best recipes are the ones you adapt to your family’s tastes. If you make these, I want to hear about it. Drop a comment and let me know what you think! And if something doesn’t work, tell me that too—I’m here to help troubleshoot.
Happy baking! And I hope your kitchen smells half as good as mine does right now.
Frequently Asked Questions
Q: Can I use crunchy peanut butter instead of creamy?
A: Absolutely! Crunchy peanut butter will give you a nice texture contrast and a more intense peanut flavor. The dough might be slightly harder to roll because of the chunks, but it works perfectly. Just be aware that the cookies will spread a bit more because the chunks create air pockets.
Q: Why did my cookies spread too thin?
A: This usually happens if the butter was too soft or melted, or if the oven temperature was too high. Make sure your butter is softened, not melted. Also, check your oven temperature with an oven thermometer—ovens can run hot. Chilling the dough for 30 minutes before baking can also help prevent spreading.
Q: Can I freeze the cookie dough?
A: Yes! This is one of my favorite tricks. Scoop the dough, roll it in sugar, and freeze the balls on a baking sheet until solid (about 2 hours). Then transfer them to a freezer bag. You can bake them straight from frozen, just add 1-2 minutes to the bake time. They taste just like fresh.
Q: How do I keep the cookies soft?
A: The key is not to overbake. Pull them when the edges are set but the centers look soft. Also, storing them with a slice of bread in an airtight container helps retain moisture. If you like them chewy, use more brown sugar and less granulated sugar.
Q: Can I make these gluten-free?
A: Yes! Simply swap the all-purpose flour for a 1:1 gluten-free baking flour blend. I recommend King Arthur or Bob’s Red Mill. The texture will be slightly more tender, but they’ll still be delicious. Make sure your baking soda and peanut butter are certified gluten-free if you have a severe allergy.
Q: Why are my cookies dry?
A: Overbaking is the most common cause. Peanut butter cookies continue to cook on the hot pan after you take them out of the oven. If you wait until they look fully firm, they’ll be dry. Also, check your flour measurement—scooping directly from the bag packs too much flour. Spoon and level instead.
Q: Can I use natural peanut butter?
A: It’s not recommended for this specific recipe. Natural peanut butter has separated oils that can make the dough greasy and cause the cookies to spread too much. If you must use it, drain the excess oil and chill the dough thoroughly before baking. But for consistent, soft results, stick to processed creamy peanut butter.
Pin This Recipe!
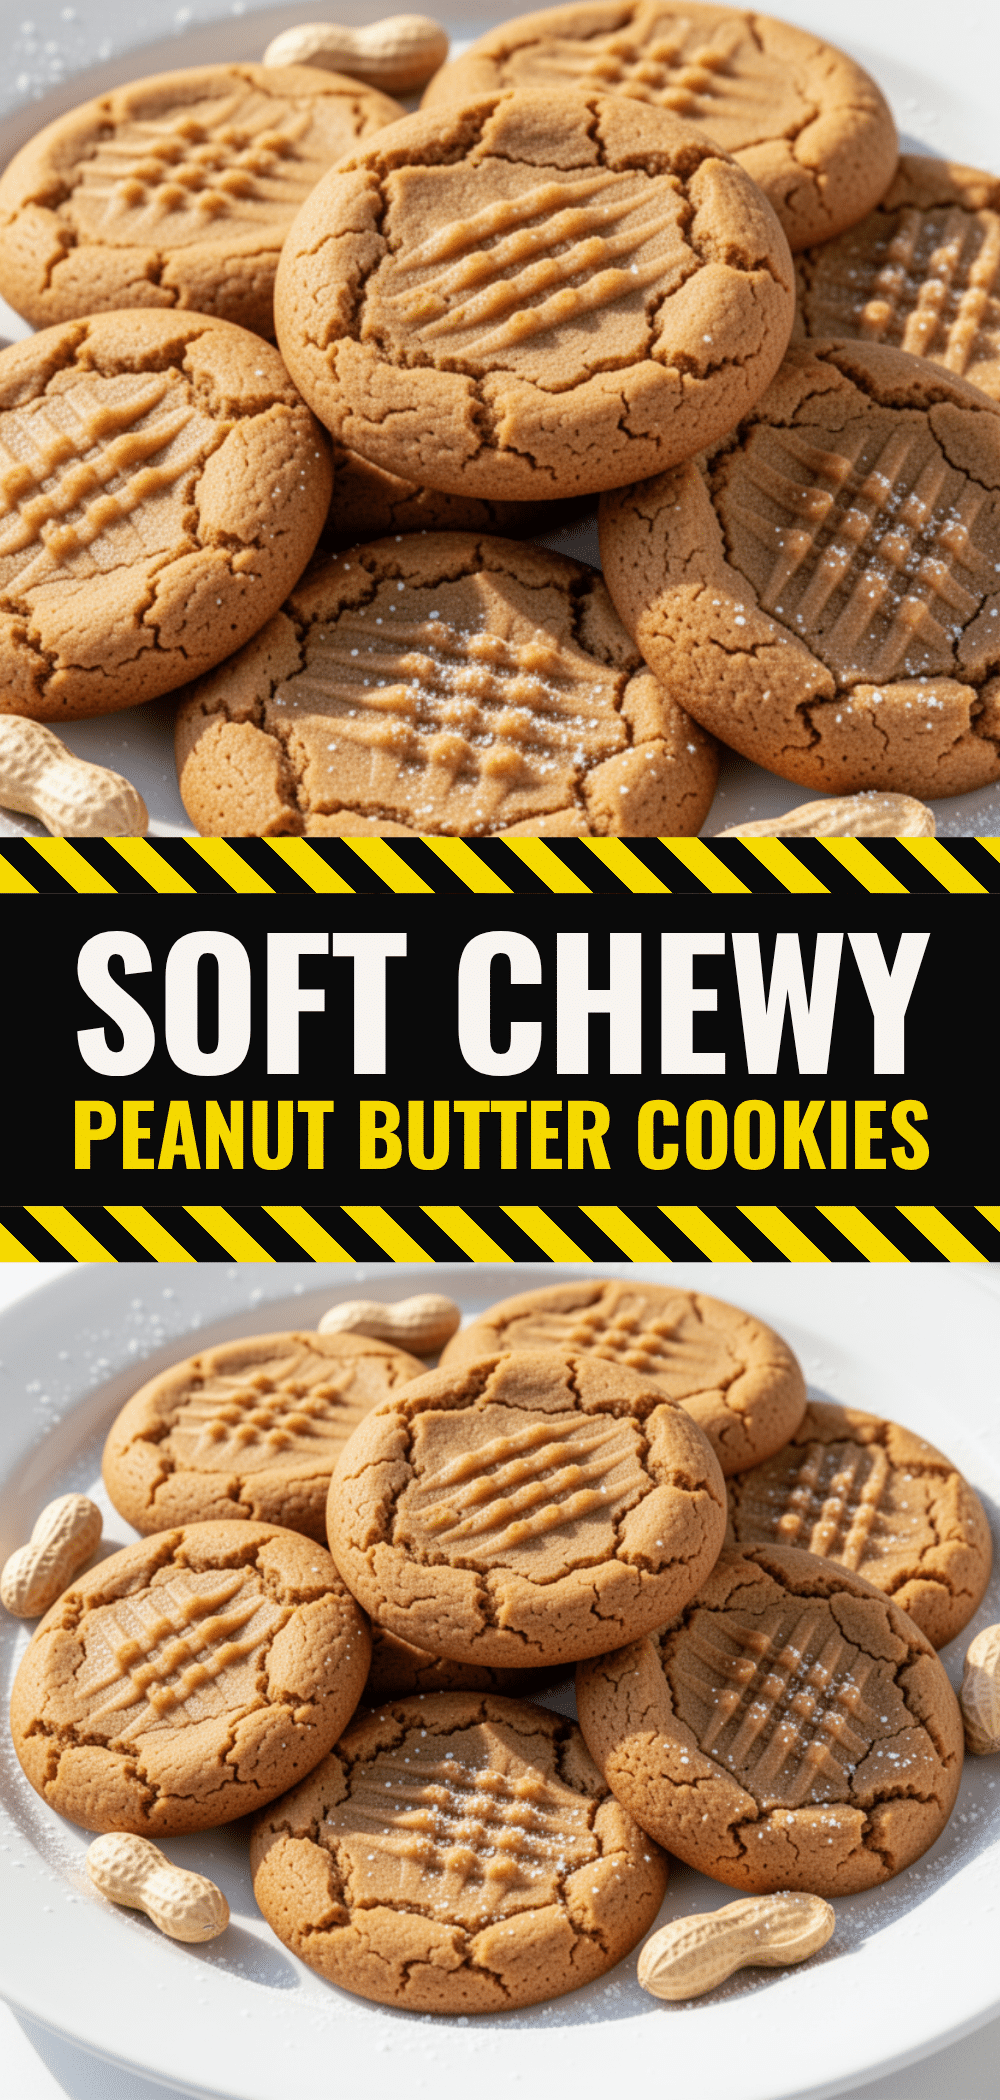
Soft Peanut Butter Cookies: The Best Crisscross Recipe
- Total Time: 25 minutes
- Yield: 24-30 cookies 1x
Description
Soft, pillowy peanut butter cookies with a classic crisscross pattern that stay tender and chewy for days. Simple ingredients and foolproof instructions make these the perfect comfort treat.
Ingredients
- 1 cup (226g) unsalted butter, softened to room temperature
- 1 cup (250g) creamy peanut butter
- 1 cup (200g) granulated sugar
- 1 cup (220g) packed light brown sugar
- 1 large egg, room temperature
- 1 large egg yolk
- 2 teaspoons pure vanilla extract
- 2 cups (250g) all-purpose flour
- 1 teaspoon baking soda
- 1/2 teaspoon fine sea salt
- 1/2 cup (100g) granulated sugar (for rolling)
Instructions
- Preheat oven to 375°F (190°C). Line two large baking sheets with parchment paper.
- In a large mixing bowl, beat the softened butter, granulated sugar, and brown sugar on medium-high speed for 3-4 minutes until light, fluffy, and pale.
- Add the peanut butter, egg, egg yolk, and vanilla extract. Beat on medium speed until fully combined and smooth.
- Reduce mixer speed to low. Add flour, baking soda, and salt. Mix just until the flour disappears, being careful not to overmix.
- Place 1/2 cup granulated sugar in a shallow bowl. Scoop about 1.5 tablespoons of dough, roll into a ball, and coat in sugar.
- Place dough balls on prepared baking sheets, leaving 2 inches of space between them.
- Press a fork firmly into the center of each cookie, then rotate 90 degrees and press again to create a crisscross pattern.
- Bake for 8-10 minutes until edges are set and lightly golden, but centers still look soft.
- Let cookies sit on the baking sheet for 5 minutes to set, then transfer to a cooling rack to cool completely.
Notes
Ensure butter is softened but not melted. Do not overmix the dough to avoid tough cookies. Pull cookies from the oven when centers look slightly underdone as they continue to cook on the hot pan. Store with a slice of bread to maintain softness.
- Prep Time: 15 minutes
- Cook Time: 10 minutes
- Category: Dessert
- Cuisine: American
Nutrition
- Serving Size: 1 cookie
- Calories: 110
- Sugar: 8
- Sodium: 80
- Fat: 6
- Saturated Fat: 3
- Carbohydrates: 12
- Fiber: 1
- Protein: 3
Keywords: peanut butter cookies, soft cookies, crisscross cookies, easy baking, homemade cookies, chewy cookies


