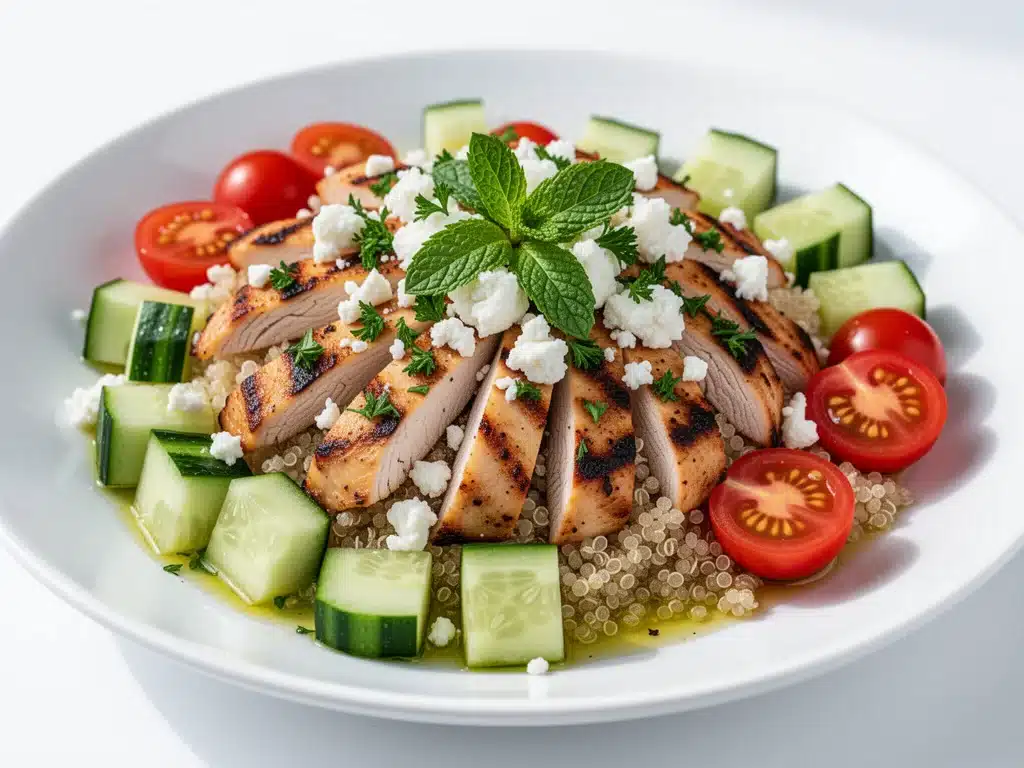
It was 6:45 AM on a Tuesday, and I was standing in my kitchen with one hand gripping a coffee mug and the other frantically digging through the fridge. My daughter had just announced that her lunchbox needed to be “cool” this week, which I’m pretty sure is code for “not the same sad sandwich I’ve been packing since September.” I had exactly twelve minutes before the bus arrived. No time for cooking, no time for fancy assembly. Just something that tasted like summer, wouldn’t get soggy by noon, and wouldn’t trigger a food fight in the cafeteria.
So, I grabbed some leftover roasted chicken, a handful of cucumbers, a bit of feta, and whatever hummus was hiding in the back of the drawer. I threw it all into a bowl. It wasn’t pretty. It wasn’t plated. But when she opened that container at lunchtime, she texted me a photo with the caption: “Best. Lunch. Ever.” That was the moment I realized I didn’t need to spend hours meal-prepping or buying expensive lunch kits. I just needed a formula that worked.
These Mediterranean chicken bowls have become the backbone of our back-to-school lunch routine. They’re cold-eating friendly (unlike some hot dishes that turn into rubbery disasters), they’re packed with protein to keep kids focused in afternoon math class, and they’re colorful enough to actually look appetizing. I’ve tested probably a dozen variations over the last three weeks, tweaking the dressing, swapping veggies, and figuring out exactly how to keep the chicken juicy without reheating it. The result is this simple, reliable recipe that’s saved me from takeout runs more times than I can count.
Why You’ll Love This Recipe
Look, I get it. Lunch prep is the bane of my existence. It’s early, it’s chaotic, and I’m usually running on three hours of sleep. These Mediterranean chicken bowls are my secret weapon for surviving the back-to-school rush. Here’s why they’ve earned a permanent spot in our weekly rotation:
- Zero Reheating Required — Seriously. This is the biggest selling point. Chicken tends to dry out when microwaved, and rice gets weird. But these bowls are designed to be eaten cold or room temperature. The flavors actually meld together as they sit in the fridge, so they taste better on day two than day one.
- Under 10 Minutes Active Time — I’m not talking about cooking time. I’m talking about assembly time. If you roast a chicken on Sunday (or use a rotisserie bird), you just chop, toss, and pack. It’s faster than making a sandwich, and way more interesting.
- Actually Packed with Protein — Kids burn a ton of energy. A cheese stick and some crackers just doesn’t cut it for a growing 8-year-old. These bowls have solid protein from the chicken and feta, plus healthy fats from the olive oil and olives. It keeps them full until dinner.
- Customizable for Picky Eaters — My son hates cucumbers but loves cherry tomatoes. My daughter loves olives but won’t touch red onion. This recipe is modular. You can swap any component without breaking the whole dish. It’s the perfect solution for a household with different taste buds.
- Budget-Friendly — Chicken thighs, seasonal veggies, and simple pantry staples? This costs less than $4 per lunch if you buy in bulk. That’s a huge win when you’re feeding a family of four for five days straight.
This isn’t just a lunch; it’s a sanity saver. It’s my go-to when I’m tired, when the kids are complaining, and when I need dinner to just work. No complicated techniques, no weird ingredients, just reliable, delicious food that makes everyone happy.
Ingredients You’ll Need
Here’s the best part: you probably have most of this already. The beauty of Mediterranean cooking is how simple the ingredient list is. I’m particular about three things here—the chicken, the feta, and the olive oil—and I’ll tell you exactly why.
For the Protein Base
Chicken thighs or breasts (1.5 lbs / 680g) — I prefer thighs because they stay juicier when cold. Breast meat can dry out if overcooked, but thighs are forgiving. If you use breasts, don’t cook them past 165°F. I always buy boneless, skinless thighs from the store. They’re cheaper and more flavorful.
Extra virgin olive oil (3 tablespoons / 45ml) — Don’t cheap out here. This is the primary flavor profile. Use a good quality oil that you’d actually eat on bread. It makes a huge difference in how the salad tastes the next day.
Lemon juice (2 tablespoons / 30ml) — Freshly squeezed is non-negotiable. Bottled lemon juice tastes metallic and flat. Squeeze it yourself. It adds that bright acidity that cuts through the rich chicken and cheese.
The Crunchy Veggies
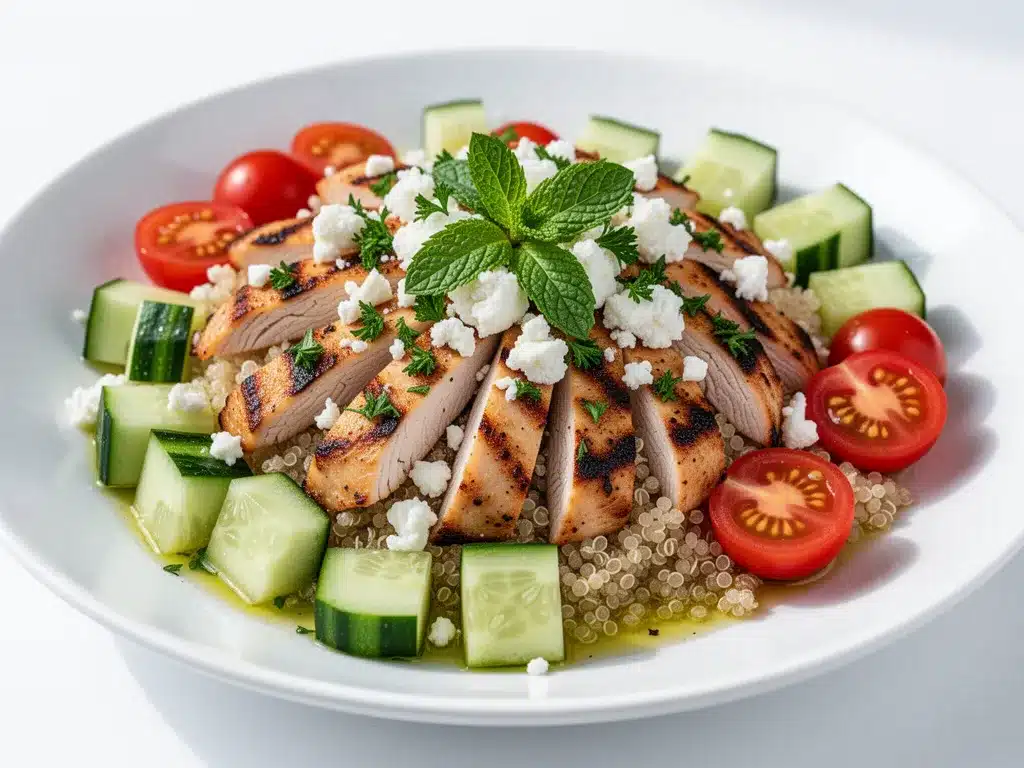
English cucumber (1 large, diced / about 250g) — English cucumbers are better because they have fewer seeds and thinner skin. They don’t get watery as quickly. Regular cucumbers work too, but I usually peel them and scoop out the seeds first.
Cherry tomatoes (1 cup / 150g, halved) — These add bursts of sweetness. I use cherry tomatoes because they’re easy to grab and less messy than large sliced tomatoes. Halve them so they fit in the bowl nicely.
Red onion (½ medium, finely diced / about 50g) — Raw onion can be strong. If your kids are sensitive, soak the diced onion in cold water for 10 minutes to mellow the bite. I usually skip it for my son but add it for my daughter.
The Flavor Boosters
Feta cheese (½ cup / 60g, crumbled) — This is the salty, creamy element. Buy a block and crumble it yourself. Pre-crumbled feta has anti-caking agents that make it dry and crumbly in a bad way. Block feta is moist and flavorful.
Kalamata olives (½ cup / 75g, pitted and halved) — These add a briny punch. If your kids hate olives, you can skip them or swap for artichoke hearts. But honestly, most kids love them once they try them.
Dried oregano (1 teaspoon) — The classic Mediterranean herb. It’s earthy and aromatic. Don’t use fresh oregano here; it gets slimy when cold. Dried holds up better.
The Greens
Spinach or mixed greens (2 cups / 60g) — I use baby spinach because it’s tender and doesn’t wilt into mush. Arugula is another great option if you want a peppery kick. I usually pack the greens at the bottom so they don’t get crushed by the heavy chicken and veggies.
Equipment Needed
You don’t need fancy equipment for this. Here’s what I actually use. Keep it simple.
Baking sheet or roasting pan — I use a rimmed baking sheet for cooking the chicken. It’s easy to clean and fits a lot of meat. A skillet works too, but the sheet is less messy.
Sharp knife and cutting board — Essential for chopping veggies. A dull knife makes you cry more—literally and figuratively. I use a ceramic knife for veggies because it doesn’t rust.
Measuring spoons — For the oil and lemon juice. I keep them on the counter so I don’t have to hunt for them.
Meal prep containers — Glass containers are my favorite because they don’t stain and they don’t retain smells. Plastic is fine too, just make sure they’re BPA-free. I use square containers because they pack more efficiently in the lunchbox.
Whisk or fork — For mixing the dressing. I just use a fork in the bowl. No need to dirty another dish.
How to Make It: Step-by-Step
Alright, let’s make this! I’m walking you through exactly how I do it, including the little tricks I’ve picked up so the chicken stays juicy and the veggies stay crisp.
Step 1: Prep Your Chicken (10 minutes)
Preheat your oven to 400°F (200°C). Line a baking sheet with parchment paper—it makes cleanup a breeze. Pat the chicken dry with paper towels. This is important. Moisture prevents browning. Toss the chicken with 1 tablespoon of olive oil, ½ teaspoon of salt, ½ teaspoon of pepper, and the dried oregano. Spread it out on the baking sheet so it’s not touching. Crowding the pan steams the chicken instead of roasting it.
Step 2: Roast the Chicken (18-20 minutes)
Put the chicken in the oven. Cook for 18-20 minutes, or until the internal temperature reaches 165°F (74°C). If you’re using thighs, they might take a minute longer. Don’t overcook them! Pull them out when they’re just done. Let them rest on the pan for 5 minutes. This lets the juices redistribute. If you cut into them immediately, all the juice runs out, and you’ll have dry chicken.
Step 3: Make the Dressing (2 minutes)
While the chicken rests, whisk together the remaining 2 tablespoons of olive oil, the lemon juice, a pinch of salt, and a pinch of pepper in a small bowl or jar. Taste it. It should be tangy and bright. If it’s too sour, add a tiny drizzle of honey. I usually skip the honey, but if you have sweet-tooth kids, this helps.
Step 4: Chop Everything (10 minutes)
Once the chicken is cool enough to handle, chop it into bite-sized pieces. I like them about an inch square. Dice the cucumber, halve the tomatoes, and finely dice the red onion. If you’re soaking the onion, do it now. Drain and pat dry.
Step 5: Assemble the Bowls (5 minutes)
Take your meal prep containers. I like to layer them. Start with a bed of spinach or mixed greens at the bottom. This protects the greens from getting crushed. Then add the chopped chicken. Top with the cucumbers, tomatoes, red onion, olives, and crumbled feta. Keep the dressing separate if you’re packing them for school. If you’re eating at home, toss it all together right before eating.
Step 6: Pack and Go
Seal the containers tightly. If packing for school, put the dressing in a small separate container or a reusable silicone cup. Kids love dipping their veggies and chicken. It feels like a treat. Label the containers with the date. They’ll last up to 4 days in the fridge.
Expert Tips & Tricks
Here’s everything I’ve learned from making these bowls dozens of times. These tips will save you from my mistakes.
Don’t Skip the Rest
I can’t stress this enough. Resting the chicken is crucial. If you chop it immediately, it’s dry. Five minutes of waiting makes a world of difference. I usually set a timer so I don’t forget.
Keep Veggies Dry
After chopping your cucumbers and tomatoes, give them a quick pat with a paper towel. Excess moisture makes the salad soggy and dilutes the dressing. I learned this the hard way with a watery, flavorless lunch that ended up in the trash.
Use Room Temperature Ingredients
If you’re eating these at home, let the bowl sit out for 10 minutes before eating. Cold-from-fridge food can taste bland. Room temperature brings out the flavors of the olive oil and lemon.
Layering Matters
If you’re packing for school, keep the dressing separate. If you’re eating at home, toss it right before serving. If you toss it too early, the greens wilt and the chicken absorbs too much liquid. Texture is everything.
Batch Cook Smart
I roast two sheets of chicken at once. One for the first two days, one for the rest of the week. It’s more efficient than cooking every night. I store the extra chicken in a separate container so I can use it for salads or wraps later.
Variations & Substitutions
Once you’ve nailed the basic version, here’s how you can mix it up. I’ve tried all of these.
Quinoa Base
Add 1 cup of cooked quinoa to the bottom of the bowl. It adds fiber and makes the meal more filling. I use pre-cooked quinoa packets for speed. It’s convenient and tastes great.
Hummus Swirl
Instead of dressing, add a spoonful of hummus to the bottom. It adds creaminess and protein. I like the roasted red pepper hummus for a flavor boost.
Grain Bowl Style
Swap the chicken for chickpeas. Drain and rinse a can of chickpeas, toss with olive oil and spices, and roast for 20 minutes. It’s a great vegetarian option.
Mediterranean Pasta
Use cold orzo or fusilli pasta instead of chicken. Toss with the veggies and dressing. It’s lighter and great for warm weather. I make this when I want something less heavy.
Dietary Modifications
- Gluten-Free — This recipe is naturally gluten-free. Just make sure your feta and olives don’t have added gluten (rare, but check labels).
- Dairy-Free — Skip the feta or use a dairy-free feta alternative. The flavor is different, but it still works.
- Low-Carb — Skip the grains and double the veggies and chicken. It’s a perfect keto-friendly lunch.
Serving & Storage
How to Serve:
I usually serve this straight from the bowl at the dinner table. But for school, it’s all about the pack. I use glass containers with dividers to keep things separate. It looks neat and prevents sogginess.
Storage Instructions:
- Refrigerator — Store in an airtight container for up to 4 days. The flavors actually get better after day one as they meld together.
- Reheating — Don’t reheat these. They’re meant to be eaten cold. Microwaving chicken makes it rubbery, and reheated veggies lose their crunch.
- Freezing — Do not freeze this. The cucumbers and feta will get mushy and grainy. Make it fresh or store in the fridge.
Pro Tip: If you’re packing for school, keep the dressing in a small separate container. Let your kids drizzle it on themselves. It makes them feel in control, and they’re more likely to eat it.
Nutrition Information
I’m not a nutritionist, but here’s the breakdown if you’re tracking. This is per serving (based on 4 servings).
| Nutrient | Amount |
|---|---|
| Calories | 380 |
| Protein | 35g |
| Carbs | 12g |
| Fiber | 3g |
| Sugar | 5g |
| Fat | 22g |
| Sodium | 450mg |
What’s Good: High protein, healthy fats from olive oil, low sugar. It’s a balanced meal that keeps you full.
What to Know: Sodium can be high depending on the feta and olives. Use low-sodium feta if you’re watching salt.
Final Thoughts
So that’s my go-to Mediterranean chicken bowl! I’ve probably talked your ear off at this point, but when you make a lunch this often, you have a lot to say about it. This has saved weeknight dinners and school mornings more times than I can count. It’s my answer to “what’s for lunch?” when I’m tired, don’t want to cook, and still want something that tastes really good.
Make it yours! Try different add-ins, swap in your favorite vegetables, adjust the dressing to your taste. The best recipes are the ones you adapt to your family’s tastes. If you make this, drop a comment and let me know what you think! I love hearing how recipes turn out in your kitchen. And if something doesn’t work, tell me that too—I’m here to help troubleshoot.
Happy cooking! And I hope your kitchen smells half as good as mine does right now.
Frequently Asked Questions
Can I use rotisserie chicken?
Absolutely! That’s what I do most weeks. Just chop up a store-bought rotisserie chicken and skip the roasting step. It saves so much time. Just make sure to chop it into bite-sized pieces so it mixes well with the veggies.
How long do these lunches last?
They last up to 4 days in the fridge. The chicken stays juicy, and the veggies stay crisp if you keep the dressing separate. I usually meal prep on Sunday for the whole week.
Can I make this ahead for the week?
Yes, but assemble the bowls right before eating if possible. If you pack them with the dressing, the greens will wilt. I pack the dry ingredients on Sunday and add the dressing in the morning. It’s the best of both worlds.
Why did my chicken get dry?
You probably overcooked it. Chicken breasts dry out quickly. Use a meat thermometer and pull it at 165°F. Let it rest for 5 minutes. If you’re using thighs, they’re more forgiving, but don’t cook them past 175°F.
Can I substitute feta with another cheese?
Yes! Goat cheese works great. Mozzarella balls are mild and kid-friendly. Halloumi is another option, though it’s firmer. Just avoid cheeses that melt too easily, like cheddar, which can get oily in the fridge.
Is this recipe kid-friendly?
Most kids love it! The chicken is familiar, and the veggies are crunchy and sweet. If your kids are picky, start with just chicken, tomatoes, and cucumbers. Add the olives and feta slowly. Let them customize their own bowl.
Pin This Recipe!
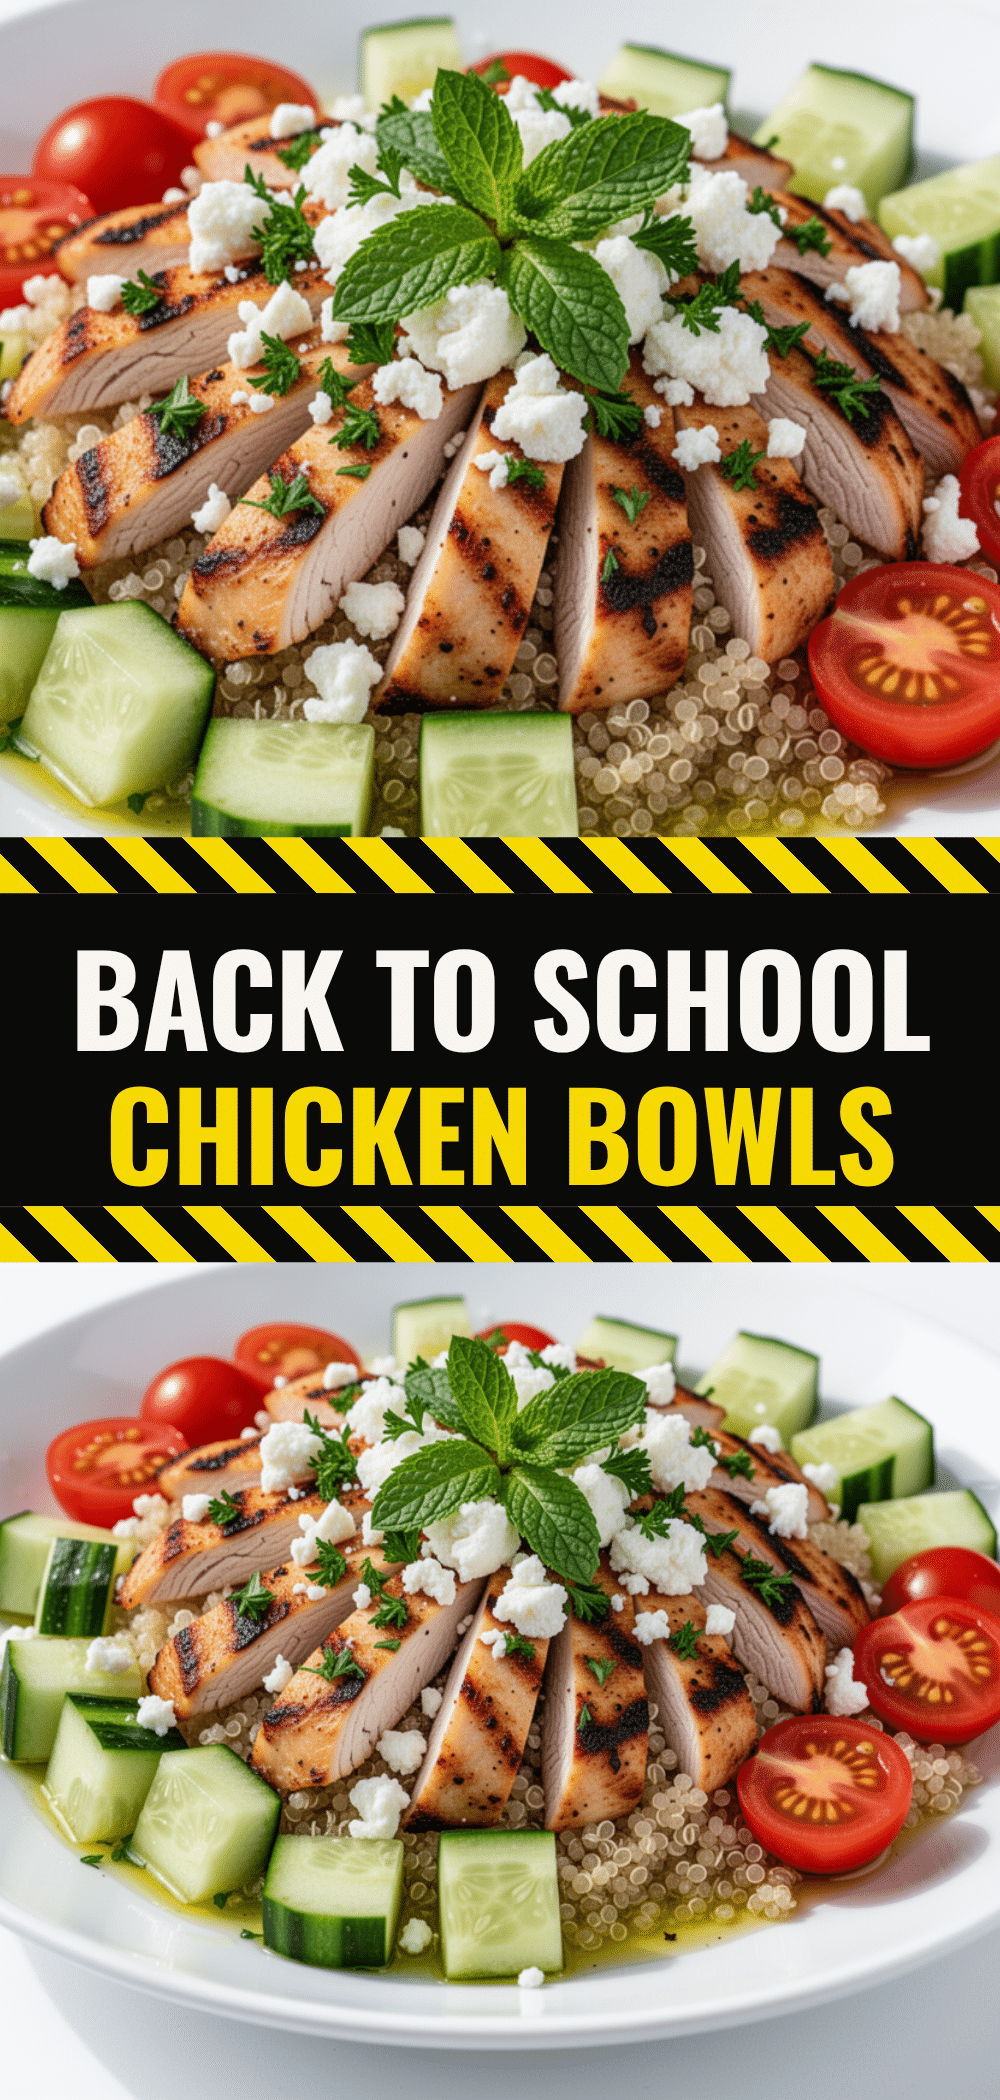
Mediterranean Chicken Bowls: 5 Easy Back to School Lunches
- Total Time: 30 minutes
- Yield: 4 servings 1x
Description
A simple, cold-eating friendly Mediterranean chicken bowl recipe perfect for back-to-school lunches. Packed with protein and customizable for picky eaters, these bowls stay juicy and crisp without reheating.
Ingredients
- 1.5 lbs boneless, skinless chicken thighs or breasts
- 3 tablespoons extra virgin olive oil, divided
- 2 tablespoons fresh lemon juice
- 1 large English cucumber, diced
- 1 cup cherry tomatoes, halved
- 1/2 medium red onion, finely diced
- 1/2 cup feta cheese, crumbled
- 1/2 cup Kalamata olives, pitted and halved
- 1 teaspoon dried oregano
- 2 cups baby spinach or mixed greens
- Salt and pepper to taste
Instructions
- Preheat oven to 400°F (200°C). Line a baking sheet with parchment paper.
- Pat chicken dry and toss with 1 tablespoon olive oil, 1/2 teaspoon salt, 1/2 teaspoon pepper, and dried oregano. Spread on baking sheet without crowding.
- Roast chicken for 18-20 minutes until internal temperature reaches 165°F. Let rest for 5 minutes before chopping into bite-sized pieces.
- Whisk together remaining 2 tablespoons olive oil, lemon juice, salt, and pepper to make the dressing.
- Chop cucumber, halve tomatoes, and dice red onion. Pat veggies dry with a paper towel to remove excess moisture.
- Assemble bowls by layering spinach at the bottom, followed by chicken, cucumbers, tomatoes, onion, olives, and feta.
- Pack dressing separately if storing for school lunches. Store in airtight containers in the fridge for up to 4 days.
Notes
Chicken thighs stay juicier when cold compared to breasts. Do not freeze this recipe as cucumbers and feta will become mushy. Keep dressing separate until eating to prevent wilting greens. Soak red onion in cold water to mellow the bite if preferred.
- Prep Time: 10 minutes
- Cook Time: 20 minutes
- Category: Lunch
- Cuisine: Mediterranean
Nutrition
- Serving Size: 1 bowl
- Calories: 380
- Sugar: 5
- Sodium: 450
- Fat: 22
- Saturated Fat: 6
- Carbohydrates: 12
- Fiber: 3
- Protein: 35
Keywords: Mediterranean chicken, school lunch, meal prep, healthy lunch, cold chicken salad, back to school, high protein lunch, gluten-free lunch


