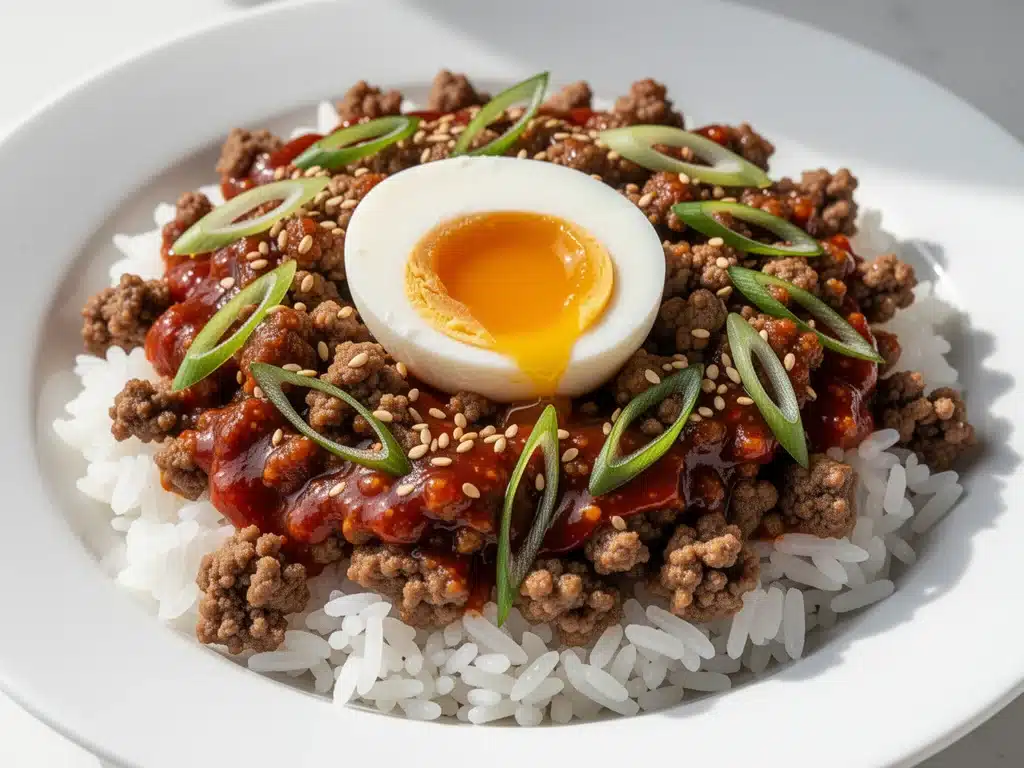
It was 6:45 PM on a Tuesday. I was standing in my kitchen, staring into the open fridge like it might magically produce a solution to my exhaustion. The dog was circling my ankles. The kids had already had dinner (cereal, naturally), and my husband was going to be late from work again. I was too tired to chop, too tired to think, and definitely too tired to argue about what to eat.
So, I did what I always do when I hit that wall: I threw ground beef in a pan.
But this time, instead of just seasoning it with salt and pepper like I usually do with tacos, I reached for the soy sauce, the ginger, and that jar of garlic I keep in the back of the pantry. I added a splash of sesame oil and a spoonful of brown sugar. I didn’t even measure anything. I just kind of guessed based on what smelled good.
Twenty minutes later, the smell hit the living room. It wasn’t the smell of my house. It was the smell of that little Korean takeout place three miles away—the one we used to order from every Friday night before our budget got tight and our schedules got crazy.
My husband walked in, took one deep breath, and said, “Is that… is that the beef?”
“It’s better,” I said, and I meant it. Because this isn’t just takeout. It’s fast, it’s cheaper, and you can control exactly how spicy or sweet it is. These Korean Ground Beef Rice Bowls have now replaced takeout in our rotation entirely. I’ve made them so many times that I can do it with one hand while checking emails on my phone with the other. And honestly? It’s the only reason our weeknight dinners haven’t completely fallen apart over the last year.
Here’s the thing about these bowls: they are the ultimate weeknight savior. They take less time than it takes to scroll through delivery apps, they use ingredients you probably already have, and they taste like you spent an hour simmering a complex sauce. Spoiler alert: you don’t.
Why You’ll Love This Recipe
There are a lot of “quick dinner” recipes out there, but most of them require a trip to the store for three obscure ingredients you’ll never use again. This is different. This recipe has earned its spot in our weekly rotation for a few very practical reasons.
It’s Actually 15 Minutes — I’m not kidding. From the moment you turn on the stove to the moment you’re sitting down, it’s 15 minutes. I’ve timed it. I’ve even timed it while my toddler was climbing my leg. It works. The beef cooks fast, the sauce comes together in seconds, and if you have leftover rice in the fridge, you’re golden.
It’s Sweet, Savory, and Perfectly Balanced — This isn’t just salty beef. It’s that addictive combination of sweet brown sugar, salty soy sauce, garlicky warmth, and a hint of ginger. It hits every flavor profile at once. My kids, who usually pick the carrots out of their food, ask for “the sweet beef” every single time.
It’s Pantry-Friendly — You likely have soy sauce, garlic, ginger, and brown sugar already. If you don’t have sesame oil, you can skip it (though I highly recommend keeping a bottle because it changes everything). If you don’t have green onions, parsley works in a pinch. This recipe is forgiving.
It’s Meal-Prep Magic — I make a double batch on Sundays. The beef keeps well in the fridge for up to four days, and it actually tastes even better the next day as the flavors meld. It’s perfect for packing lunches or grabbing a quick dinner when you’re too tired to cook again.
It’s Customizable — Want it spicy? Add red pepper flakes. Want it lighter? Use turkey. Want more veggies? Stir in some spinach or zucchini at the end. This recipe bends to your needs without falling apart.
Real talk: if you’re tired of the “what’s for dinner?” panic every night, this is your fix. It’s reliable, it’s delicious, and it makes your house smell amazing without you having to be a chef.
Ingredients You’ll Need
Here’s the best part: you probably have most of this already. I’m not asking you to hunt down gochujang or fish sauce for this version. We’re keeping it simple, accessible, and incredibly flavorful. Here’s exactly what you need and why it matters.
For the Beef
Ground beef (1 pound / 450g) — I use 80/20 lean-to-fat ratio. The fat carries the flavor, and it keeps the beef from drying out. If you’re health-conscious, 90/10 works, but you might want to add a teaspoon of extra oil. Avoid extra-lean beef; it gets grainy and bland.
Cooking oil (1 tablespoon) — I use vegetable or canola oil for the initial sear. It has a higher smoke point than olive oil, so it doesn’t burn while the beef browns.
For the Sauce
Soy sauce (½ cup / 120ml) — This is the salt and umami base. I prefer low-sodium soy sauce so I can control the saltiness, but regular works fine if you taste before adding extra salt. Don’t use “light” soy sauce if it’s the low-sodium kind; it’s too weak.
Brown sugar (2 tablespoons / 30g) — This is what makes it “Korean-style” rather than just beef and soy sauce. It caramelizes slightly and gives that sticky-sweet coating. Dark brown sugar is richer, but light works too.
Rice vinegar (1 tablespoon / 15ml) — This cuts through the sweetness and saltiness with a little acidity. It balances the whole dish. If you don’t have rice vinegar, apple cider vinegar works in a pinch.
Sesame oil (1 teaspoon / 5ml) — This is the signature aroma. It’s potent, so a little goes a long way. Toasted sesame oil is best. If you don’t have it, the recipe still works, but you’ll miss that nutty finish.
Garlic (4 cloves, minced / about 2 tablespoons) — Yes, four cloves. Korean food is garlic-forward. Don’t skimp. Fresh garlic only—jarred garlic has a weird metallic taste that doesn’t work here.
Fresh ginger (1 teaspoon, grated / about 5g) — Fresh ginger adds a bright, spicy warmth that powdered ginger can’t match. I keep a knob of fresh ginger in the crisper drawer specifically for this. If you must use powder, use ½ teaspoon, but fresh is worth the effort.
Black pepper (½ teaspoon) — Freshly cracked is best. It adds a little heat and depth.
For Serving
White rice (cooked, for serving) — Short-grain or medium-grain rice is traditional because it’s sticky and holds up to the sauce. Jasmine rice works too, but it’s fluffier. I usually have leftover rice from a previous meal.
Green onions (2-3 stalks, sliced) — For garnish. They add crunch and color. Scallions are the same thing.
Sesame seeds (1 tablespoon) — Toasted sesame seeds are great if you have them, but untoasted works too. They add a nice texture contrast.
Red pepper flakes (optional, to taste) — For those who like a kick. I add a pinch to my husband’s bowl but not mine.
Egg (optional, soft-boiled or fried) — A runny egg on top is luxurious. The yolk mixes with the sauce and makes it even richer. I do this when I want to feel fancy.
Equipment Needed
You don’t need fancy gadgets for this. Here’s what I actually use in my kitchen.
Large skillet or wok — I use a 12-inch stainless steel skillet. It needs to be big enough to spread the beef out so it browns instead of steams. A wok is traditional and great for tossing, but a big skillet works perfectly.
Wooden spoon or spatula — For breaking up the beef and stirring the sauce. Silicone works too, but I like wood because it doesn’t scratch my pans.
Small bowl — For whisking the sauce ingredients together. Having the sauce pre-mixed means you don’t have to measure things while the beef is browning.
Knife and cutting board — For mincing garlic and slicing green onions. Sharp knife recommended—dull knives make mincing garlic a nightmare.
Rice cooker or pot — For cooking the rice. If you have a rice cooker, use it. If not, a pot with a tight-fitting lid works fine.
How to Make It: Step-by-Step
Alright, let’s make this! It’s straightforward, but there are a few tricks to get that perfect texture and flavor. I’m walking you through exactly how I do it.
Step 1: Cook the Rice
Start with the rice. It takes the longest, so get it going first. Rinse your rice under cold water until the water runs clear. This removes excess starch and prevents it from getting mushy. Cook according to package instructions. If you have leftover rice, that works too—just reheat it gently with a splash of water so it doesn’t dry out.
Step 2: Whisk the Sauce
While the rice cooks, whisk together the soy sauce, brown sugar, rice vinegar, sesame oil, minced garlic, grated ginger, and black pepper in a small bowl. Stir until the brown sugar is mostly dissolved. You don’t need it to be perfectly clear, but you want to avoid lumps of sugar in the final dish. Set this aside.
Step 3: Brown the Beef
Heat the cooking oil in your large skillet over medium-high heat. Add the ground beef. Here’s the key: don’t stir it immediately. Let it sit for about 30 seconds to get a little sear. Then, break it up with your wooden spoon. Cook for 5-7 minutes, breaking up the beef into small crumbles, until it’s browned and no longer pink. Drain any excess grease if there’s a lot, but leave a little for flavor.
Step 4: Add the Sauce
Once the beef is browned, pour the sauce mixture over the beef. Stir well to coat everything. Let it simmer for 2-3 minutes. The sauce will bubble and thicken slightly, clinging to the beef. It should look glossy and sticky, not watery. If it looks too thin, let it cook a minute longer. If it looks too thick, add a splash of water.
Step 5: Taste and Adjust
Turn off the heat. Taste the beef. Does it need more salt? Add a dash of soy sauce. Too sweet? A splash of vinegar. Too bland? A pinch of salt or pepper. This is where you make it yours.
Step 6: Assemble the Bowls
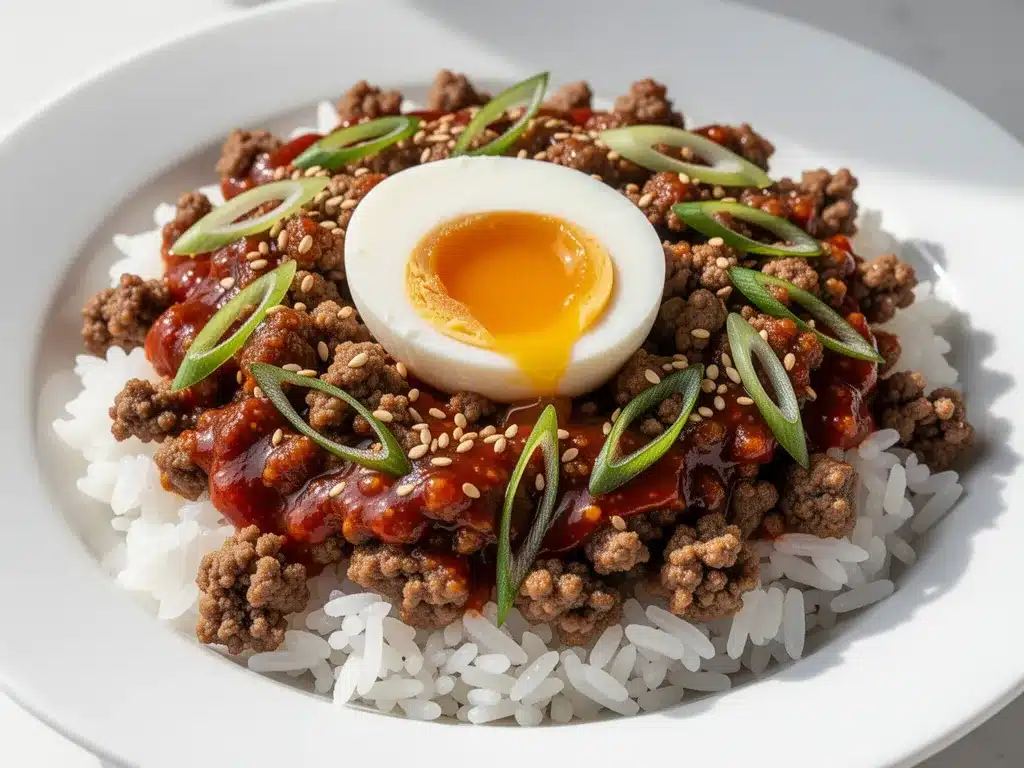
Fluff the rice with a fork. Spoon a generous portion of rice into each bowl. Top with the Korean ground beef. Garnish with sliced green onions and sesame seeds. If you’re doing the egg thing, place a soft-boiled or fried egg on top.
That’s it. Serve immediately while hot.
Expert Tips & Tricks
Here’s everything I’ve learned from making these bowls dozens of times. These tips will save you from my early mistakes.
Don’t Skip the Sear
When browning the beef, let it sit for a moment before stirring. If you stir constantly, it steams instead of browns. You want those little crispy bits of beef for texture and flavor. It makes a huge difference.
Grate Your Own Ginger
I know it seems like extra work, but pre-minced ginger in a jar has a different flavor profile—it’s often pickled or preserved. Fresh ginger adds a bright, spicy note that cuts through the richness. Just use a microplane or the small holes on your box grater.
Control the Salt
Soy sauce is salty, so taste before adding extra salt. I usually don’t add any salt to the beef itself because the soy sauce does the job. If you use regular soy sauce, you might want to reduce the amount slightly if you’re watching sodium.
Make It Spicy
If you like heat, add 1-2 teaspoons of gochujang (Korean chili paste) to the sauce, or just use red pepper flakes. I keep a jar of gochujang in my pantry now just for this. It adds a deep, fermented heat that’s different from regular chili flakes.
Use Leftover Rice
Freshly cooked rice is great, but day-old rice is actually better for bowls because it’s firmer and doesn’t get soggy as quickly under the sauce. If you only have fresh rice, spread it out on a plate to cool for a few minutes before serving.
Toast Your Sesame Seeds
Untoasted sesame seeds are fine, but toasted ones add a nutty aroma and crunch. Just dry-toast them in a small pan over medium heat for 2-3 minutes, shaking constantly, until they’re golden and fragrant.
Variations & Substitutions
Once you’ve nailed the basic version, here’s how you can mix it up. I’ve tried all of these, and they all work.
Turkey Version
Swap ground beef for ground turkey. It’s leaner and lighter. You might need to add a teaspoon of extra oil to the pan, and the sauce might need a tiny pinch more salt. My daughter prefers this version because it’s “lighter.”
Chicken Version
Ground chicken works too, but it’s milder. I add a little extra ginger and garlic to boost the flavor. It’s good, but beef is still my favorite.
Vegetarian Version
Use crumbled firm tofu or a plant-based ground meat substitute. Sauté the tofu until crispy before adding the sauce. It absorbs the flavor well. I use Beyond Meat sometimes, and it works surprisingly well.
Veggie-Loaded
Stir in 1 cup of shredded carrots, sliced mushrooms, or chopped spinach during the last minute of cooking. It adds volume and nutrition without changing the flavor much. I do this when I want to sneak more veggies into my kids’ diet.
Spicy Kimchi Version
Add ½ cup of chopped kimchi to the pan with the beef. It adds tang, spice, and probiotics. This is my favorite way to use up leftover kimchi. It makes the dish more complex and savory.
Gluten-Free
Use tamari instead of soy sauce. Everything else is naturally gluten-free. Just check your sesame oil and other condiments to make sure they’re GF.
Serving & Storage
How to serve and store these bowls so they stay delicious.
How to Serve
I serve these straight from the skillet at the table—it looks rustic and stays warm. But here are other ways I’ve enjoyed them:
- With a side of kimchi — The tangy crunch is perfect with the sweet beef.
- With a quick cucumber salad — Sliced cucumbers with rice vinegar and sesame oil.
- With edamame — Adds protein and color.
- With a fried egg — I mentioned this earlier, but it’s worth repeating. The yolk is life-changing.
Storage Instructions
Refrigerator: Store the beef in an airtight container for up to 4 days. The rice can be stored separately or with the beef, but I prefer keeping them separate so the rice doesn’t get soggy.
Reheating: Reheat the beef in a skillet over medium heat with a splash of water to loosen the sauce. Microwave works too, but it can dry out the beef. If microwaving, add a teaspoon of water and cover with a damp paper towel.
Freezing: Yes, you can freeze this! Portion the beef into freezer bags or containers. It keeps for up to 3 months. Thaw in the fridge overnight and reheat as above. The texture might be slightly softer, but it’s still delicious.
Nutrition Information
I’m not a nutritionist, but here’s the breakdown if you’re tracking. This is per serving (based on 4 servings with ½ cup rice and ½ cup beef).
Per Serving:
- Calories: 450
- Protein: 25g
- Carbs: 40g
- Fiber: 1g
- Sugar: 8g
- Fat: 18g
- Sodium: 900mg (depends on soy sauce used)
What’s Good:
- High protein from the beef.
- Quick and easy, so you’re less likely to reach for processed snacks.
- Easy to boost nutrition by adding veggies.
What to Know:
- Higher in sodium due to soy sauce. Use low-sodium soy sauce to reduce this.
- Contains gluten (unless using tamari).
- Contains dairy? No, this is naturally dairy-free.
My Take:
Look, this is comfort food. It’s sweet, savory, and satisfying. It’s not a diet recipe, but it’s way better than takeout, costs less, and you know exactly what’s in it. When I want to make it lighter, I use turkey and extra veggies. But usually? I just enjoy a reasonable portion and move on with my life.
Final Thoughts
So that’s my go-to Korean Ground Beef Rice Bowls! I’ve probably talked your ear off at this point, but when you make a recipe this often, you have a lot to say about it.
This has saved weeknight dinners more times than I can count. It’s my answer to “what’s for dinner” when I’m tired, don’t want takeout, and still want something that tastes really good. My kids are happy, my husband’s happy, and I’m happy because I’m not stressed about cooking.
Make it yours! Try different add-ins, swap in your favorite vegetables, adjust the garlic (though more is always better in my opinion). The best recipes are the ones you adapt to your family’s tastes.
If you make this, drop a comment and let me know what you think! I love hearing how recipes turn out in your kitchen. And if something doesn’t work, tell me that too—I’m here to help troubleshoot.
Happy cooking! And I hope your kitchen smells half as good as mine does right now.
Frequently Asked Questions
Can I use ground turkey instead of beef?
Absolutely. Ground turkey is a great leaner option. Just note that it’s milder in flavor, so you might want to add a little extra garlic, ginger, or soy sauce to boost the taste. You may also need a teaspoon of extra oil in the pan since turkey is leaner.
Can I make this ahead of time?
Yes! The beef mixture keeps well in the fridge for up to 4 days. I often make a big batch on Sunday and reheat it throughout the week. Just reheat it gently in a skillet with a splash of water to keep it moist.
Why did my sauce turn out too salty?
Soy sauce can vary in saltiness depending on the brand. If your sauce is too salty, add a little more brown sugar or a splash of water to dilute it. Next time, try using low-sodium soy sauce and taste as you go.
Can I freeze this?
Yes, the beef freezes well for up to 3 months. Let it cool completely, then store in airtight containers or freezer bags. Thaw in the fridge overnight and reheat with a splash of water.
What kind of rice is best?
Short-grain or medium-grain rice is traditional because it’s sticky and holds up well to the sauce. Jasmine rice works too, but it’s fluffier. Avoid Arborio rice unless you want risotto-style bowls.
Can I make this spicy?
Definitely. Add red pepper flakes, gochujang (Korean chili paste), or a dash of sriracha to the sauce. Start with a little and taste as you go. I love adding a tablespoon of gochujang for a deep, fermented heat.
Do I need to drain the grease from the beef?
It depends. If you have a lot of excess fat, draining it will make the dish less greasy. But leaving a little bit adds flavor and helps the sauce cling to the beef. I usually drain most of it but leave a teaspoon or two.
Pin This Recipe!
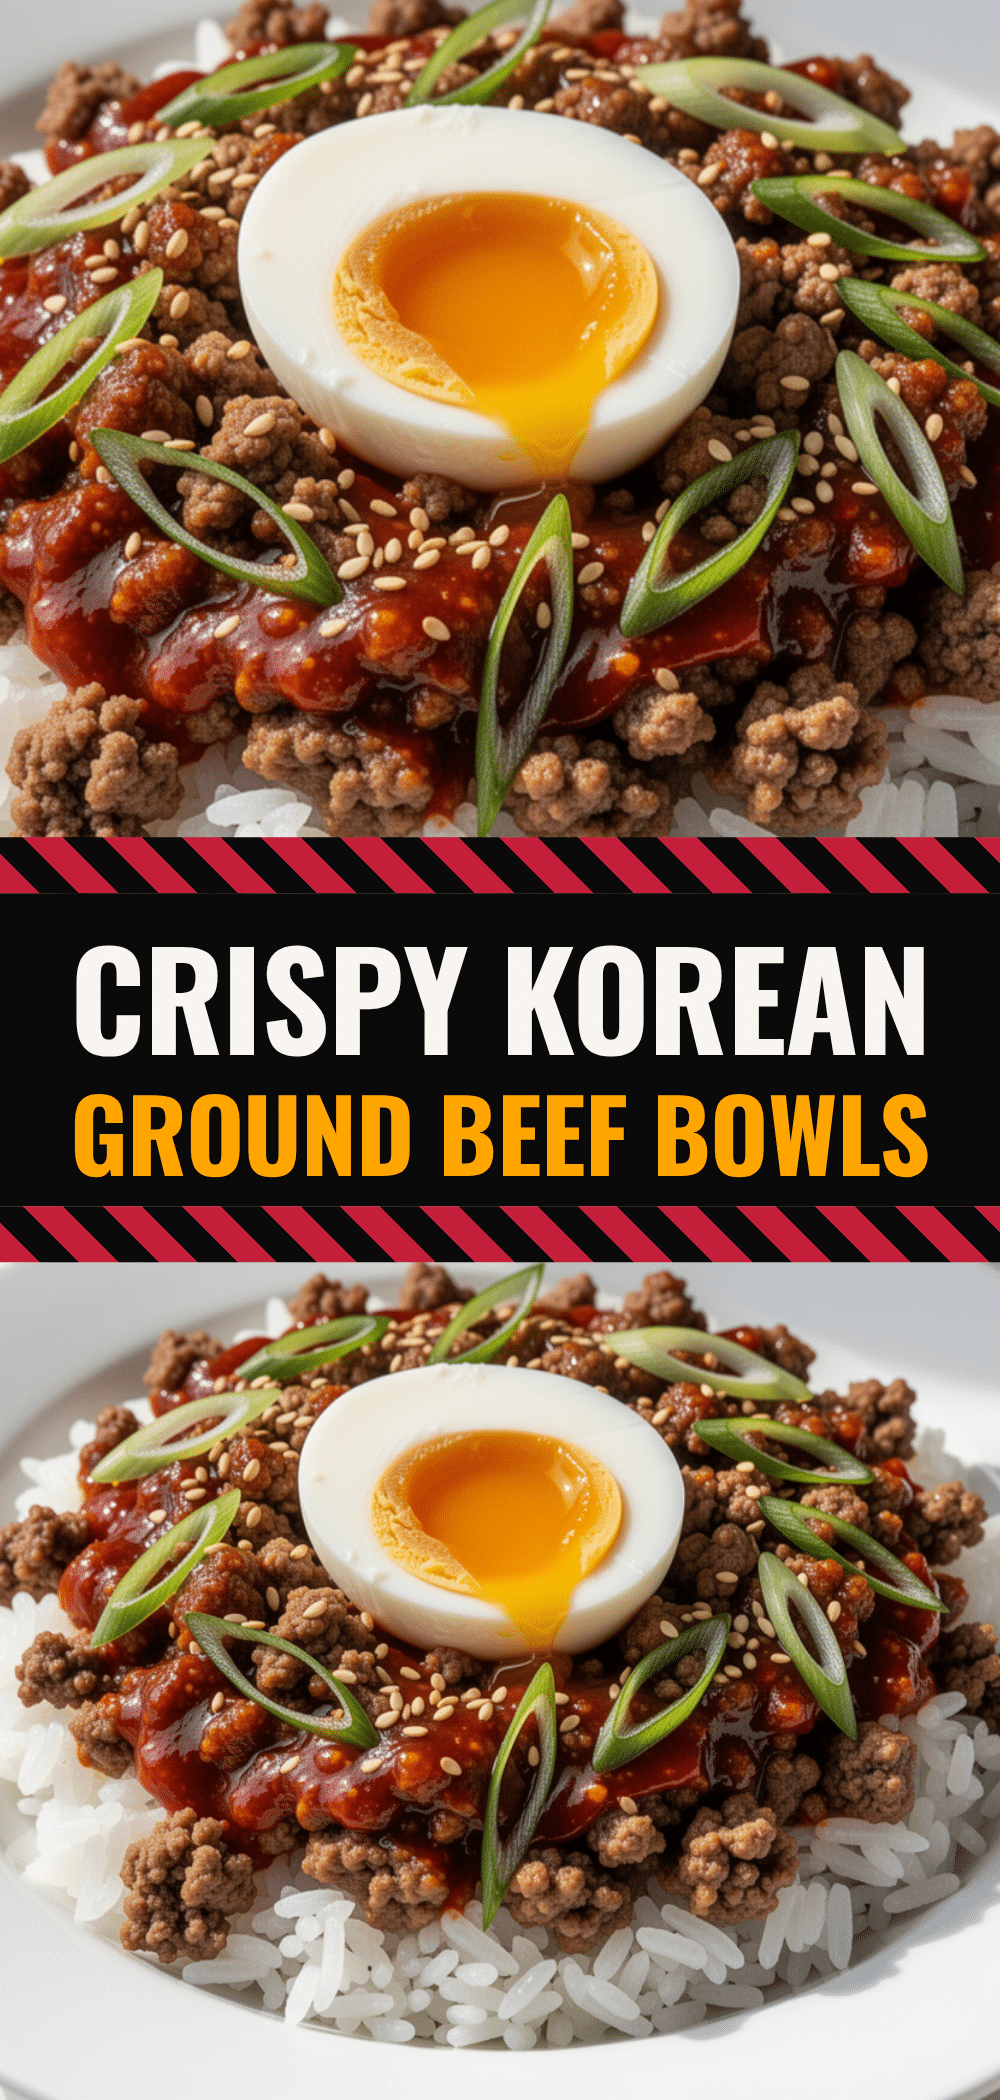
Korean Ground Beef Rice Bowls: Easy 15-Minute Weeknight Dinner
- Total Time: 15 minutes
- Yield: 4 servings 1x
Description
A quick, pantry-friendly weeknight dinner featuring savory-sweet ground beef in a ginger-garlic soy sauce, served over rice. Ready in just 15 minutes.
Ingredients
- 1 pound ground beef (80/20 lean-to-fat ratio)
- 1 tablespoon cooking oil (vegetable or canola)
- ½ cup soy sauce (low-sodium preferred)
- 2 tablespoons brown sugar
- 1 tablespoon rice vinegar
- 1 teaspoon sesame oil (toasted)
- 4 cloves garlic, minced
- 1 teaspoon fresh ginger, grated
- ½ teaspoon black pepper
- White rice, cooked (for serving)
- 2–3 stalks green onions, sliced (for garnish)
- 1 tablespoon sesame seeds (toasted, optional)
- Red pepper flakes (optional, for heat)
- Egg, soft-boiled or fried (optional, for topping)
Instructions
- Cook the rice according to package instructions, rinsing it first to remove excess starch. If using leftover rice, reheat gently with a splash of water.
- In a small bowl, whisk together the soy sauce, brown sugar, rice vinegar, sesame oil, minced garlic, grated ginger, and black pepper until the sugar is mostly dissolved. Set aside.
- Heat the cooking oil in a large skillet or wok over medium-high heat. Add the ground beef and let it sit for 30 seconds to sear before breaking it up with a wooden spoon.
- Cook the beef for 5-7 minutes, breaking it into small crumbles, until browned and no longer pink. Drain excess grease if desired, but leave a little for flavor.
- Pour the sauce mixture over the browned beef. Stir well to coat and let it simmer for 2-3 minutes until the sauce thickens and becomes glossy.
- Taste and adjust seasoning with more soy sauce, vinegar, or pepper as needed.
- Fluff the rice and spoon a generous portion into bowls. Top with the Korean ground beef, sliced green onions, and sesame seeds. Add a fried or soft-boiled egg if desired.
- Serve immediately while hot.
Notes
For best results, use fresh ginger and garlic. If you want it spicy, add red pepper flakes or gochujang. Day-old rice works best for bowls as it is firmer. The beef mixture can be stored in the fridge for up to 4 days or frozen for up to 3 months.
- Prep Time: 5 minutes
- Cook Time: 10 minutes
- Category: Main Course
- Cuisine: Korean
Nutrition
- Serving Size: 1 bowl with ½ cup ri
- Calories: 450
- Sugar: 8
- Sodium: 900
- Fat: 18
- Carbohydrates: 40
- Fiber: 1
- Protein: 25
Keywords: Korean ground beef, rice bowls, weeknight dinner, quick meals, easy dinner, 15 minute meals, ground beef recipes, Asian inspired


