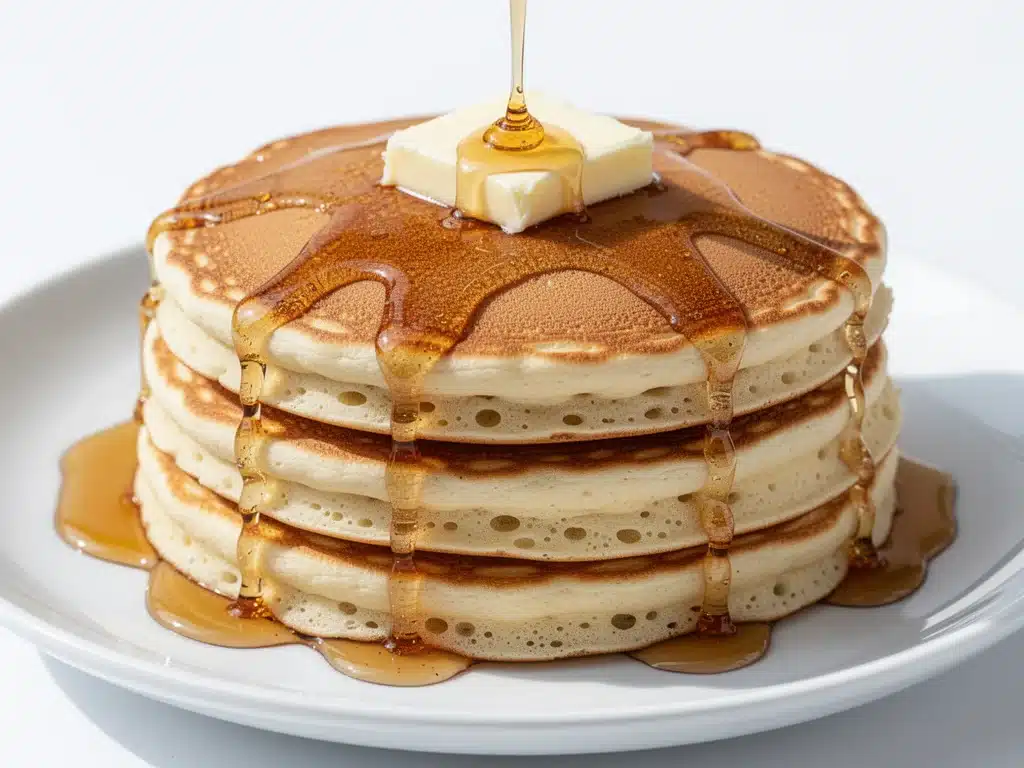
It was 7:30 AM on a rainy Sunday in November, the kind of morning where the sky looks like wet concrete and the only thing keeping me out of bed was the smell of coffee. My husband was still asleep, my kids were arguing over who got the good cereal bowl, and I was staring at a jar of buttermilk that had been sitting in the back of my fridge for three days, wondering if I could actually make something good out of it. I didn’t want waffles. I didn’t want French toast. I wanted that specific, fluffy, cloud-like texture that makes you forget about emails and to-do lists for just one hour.
I pulled out my old mixing bowls and started throwing together what I thought would be a standard batch of pancakes. But this time, I was desperate for them to be perfect. I’ve made pancakes for twenty years, and I’ve failed at them plenty of times—dense, rubbery disks that taste more like cardboard than breakfast. So, I tweaked the ratio of buttermilk to flour, added a secret pinch of nutmeg for warmth, and, crucially, I let the batter rest. I know, I know. Resting batter sounds like something chefs do to show off. But trust me when I say this one step changes everything.
When I flipped the first pancake and saw that golden-brown crust with those tiny, perfect bubbles, I knew I had it. The smell of warm maple syrup hitting hot batter is honestly one of my favorite scents in the world. We sat down at the table, the rain still hammering against the windows, and dug in. My kids, who usually pick at their food, ate two plates each. My husband, who claims he’s “not a breakfast person,” asked for the syrup to be warmed up. That’s when I knew: these fluffy buttermilk pancakes with warm maple syrup were going to be a staple. You’ll make them on repeat, I promise.
There’s something deeply comforting about homemade pancakes. It’s not just the food; it’s the ritual. It’s the quiet before the chaos of the week really kicks in. And with this recipe, you don’t need fancy equipment or hours of prep. You just need a few simple ingredients and the willingness to let the batter sit for ten minutes. This is the best way to start a weekend, and honestly, any day of the week if you’re feeling fancy.
Why You’ll Love This Fluffy Buttermilk Pancakes Recipe
I’ve tested this recipe more times than I care to admit, tweaking it until it was foolproof. Here’s why this batch of fluffy buttermilk pancakes with warm maple syrup has taken over our breakfast rotation:
- Actually Fluffy, Not Flat — Most pancake recipes promise fluffiness but deliver dense cakes. The secret here is the buttermilk reacting with baking soda, plus the resting time. I’ve made these for my picky eater nephew, and he said they tasted like “hotel pancakes.” That’s the highest compliment.
- Uses Ingredients You Already Have — You don’t need to run to the store for anything obscure. Flour, sugar, baking powder, baking soda, salt, milk (or buttermilk), eggs, butter, and vanilla. If you have a pantry, you have breakfast.
- Ready in 20 Minutes — I know, I said “resting time” earlier. But that’s passive time. Active prep is maybe 5 minutes. Cooking is 10-15 minutes. You can have a hot breakfast on the table before your coffee finishes brewing.
- Perfect for Meal Prep (Sort Of) — While pancakes are best fresh, they freeze beautifully. I make a double batch on Sundays, freeze the extras, and reheat them in the toaster on busy weekdays. They’re still fluffy after reheating, which is a miracle in itself.
- Warm Maple Syrup Upgrade — I don’t just pour cold syrup from the bottle. I warm it up with a tiny pinch of cinnamon and a drop of vanilla. It transforms the flavor profile entirely, making it taste like a dessert rather than just breakfast. It’s the difference between “eating” and “indulging.”
This recipe has saved my mornings when I’m running late but still want to feel like a good parent. It’s reliable, it’s delicious, and it makes your kitchen smell amazing. There’s nothing quite like it.
Ingredients You’ll Need for Fluffy Buttermilk Pancakes
Here’s the best part: you probably have most of this already. I’m particular about a few things here, and I’ll tell you exactly why. Don’t skip the details; they matter.
For the Batter
All-purpose flour (2 cups / 250g) — This is your base. Don’t use self-rising flour unless you adjust the leavening agents. I use Gold Medal because it’s consistent. If you’re gluten-free, a 1:1 gluten-free blend works, but the texture will be slightly different.
Sugar (2 tablespoons / 25g) — Just a little bit. It helps with browning and balances the tang of the buttermilk. Don’t skip it, or the pancakes will taste bland.
Baking powder (2 teaspoons) — This is your primary lift. Make sure it’s fresh! If your baking powder is older than 6 months, it might not work. I test mine by dropping a bit in hot water—it should fizz vigorously.
Baking soda (1 teaspoon) — This reacts with the buttermilk to create those air bubbles. This is non-negotiable for fluffiness.
Salt (1 teaspoon) — Enhances all the flavors. Never underestimate salt.
Buttermilk (1 ½ cups / 360ml) — This is the star. If you don’t have buttermilk, make a substitute: add 1 tablespoon of lemon juice or white vinegar to 1 ½ cups of milk. Let it sit for 5-10 minutes until it curdles slightly. It works surprisingly well.
Eggs (2 large) — Room temperature eggs mix better into the batter. Cold eggs can seize the butter. I take them out of the fridge when I start prepping the dry ingredients.
Melted butter (4 tablespoons / 60g) — Unsalted is best so you control the salt. Let it cool slightly before adding so you don’t cook the eggs. This adds richness and tenderness.
Vanilla extract (1 teaspoon) — Pure vanilla, please. Imitation tastes chemical and ruins the delicate flavor.
For the Warm Maple Syrup
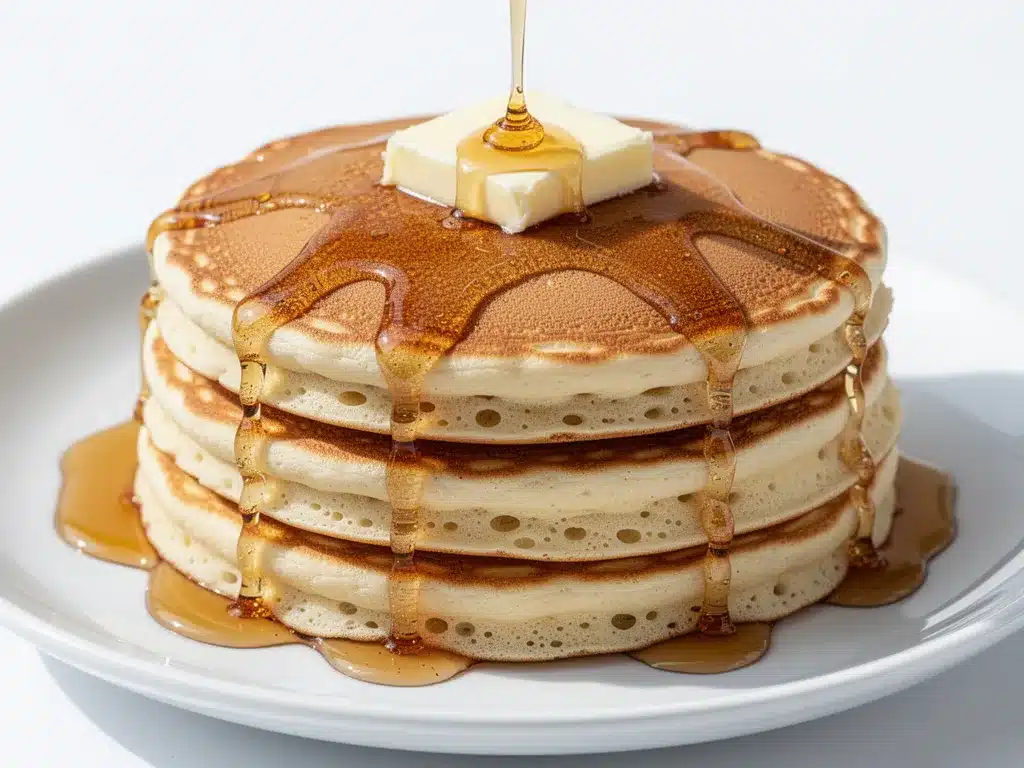
Pure maple syrup (½ cup / 120ml) — Not the “pancake syrup” stuff with corn syrup. Look for the bottle that says “Pure Maple Syrup” and has a grade (A or B). The flavor difference is night and day.
Butter (1 tablespoon) — Adds a silky mouthfeel to the syrup.
Cinnamon (¼ teaspoon) — Optional but recommended. It adds warmth.
Vanilla extract (½ teaspoon) — Boosts the maple flavor.
Pinch of salt — Balances the sweetness.
Equipment Needed
You don’t need fancy equipment for this. Here’s what I actually use:
Large mixing bowl — I use a 4-quart stainless steel bowl. It’s big enough to mix without splattering.
Medium mixing bowl — For the dry ingredients. I use a separate bowl to avoid overmixing later.
Whisk — Essential for breaking up lumps in the dry ingredients and emulsifying the wet ingredients. A balloon whisk is best.
Non-stick skillet or griddle — I use a 10-inch non-stick skillet. It’s easier to manage than a huge griddle. If you have a cast-iron skillet, that works too, but it takes longer to heat up.
Spatula — A thin, flexible silicone spatula is best for flipping without tearing the pancakes.
Measuring cups and spoons — Precision matters in baking. I use the scoop-and-level method for flour.
Saucepan — Small, for warming the syrup.
How to Make It: Step-by-Step
Alright, let’s make this! I’m walking you through exactly how I do it, including the little tricks I’ve picked up.
Step 1: Mix the Dry Ingredients (2 minutes)
In your medium bowl, whisk together the flour, sugar, baking powder, baking soda, and salt. Whisking is important here—it aerates the flour and distributes the leavening agents evenly. If you don’t whisk, you might get pockets of baking soda that taste bitter. Make sure there are no lumps.
Step 2: Mix the Wet Ingredients (2 minutes)
In a separate large bowl (or a measuring cup with a spout), whisk the buttermilk, eggs, melted butter, and vanilla extract. The butter should be melted but not hot. Whisk until everything is combined and the butter is fully incorporated. The mixture might look a little separated at first; that’s okay.
Step 3: Combine Wet and Dry (1 minute)
Make a well in the center of the dry ingredients and pour the wet mixture into it. Gently fold the ingredients together using a spatula or spoon. Stop mixing as soon as the dry flour disappears. The batter should be lumpy. Do not overmix! Overmixing develops gluten, which makes pancakes tough and chewy instead of fluffy. I know it’s tempting to stir until smooth, but resist. Lumps are good.
Step 4: Let the Batter Rest (10 minutes)
This is the crucial step I mentioned earlier. Cover the bowl with a towel or plastic wrap and let it sit on the counter for 10 minutes. During this time, the flour hydrates, and the baking powder/soda starts working. You’ll see tiny bubbles forming on the surface. This rest is what gives you that light, airy texture.
Step 5: Heat the Skillet (2 minutes)
While the batter rests, heat your skillet over medium heat. To test if it’s ready, flick a few drops of water onto the surface. If they sizzle and evaporate immediately, it’s ready. If they bead up and roll around, it’s not hot enough. If they burn instantly, it’s too hot. Aim for a gentle, steady sizzle.
Step 6: Cook the Pancakes (3-4 minutes per batch)
Lightly grease the skillet with butter or oil. I use a paper towel to wipe a thin layer of butter around. Scoop about ¼ cup of batter per pancake onto the skillet. Don’t crowd them. Cook until you see bubbles forming on the surface and popping, and the edges look set. This usually takes 2-3 minutes. Flip gently. Cook the other side for 1-2 minutes until golden brown. Transfer to a plate and cover with foil to keep warm.
Step 7: Warm the Maple Syrup
While the pancakes cook, combine the maple syrup, butter, cinnamon, vanilla, and salt in a small saucepan over low heat. Stir until the butter melts and everything is combined. Do not boil it; just warm it through. This takes about 2-3 minutes.
Step 8: Serve
Serve the pancakes immediately with the warm maple syrup. Add fresh berries if you like. Enjoy!
Expert Tips & Tricks
Here’s everything I’ve learned from making this dozens of times. These tips will save you from my mistakes.
Don’t Overmix the Batter
I can’t stress this enough. Lumpy batter = fluffy pancakes. Smooth batter = rubbery pancakes. If you see streaks of flour, mix one more time, but then stop. It’s better to have a few lumps than to ruin the texture.
Keep the Skillet at Medium Heat
If the heat is too high, the outside will burn before the inside is cooked. If it’s too low, the pancakes will be pale and dense. Medium is the sweet spot. Adjust your burner as needed.
Grease the Skillet Between Pancakes
Butter burns quickly. Wipe out the skillet with a paper towel and add a little fresh butter or oil before each batch. This ensures even browning and prevents sticking.
Use a Thermometer (Optional)
If you’re serious about pancakes, get a surface thermometer. Aim for 375°F (190°C) on your griddle. It takes the guesswork out.
Keep Warm in the Oven
If you’re feeding a crowd, keep the cooked pancakes in a 200°F (95°C) oven on a wire rack. This keeps them warm without steaming them (which makes them soggy).
Variations & Substitutions
Once you’ve nailed the basic version, here’s how you can mix it up. I’ve tried all of these.
Banana Pancakes
Mash one ripe banana and fold it into the batter. Reduce the sugar by 1 tablespoon. Delicious and naturally sweet.
Blueberry Pancakes
Fold in ½ cup of fresh or frozen blueberries after mixing. Don’t add them to the skillet batter; fold them in gently to avoid burning.
Chocolate Chip Pancakes
Add ½ cup of chocolate chips. They melt into the batter and create pockets of chocolate goodness.
Gluten-Free
Use a 1:1 gluten-free flour blend. The texture might be slightly denser, but they’re still tasty. Add an extra tablespoon of buttermilk if the batter seems too thick.
Dairy-Free
Use dairy-free milk (almond, oat, soy) and dairy-free butter. The flavor will be slightly different, but still good.
Vegan
Use flax eggs (2 tablespoons ground flaxseed mixed with 6 tablespoons water, rested for 5 minutes) and dairy-free milk/butter. They’re not quite as fluffy, but still delicious.
Serving & Storage
How to Serve: I usually serve these straight from the skillet, piled high on a plate. Top with fresh berries, whipped cream, or a dollop of Greek yogurt. The warm maple syrup is a must.
Leftovers: Store leftover pancakes in an airtight container in the fridge for up to 3 days. Reheat them in a toaster or a warm skillet. They won’t be as fresh, but they’re still good.
Freezing: Freeze pancakes in a single layer on a baking sheet, then transfer to a freezer bag. They last up to 2 months. Reheat in the toaster. This is my go-to for busy mornings.
Reheating: Toaster is best. Microwave makes them soggy. If you must microwave, do it in 15-second intervals.
Nutrition Information
I’m not a nutritionist, but here’s the breakdown if you’re tracking. Per serving (based on 4 servings, 4 pancakes each):
- Calories: 350
- Protein: 8g
- Carbs: 55g
- Fiber: 2g
- Sugar: 12g
- Fat: 10g
- Saturated Fat: 6g
- Cholesterol: 60mg
- Sodium: 600mg
Look, this is comfort food. It’s not a diet recipe. But it’s better than takeout, and you control the sugar. When I want to make it lighter, I use half-and-half instead of whole buttermilk and reduce the syrup. But usually? I just enjoy a reasonable portion and savor the moment.
Final Thoughts
So that’s my go-to fluffy buttermilk pancakes with warm maple syrup! I’ve probably talked your ear off at this point, but when you make a recipe this often, you have a lot to say about it. This has saved my weekends. It’s my answer to “what’s for breakfast” when I want to feel special but don’t want to spend hours in the kitchen. My kids are happy, my husband’s happy, and I’m happy because I’m not stressed.
Make it yours! Try different add-ins, swap in your favorite fruits, adjust the syrup. The best recipes are the ones you adapt to your family’s tastes. If you make this, drop a comment and let me know what you think! I love hearing how recipes turn out in your kitchen. And if something doesn’t work, tell me that too—I’m here to help troubleshoot.
Happy cooking! And I hope your kitchen smells half as good as mine does right now.
Frequently Asked Questions
Can I use milk instead of buttermilk?
Yes! Make a substitute by adding 1 tablespoon of lemon juice or white vinegar to 1 cup of milk. Let it sit for 5-10 minutes until it curdles. It works surprisingly well and is much cheaper than buying buttermilk.
Why are my pancakes dense?
Usually, this means you overmixed the batter. Stir until just combined, even if it’s lumpy. Also, check your baking powder. If it’s old, it won’t lift the pancakes.
Can I make the batter ahead?
Not really. The leavening agents start working as soon as they hit the liquid. If you make it too far in advance, the pancakes will be flat. Best to mix and cook fresh.
How do I keep pancakes warm?
Place cooked pancakes on a wire rack in a 200°F (95°C) oven. This keeps them warm without steaming them. Don’t stack them on a plate, or they’ll get soggy.
Can I freeze leftover pancakes?
Absolutely! Freeze them in a single layer, then bag them. They reheat beautifully in a toaster. This is perfect for meal prep.
Why did my syrup separate?
If you boiled it, the sugar might have crystallized. Warm it gently over low heat and stir constantly. Adding a splash of water can help bring it back together.
Can I use whole wheat flour?
You can, but the pancakes will be denser and nuttier. I recommend mixing half white flour and half whole wheat for a balance of texture and nutrition.
Pin This Recipe!
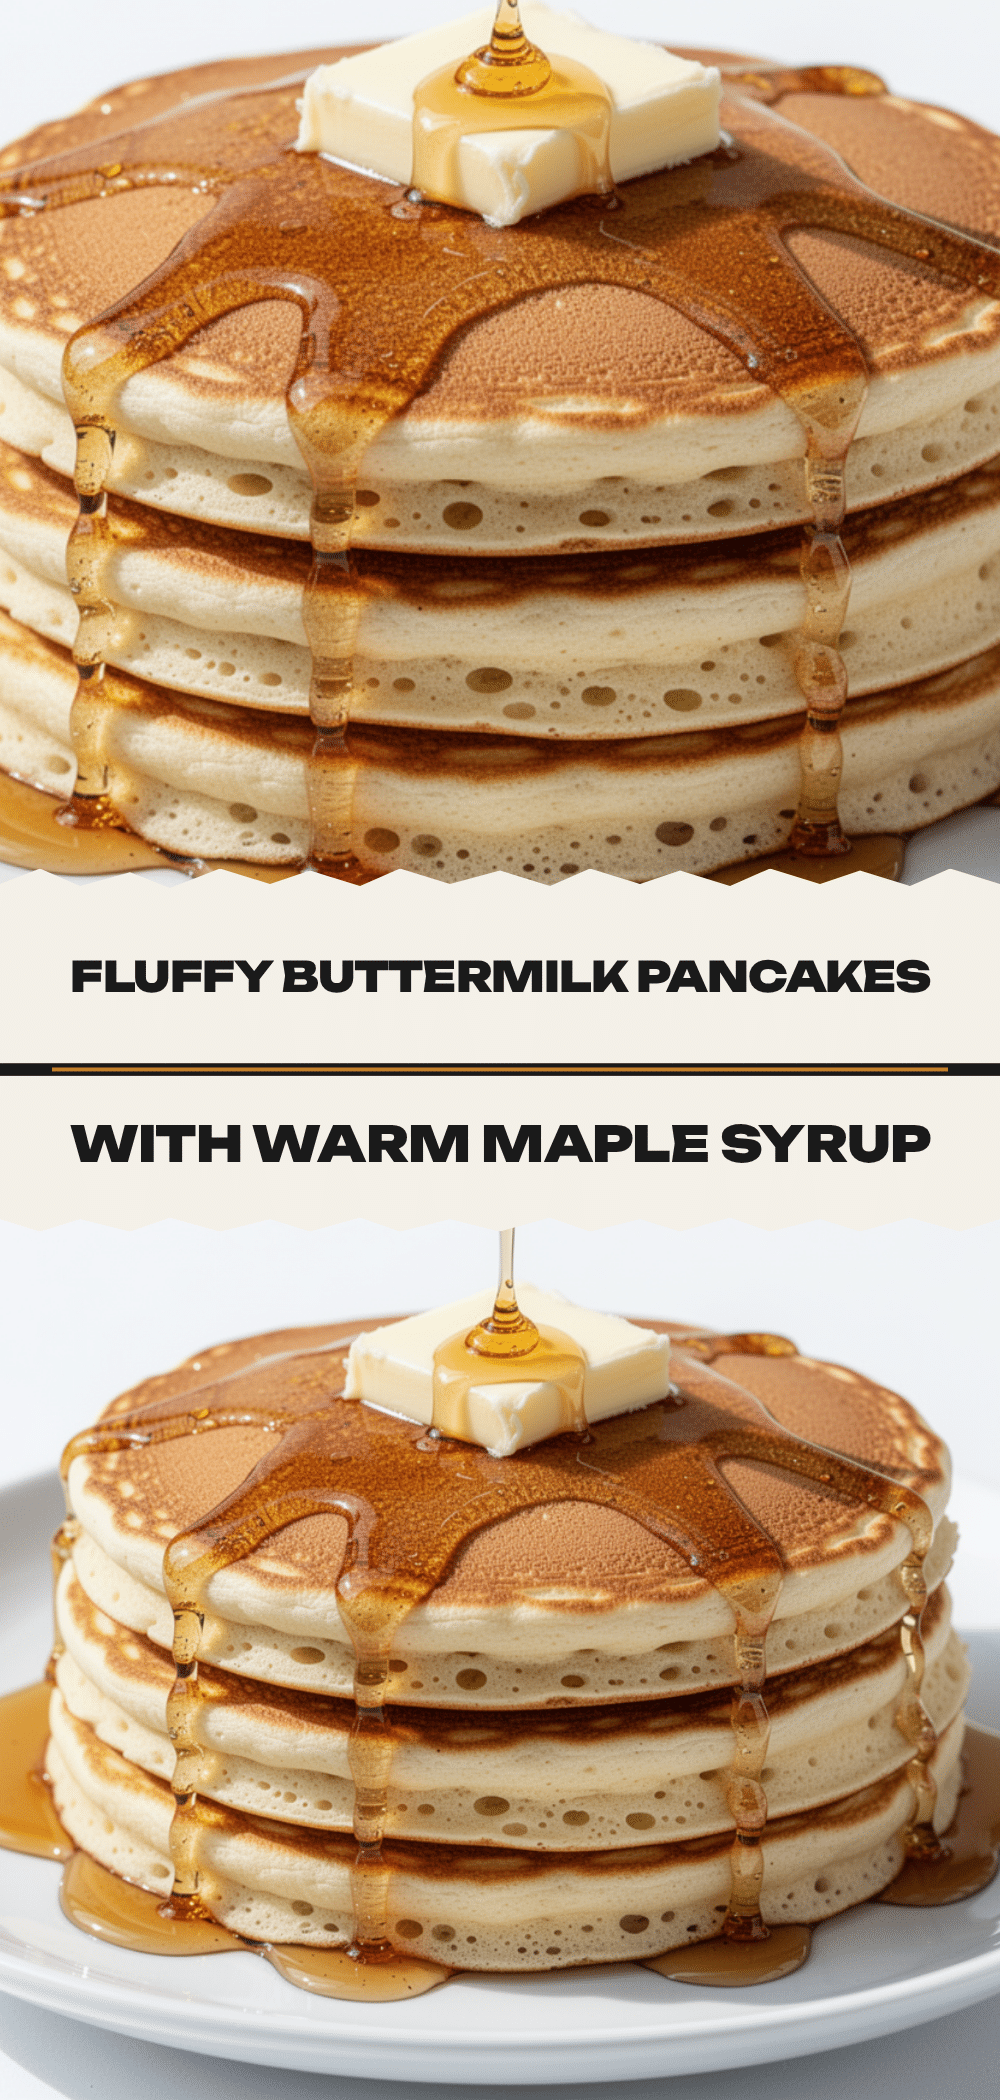
Fluffy Buttermilk Pancakes: 5 Easy Homemade Recipes
- Total Time: 20 minutes
- Yield: 4 servings 1x
Description
These fluffy buttermilk pancakes are a weekend staple, featuring a secret resting step for maximum fluffiness and served with a warm, spiced maple syrup upgrade.
Ingredients
- 2 cups (250g) all-purpose flour
- 2 tablespoons (25g) sugar
- 2 teaspoons baking powder
- 1 teaspoon baking soda
- 1 teaspoon salt
- 1 ½ cups (360ml) buttermilk
- 2 large eggs, room temperature
- 4 tablespoons (60g) melted unsalted butter
- 1 teaspoon pure vanilla extract
- ½ cup (120ml) pure maple syrup
- 1 tablespoon butter
- ¼ teaspoon cinnamon
- ½ teaspoon vanilla extract
- Pinch of salt
Instructions
- In a medium bowl, whisk together the flour, sugar, baking powder, baking soda, and salt until no lumps remain.
- In a separate large bowl or measuring cup, whisk the buttermilk, eggs, melted butter, and vanilla extract until combined.
- Create a well in the dry ingredients and pour in the wet mixture. Gently fold together with a spatula until just combined; the batter should remain lumpy. Do not overmix.
- Cover the bowl and let the batter rest on the counter for 10 minutes to allow the flour to hydrate and leavening agents to activate.
- Heat a non-stick skillet or griddle over medium heat. Test readiness by flicking water drops onto the surface; they should sizzle and evaporate.
- Lightly grease the skillet with butter or oil. Scoop about ¼ cup of batter per pancake onto the skillet.
- Cook until bubbles form on the surface and pop, and edges look set (2-3 minutes). Flip and cook the other side for 1-2 minutes until golden brown.
- Transfer cooked pancakes to a plate and cover with foil to keep warm.
- While pancakes cook, combine maple syrup, butter, cinnamon, vanilla, and salt in a small saucepan over low heat. Stir until butter melts and syrup is warm (do not boil).
- Serve pancakes immediately with the warm maple syrup.
Notes
Do not overmix the batter; lumps are good and ensure fluffiness. If you don’t have buttermilk, substitute with milk plus 1 tablespoon of lemon juice or vinegar per cup, rested for 5-10 minutes. Keep cooked pancakes warm in a 200°F oven on a wire rack to prevent sogginess. Pancakes freeze well for up to 2 months.
- Prep Time: 5 minutes
- Cook Time: 15 minutes
- Category: Breakfast
- Cuisine: American
Nutrition
- Serving Size: 4 pancakes per servi
- Calories: 350
- Sugar: 12
- Sodium: 600
- Fat: 10
- Saturated Fat: 6
- Carbohydrates: 55
- Fiber: 2
- Protein: 8
Keywords: buttermilk pancakes, fluffy pancakes, breakfast recipe, homemade pancakes, maple syrup, weekend breakfast, easy pancakes


