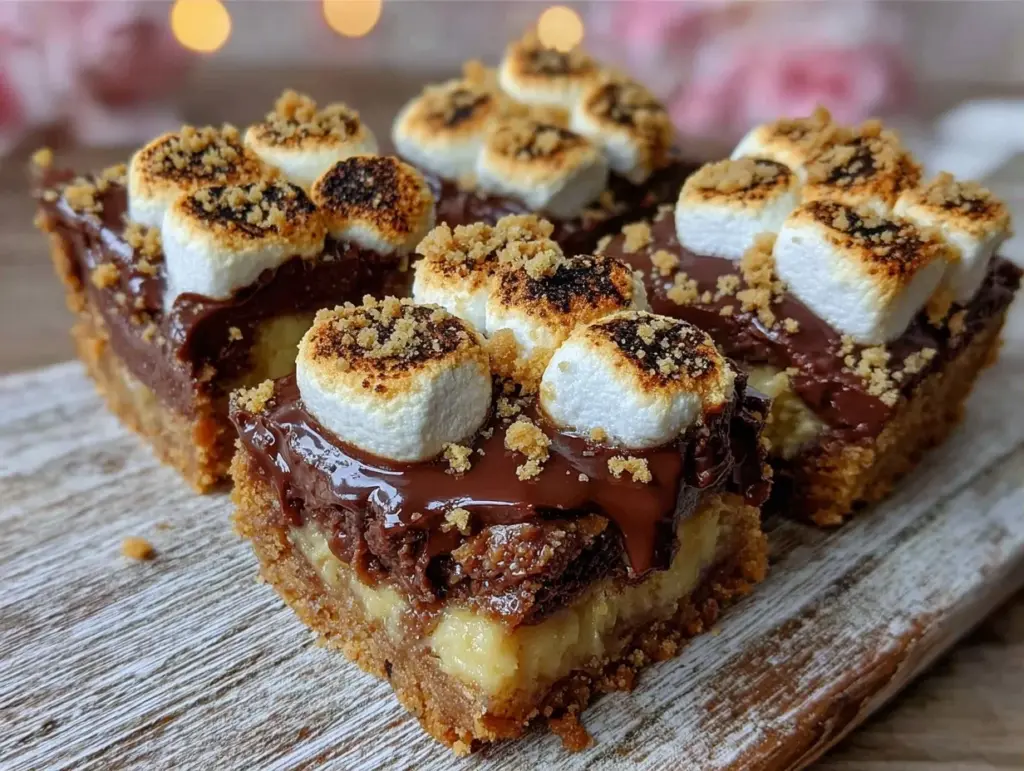
SEO Title Tag: Easy Smores Bars: Best 30-Minute Dessert
Meta Description: These easy smores bars taste like campfire magic but take just 30 minutes. No roasting sticks needed. The ultimate crowd-pleasing dessert for any occasion.
URL Slug: /easy-smores-bars/
Wait, You Can Make S’mores in 30 Minutes?
I know what you’re thinking. “S’mores? That’s a campfire thing. That requires a fire, sticks, and about forty-five minutes of standing around hoping the marshmallow doesn’t catch on fire.” And usually, it does.
But here’s the thing: I had a craving last Tuesday night that hit me at 7 PM on a rainy evening. No campfire. No s’mores kit. Just a fridge full of basics and a kid who wanted something sweet before bed. So I did what any desperate parent would do—I hacked the recipe.
These easy s’mores bars are the answer to that 5pm panic. They taste exactly like the gooey, toasted marshmallow-and-chocolate sandwich we all love, but they come together in a single 9×13 pan in about 30 minutes. No open flame required. No sticky fingers from holding sticks. Just pure, handheld campfire nostalgia served on a plate.
I’ve made these for bake sales, last-minute dinner parties, and random Tuesday nights when I just need a win. The crust is buttery and shortbread-like (think graham cracker in cookie form), the filling is thick and melty, and the top gets just enough color to mimic that perfect roast. It’s dessert hack magic, and once you try it, you’ll probably never go back to the traditional method for casual gatherings.
Let’s get baking. You’ll be glad you did.
Recipe Quick Facts
| Prep Time: | 10 minutes |
| Cook Time: | 20 minutes |
| Total Time: | 30 minutes |
| Servings: | 12 bars |
| Course: | Dessert |
| Cuisine: | American |
If your site uses a recipe card plugin, feed these fields into it directly — that’s what generates the schema markup Google needs. This article’s HTML intentionally doesn’t include schema tags itself.
Why You’ll Love This S’mores Bars Recipe
Look, I’m not saying these bars replace a night around the actual fire. There’s something about the smell of smoke and the sound of crackling logs that you can’t beat. But for everyday life? These are unbeatable.
Here’s why this recipe has earned a permanent spot in my rotation:
It’s a One-Bowl Wonder (Almost)
The crust is just flour, sugar, butter, and a pinch of salt. You mix it with your hands or a fork, press it in, and you’re done. No electric mixer needed. This is huge when you’re tired after work and just want to get something in the oven without turning on the big appliances. It’s the kind of simplicity that makes weeknight baking feel less like a chore.
The Texture is Actually Perfect
I’ve tried other “s’mores bar” recipes that end up with a hard, crunchy top or a filling that runs everywhere. Not this one. By using a specific ratio of melted marshmallows to butter, the filling stays thick, chewy, and gooey. It holds its shape when you cut it, but it still melts in your mouth. It’s that sweet spot between a bar and a brownie.
Kid-Proof (and Guest-Proof)
Kids love these because they look familiar. Adults love these because they taste nostalgic but feel slightly more “elevated” than a plain sandwich. Plus, because they’re cut into squares, they’re easy to grab. No awkward wrestling for the last stick-held s’more at the campsite. Everyone gets their piece.
It’s Fast Enough for a Surprise Guest
If someone shows up unannounced (we’ve all been there), you can have these in the oven in 10 minutes and ready to serve in 20. It’s faster than ordering takeout, and it feels so much more thoughtful. It’s the ultimate “I didn’t plan this but I care enough to bake” move.
Whether you’re making these for a summer BBQ, a winter cozy night, or just because you want chocolate right now, these bars deliver. They’re reliable, delicious, and ridiculously easy.
Ingredients You’ll Need
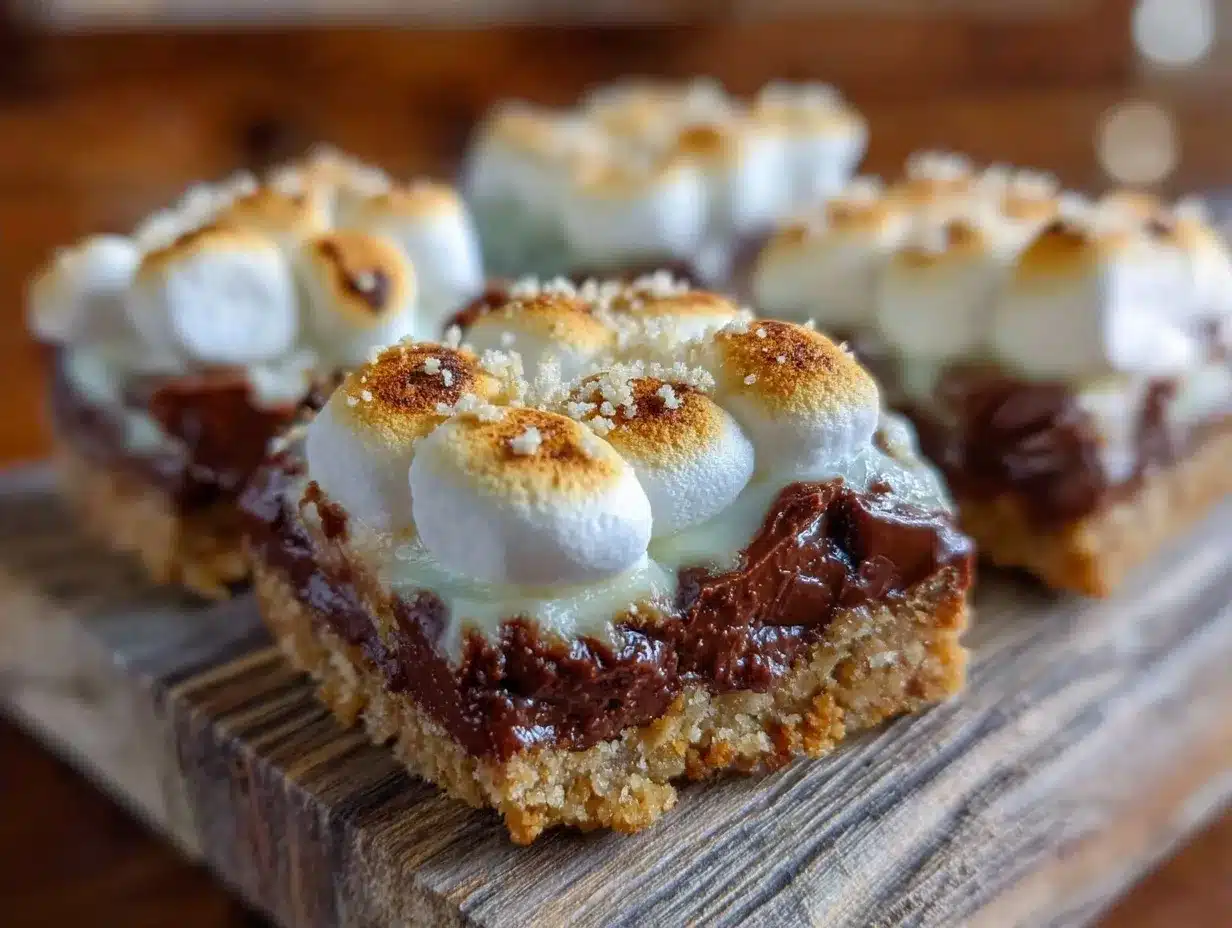
One of the best parts about this recipe is that you likely have everything in your pantry right now. Graham crackers are the obvious one, but the rest is standard baking staples. Here’s what you need to grab:
Graham Cracker Crumbs (2 cups)
You can buy pre-made crumbs, but honestly? Crushing them by hand is kind of therapeutic. Just put whole graham cracker sheets in a ziplock bag and smash them with a rolling pin. If you’re in a rush, food processor works too. Make sure they’re fine, not chunky, so your crust stays uniform. Pro tip: If you can’t find graham cracker crumbs, you can use crushed digestive biscuits, but the flavor won’t be quite as sweet and vanilla-forward.
Unsalted Butter (1/2 cup / 1 stick)
Melted. Room temperature butter is easier to mix, but for the crust, melted is best. It binds everything together quickly. Use real butter, not margarine. The flavor difference in a simple crust like this is noticeable. If you’re using salted butter, reduce the added salt in the recipe slightly.
Granulated Sugar (1/4 cup)
Just a little bit to help the crust crisp up slightly at the edges. Don’t skip it, but don’t add extra either. You want the sweetness to come from the filling, not the base.
Salt (1/4 teaspoon)
Crucial. Salt cuts the sweetness and brings out the chocolate flavor. It’s the secret ingredient that keeps these from being cloyingly sweet.
Mini Marshmallows (16 oz bag)
This is non-negotiable. Regular marshmallows are too big and won’t melt evenly. Mini marshmallows have more surface area and melt into a smooth, consistent layer. A standard 16oz bag is usually what you need for a 9×13 pan. Brand doesn’t matter much, but I prefer store brands—they melt just as well and cost less.
Semi-Sweet Chocolate Chips (1 cup)
I use semi-sweet because it balances the sweetness of the marshmallows. If you prefer a richer chocolate flavor, go for dark chocolate chips. If you like it sweeter, milk chocolate works too. Just know that milk chocolate might make the bars a bit too sweet for some palates. Pro tip: Don’t use chocolate chunks. They won’t melt into a cohesive layer. Chips are the way to go.
Optional: Sea Salt for Sprinkling
A tiny pinch of flaky sea salt on top right after they come out of the oven elevates the flavor profile. It adds that gourmet touch that makes people ask, “Where did you get these?”
Equipment Needed
You don’t need much for this. Keep it simple.
9×13 Inch Baking Pan
Standard size. Grease it well with butter or non-stick spray. If you want easy removal later, line the pan with foil or parchment paper, leaving an overhang on the sides. This is a lifesaver for lifting the whole slab out to cut it cleanly.
Medium Mixing Bowl
For the crust mixture. A wide bowl is best so you can mix easily with your hands.
Rolling Pin or Heavy Pan
If you’re crushing graham crackers by hand.
Small Saucepan or Microwave-Safe Bowl
For melting the butter.
Wire Cooling Rack
Optional but recommended. It helps the bars cool evenly so the bottom doesn’t get soggy.
How to Make Easy S’mores Bars
Here’s the step-by-step. It’s straightforward, but there are a few tricks to getting that perfect texture.
Step 1: Prep Your Pan and Oven
Preheat your oven to 350°F (175°C). Grease your 9×13 pan. If using foil or parchment, line it now. This ensures your bars don’t stick and you can lift them out easily later. Trust me on this—greasing alone isn’t enough for sticky marshmallow treats.
Step 2: Make the Crust
In your mixing bowl, combine the graham cracker crumbs, melted butter, sugar, and salt. Mix until it looks like wet sand. Press this mixture firmly and evenly into the bottom of your prepared pan. Use the bottom of a measuring cup or your fingers to pack it down tight. A loose crust leads to crumbly bars. If you can see gaps, press harder. You want a solid base.
Step 3: Bake the Crust
Bake the crust for 8-10 minutes. It should look slightly golden at the edges. This pre-baking step is important—it sets the crust so it doesn’t get soggy when you add the wet filling. Remove from the oven but do not turn it off. Leave the oven on.
Step 4: Add the Filling
Immediately after removing the crust, sprinkle the mini marshmallows evenly over the hot crust. The residual heat will help them start to melt. Then, scatter the chocolate chips over the marshmallows. Don’t press them in. Just let them sit on top.
Step 5: The Final Bake
Put the pan back in the oven for another 8-10 minutes. Watch closely. You want the marshmallows to puff up and turn golden brown in spots, and the chocolate chips to be melted and glossy. If your oven runs hot, check at 8 minutes. If they’re browning too fast, you can tent the pan with foil for the last few minutes.
Step 6: Cool and Cut
Remove from the oven. If using sea salt, sprinkle it on now while the chocolate is still soft. Let the bars cool completely in the pan. This is the hardest part—waiting—but if you cut them warm, they’ll be a mess. For clean cuts, chill them in the fridge for 20 minutes after they’ve cooled to room temperature. Then slice with a sharp knife.
How do you know when the marshmallows are done?
They should be puffy, golden, and slightly sticky. If they’re still white and hard, they need another 2-3 minutes. If they’re dark brown and crisp, you’ve gone too far. Aim for that golden-brown, gooey middle ground.
Expert Tips & Tricks
I’ve made these dozens of times, so here’s what I’ve learned to make them perfect every time:
Don’t Overbake the Marshmallows
The biggest mistake people make is leaving them in too long. Marshmallows burn easily. You want them soft and melty, not crispy and hard. They will continue to set as they cool, so pull them out when they look just *barely* done.
Use a Sharp Knife
For clean squares, use a sharp chef’s knife. Wipe the blade with a damp paper towel between cuts to remove sticky residue. This keeps your bars looking neat and professional.
Chill for Clean Cuts
If you’re taking these to a potluck or party, chill them first. Warm s’mores bars are delicious but messy. Chilled bars hold their shape better and are easier to handle.
Experiment with Flavors
Once you master the basic recipe, try adding a layer of peanut butter chips or a drizzle of caramel sauce. Or swap the graham crackers for crushed vanilla wafers for a different flavor profile. But start with the classic version first—it’s a crowd-pleaser for a reason.
Variations & Substitutions
Want to tweak this recipe? Here are some ideas:
Gluten-Free
Simply use gluten-free graham crackers. Many brands make crumbs that work just as well. The texture might be slightly different, but the flavor will be the same.
Dairy-Free
Use dairy-free butter for the crust and dairy-free chocolate chips. Most mini marshmallows are naturally dairy-free, but check the label to be sure (some contain gelatin, which is animal-derived, but not dairy).
Vegetarian
Standard marshmallows contain gelatin, which is not vegetarian. Use vegan marshmallows (available in most grocery stores now) to keep this recipe vegetarian-friendly.
Chocolate Variety
Swap semi-sweet chocolate for white chocolate chips for a sweeter, milder flavor. Or use butterscotch chips for a different twist.
How long do s’mores bars last in the fridge?
They last up to 5 days in an airtight container at room temperature. If it’s hot outside, store them in the fridge. They actually taste better chilled, as the chocolate firms up and the texture becomes more bar-like.
Can you freeze them? Yes! Wrap individual bars in plastic wrap and freeze for up to 3 months. Thaw at room temperature before eating. They thaw surprisingly well.
Nutrition Information
Here’s an estimate for one bar (1 of 12):
| Calories: | 280 |
| Total Fat: | 14g |
| Carbohydrates: | 38g |
| Protein: | 3g |
| Sugar: | 26g |
Note: This is an estimate and not medical advice. Nutrition values can vary based on brands and specific ingredients used. For precise figures, use a nutrition calculator plugin on your site.
Final Thoughts
These easy s’mores bars are proof that you don’t need a campfire to enjoy the best parts of camping. They’re sweet, gooey, and incredibly satisfying. Plus, they’re fast enough to make on a whim, which is exactly what I love about them.
Give them a try. You might just find that they become your new go-to dessert for any occasion. And if you do, let me know how they turn out in the comments below! I love hearing from you.
Frequently Asked Questions
Can I use regular marshmallows instead of mini ones?
No, I don’t recommend it. Regular marshmallows are too large and won’t melt evenly, leaving you with hard chunks in your bars. Mini marshmallows have more surface area and melt into a smooth, consistent layer. If you must, chop regular marshmallows into small pieces, but mini is best.
Why are my s’mores bars too soft?
This usually happens if the crust wasn’t pre-baked long enough or if the bars weren’t cooled completely before cutting. Make sure you bake the crust for the full 8-10 minutes and let the bars cool in the pan for at least 30 minutes. For even firmer bars, chill them in the fridge for an hour before slicing.
Can I make these in a square pan instead of 9×13?
Yes, but you’ll need to adjust the bake time. If using an 8×8 pan, the bars will be thicker, so you’ll need to bake them longer—check at 25 minutes. Keep an eye on the top to ensure the marshmallows don’t burn.
What if I don’t have graham cracker crumbs?
You can use crushed digestive biscuits, vanilla wafers, or even Oreos (remove the cream filling first). The flavor will change slightly, but the texture will be similar. Graham crackers provide that classic s’mores taste, so if you have them, stick with them.
Can I add nuts to the crust?
Absolutely. Adding 1/2 cup of chopped pecans or walnuts to the crust mixture adds a nice crunch and flavor. Just mix them in with the crumbs and butter before pressing into the pan.
Do I need to grease the pan if I use foil?
Yes. Even if you line the pan with foil, grease the foil itself. Marshmallow is sticky, and it can adhere to foil if it’s not greased. A light coat of cooking spray or melted butter works well.
Consider linking to 2-3 related recipes on your site here (e.g. similar dishes, other dessert recipes) — internal links to relevant content help both ranking and time-on-site.
Keto Biscoff Blondies are another great option if you’re looking for a sweet treat that’s a bit different but just as easy to make.
Pin This Recipe!
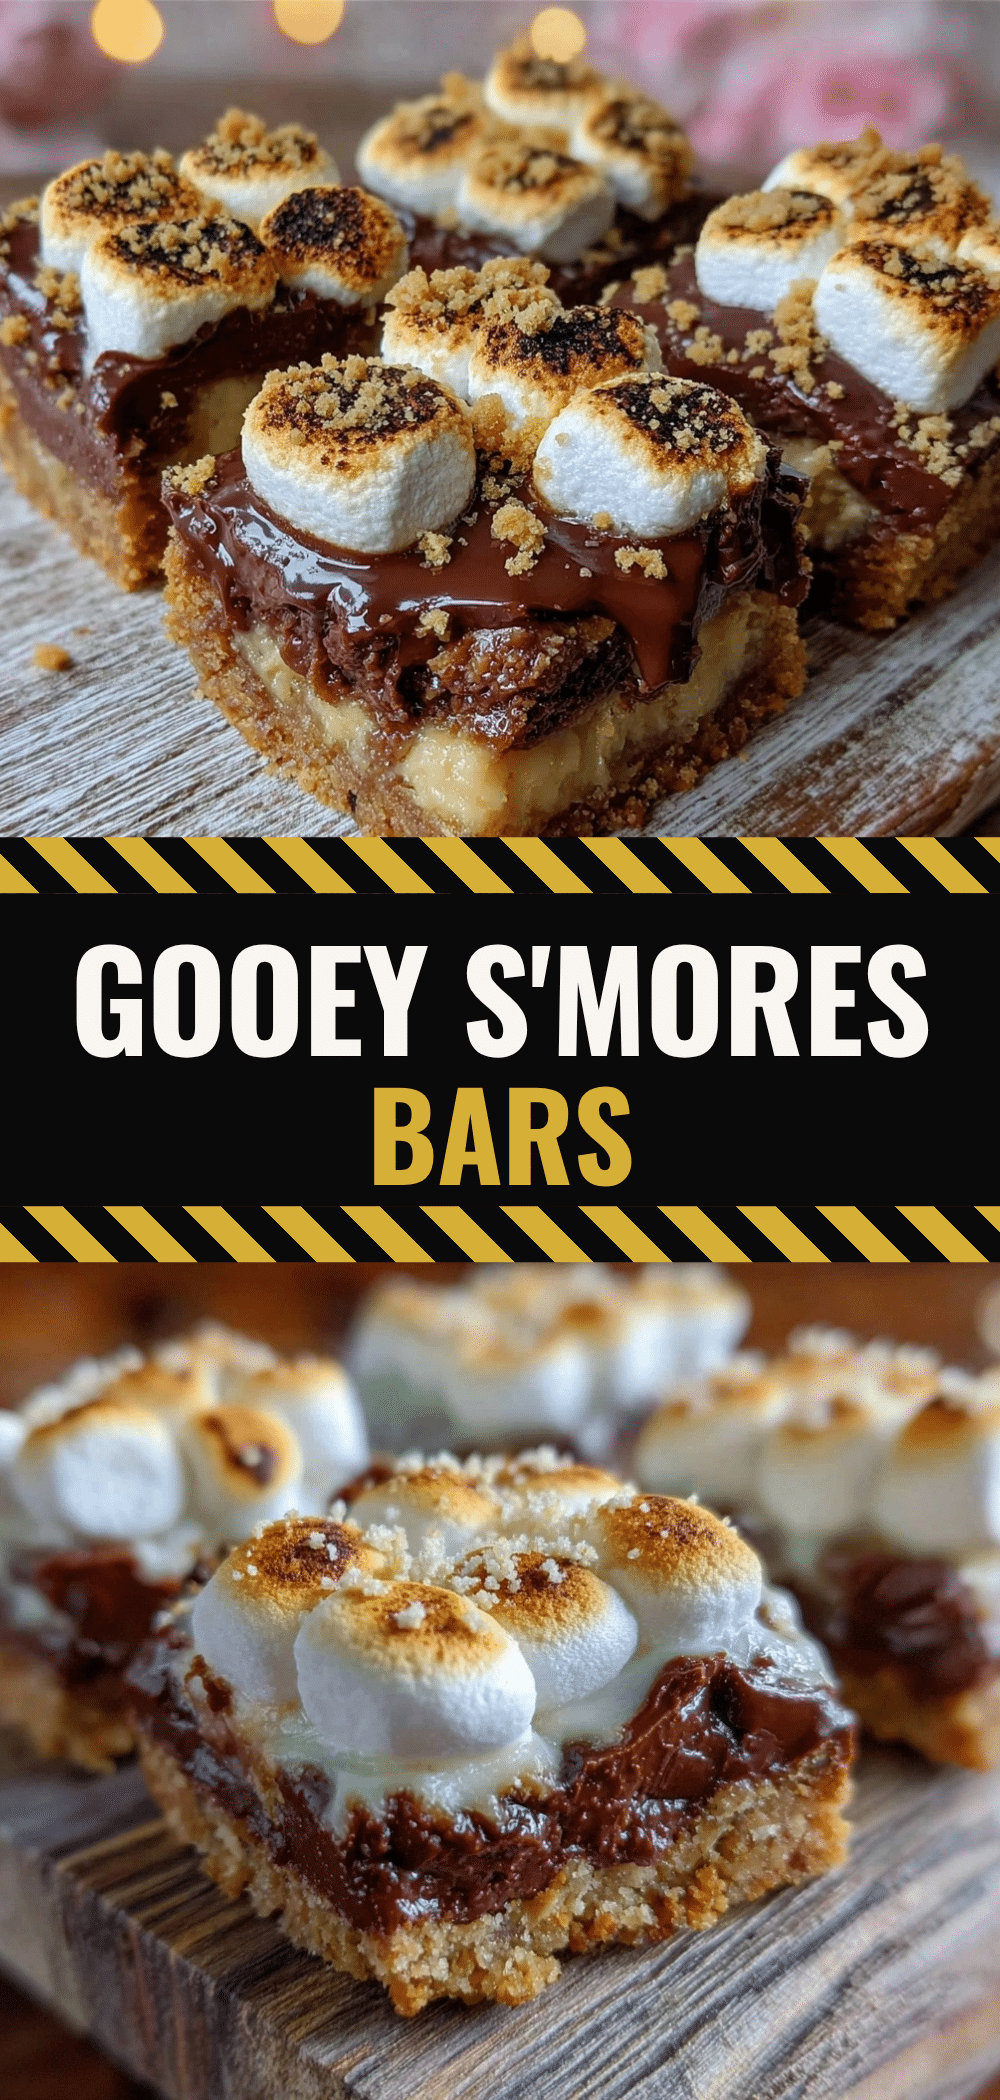
Easy Smores Bars: Best 30-Minute Dessert
- Total Time: 30 minutes
- Yield: 12 bars 1x
Description
These easy s’mores bars taste like campfire magic but take just 30 minutes. No roasting sticks needed. The ultimate crowd-pleasing dessert for any occasion.
Ingredients
- 2 cups graham cracker crumbs
- 1/2 cup unsalted butter, melted
- 1/4 cup granulated sugar
- 1/4 teaspoon salt
- 16 oz mini marshmallows
- 1 cup semi-sweet chocolate chips
- Sea salt for sprinkling (optional)
Instructions
- Preheat oven to 350°F (175°C). Grease a 9×13 inch baking pan and line with foil or parchment paper if desired.
- In a medium mixing bowl, combine graham cracker crumbs, melted butter, sugar, and salt. Mix until it resembles wet sand.
- Press the mixture firmly and evenly into the bottom of the prepared pan to form a solid crust.
- Bake the crust for 8-10 minutes until slightly golden at the edges. Remove from oven but do not turn off the heat.
- Immediately sprinkle mini marshmallows evenly over the hot crust, then scatter chocolate chips on top.
- Return to the oven and bake for another 8-10 minutes, watching closely, until marshmallows are puffy and golden and chocolate is melted.
- Remove from oven and sprinkle with sea salt if using. Let cool completely in the pan.
- For clean cuts, chill in the fridge for 20 minutes before slicing into bars.
Notes
Use mini marshmallows for even melting. Do not overbake marshmallows or they will become crispy. Chill bars before cutting for clean squares. Can be stored in an airtight container at room temperature for up to 5 days or frozen for up to 3 months.
- Prep Time: 10 minutes
- Cook Time: 20 minutes
- Category: Dessert
- Cuisine: American
Nutrition
- Serving Size: 1 bar
- Calories: 280
- Sugar: 26
- Sodium: 150
- Fat: 14
- Saturated Fat: 7
- Carbohydrates: 38
- Fiber: 1
- Protein: 3
Keywords: s'mores bars, easy dessert, 30 minute dessert, campfire dessert, graham cracker bars, marshmallow dessert, no bake dessert alternative


