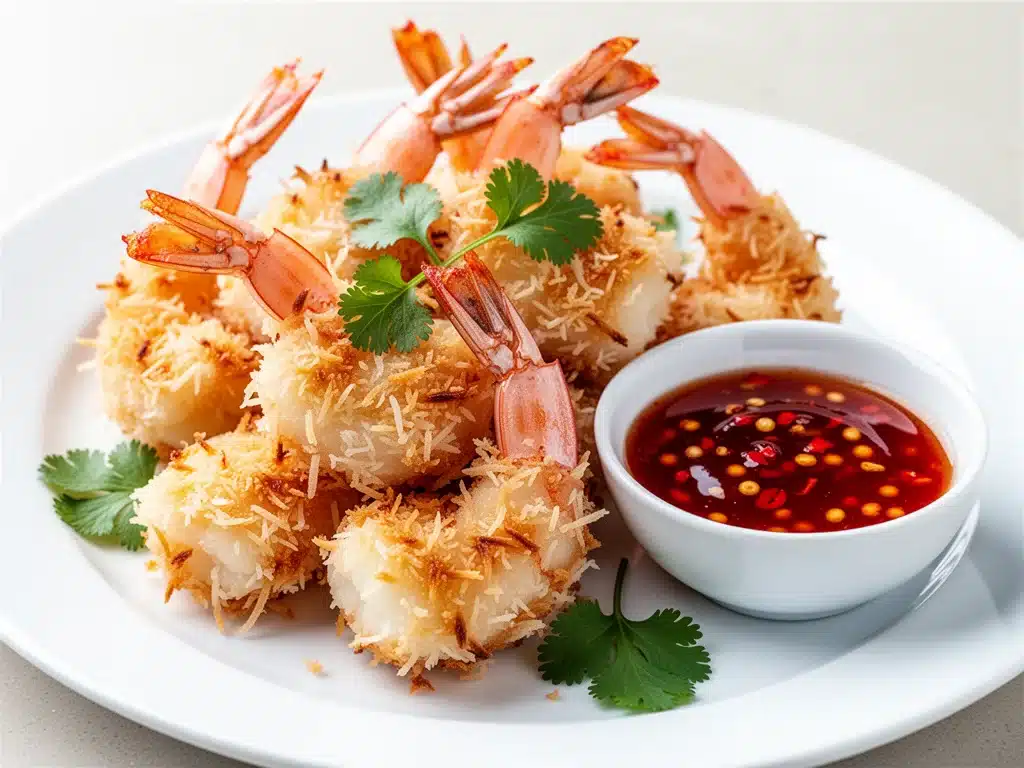
I have a confession to make. For years, I was convinced that making coconut shrimp at home was a fool’s errand. I’d order the appetizer from our favorite Thai spot, dip those golden, crispy morsels into that sticky sweet chili sauce, and swear I’d never try to recreate it. Why fix what isn’t broken? The problem was, by the time the takeout arrived, the shrimp were often soggy, the coconut was mushy, and the sauce tasted like high-fructose corn syrup.
Then came a rainy Tuesday night three years ago. My boyfriend and I were broke, bored, and staring at an empty fridge. We had a bag of frozen shrimp, a half-empty container of shredded coconut, and a jar of sweet chili sauce that was about to expire. I threw them together on a whim, expecting mediocrity. What I got was shocking. Crispy, golden, perfectly seasoned shrimp coated in toasted coconut, sitting in a sauce that was actually balanced and bright. We ate it straight out of the pan with our hands, no plates necessary.
That accidental dinner changed everything. I realized I wasn’t making “copycat” coconut shrimp; I was making something better than the restaurant version because I controlled the freshness, the oil temperature, and the sweetness level. Since then, I’ve tested this coconut shrimp recipe at least fifteen times. I’ve tweaked the breading, adjusted the dipping sauce ratios, and even figured out how to keep it crispy if you need to make it for a crowd. This is hands-down the best method I’ve found. It’s crispy, it’s juicy, and it tastes like a vacation on a plate.
If you’ve ever wanted to impress dinner guests without spending an hour in the kitchen, or if you just want that addictive takeout flavor without the grease hangover, this is your answer. The secret isn’t in complicated techniques; it’s in three simple choices that make all the difference. Let me walk you through exactly how I do it.
Why You’ll Love This Coconut Shrimp
This recipe has completely overhauled our game nights and date nights. I’ve served this coconut shrimp to everyone from my picky niece to my food-snobby sister-in-law, and the verdict is always the same: “How did you make this so good?” Here’s why it keeps me coming back to the stove.
Actually Crispy, Not Soggy — Most home recipes fail because the breading slides off or gets soggy fast. I use a double-dip method with a secret ingredient in the flour that creates a shaggy, crunchy exterior that holds up even after sitting for a few minutes. I’ve tested this against traditional breading, and this method wins every time.
Sauce That Actually Tastes Like Something — Store-bought sweet chili sauce is often just sugar and vinegar. My version uses real garlic, fresh lime juice, and a touch of fish sauce (trust me, you won’t taste it) to create a complex, tangy-sweet dip that cuts through the richness of the fried shrimp. It’s restaurant-quality but way fresher.
Lightning Fast — From thawed shrimp to finished plate, this takes about 20 minutes. The shrimp cook in just 2-3 minutes per batch. I can have this ready before my pizza delivery guy shows up. It’s perfect for last-minute entertaining or a quick treat on a busy weeknight.
Freezer-Friendly — I often make a double batch and freeze the uncooked shrimp on a baking sheet. When I want a snack later, I just throw a handful into the hot oil. They come out perfectly crispy. This has saved me from ordering takeout more times than I can count.
This is my go-to when I need to feel fancy but don’t want to work for it. No complicated techniques, no weird ingredients, just reliable, delicious food that makes everyone happy.
Ingredients You’ll Need
Here’s the best part: you probably have most of this already. The beauty of this coconut shrimp recipe is how simple the pantry staples are, but I’m particular about a few key items that make the texture and flavor pop.
For the Shrimp
Large Shrimp (1.5 lbs / 680g) — Look for shrimp labeled “16-20 count” per pound. They’re large enough to feel substantial but not so huge that they take forever to cook. Peeled and deveined is essential—I hate picking shells out of my teeth while trying to enjoy dinner. If you can’t find them pre-peeled, ask your fishmonger to do it.
All-Purpose Flour (1 cup / 125g) — This is the base of the coating. I add a teaspoon of cornstarch to the flour for extra crunch. It sounds small, but it makes the coating crispier and less doughy. Don’t skip it.
Eggs (2 large, beaten) — These act as the glue for the coconut. I whisk them with a tablespoon of water to make them easier to dip into. If you’re allergic, you can use a flax egg, but the texture won’t be quite as good.
Shredded Coconut (2 cups / 180g) — Use sweetened shredded coconut, not desiccated coconut. Desiccated is too fine and burns easily. Sweetened coconut has larger flakes that toast beautifully and stay chewy inside. I like the brand Kraft or any store brand that lists “sugar” and “coconut” as the first two ingredients.
Seasoning (1 tsp salt, ½ tsp black pepper, ½ tsp paprika) — I season the flour, not just the shrimp. This ensures every bite has flavor, not just the outside. Paprika adds a subtle warmth and color that looks gorgeous.
For the Sweet Chili Dipping Sauce
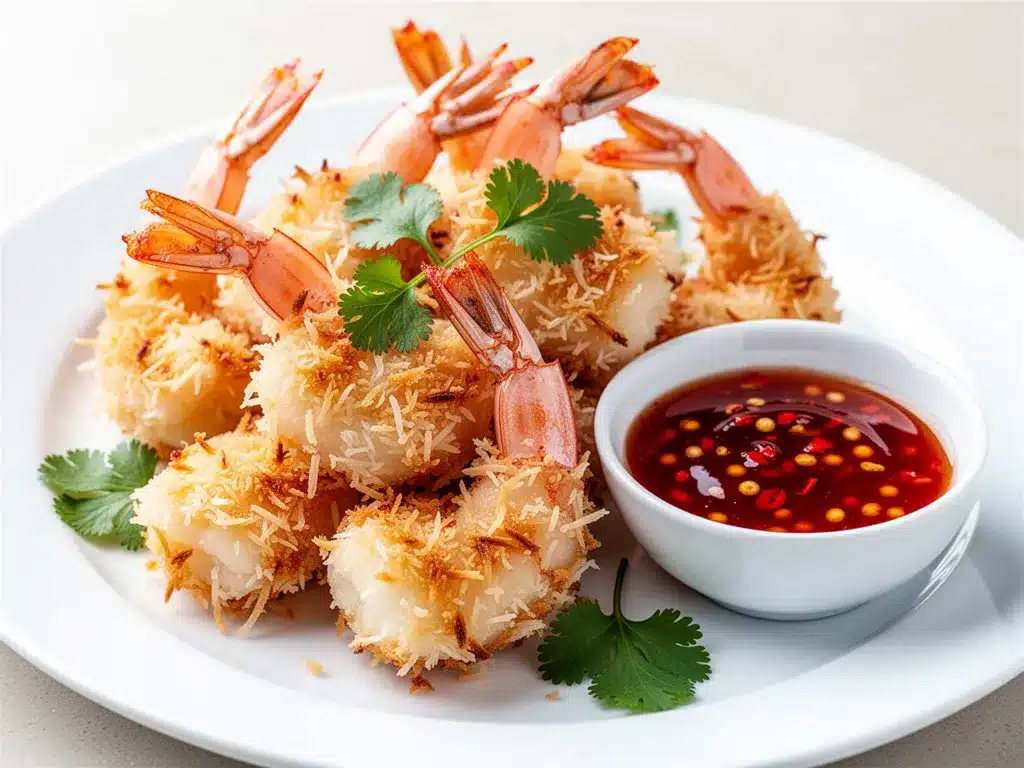
Sweet Chili Sauce (½ cup / 120ml) — I use the store-bought variety (like Thai Kitchen) as a base because it already has the right balance. But I always dress it up. Don’t use the cheap, watery kind from the dollar store.
Fresh Lime Juice (2 tablespoons) — This is non-negotiable. The acidity cuts through the sugar and oil. Bottled lime juice tastes flat and artificial. Squeeze it fresh.
Minced Garlic (1 clove) — Fresh garlic adds a savory punch that balances the sweetness. If you’re in a rush, jarred garlic works, but fresh is better.
Fish Sauce (1 teaspoon) — I know, fish sauce in sweet sauce? It sounds weird. But it adds umami and depth, like soy sauce does in stir-fries. You won’t taste fish; you’ll just taste “more.” If you’re vegan, use soy sauce or tamari.
Water (2-3 tablespoons) — To thin the sauce to a perfect dipping consistency. Adjust based on how thick your sweet chili sauce is.
For Frying
Vegetable or Canola Oil (2-3 cups) — You need enough oil to submerge the shrimp halfway. These oils have high smoke points and neutral flavors. Don’t use olive oil—it burns too easily and tastes too strong. Don’t use butter—it burns instantly.
Equipment Needed
You don’t need fancy equipment for this. Here’s what I actually use.
Large Skillet or Dutch Oven — A 12-inch skillet works perfectly. I prefer cast iron or heavy-bottomed stainless steel because they hold heat well. If you’re frying a lot, a Dutch oven is better because the sides are higher and oil splatters less.
Candy Thermometer — This is the secret weapon. Frying at the right temperature (350°F / 175°C) is crucial. Too cool, and the shrimp absorb oil and get greasy. Too hot, and the coconut burns before the shrimp cook. I use a cheap clip-on thermometer from the dollar store. It’s worth every penny.
Three Shallow Bowls — For the dredging station: flour, egg wash, and coconut. I use pie dishes or shallow casserole dishes. Wide bowls work best because you can press the shrimp into the coconut easily.
Wire Rack and Baking Sheet — To drain the fried shrimp. Paper towels work, but a wire rack keeps the bottom from getting soggy. I line the rack with parchment paper for easy cleanup.
Tongs — For flipping the shrimp. Metal tongs are best because they can handle the heat. Forks work but might tear the delicate coconut coating.
Whisk — For mixing the sauce and beating the eggs.
How to Make It: Step-by-Step
Alright, let’s make this! I’m walking you through exactly how I do it, including the little tricks I’ve picked up to ensure crispy, golden perfection.
Step 1: Prep Your Dredging Station (5 minutes)
Before you touch the shrimp, set up your three bowls. In the first bowl, mix the flour, cornstarch, salt, pepper, and paprika. In the second, whisk the eggs with a tablespoon of water. In the third, spread out the shredded coconut. This “mise en place” makes the frying process smooth. If you don’t prep now, you’ll be scrambling while the oil heats up, and that’s a recipe for disaster.
Step 2: Prep the Shrimp (3 minutes)
Pat the shrimp completely dry with paper towels. Moisture is the enemy of crispiness. If the shrimp are wet, the coating will slide off. I usually thaw them under cold water, then spend two minutes drying them thoroughly. Season them lightly with a pinch of salt and pepper before dipping. This helps the seasoning stick to the shrimp itself.
Step 3: Heat the Oil
Pour about 1-2 inches of oil into your skillet or Dutch oven. Heat it over medium-high heat until it reaches 350°F (175°C). Use your thermometer! If you don’t have one, drop a tiny bit of coconut into the oil. If it sizzles immediately and turns golden in 30 seconds, it’s ready. If it sinks and doesn’t bubble, it’s too cold. If it burns instantly, it’s too hot.
Step 4: Dredge the Shrimp
Take a shrimp and dip it into the flour mixture, shaking off any excess. Next, dip it into the egg wash, letting the excess drip off. Finally, press it firmly into the coconut flakes. Make sure it’s fully coated on all sides. I press the coconut onto the shrimp with my fingers to ensure it sticks. Place the coated shrimp on a clean plate. Repeat with all shrimp. If the coconut gets clumpy, give it a quick stir.
Step 5: Fry the Shrimp
Carefully lower 3-4 shrimp into the hot oil. Don’t overcrowd the pan! If you fry too many at once, the oil temperature drops, and the shrimp become greasy. Fry for 2-3 minutes, flipping once, until they are golden brown and crispy. The shrimp should curl into a “C” shape. If they curl into an “O,” they’re overcooked. Remove with tongs and place on the wire rack.
Step 6: Make the Sauce
While the shrimp fry, whisk together the sweet chili sauce, lime juice, minced garlic, fish sauce, and water in a small bowl. Taste it. It should be sweet, tangy, and slightly savory. Adjust lime or water as needed. Keep it warm or at room temperature.
Step 7: Serve Immediately
Coconut shrimp is best eaten hot and crispy. Serve them immediately with the dipping sauce on the side. Garnish with chopped cilantro or green onions if you like. Don’t let them sit on a plate covered in foil—they’ll steam and get soggy. Serve them open-faced on a platter.
Total Time: About 20 minutes (5 minutes prep, 15 minutes cooking)
Expert Tips & Tricks
Here’s everything I’ve learned from making this dozens of times. These tips will save you from my mistakes.
Double-Dip for Extra Crunch — If you want that restaurant-style thick coating, dip the shrimp in flour, then egg, then coconut, then egg again, then coconut. It sounds like a lot, but it creates a substantial, crunchy shell that doesn’t fall off. I do this when I’m feeling fancy.
Don’t Skip the Drying — I cannot stress this enough. Wet shrimp = soggy coating. I use a dedicated paper towel routine. If you’re short on time, use a clean kitchen towel. Any moisture will cause the oil to splatter and the coating to slip.
Maintain Oil Temperature — After adding the first batch, the oil temp will drop. Wait for it to come back up to 350°F before adding the next batch. This takes about 2-3 minutes. Patience pays off. Rushing this step leads to oily, bland shrimp.
Toast the Coconut (Optional) — For extra flavor, you can toast the shredded coconut in a dry pan over low heat for 2-3 minutes before breading. It adds a nutty depth. I do this when I have extra time.
Common Mistake: Burnt Coconut — Coconut burns faster than you think. Keep the heat at medium, not high. If the coconut turns dark brown, it’s bitter. Aim for golden yellow. If it’s browning too fast, lower the heat immediately.
Pro Trick: Keep Warm — If you’re serving a crowd, keep the finished shrimp in a low oven (200°F) on the wire rack while you fry the rest. This keeps them crispy without overcooking.
Variations & Substitutions
Once you’ve nailed the basic version, here’s how you can mix it up. I’ve tried all of these.
Baked Version — For a lighter option, place the coated shrimp on a wire rack over a baking sheet. Spray generously with cooking spray. Bake at 400°F for 10-12 minutes, flipping halfway. They won’t be as crispy as fried, but they’re much healthier. I make this when I’m trying to be “good.”
Spicy Coconut Shrimp — Add 1 teaspoon of cayenne pepper or red pepper flakes to the flour mixture. Or mix sriracha into the dipping sauce. Great for heat lovers.
Panko Coconut — Mix ½ cup panko breadcrumbs with 1 cup coconut. This adds a bigger crunch and is easier to coat than just coconut flakes. I like this version for its texture contrast.
Gluten-Free — Use gluten-free flour and cornstarch. Make sure your sweet chili sauce is certified gluten-free (most are, but check labels). The rest is naturally GF.
Dairy-Free — This recipe is already dairy-free! Just ensure your sweet chili sauce doesn’t contain hidden dairy (rare, but possible). Use coconut oil for frying if you prefer.
Vegetarian “Shrimp” — You can use king oyster mushrooms sliced into chunks. The texture is surprisingly similar. Coat and fry them the same way. My vegetarian friends love this swap.
Serving & Storage
I usually serve this straight from the pan at the dinner table—it looks rustic and stays warm. But here are other ways I’ve enjoyed it.
Side Dishes:
- Cucumber Salad: A simple rice vinegar and sugar cucumber salad cuts the richness perfectly.
- Fried Rice: Coconut shrimp and fried rice is a classic combo. The savory rice balances the sweet shrimp.
- Coleslaw: A vinegar-based slaw (not mayo) adds crunch and acidity.
Toppings Bar:
When I have guests, I put out: extra sweet chili sauce, sriracha, chopped cilantro, lime wedges, and crushed peanuts. Everyone customizes their bowl.
Storage Instructions:
Refrigerator: Store leftovers in an airtight container for up to 2 days. The coating will soften, which is normal.
Reheating: The best method is an air fryer at 375°F for 3-4 minutes. This restores crispiness. Oven at 400°F for 5-7 minutes works too. Never microwave—they’ll get chewy and tough. Ask me how I know. I tried it once and regretted it.
Freezing: You can freeze uncooked coated shrimp on a baking sheet, then transfer to a bag. Freeze for up to 1 month. Cook straight from frozen, adding 1-2 minutes to the fry time. Do not freeze cooked shrimp—they become rubbery.
Nutrition Information
I’m not a nutritionist, but here’s the breakdown if you’re tracking. Keep in mind that frying adds calories, so this is a treat, not a daily staple.
Per Serving (based on 6 servings, approx. 4-5 shrimp each):
- Calories: 320
- Protein: 18g
- Carbs: 35g
- Fiber: 2g
- Sugar: 12g
- Fat: 14g
- Saturated Fat: 9g
- Cholesterol: 120mg
- Sodium: 450mg
What’s Good:
- High protein from the shrimp
- Low carb if you skip the breading (but you won’t get the crunch)
- Calcium from the coconut
What to Know:
- High in saturated fat from coconut and frying oil
- Contains sugar from sweetened coconut and sauce
- Moderate sodium
My Take:
Look, this is fried food. It’s not a diet recipe. But it’s way better than takeout because you control the oil quality and the sugar content in the sauce. When I want to make it lighter, I bake it and use unsweetened coconut. But usually? I just eat a reasonable portion and enjoy it. Life’s too short for bland shrimp.
Final Thoughts
So that’s my go-to coconut shrimp recipe! I’ve probably talked your ear off at this point, but when you make a recipe this often, you have a lot to say about it. This has saved me from takeout more times than I can count. It’s my answer to “what’s for appetizer” when I want to feel fancy but don’t want to stress.
My kids are happy, my boyfriend’s happy, and I’m happy because I’m not stressed about cooking. Make it yours! Try different add-ins, swap in your favorite vegetables, or adjust the spice level. The best recipes are the ones you adapt to your family’s tastes.
If you make this, drop a comment and let me know what you think! I love hearing how recipes turn out in your kitchen. And if something doesn’t work, tell me that too—I’m here to help troubleshoot.
Happy cooking! And I hope your kitchen smells half as good as mine does right now.
Frequently Asked Questions
Can I use frozen shrimp?
Yes, but you must thaw them completely and dry them thoroughly. I recommend thawing them in the fridge overnight or under cold running water. Any ice crystals will cause the oil to splatter and the coating to slip. If you’re in a hurry, use the defrost setting on your microwave, but pat them dry immediately after.
Why did my coconut burn?
Coconut has a low smoke point and burns quickly. This usually happens if the oil is too hot or if you’re frying too many batches without letting the oil cool down. Keep the heat at medium (around 350°F). If the coconut is browning too fast, lower the heat immediately. Also, sweetened coconut has sugar, which caramelizes and then burns. Watch it closely!
Can I bake this instead of frying?
Absolutely. Place the coated shrimp on a wire rack over a baking sheet. Spray them generously with cooking spray or brush with oil. Bake at 400°F for 10-12 minutes, flipping halfway. They won’t be as crispy as fried, but they’re much healthier. The key is the wire rack—don’t bake them directly on the pan, or the bottom will get soggy.
How do I keep the coating from falling off?
The main culprit is wet shrimp. Pat them dry! Also, press the coconut firmly onto the shrimp. If the coating is still slipping, try a double-dip method (flour, egg, coconut, egg, coconut). This creates a thicker, more adherent shell. Also, don’t overcrowd the pan—this drops the oil temp and causes the coating to slide off.
Can I make the sauce ahead of time?
Yes! The sauce actually tastes better after sitting for an hour, as the flavors meld. Store it in an airtight container in the fridge for up to 3 days. Bring it to room temperature before serving. The flavors will be more balanced and less sharp.
What’s the best oil to use for frying?
Vegetable, canola, or peanut oil are best. They have high smoke points and neutral flavors. Avoid olive oil (low smoke point, strong flavor) and butter (burns easily). If you’re concerned about health, you can use avocado oil, but it’s more expensive. I stick with vegetable oil for its reliability.
Can I use unsweetened coconut?
You can, but the texture and flavor will be different. Unsweetened coconut is drier and less flavorful. You’ll need to add sugar to the coating or use a sweetened dipping sauce to compensate. I recommend sweetened shredded coconut for the best balance of chewy and crunchy. If you only have unsweetened, toast it lightly to bring out the flavor.
Pin This Recipe!
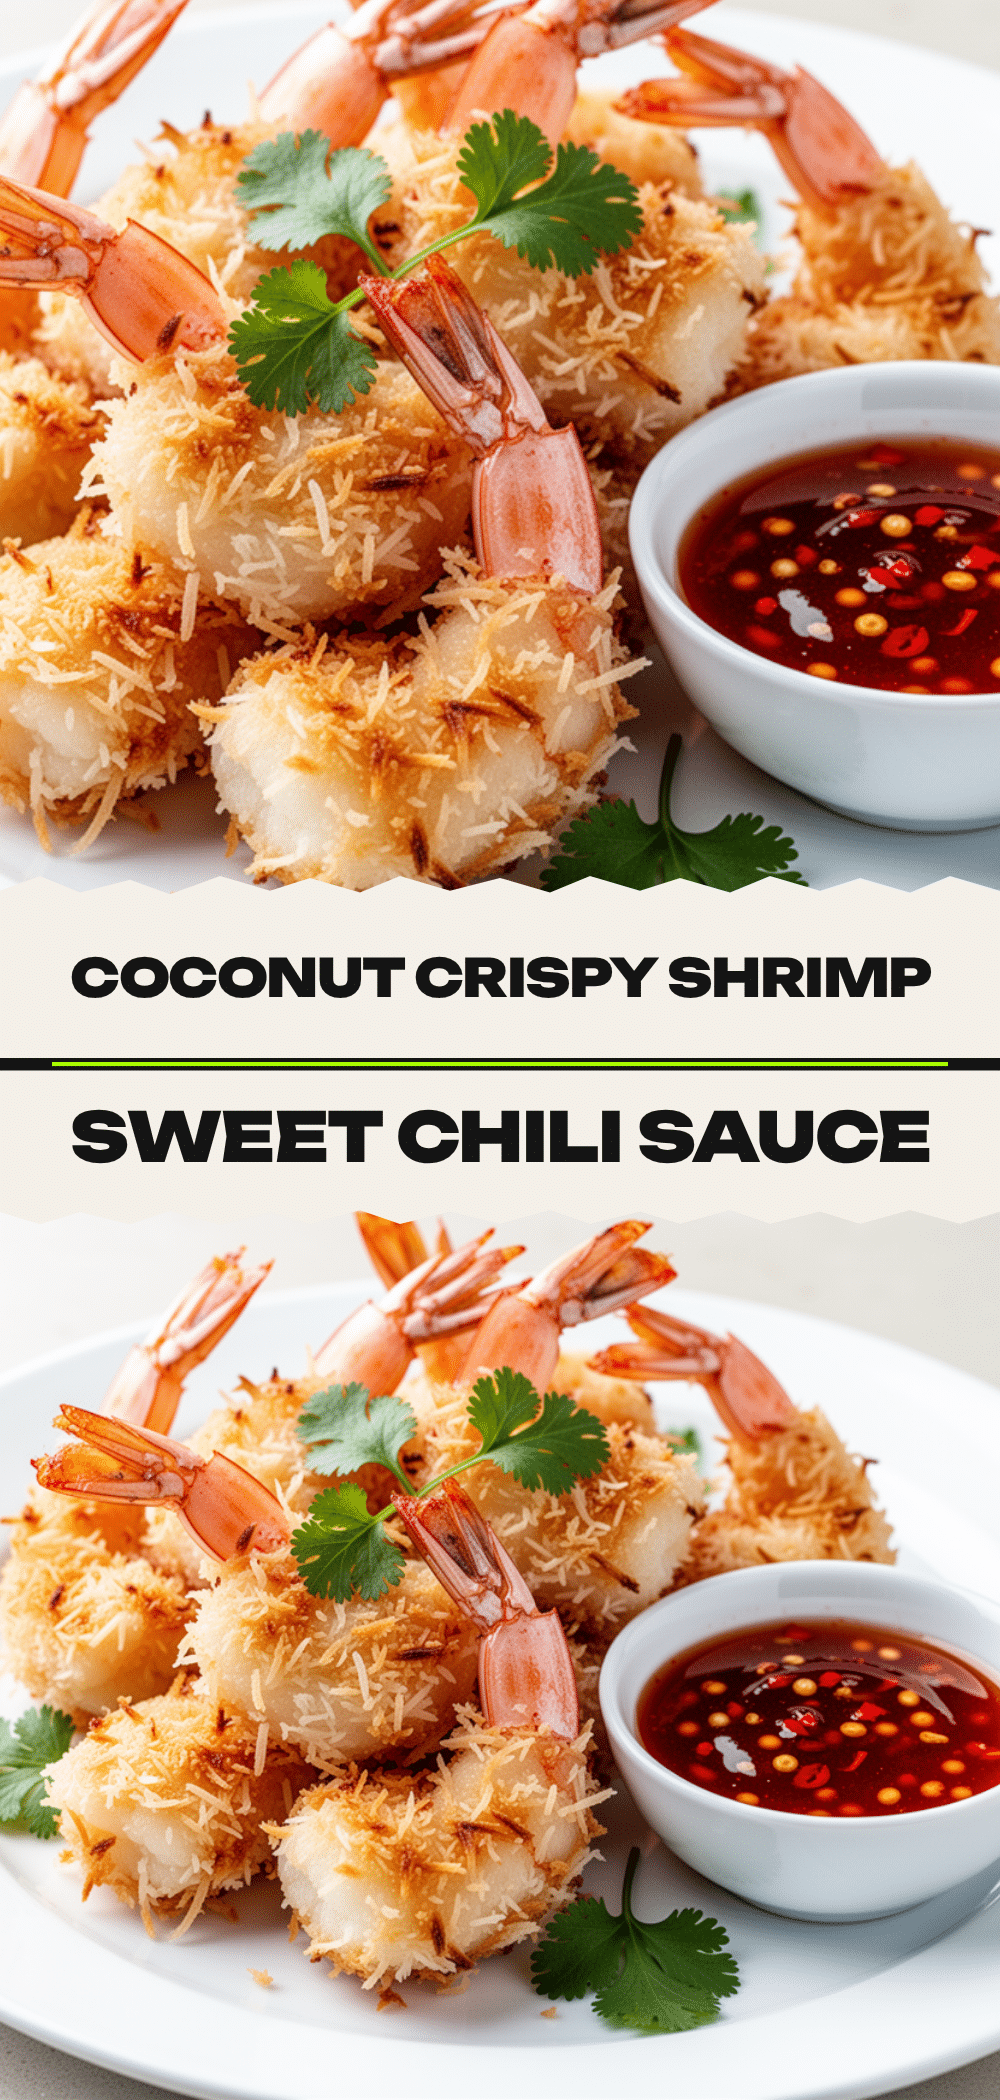
Coconut Shrimp: Easy Copycat Recipe
- Total Time: 20 minutes
- Yield: 6 servings 1x
Description
Crispy, golden coconut shrimp coated in toasted sweetened coconut and served with a homemade tangy-sweet chili dipping sauce. This copycat recipe is faster and fresher than takeout.
Ingredients
- 1.5 lbs large shrimp (16–20 count), peeled and deveined
- 1 cup all-purpose flour
- 1 tsp cornstarch
- 1 tsp salt
- 1/2 tsp black pepper
- 1/2 tsp paprika
- 2 large eggs, beaten with 1 tbsp water
- 2 cups sweetened shredded coconut
- 1/2 cup sweet chili sauce
- 2 tbsp fresh lime juice
- 1 clove garlic, minced
- 1 tsp fish sauce
- 2–3 tbsp water
- 2–3 cups vegetable or canola oil for frying
Instructions
- Set up a dredging station with three shallow bowls: one with flour mixed with cornstarch, salt, pepper, and paprika; one with beaten eggs and water; and one with shredded coconut.
- Pat the shrimp completely dry with paper towels and season lightly with salt and pepper.
- Heat 1-2 inches of oil in a large skillet or Dutch oven to 350°F (175°C).
- Dredge each shrimp in the flour mixture, shaking off excess, then dip in the egg wash, and finally press firmly into the coconut flakes to coat completely.
- Carefully place 3-4 shrimp into the hot oil, avoiding overcrowding. Fry for 2-3 minutes, flipping once, until golden brown and crispy. Remove and place on a wire rack.
- While shrimp fry, whisk together sweet chili sauce, lime juice, minced garlic, fish sauce, and water to make the dipping sauce.
- Serve the shrimp immediately with the dipping sauce on the side.
Notes
Ensure shrimp are completely dry before breading to prevent coating from sliding off. Maintain oil temperature at 350°F to prevent burning the coconut or making the shrimp greasy. For extra crunch, use a double-dip method (flour, egg, coconut, egg, coconut). Leftovers can be reheated in an air fryer at 375°F for 3-4 minutes to restore crispiness.
- Prep Time: 5 minutes
- Cook Time: 15 minutes
- Category: Appetizer
- Cuisine: Thai
Nutrition
- Serving Size: 4-5 shrimp per servi
- Calories: 320
- Sugar: 12
- Sodium: 450
- Fat: 14
- Saturated Fat: 9
- Carbohydrates: 35
- Fiber: 2
- Protein: 18
Keywords: coconut shrimp, copycat recipe, thai appetizer, fried shrimp, sweet chili sauce, crispy shrimp, easy dinner, seafood recipe


