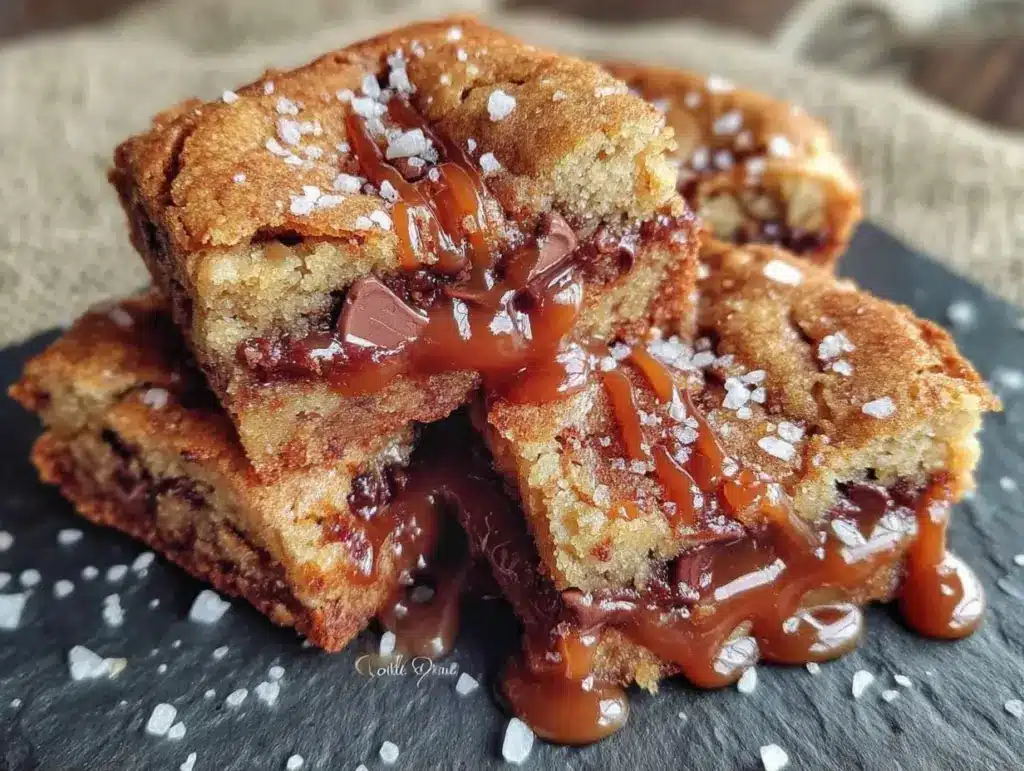
SEO Title Tag: Chewy Salted Caramel Cookie Bars: 5pm Easy Dessert
Meta Description: These chewy salted caramel cookie bars are the ultimate 5pm dessert win. Ready in under 30 minutes with simple pantry staples. No rolling, no chilling.
URL Slug: /chewy-salted-caramel-cookie-bars/
Introduction
It’s 5:05 PM. The sun is starting to dip, the kids are hovering around the kitchen island asking if dinner is ready, and your brain is already checked out for the evening. Then, the inevitable sigh comes from the back of the house: “I’m craving something sweet.”
Sound familiar? That was me last Tuesday. I didn’t have time to bake a full batch of cookies (who has time for scooping individual balls?), and I definitely didn’t have the patience to make caramel from scratch. But I had sugar, butter, and a deep desire to not raid the candy aisle on the way home from work.
So I threw these chewy salted caramel cookie bars together in the time it takes to boil pasta. And honestly? They were better than anything I’ve ever bought at a bakery.
Here’s the truth: most “easy” dessert recipes still require you to stand over a stove reducing cream or chill dough for hours. This isn’t that. This is a one-pan, dump-and-swirl situation that delivers that addictive chewy texture and rich, buttery salted caramel flavor without the stress. I’ve tested this method three times this week alone, and it’s officially my go-to answer for “what’s for dessert?” when the clock strikes five.
If you’re looking for a treat that feels fancy but acts like a shortcut, you’re in the right place. Let’s get that oven on.
Why You’ll Love This Recipe
I know what you’re thinking. “Another cookie bar? Really?” But hear me out. This specific combination of textures and flavors hits a different note than your average brownie or standard bar cookie. Here’s why this recipe has earned a permanent spot in my weekly rotation:
- Zero Rolling Required: Unlike traditional cookies, you don’t need to scoop, roll, and space out individual balls. You just press the dough into the pan. It’s messy in the best way possible, but cleanup is a breeze.
- The Chew Factor: I’ve tried too many cookie bars that turn out cakey or dry. This recipe uses a specific ratio of brown sugar to butter that guarantees a dense, fudgy, chewy center. It’s the kind of chew that makes you want to scrape the edges off the pan.
- Flavor Depth: The salted caramel isn’t just a drizzle on top; it’s swirled *into* the dough. Every bite has pockets of that sweet-salty contrast that keeps you eating more than one square (I won’t judge).
- One Pan, One Bowl: You mix everything in one large bowl and bake it in one 9×13 pan. That’s it. No extra dishes. No fancy equipment. Just simple, reliable comfort.
It’s the kind of dessert that makes you look like a genius host, even if you made it while waiting for the roast chicken to rest. And since it’s a bar cookie, it’s easy to serve. No plating required.
Ingredients You’ll Need
Let’s talk pantry staples. The beauty of this recipe is that you likely have 80% of this stuff right now. I’ve listed US and metric measurements because I know baking is a science, and precision matters—especially when we’re talking about chewiness.
For the Cookie Dough Base
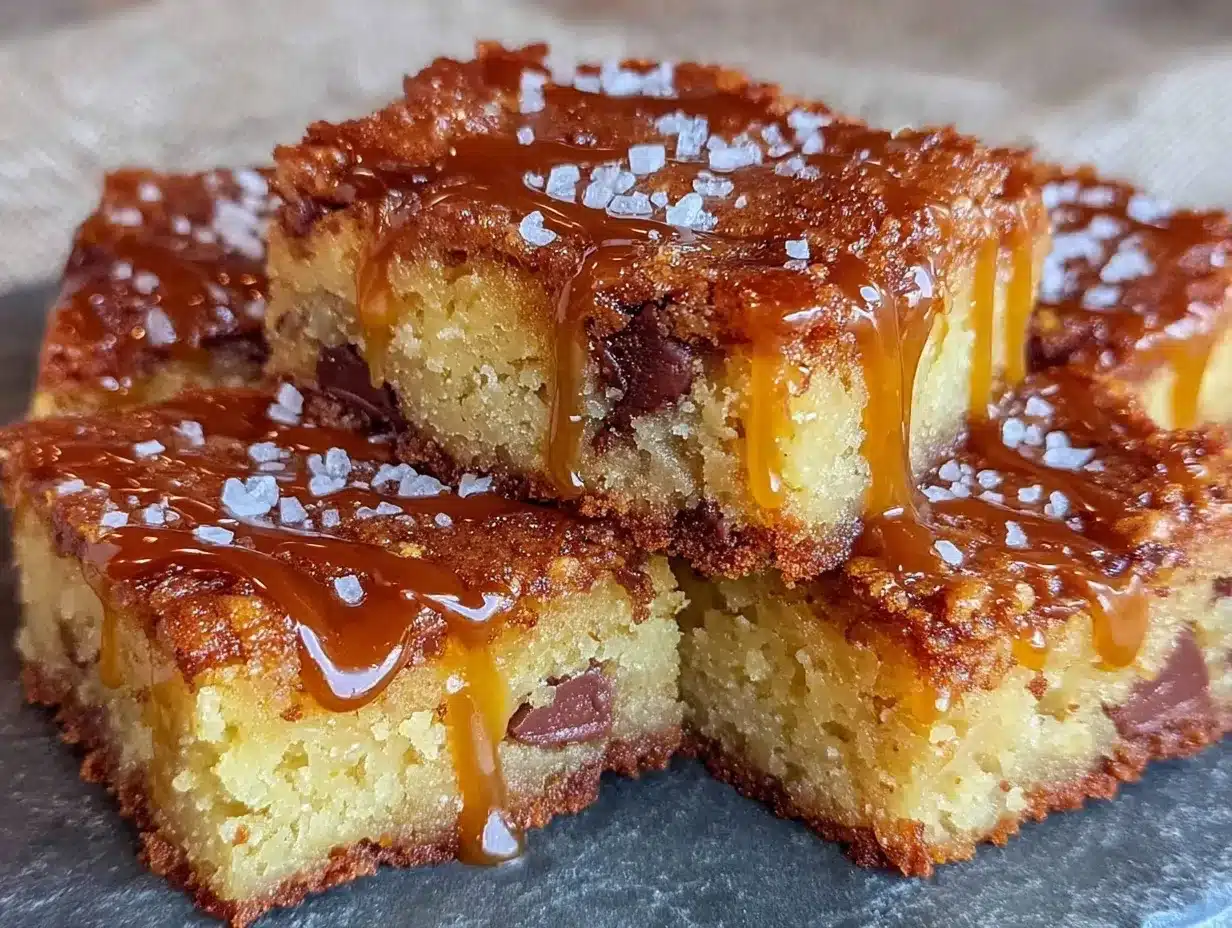
Unsalted Butter (1 cup / 226g): Softened. Not melted. If you melt it, you’ll get crispy edges instead of chewy centers. Take it out of the fridge 30 minutes before you start.
Light Brown Sugar (2 cups / 400g): This is non-negotiable for chew. The molasses content keeps the bars moist. If you only have dark brown sugar, it’ll work, but the flavor will be more intense.
Granulated White Sugar (1 cup / 200g): This helps with the slight crispness on the edges. Don’t skip it, or they’ll be too soft to cut.
Eggs (2 large): Room temperature is best. They help emulsify the dough so it’s smooth and uniform.
Vanilla Extract (2 tsp): Use the real stuff. The bottle stuff tastes like alcohol and sugar; the extract tastes like vanilla. It makes a difference in a simple recipe.
All-Purpose Flour (3 cups / 375g): Spoon and level your flour. Don’t scoop it directly from the bag, or you’ll pack in too much flour and get dry bars. I weigh it whenever I can, but the spoon-and-level method works if you don’t have a scale.
Baking Powder (1 tsp) & Baking Soda (1/2 tsp): The leavening agents that give them that slight lift without making them cakey.
Salt (1/2 tsp): Just to balance the sweetness.
For the Salted Caramel Swirl
Store-Bought Caramel Bits (1 bag / approx. 10-12 oz): Yes, I said it. Use the bits. Making caramel from scratch takes patience and a candy thermometer. These bits melt down into the dough perfectly. If you can’t find them, good quality caramel candies chopped up work too.
Sea Salt Flakes (for topping): Maldon is my favorite, but any flaky sea salt works. This is the “salted” part of the equation, and it’s crucial for cutting the sweetness.
Heavy Cream (2 tbsp): Only needed if your caramel bits seem stiff. A little cream helps them melt into smooth ribbons.
Equipment Needed
You don’t need much. Keep it simple.
- 9×13 Inch Baking Pan: Glass or metal both work. I prefer glass because it distributes heat evenly, preventing the edges from burning before the center is set.
- Large Mixing Bowl: Something sturdy that won’t tip over when you’re creaming the butter and sugar.
- Electric Mixer: Handheld or stand mixer. You *can* do this by hand, but it takes twice as long and your arm will hurt. Save yourself the effort.
- Parchment Paper: Essential. Line the pan with a sling, leaving overhang on the sides. This is how you lift the entire block of bars out of the pan once cooled. No one wants to dig cookies out of a greased pan with a spatula.
- Small Microwave-Safe Bowl: For softening the caramel bits before swirling.
How to Make It: Step-by-Step
Here’s the method. It’s straightforward, but there are two tricks to ensure that perfect chewy texture.
1. Prep the Pan and Oven
Preheat your oven to 350°F (175°C). Line your 9×13 pan with parchment paper. Grease the parchment lightly with butter or cooking spray. This ensures nothing sticks, even if you under-bake them slightly (which I recommend for chewiness).
2. Cream the Butter and Sugars
In your large bowl, beat the softened butter, brown sugar, and white sugar together on medium-high speed for about 3-4 minutes. You want this mixture to look pale and fluffy. This step incorporates air, which helps with the texture. If you rush this, your bars will be dense in a bad way, not a chewy way.
3. Add Wet Ingredients
Beat in the eggs one at a time, then add the vanilla. Scrape down the sides of the bowl. You want everything fully incorporated, no streaks of white egg left.
4. Mix in Dry Ingredients
Reduce mixer speed to low. Add the flour, baking powder, baking soda, and salt. Mix just until the flour disappears. Do not overmix. Once you see no more white streaks, stop. Overmixing develops gluten, and gluten makes cookies tough. We want tender and chewy, not bread-like.
5. The Swirl Technique
This is the fun part. Take about half the dough and press it into the bottom of the prepared pan. Use your hands or the back of a spoon to create an even layer.
Now, for the caramel. If your caramel bits are hard, microwave them with the heavy cream for 30 seconds and stir. They should be soft and pliable, not liquid hot. Drop spoonfuls of this caramel mixture over the dough layer. Then, take the remaining half of the dough and crumble it over the top. Don’t try to make a perfect second layer; crumbles are better because they create pockets for the caramel to bubble through.
Take a knife or a chopstick and gently swirl the top layer into the bottom layer. You want ribbons of caramel visible, but don’t over-swirl, or it’ll just turn into one big brown mess.
6. Bake and Cool
Bake for 25-30 minutes. The edges should be golden brown, and the center might still look slightly soft. That’s good. It will firm up as it cools. If you bake it until the center is firm, it’ll be dry.
Let them cool in the pan for at least 20 minutes. This is the hardest part. I know. But if you cut them hot, they’ll fall apart and be a gooey mess. Let them set, then lift them out using the parchment sling and slice into squares.
Expert Tips & Tricks
I’ve learned a few things through trial and error (and a few failed batches) that will save you time and disappointment.
Don’t Skip the Chill (Optional but Recommended): If you have time, pop the pan in the fridge for 15 minutes before baking. It helps the bars hold their shape better and prevents them from spreading too much into a flat sheet. If you’re in a rush, skip it, but know they might spread a bit more.
The Salt is Key: Don’t be shy with the sea salt flakes. The contrast between the sweet caramel and the sharp salt is what makes these bars addictive. If you’re sensitive to salt, reduce it, but taste a plain caramel bit first—they’re sweet enough to need the punch.
Room Temp Butter Matters: I cannot stress this enough. Cold butter won’t cream properly with the sugar. Melted butter changes the texture entirely. Aim for butter that leaves a fingerprint when you press it but doesn’t feel greasy.
Storage is Simple: These bars actually improve after a day. The flavors meld together. If you can wait until the next day to eat them, do it. They’ll be chewier and more flavorful.
Variations & Substitutions
While the classic salted caramel version is my absolute favorite, here are a few ways to tweak this recipe if you want to switch things up.
Chocolate Chip Salted Caramel
Add 1 cup of semi-sweet chocolate chips to the dough before pressing half of it into the pan. The chocolate adds another layer of richness that pairs beautifully with the caramel.
Double Chocolate
Replace 1/2 cup of the flour with cocoa powder. You’ll get a fudgy, chocolate base that looks like a brownie but tastes like a cookie bar. Dust with powdered sugar after baking for a fancy finish.
Gluten-Free Option
You can substitute the all-purpose flour with a 1:1 gluten-free baking flour blend (like Bob’s Red Mill or King Arthur). The texture might be slightly more crumbly, but the flavor will still be spot on. Add a teaspoon of xanthan gum if your blend doesn’t include it.
Dairy-Free
Use vegan butter sticks (not tub margarine) and dairy-free caramel bits. Many brands now make vegan caramel candies that melt just like the regular ones. The result is surprisingly close to the original.
Serving & Storage
How long do these cookie bars last?
They stay fresh at room temperature for up to 3 days. Store them in an airtight container with a slice of bread in the container—the bread keeps the cookies soft and chewy by absorbing excess moisture from the air. If you live in a humid climate, refrigerate them to prevent sticking.
Can I freeze them?
Yes! These freeze exceptionally well. Bake them, let them cool completely, then cut into squares. Wrap individual squares in plastic wrap and place them in a freezer-safe bag. They’ll last for up to 3 months. Thaw at room temperature for about 30 minutes before eating. They taste just as good frozen as they do fresh.
Serving Suggestions
These bars are rich, so they don’t need much accompaniment. A cold glass of milk is classic. A scoop of vanilla ice cream is luxurious. If you want something lighter, a dollop of whipped cream or a side of fresh berries cuts through the sweetness nicely. I also love serving these warm from the microwave (30 seconds) with a drizzle of extra caramel sauce for a dessert that feels like it came from a high-end café.
Nutrition Information
Note: These figures are estimates based on a standard calculator and assume 16 squares per pan. Actual values may vary depending on specific brands of ingredients used.
| Per Serving (1 Bar) | Amount |
|---|---|
| Calories | 380 kcal |
| Total Fat | 18g |
| Carbohydrates | 52g |
| Protein | 4g |
| Sugar | 38g |
Remember, this is a treat. Enjoy it guilt-free. Life’s too short to count every calorie on a Friday night.
Final Thoughts
There is something deeply satisfying about a dessert that requires minimal effort but delivers maximum comfort. These chewy salted caramel cookie bars are exactly that. They’re the kind of recipe that makes you feel like you’ve accomplished something, even though you barely broke a sweat.
I hope you try them. I hope they become a staple in your home, just as they have in mine. And I hope that next time someone asks, “What’s for dessert?” you can smile and say, “I’ve got this.”
If you make these, let me know how you like them! Drop a comment below with your thoughts. Did you add extra salt? Did you use chocolate chips? I love hearing how you customize your favorites.
Frequently Asked Questions
Can I use homemade caramel instead of bits?
Yes, you can use homemade caramel, but it will be much softer and stickier than the bits. If you use homemade caramel, reduce the amount slightly so the dough doesn’t become too soggy. You may also need to chill the dough longer before baking to help it hold its structure. The bits are easier for beginners because they melt into ribbons without making a mess.
Why did my cookie bars turn out cakey instead of chewy?
This usually happens for one of two reasons: either you packed too much flour into your measuring cup, or you overmixed the dough. Always spoon and level your flour, and mix the dry ingredients only until just combined. Also, ensure you are using light brown sugar, as the molasses content is key to chewiness.
Can I bake these in an 8×8 pan?
You can, but the bars will be thicker and may take longer to bake. Keep an eye on them after 25 minutes. If the top is browning too quickly but the center is still soft, cover it loosely with foil for the remaining bake time. The yield will be smaller, so you’ll have fewer squares.
How do I know when they are done baking?
The edges should be golden brown and pulling away slightly from the sides of the pan. The center might still look a little soft or shiny—that’s okay. They will continue to cook and set as they cool in the pan. If you wait until the center is firm in the oven, they will be dry once cooled.
Can I freeze the dough before baking?
Yes, you can assemble the bars in the pan, cover tightly with plastic wrap and foil, and freeze for up to 3 months. When ready to bake, let them thaw in the fridge overnight, then bake as directed, adding 5-10 minutes to the bake time if they are still cold from the fridge.
What is the best way to cut clean squares?
Use a sharp knife and wipe it clean between cuts. For even cleaner cuts, dip the knife in hot water and dry it off before each slice. The heat helps cut through the caramel without dragging it. Also, ensure the bars are completely cool before cutting; warm bars will crumble.
Can I substitute the butter with oil?
I don’t recommend it. Butter provides flavor and structure that oil cannot. If you use oil, the bars will be greasy and lack that rich, buttery taste. If you must, use a neutral oil like canola, but expect a different texture. Stick with butter for the best results.
Are these bars suitable for potlucks?
Absolutely. They travel well and are easy to serve. Just bring the whole pan, or cut them in the pan and cover with foil. They hold up well at room temperature, so they won’t melt or get messy in a car ride. Pair them with a simple dessert like keto Biscoff blondies if you want to offer variety, or serve alongside a savory dish like crispy shrimp tacos for a complete meal.
Consider linking to 2-3 related recipes on your site here (e.g. similar dishes, other dessert recipes) — internal links to relevant content help both ranking and time-on-site.
Pin This Recipe!
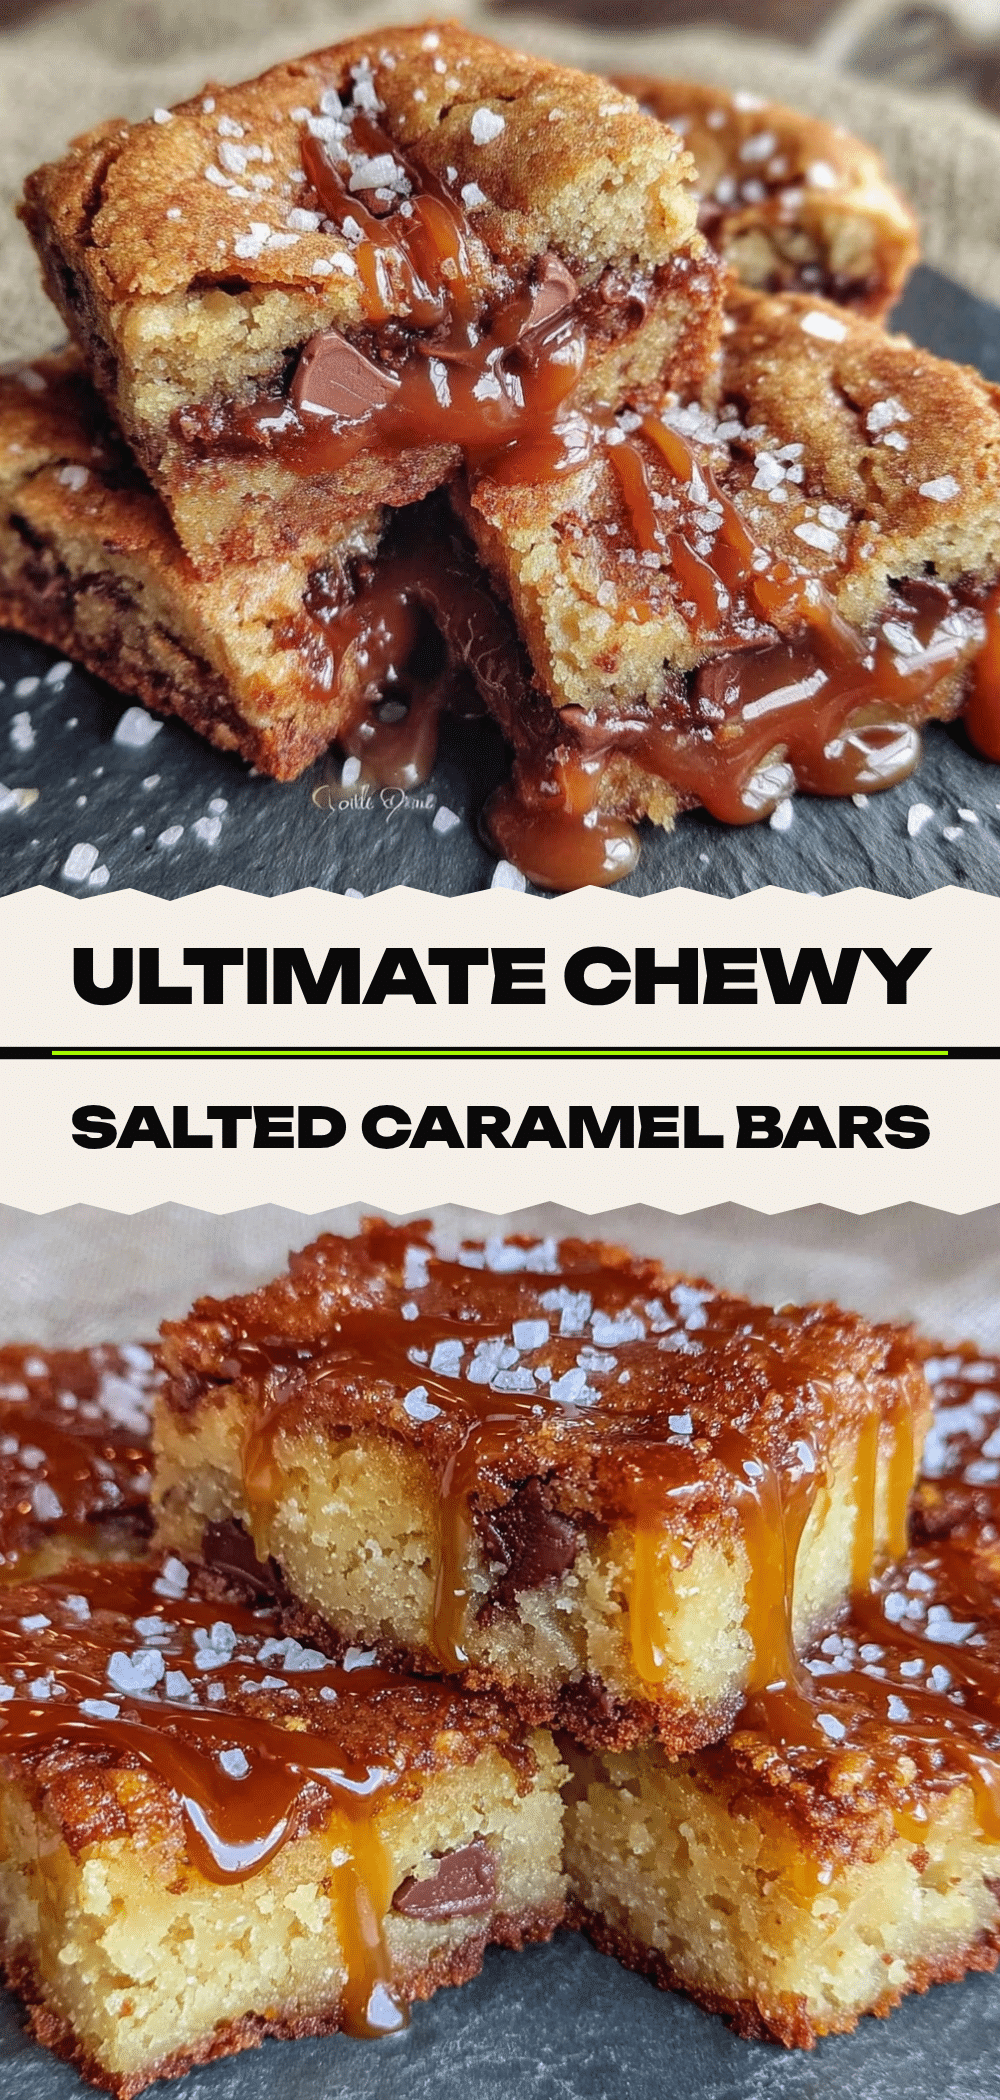
Chewy Salted Caramel Cookie Bars: 5pm Easy Dessert
- Total Time: 40 minutes
- Yield: 16 servings 1x
Description
These chewy salted caramel cookie bars are the ultimate 5pm dessert win. Ready in under 30 minutes with simple pantry staples, featuring a one-pan dump-and-swirl method for rich, buttery flavor without the stress.
Ingredients
- 1 cup (226g) unsalted butter, softened
- 2 cups (400g) light brown sugar
- 1 cup (200g) granulated white sugar
- 2 large eggs, room temperature
- 2 tsp vanilla extract
- 3 cups (375g) all-purpose flour
- 1 tsp baking powder
- 1/2 tsp baking soda
- 1/2 tsp salt
- 1 bag (approx. 10-12 oz) store-bought caramel bits
- 2 tbsp heavy cream (optional, for softening caramel)
- Sea salt flakes, for topping
Instructions
- Preheat oven to 350°F (175°C). Line a 9×13 inch baking pan with parchment paper, leaving an overhang on the sides, and grease lightly.
- In a large bowl, beat the softened butter, brown sugar, and white sugar on medium-high speed for 3-4 minutes until pale and fluffy.
- Beat in the eggs one at a time, then add the vanilla extract. Scrape down the sides of the bowl to ensure everything is incorporated.
- Reduce mixer speed to low. Add the flour, baking powder, baking soda, and salt. Mix just until the flour disappears; do not overmix.
- Press about half of the dough into the bottom of the prepared pan to create an even layer.
- If caramel bits are hard, microwave them with heavy cream for 30 seconds until soft and pliable. Drop spoonfuls of the caramel mixture over the dough layer.
- Crumble the remaining half of the dough over the top of the caramel. Gently swirl the top layer into the bottom layer with a knife or chopstick to create ribbons.
- Bake for 25-30 minutes until edges are golden brown and the center looks slightly soft.
- Let the bars cool in the pan for at least 20 minutes to set. Lift out using the parchment sling and slice into squares.
- Sprinkle with sea salt flakes before serving.
Notes
Use softened butter, not melted, for chewy centers. Spoon and level flour to avoid dry bars. Do not overmix the dough. Bars improve in flavor after sitting for a day. Store in an airtight container with a slice of bread to maintain chewiness. Can be frozen for up to 3 months.
- Prep Time: 10 minutes
- Cook Time: 30 minutes
- Category: Dessert
- Cuisine: American
Nutrition
- Serving Size: 1 bar
- Calories: 380
- Sugar: 38
- Sodium: 250
- Fat: 18
- Saturated Fat: 10
- Carbohydrates: 52
- Fiber: 1
- Protein: 4
Keywords: chewy salted caramel cookie bars, easy dessert, 5pm dinner, one pan dessert, no chill cookies, salted caramel bars, quick baking


