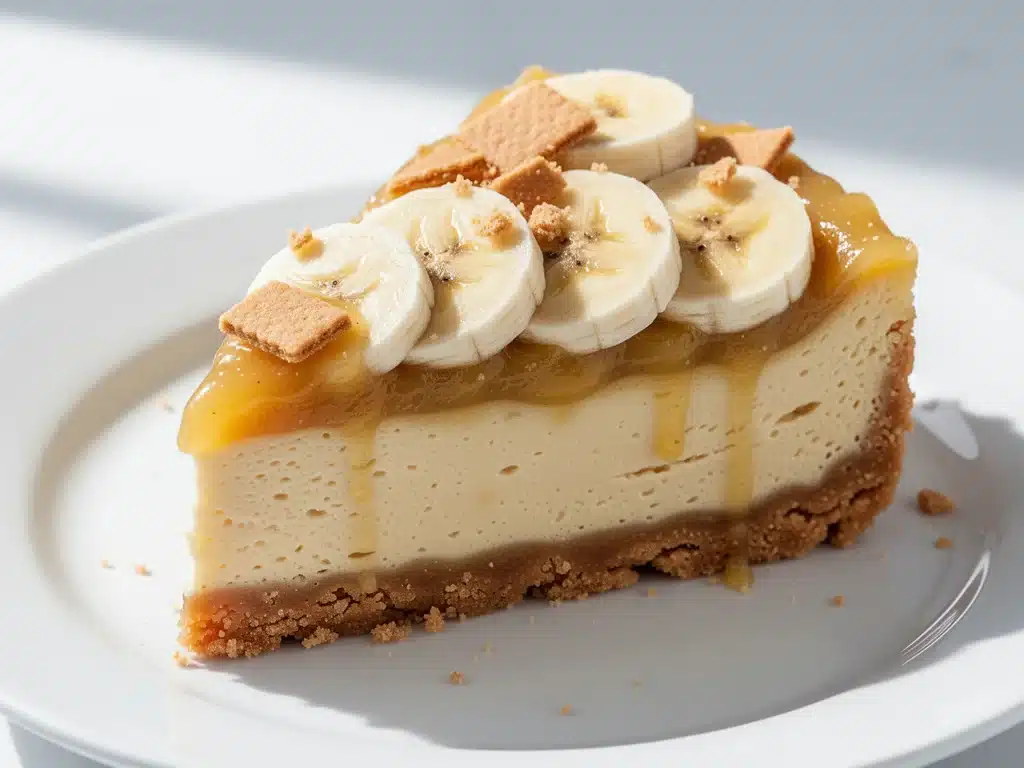
There is a specific kind of love that comes from a dessert that feels like a hug. For me, that dessert isn’t just any cake—it’s the banana pudding cheesecake. I grew up with this concept in my Southern backyard, where my Great-Aunt Clara ruled the kitchen with a wooden spoon and a strict “no instant pudding unless you’re desperate” policy. But here’s the thing: I took her traditional recipe, which usually involved a wobbly mound of whipped cream and vanilla wafers, and I gave it a serious upgrade. I folded in cream cheese. I baked it. And honestly? It’s been years since I’ve made a cheesecake that has this much impact.
I remember the first time I made this banana pudding cheesecake with vanilla wafer crust for a church potluck. I was nervous. You know how it is—people are skeptical of hybrids. Is it a cheesecake? Is it a pudding? Is it safe to eat? I set it on the table next to the green bean casserole, expecting it to be the last thing touched. Instead, it was gone in twenty minutes. People were asking for the recipe before they even finished their second slice. That’s when I knew I had something special.
This isn’t your average Sunday afternoon snack. This is the dessert you bring to impress the in-laws. It’s the reason my husband asks me to bake on dates he actually wants to stay in for. It combines the tangy richness of a classic New York-style cheesecake with the nostalgic, creamy sweetness of Southern banana pudding. And the best part? It’s easier than you think. I’ve broken it down into five simple steps so you can stop worrying and start eating.
If you’ve ever struggled with soggy crusts or bland banana flavor, you’re in the right place. I’ve tested this version more times than I care to admit (probably 12 times over the last year) to get the texture just right. It’s dense enough to feel luxurious but light enough to not weigh you down. Let’s get into why this recipe is about to become your new favorite.
Why You’ll Love This Banana Pudding Cheesecake
Okay, so why should you add this to your baking rotation? I’ve made hundreds of desserts, and this one stands out for reasons that go beyond just “it tastes good.” Here’s the real talk on why this banana pudding cheesecake with vanilla wafer crust wins every time.
Nostalgia Meets Elegance — This hits two notes at once. It tastes like childhood banana pudding but looks like something you’d order at a high-end café. It’s the perfect bridge for picky eaters who love banana pudding but also for foodies who appreciate a good cheesecake.
Zero Soggy Bottoms — The biggest complaint about banana desserts is the wetness. By baking the crust and using a specific layering technique with the bananas, I’ve solved the soggy crust problem forever. The vanilla wafer crust stays crisp and buttery all the way through.
Make-Ahead Friendly — This is my secret weapon for busy weekends. It needs to chill for at least 6 hours, which means you can make it the night before a dinner party. Seriously, the flavors actually get better after sitting overnight. I’ve hosted entire dinner parties where this was the only dessert I prepared, and I spent the evening drinking wine with my guests instead of stressing in the kitchen.
Simple Ingredients — You don’t need fancy equipment or obscure ingredients. Cream cheese, bananas, vanilla wafers, pudding mix (yes, I use it, and I’ll explain why it works), and eggs. That’s it. If you can whip cream, you can make this.
Universal Crowd-Pleaser — I’ve served this to toddlers, teenagers, and grandparents. Everyone loves bananas. Everyone loves cheesecake. Combining them is a no-brainer. It’s safe, delicious, and universally liked.
This is my go-to when I need to impress without trying too hard. It’s reliable, it’s delicious, and it makes everyone happy. No complicated techniques, no weird ingredients, just reliable, delicious food that makes everyone happy.
Ingredients You’ll Need
Here’s the best part: you probably have most of this already. I’m particular about three ingredients here, and I’ll tell you exactly why. Don’t skip the details on these.
For the Vanilla Wafer Crust
Vanilla Wafers (2 cups / about 200g) — I use Nilla Wafers. They’re the gold standard for a reason. They have the right amount of sweetness and that distinct vanilla flavor. Don’t try to substitute with graham crackers unless you’re in a pinch; the texture will be different. Crush them into fine crumbs.
Unsalted Butter (6 tablespoons / 85g) — Melted. Use good quality butter here. It binds the crust and adds that rich flavor. If you use salted butter, reduce the added salt in the recipe.
Granulated Sugar (2 tablespoons / 25g) — Just a little bit to help the crust brown and add a hint of sweetness. Not too much, or it’ll be cloying.
For the Cheesecake Layer
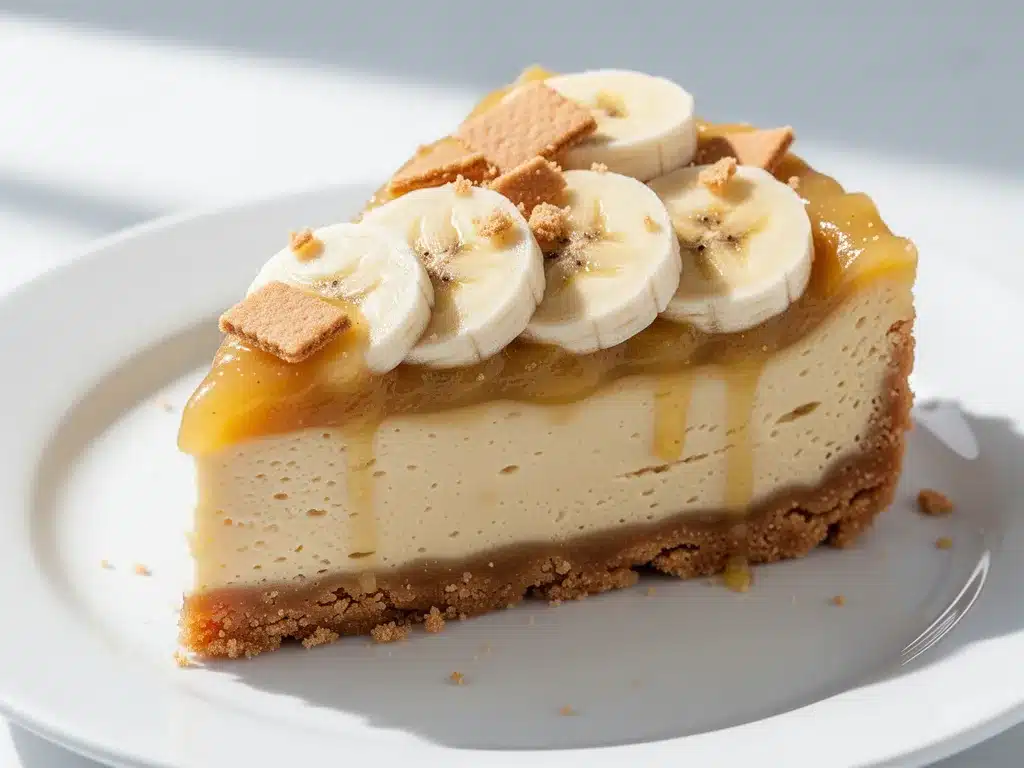
Cream Cheese (24 oz / 680g) — This is the star. Full-fat, brick-style cream cheese. Do not use the whipped kind in a tub. It won’t set properly. Let it come to room temperature for at least 30 minutes before mixing. Cold cream cheese creates lumps, and nobody wants lumps in their cheesecake.
Granulated Sugar (1 cup / 200g) — Standard sweetness for cheesecake. If you like it less sweet, drop to ¾ cup, but I recommend sticking with this amount to balance the tartness.
Sour Cream (1 cup / 240g) — This adds tang and moisture. It keeps the cheesecake from being too dense. Full-fat is best here.
Vanilla Extract (2 teaspoons) — Pure vanilla extract. Not the imitation stuff. The flavor needs to shine through.
Eggs (4 large) — Room temperature eggs mix more evenly and prevent cracking. Crack them into a bowl first to check for bad ones, then add.
For the Banana Pudding Layer
Instant Vanilla Pudding Mix (2 boxes / 5.1 oz each) — I know, I know. Purists might cringe, but for this recipe, instant pudding mix is actually the secret weapon. It stabilizes the bananas and adds a consistent vanilla flavor that complements the cream cheese. I use Jell-O brand. It’s reliable.
Whole Milk (2 cups / 480ml) — Cold milk. Whisk it with the pudding mix according to package directions, but stop stirring once it thickens. You want it thick, not runny.
Fresh Bananas (4-5 medium) — Ripe but firm. Not brown and mushy. You want slices that hold their shape. Overripe bananas will turn to mush in the fridge. Yellow with a few brown spots is perfect.
Heavy Whipping Cream (2 cups / 480ml) — Cold. For folding into the pudding. This lightens the pudding layer so it’s not a dense block of sugar.
Equipment Needed
You don’t need fancy equipment for this. Here’s what I actually use.
9-Inch Springform Pan — Essential for cheesecakes. It allows you to release the sides without damaging the cake. Make sure it’s a good quality one that doesn’t leak. I wrap the bottom in foil just in case.
Food Processor or Ziploc Bag — For crushing the vanilla wafers. A food processor gives you the finest crumbs, which makes a better crust. If you don’t have one, put the wafers in a heavy-duty Ziploc bag and crush them with a rolling pin. It takes a few minutes but works fine.
Electric Mixer — Hand mixer or stand mixer. Creaming the cream cheese and sugar by hand is possible, but it takes forever and your arms will hurt. Use a mixer on low speed to avoid incorporating too much air, which can cause cracking.
Large Mixing Bowls — You’ll need two or three. One for the crust, one for the cheesecake batter, and one for the pudding.
Spatula — A good silicone spatula for scraping bowls and folding the whipped cream into the pudding. Don’t use a metal spoon; you’ll knock out the air you just whipped into the cream.
Chilling Space — Make sure your fridge has room for a 9-inch pan. I learned this the hard way when I tried to fit it in a tiny apartment fridge and had to rearrange everything.
How to Make It: Step-by-Step
Alright, let’s make this! I’m walking you through exactly how I do it, including the little tricks I’ve picked up.
Step 1: Prep Your Crust (10 minutes)
Preheat your oven to 350°F (175°C). Crush your vanilla wafers into fine crumbs. Mix them with the melted butter and sugar until it looks like wet sand. Press this mixture firmly into the bottom and slightly up the sides of your springform pan. Use the bottom of a measuring cup to pack it down tight. This is crucial for a crust that doesn’t crumble. Bake for 8-10 minutes until it smells like cookies. Let it cool completely while you make the filling.
Step 2: Make the Cheesecake Batter (15 minutes)
In a large bowl, beat the room-temperature cream cheese on medium-low speed until smooth and creamy. This takes about 2-3 minutes. Scrape down the sides and bottom of the bowl. Add the sugar and beat until combined. Add the sour cream and vanilla extract. Mix until just combined. Add the eggs one at a time, mixing on low speed after each addition. Do not overmix! Once the eggs are in, stop. Overmixing adds air, which leads to cracks.
Step 3: Assemble the Base Layer (5 minutes)
Pour the cheesecake batter over the cooled crust. Smooth the top with a spatula. This is your foundation. It should be even and flat.
Step 4: Prepare the Banana Pudding Layer (10 minutes)
In a separate large bowl, whisk the instant vanilla pudding mix with the cold milk according to package directions. Stop stirring once it thickens—it should be quite thick. In another bowl, whip the heavy cream to stiff peaks. This adds air and lightness. Gently fold the whipped cream into the thickened pudding mixture. Use a spatula and fold carefully to keep the air in. You want a fluffy, mousse-like texture.
Step 5: Add the Bananas and Chill (6+ hours)
Slice your bananas. Arrange them in a single layer over the cheesecake batter. Don’t overlap them too much. Then, spoon the fluffy banana pudding mixture over the bananas. Spread it gently to cover the bananas completely. This seals the bananas and prevents browning. Cover the pan with plastic wrap or foil. Refrigerate for at least 6 hours, but overnight is best. The cheesecake needs time to set and the flavors to meld.
Expert Tips & Tricks
Here’s everything I’ve learned from making this dozens of times. These tips will save you from my mistakes.
Room Temperature Cream Cheese is Non-Negotiable
I’ve tried using cold cream cheese, and it results in lumps. Lumps in cheesecake are unacceptable. Take your cream cheese out of the fridge the morning you plan to bake. If you forget, cut it into cubes and microwave it in 5-second bursts, checking frequently, until it’s soft but not melted.
Don’t Overmix the Batter
Once you add the eggs, stop mixing. You want a dense, creamy texture, not a fluffy cake. Overmixing incorporates air bubbles that expand in the oven and then collapse, causing cracks. If you get cracks, don’t panic. They’ll be hidden under the pudding layer anyway.
Use Fresh Bananas, Not Frozen
Frozen bananas release too much water and turn mushy. Fresh bananas hold their shape better and provide a better texture contrast. Slice them right before adding them to the cake to prevent browning.
Seal the Bananas
The pudding layer acts as a seal. Make sure you spread it evenly over the bananas. If any banana is exposed to air, it will turn brown. Brown bananas look unappetizing, even if they taste fine.
Patience is Key
I know it’s tempting to dig in after 2 hours, but the cheesecake needs time to set. If you cut it too early, it will be messy and won’t hold its shape. Let it chill overnight. The flavor improves dramatically after 12 hours.
Slice with a Hot Knife
For clean slices, dip your knife in hot water and wipe it dry between each cut. This ensures smooth edges and prevents the layers from shifting.
Variations & Substitutions
Once you’ve nailed the basic version, here’s how you can mix it up. I’ve tried all of these.
Chocolate Chip Twist
Add ½ cup of mini chocolate chips to the cheesecake batter before pouring it over the crust. It adds a nice crunch and chocolate flavor that pairs well with banana.
Caramel Drizzle
Drizzle salted caramel sauce over the top before serving. The saltiness cuts through the sweetness beautifully. I love this version for holidays.
Gluten-Free Option
Use gluten-free vanilla wafers for the crust. Make sure the pudding mix is certified gluten-free (some brands use wheat starch). The rest of the ingredients are naturally gluten-free.
Lighter Version
Use reduced-fat cream cheese and low-fat sour cream. The texture will be slightly less rich, but it’s still good. You can also use light whipped topping instead of whipping heavy cream.
Coconut Variation
Replace half of the vanilla wafers with crushed coconut flakes in the crust. Add toasted coconut on top. It gives it a tropical vibe.
Serving & Storage
How to Serve:
I usually serve this straight from the fridge. It’s best served cold. Garnish with a few fresh banana slices and a sprinkle of crushed vanilla wafers. A dollop of whipped cream is optional but nice.
Side Dishes:
This is rich, so it doesn’t need much. A simple black coffee or a glass of cold milk pairs perfectly. If you’re having a meal, serve it after a light dinner.
Storage Instructions:
Store in the refrigerator, covered with plastic wrap or in an airtight container, for up to 5 days. Do not freeze this cheesecake. The bananas will turn brown and the texture will become watery when thawed. It’s best enjoyed fresh from the fridge.
Pro Tip:
If you’re making this for a party, make it the night before. It’s easier to transport, and the flavors have time to develop. Just bring it to the party cold.
Nutrition Information
I’m not a nutritionist, but here’s the breakdown if you’re tracking. This is a rich dessert, so portion control is key.
Per Serving (based on 12 slices):
- Calories: 380
- Protein: 6g
- Carbs: 45g
- Fiber: 1g
- Sugar: 32g
- Fat: 20g
- Saturated Fat: 12g
It’s high in sugar and fat, as expected for a cheesecake. But it’s also a treat meant to be enjoyed slowly. If you want to lighten it up, use the lighter variations mentioned above. But honestly? Sometimes you just need the full-fat, full-flavor version.
Final Thoughts
So that’s my banana pudding cheesecake with vanilla wafer crust! I’ve probably talked your ear off at this point, but when you make a recipe this often, you have a lot to say about it. This has saved me from dessert disasters more times than I can count. It’s my answer to “what should I bring to the party?” when I want to impress without spending hours in the kitchen.
My family loves it, my friends beg for it, and I’m confident you’ll love it too. It’s creamy, it’s sweet, it’s nostalgic, and it’s easy. Make it yours! Try different garnishes, swap in your favorite cookies, or add a drizzle of caramel. The best recipes are the ones you adapt to your tastes.
If you make this, drop a comment and let me know what you think! I love hearing how recipes turn out in your kitchen. And if something doesn’t work, tell me that too—I’m here to help troubleshoot. Happy baking! And I hope your kitchen smells half as good as mine does right now.
Frequently Asked Questions
Can I use canned banana slices instead of fresh?
You can, but they’re much softer and sweeter. If you use canned bananas, drain them very well and pat them dry with a paper towel. They’ll still work, but the texture will be softer. Fresh bananas are definitely preferred for the best contrast.
Why did my cheesecake crack?
Cracks are usually caused by overmixing the batter or baking at too high a temperature. Make sure you mix the eggs in on low speed and don’t overbeat. Also, check your oven temperature with a thermometer. If your oven runs hot, the cheesecake might cook too quickly and crack. Using a water bath can also help prevent cracking by providing gentle, even heat.
Can I make this without a springform pan?
It’s difficult. Springform pans are designed for cheesecakes because they allow you to release the sides without flipping the cake. If you don’t have one, you can use a regular round pan, but you’ll need to line it with parchment paper and flip it out onto a plate to serve. It’s messier and riskier, so I recommend getting a springform pan if you plan to make cheesecakes often.
How long does this last in the fridge?
It lasts up to 5 days in the refrigerator. After that, the bananas may start to brown and the texture may change. It’s best eaten within the first 3 days for optimal freshness.
Can I freeze this cheesecake?
I don’t recommend it. The bananas don’t freeze well in this context—they become mushy and watery when thawed. The cream cheese layer might also separate. It’s best enjoyed fresh from the fridge.
Is the instant pudding mix necessary?
It’s not strictly necessary, but it helps stabilize the banana layer and adds a consistent vanilla flavor. If you want to make it from scratch, you can make a custard with milk, egg yolks, sugar, and cornstarch, but it takes more time and effort. The instant mix is a shortcut that works really well here.
Can I use Greek yogurt instead of sour cream?
Yes, you can. Greek yogurt will add a tangier flavor and slightly less fat. It works well, but the texture might be slightly less rich. If you use Greek yogurt, make sure it’s full-fat for the best results.
Pin This Recipe!
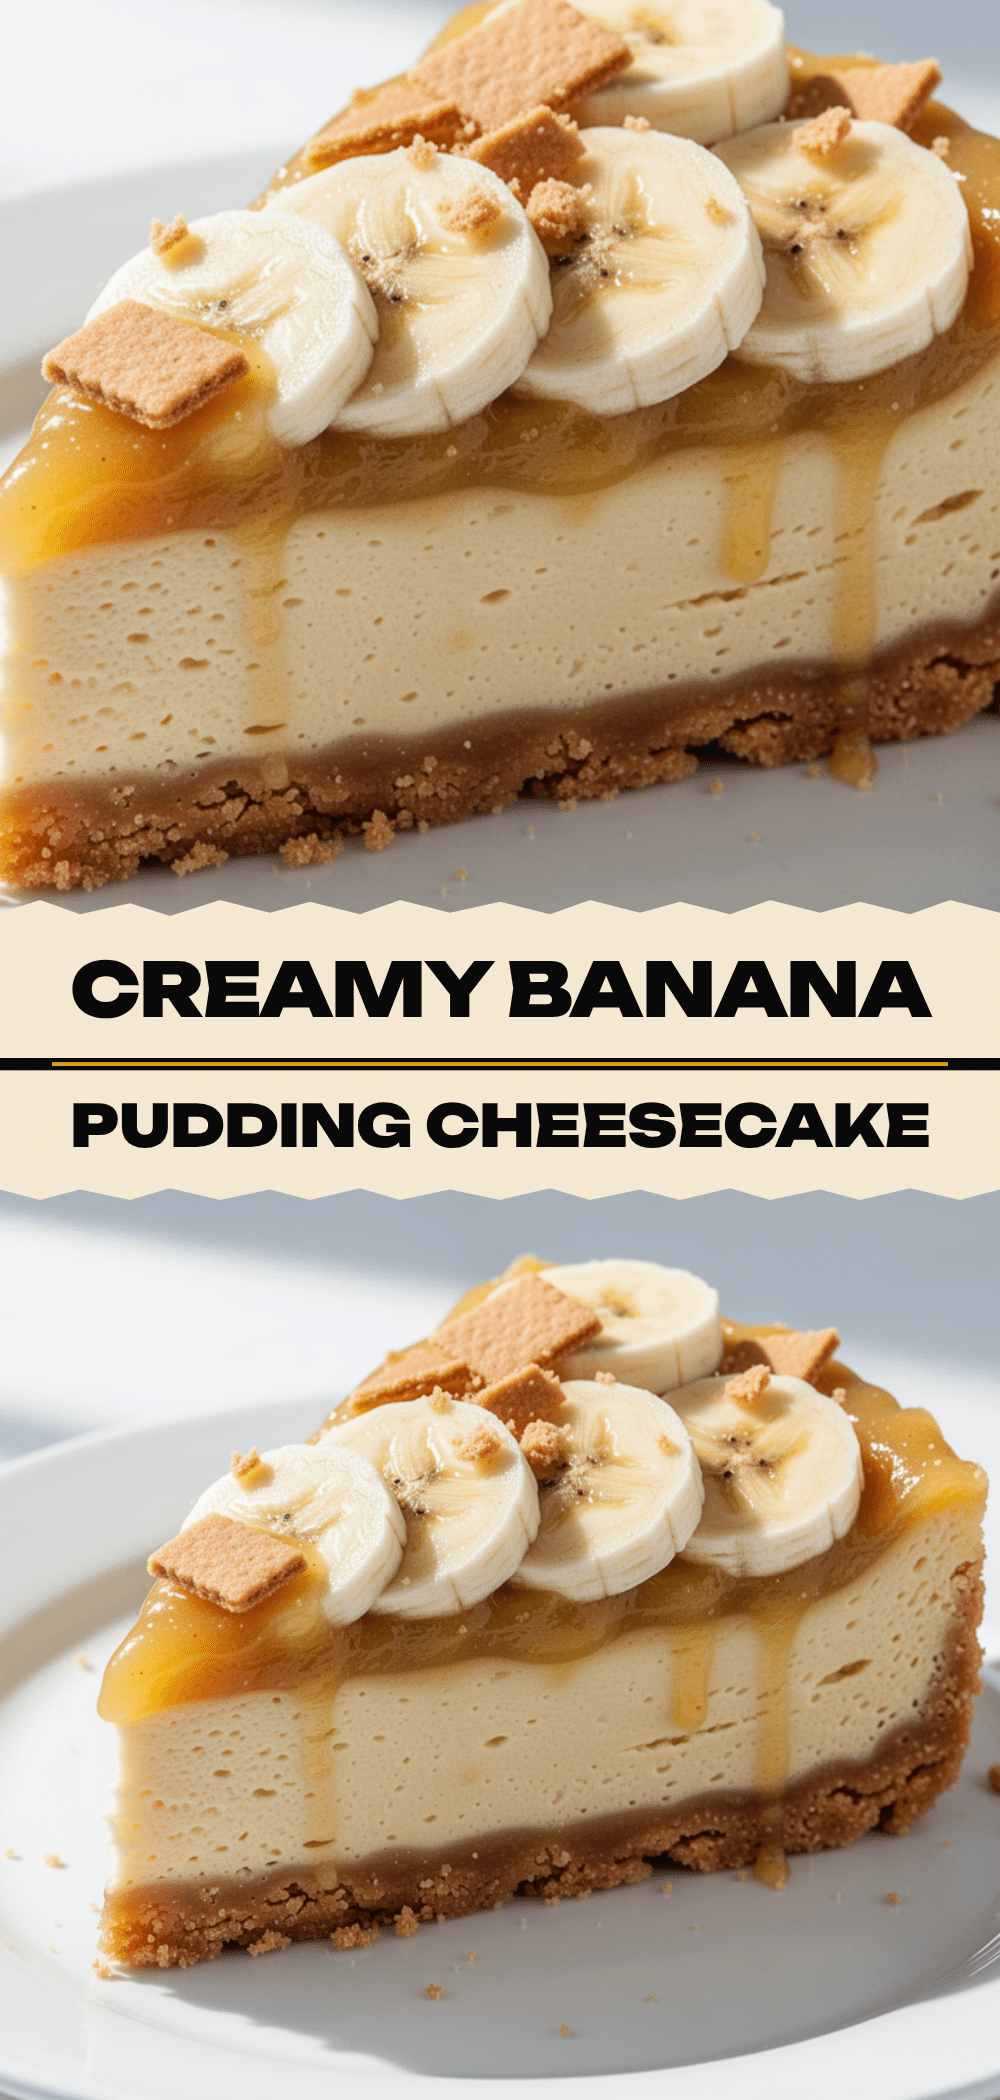
Banana Pudding Cheesecake
- Total Time: 6 hours 50 minutes
- Yield: 12 servings 1x
Description
A rich and creamy dessert that combines the tangy richness of a classic New York-style cheesecake with the nostalgic, creamy sweetness of Southern banana pudding, featuring a crisp vanilla wafer crust.
Ingredients
- 2 cups (200g) vanilla wafers, crushed into fine crumbs
- 6 tablespoons (85g) unsalted butter, melted
- 2 tablespoons (25g) granulated sugar
- 24 oz (680g) full-fat brick-style cream cheese, room temperature
- 1 cup (200g) granulated sugar
- 1 cup (240g) full-fat sour cream
- 2 teaspoons pure vanilla extract
- 4 large eggs, room temperature
- 2 boxes (5.1 oz each) instant vanilla pudding mix
- 2 cups (480ml) cold whole milk
- 4–5 medium fresh bananas, ripe but firm
- 2 cups (480ml) cold heavy whipping cream
Instructions
- Preheat oven to 350°F (175°C). Mix crushed vanilla wafers, melted butter, and sugar until resembling wet sand. Press firmly into the bottom and slightly up the sides of a 9-inch springform pan. Bake for 8-10 minutes until fragrant, then let cool completely.
- In a large bowl, beat room-temperature cream cheese on medium-low speed until smooth (2-3 minutes). Scrape down sides. Add sugar and beat until combined. Add sour cream and vanilla extract, mixing until just combined.
- Add eggs one at a time, mixing on low speed after each addition. Stop mixing once eggs are incorporated to avoid incorporating air which causes cracking.
- Pour cheesecake batter over the cooled crust and smooth the top with a spatula.
- In a separate bowl, whisk instant vanilla pudding mix with cold milk according to package directions until thick. In another bowl, whip heavy cream to stiff peaks.
- Gently fold the whipped cream into the thickened pudding mixture until fluffy and mousse-like.
- Slice bananas and arrange in a single layer over the cheesecake batter. Spoon the pudding mixture over the bananas, spreading gently to cover them completely to prevent browning.
- Cover the pan with plastic wrap or foil and refrigerate for at least 6 hours, preferably overnight, to set.
Notes
Ensure cream cheese is at room temperature to avoid lumps. Do not overmix the batter after adding eggs to prevent cracking. Use fresh bananas, not frozen, for best texture. Seal bananas completely with pudding to prevent browning. Slice with a hot knife for clean cuts. Do not freeze as bananas become watery.
- Prep Time: 40 minutes
- Cook Time: 10 minutes
- Category: Dessert
- Cuisine: American
Nutrition
- Serving Size: 1 slice
- Calories: 380
- Sugar: 32
- Fat: 20
- Saturated Fat: 12
- Carbohydrates: 45
- Fiber: 1
- Protein: 6
Keywords: banana pudding cheesecake, vanilla wafer crust, southern dessert, make-ahead dessert, cream cheese dessert, easy cheesecake


