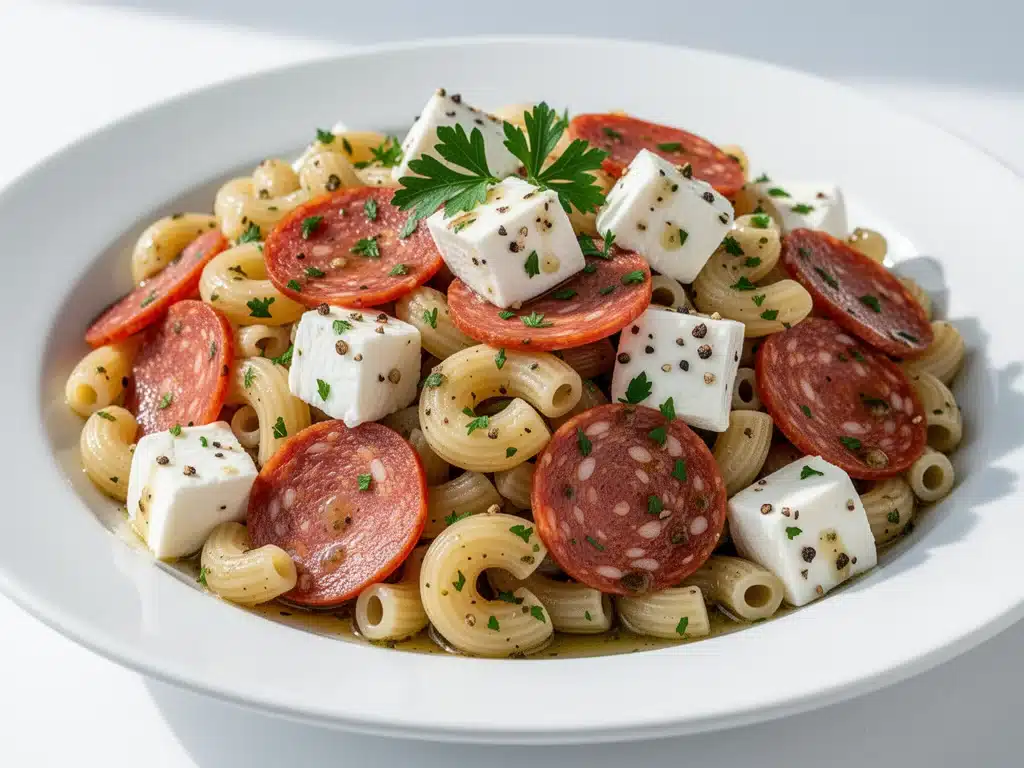
There is a specific kind of panic that sets in on a Sunday night in August. You’re staring at an empty fridge, the school year starts in three days, and the thought of packing lunches for two kids who are “too cool for lunchboxes” feels like a losing battle. For years, I tried the classic approach: sandwiches, cheese sticks, apple slices, and maybe a bag of chips. It was healthy, sure. But by Tuesday, the kids were begging for takeout because their lunches were boring.
Then, about five years ago, I accidentally made a huge batch of pasta salad as a side for a barbecue. I didn’t have the heart to throw it out, so I packed it in Tupperware on Monday morning. On Tuesday, my son looked at his sandwich, looked at the pasta salad, and made a deal: “Swap my sandwich for this, and I’ll eat my yogurt.” I swapped it. He ate the yogurt. The pasta salad disappeared in ten minutes.
That was the moment I realized we didn’t need more lunchbox variety; we needed better flavor. This Back to School Pasta Salad has been in our rotation ever since. It’s better than takeout because it’s made with real ingredients, it holds up perfectly in a cooler all day, and it actually makes my kids excited to eat lunch. Plus, it only uses five main ingredients (not counting the dressing), so it’s cheap, fast, and incredibly easy to make.
I’ve tested this recipe countless times—sometimes with rotini, sometimes with penne, sometimes with a weird mix of shapes I found in the back of the pantry. The result is always the same: an empty container handed back to me at 3:00 PM with a comment like, “Can you make more for dinner?” That’s the highest compliment a mom can get.
Why You’ll Love This 5-Ingredient Meal
Look, I’m not going to lie to you. Making lunch every day is hard work. Some days, I’m running on dry shampoo and hope. This recipe is my secret weapon because it removes the guesswork and the stress. Here’s why this pasta salad has become the backbone of our weekday lunches:
- It’s Actually Make-Ahead Friendly — Most salads turn into mush by Wednesday. Not this one. The flavors meld together, and it actually tastes better on day two and three. I make a big batch on Sunday, and it lasts in the fridge for four days without losing its crunch or flavor.
- Five Ingredients, Zero Compromise — I know, five sounds like a lot when you’re trying to simplify. But these five ingredients are the ones that matter: pasta, cheese, veggies, protein, and dressing. You don’t need a pantry full of spices or obscure sauces. Just good, simple food.
- Cooler-Proof — This is huge. If your kids have hot lunches or leave their lunchboxes in the car (we’ve all been there), this pasta salad is safe. It doesn’t require refrigeration until it’s time to eat, and it doesn’t get soggy or weirdly warm in a way that makes kids gag.
- Picky-Eater Approved — My daughter hates onions. My son hates anything green that moves. This recipe is flexible. I can leave out the peppers for one kid and add extra bacon for the other. It’s customizable without being complicated.
- Better Than Takeout (And Cheaper) — A single lunch order at any fast-food place runs about $12. This batch costs me about $8 to make and feeds four people for four days. That’s $2 a lunch. Do the math. Your wallet will thank you.
This isn’t just a recipe; it’s a peace treaty in the morning rush. You throw it together in 15 minutes, pack it, and you’re done. No stress, no complaints, just good food.
Ingredients You’ll Need
Here’s the best part: you probably have most of this already. I’m not asking you to run to the store for anything exotic. This is pantry-friendly, fridge-clearing magic. Here’s exactly what you need to make this Back to School Pasta Salad better than takeout.
The Base
Pasta (1 pound / 450g) — I use rotini or penne. Why? The curves and tubes hold the dressing and small bits of veggies. Flat noodles like linguine slide off and leave you with dry pasta. You want shape. Also, cook it al dente—it will soften a bit more in the fridge, so don’t overcook it. I always use Barilla because it’s reliable and cooks evenly every time.
Cheddar Cheese (1 cup / 100g, diced or shredded) — Sharp cheddar is non-negotiable. Mild cheddar gets lost in the dressing. Sharp cheddar cuts through the creaminess and adds a punch of flavor that kids actually notice. Dice it small so it’s easy to eat with a fork.
The Veggies
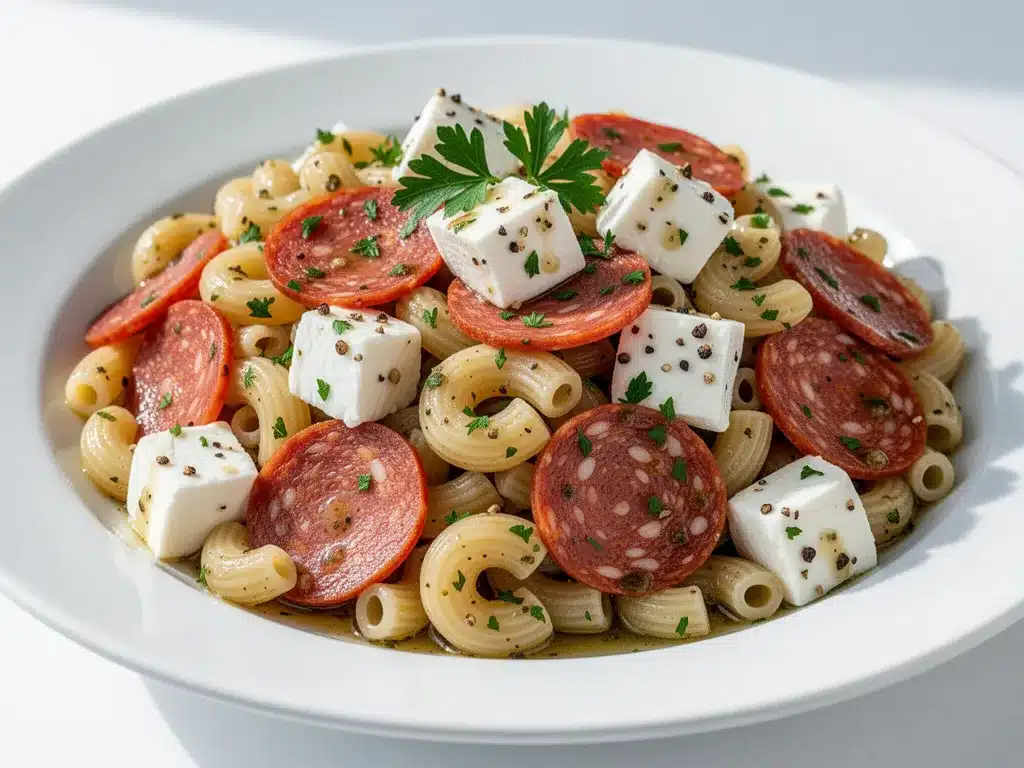
Celery (2 stalks, finely diced / about 100g) — This is the secret weapon. Celery adds crunch and freshness without being overpowering. If your kids hate it, you can swap it for diced red bell peppers, but the crunch is what makes this salad feel alive, not soggy. Finely dice it so it’s easy to chew.
Red Onion (1 small, finely diced / about 50g) — Raw onion can be sharp, so I recommend soaking the diced onion in cold water for 10 minutes before adding it to the salad. This mellows the bite. If your kids are onion-averse, swap this for sweet onion or just leave it out. No judgment.
The Protein
Pepperoni or Ham (1 cup / 100g, diced) — This is where we get the “better than takeout” flavor. Diced pepperoni adds a salty, spicy kick that kids love. Diced ham is a milder option. I usually mix both—half pepperoni, half ham—for a balance of flavor and mildness. Cut it into small cubes so it’s evenly distributed.
The Dressing
Mayonnaise & Apple Cider Vinegar (½ cup mayo / 120ml, 2 tablespoons vinegar / 30ml) — This is the classic pasta salad dressing combo. The mayo provides creaminess, and the vinegar cuts the fat, keeping it light. I use a simple mix of mayo, vinegar, a splash of milk (to thin it), salt, and pepper. No fancy spices needed. The pasta and cheese do the heavy lifting.
Equipment Needed
You don’t need fancy gadgets for this. Here’s what I actually use:
- Large Pot — For boiling the pasta. A 6-quart pot works perfectly. My old stainless steel pot from college still does the job fine.
- Colander — For draining the pasta. Or just use the lid if you’re being lazy (I do this when I’m in a rush).
- Large Mixing Bowl — Something big enough to hold all the ingredients. I use a 5-quart glass bowl because I can see everything and it’s easy to wash.
- Cutting Board & Knife — For dicing the veggies and meat. Sharp knife helps—dull knives make you cry more, and we don’t need extra tears in the kitchen.
- Measuring Cups and Spoons — Standard stuff. Dollar store versions work fine for this.
- Spatula — For mixing. Silicone works best so you don’t scratch your bowl.
Optional but nice: A cheese grater if you’re grating your own cheddar. Pre-shredded cheese has anti-caking agents that make the salad gritty. Grate your own—it takes two minutes and makes a huge difference.
How to Make It: Step-by-Step
Alright, let’s make this! I’m walking you through exactly how I do it, including the little tricks I’ve picked up over the years. This should take you about 20 minutes total, mostly hands-off.
Step 1: Cook the Pasta (10 minutes)
Bring a large pot of salted water to a boil. It should taste like the ocean. Add the pasta and cook according to package directions until al dente (usually 8-10 minutes). Crucial Step: Do not rinse the pasta after draining! Rinsing washes away the starch that helps the dressing cling to the noodles. Just drain it and let it cool slightly. I usually run it under cool water for 30 seconds just to stop the cooking, but I don’t rinse it thoroughly. Set it aside.
Step 2: Prep the Veggies and Meat (5 minutes)
While the pasta cooks, dice your celery, red onion, and pepperoni/ham. Keep the pieces small and uniform—about ¼ inch cubes. This ensures every forkful has a bit of everything. If you’re using red onion, soak it in a bowl of cold water for 10 minutes to reduce the sharpness. Drain and pat dry before adding.
Step 3: Make the Dressing (2 minutes)
In a small bowl, whisk together the mayonnaise, apple cider vinegar, a splash of milk (about 2 tablespoons), salt, and black pepper. Taste it. It should be creamy and tangy. If it’s too thick, add a little more milk. If it’s too thin, add a spoonful more mayo. You want a dressing that coats the back of a spoon but isn’t gloopy.
Step 4: Combine Everything (3 minutes)
In your large mixing bowl, combine the cooled pasta, diced cheddar cheese, celery, onion, and meat. Pour the dressing over everything. Use a spatula to gently fold it all together. You want to coat every noodle and piece of veggie. Don’t be shy with the dressing—pasta salad needs enough moisture to stay creamy in the fridge.
Step 5: Chill and Settle (At least 1 hour)
This is the hardest part: waiting. Cover the bowl with plastic wrap or transfer the salad to an airtight container. Refrigerate for at least one hour before serving. This allows the flavors to meld and the pasta to absorb some of the dressing. If you can wait overnight, even better. The flavors will be deeper and more complex.
Total Time: About 20 minutes active, plus chilling time.
Expert Tips & Tricks
Here’s everything I’ve learned from making this dozens of times. These tips will save you from my mistakes.
- Don’t Overcook the Pasta — Pasta continues to cook slightly as it sits in the dressing. If you cook it until it’s perfectly tender, it’ll be mushy by Wednesday. Aim for al dente, or even slightly undercooked.
- Use Sharp Cheese — Mild cheese disappears in mayo. Sharp cheddar or even Pepper Jack adds flavor that stands up to the dressing. If you want a kick, use Pepper Jack.
- Soak the Onion — Raw red onion can be too pungent for kids. Soaking it in cold water for 10 minutes tames the bite without cooking it. It keeps the crunch but loses the harshness.
- Adjust the Dressing Ratio — Every brand of mayo and vinegar is different. Taste the dressing before adding it to the pasta. It should be slightly stronger than you think it needs to be, because the pasta will dilute it.
- Add Fresh Herbs at the End — If you want a pop of freshness, add chopped parsley or chives right before serving. Don’t mix them in days ahead—they’ll wilt and turn brown.
Common Mistakes (and how to avoid them):
- Mistake: Salad is dry — Fix: Add more mayo or a splash of milk. Pasta soaks up dressing over time.
- Mistake: Salad is too salty — Fix: Pepperoni and cheddar are salty. Taste before adding extra salt to the dressing.
- Mistake: Pasta is mushy — Fix: Undercook it next time. Also, don’t leave it in the dressing for more than 4 days.
Variations & Substitutions
Once you’ve nailed the basic version, here’s how you can mix it up. I’ve tried all of these, and they all work.
- Turkey Club Version — Swap pepperoni for diced turkey breast and add crisp lettuce (add right before serving). Use bacon bits for crunch. This is a classic club sandwich flavor in salad form.
- Veggie-Loaded — Add diced cucumbers, cherry tomatoes, and black olives. This version is lighter and fresher. Great for warm weather.
- BBQ Chicken Version — Swap mayo for BBQ sauce (use ½ cup BBQ sauce, ¼ cup mayo). Add diced cooked chicken and cheddar. Kids love this sweet and smoky combo.
- Italian Style — Use Italian dressing instead of mayo/vinegar. Add salami, mozzarella balls, and pepperoni. Serve with crusty bread.
- Gluten-Free — Use gluten-free pasta. Everything else is naturally gluten-free. I’ve used Barilla gluten-free and it works great, though it can be a bit softer.
- Dairy-Free — Use dairy-free mayo and skip the cheese, or use a vegan cheese shred. It’s not the same, but it’s still tasty.
Serving & Storage
How to Serve: I usually serve this straight from the fridge. It’s best cold or room temperature. I pack it in bento boxes or compartmentalized lunchboxes so it doesn’t get squished. It goes great with a piece of fruit and a granola bar.
Side Dishes: If serving for dinner, pair it with grilled chicken, fresh fruit, and a glass of milk. It’s a complete meal in itself, but it’s nice to have something fresh on the side.
Storage Instructions:
- Refrigerator: Store in an airtight container for up to 4 days. The flavors get better each day, but the pasta will continue to absorb dressing. If it gets too dry, add a splash of milk or mayo when serving.
- Freezing: Do not freeze this. The mayo will separate, and the veggies will get mushy. It’s best made fresh.
- Meal Prep: Make a double batch on Sunday. Pack lunches for the whole week. It’s the ultimate time-saver.
Pro Tip: If you’re packing lunches, keep the dressing separate if you’re worried about sogginess. But honestly, this recipe is designed to hold up. Just pack it tight and chill it fast.
Nutrition Information
I’m not a nutritionist, but here’s the breakdown if you’re tracking. Keep in mind that this is a rich salad due to the mayo and cheese.
Per Serving (based on 6 servings):
- Calories: 380
- Protein: 12g
- Carbs: 45g
- Fiber: 2g
- Sugar: 4g
- Fat: 16g
- Saturated Fat: 6g
- Cholesterol: 35mg
- Sodium: 650mg
What’s Good: It’s filling and provides good carbs for energy. The cheese adds calcium. The veggies add some fiber.
What to Know: It’s higher in calories and sodium due to the pepperoni and cheese. If you want to lighten it up, use turkey pepperoni and reduced-fat mayo. But honestly? This is a treat. Enjoy it.
Final Thoughts
So that’s my go-to Back to School Pasta Salad! I’ve probably talked your ear off at this point, but when you make a recipe this often, you have a lot to say about it. This has saved our school lunches more times than I can count. It’s my answer to “what’s for lunch” when I’m tired, don’t want to make sandwiches, and still want something that tastes really good.
My kids are happy, I’m happy, and we’re all saving money. Make it yours! Try different veggies, swap the meat, adjust the spice. The best recipes are the ones you adapt to your family’s tastes. If you make this, drop a comment and let me know what you think! I love hearing how recipes turn out in your kitchen.
Happy cooking! And I hope your kitchen smells half as good as mine does right now.
Frequently Asked Questions
Can I use a different type of pasta?
Yes! Rotini, penne, farfalle (bowtie), and macaroni all work well. Avoid long noodles like spaghetti or linguine because they don’t hold the dressing and mix-ins as well. You want something with nooks and crannies.
Why did my pasta salad turn out dry?
Pasta absorbs dressing over time. If you’re making it ahead, add a little extra dressing than you think you need. Or, store the dressing separately and toss it in right before packing lunches. A splash of milk or mayo can also revive dry pasta.
Can I make this dairy-free?
Yes! Use dairy-free mayonnaise and skip the cheese, or use a vegan cheese alternative. The texture will be slightly different, but it’s still delicious. The key is the vinegar and mayo base.
How long does this last in the fridge?
Up to 4 days. After that, the pasta gets too soft and the flavors start to fade. If you need it to last longer, freeze the veggies and meat separately, but don’t freeze the pasta salad.
Can I use cooked chicken instead of pepperoni?
Absolutely! Diced rotisserie chicken works great. It’s a milder option. I usually mix it with a little BBQ sauce for a different flavor profile. It’s still a Back to School Pasta Salad better than takeout, just with a different twist.
Is this safe for school lunchboxes?
Yes, it’s generally safe. Since it contains mayo and cheese, it should be kept cool. Use an ice pack in the lunchbox to keep it safe. It doesn’t spoil as quickly as chicken salad because of the vinegar in the dressing, but an ice pack is always a good idea.
Can I double this recipe?
Yes! Double everything and use a larger bowl. The cooking times stay the same. I do this when I’m meal-prepping for the whole week. Just make sure your bowl is big enough to mix everything thoroughly.
Pin This Recipe!
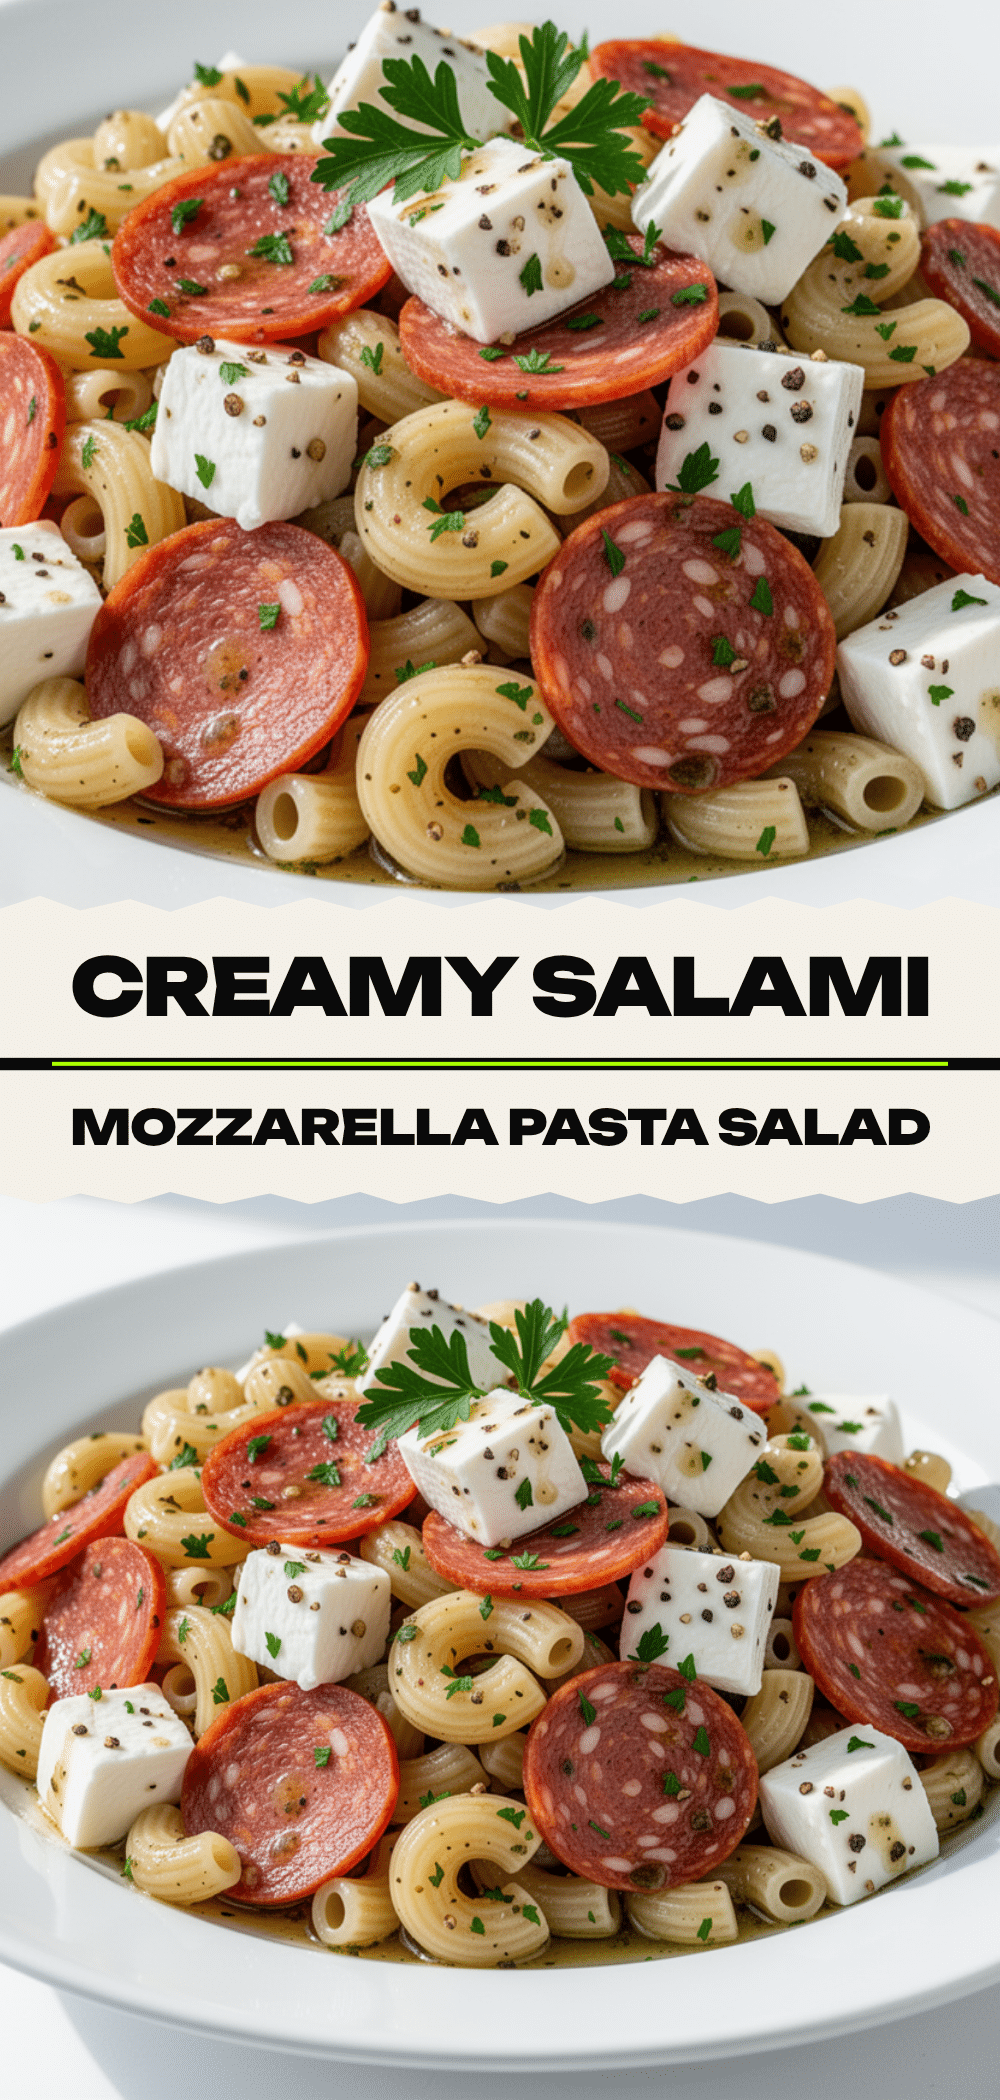
Back to School Pasta Salad: 5-Ingredient Easy Make-Ahead Meal
- Total Time: 25 minutes
- Yield: 6 servings 1x
Description
A simple, cooler-proof pasta salad made with just five main ingredients that kids love. It’s perfect for make-ahead school lunches, holds up well in the fridge for days, and tastes better than takeout.
Ingredients
- 1 pound (450g) rotini or penne pasta
- 1 cup (100g) sharp cheddar cheese, diced or shredded
- 2 stalks celery, finely diced
- 1 small red onion, finely diced
- 1 cup (100g) pepperoni or ham, diced
- 1/2 cup (120ml) mayonnaise
- 2 tablespoons (30ml) apple cider vinegar
- 2 tablespoons milk (optional, to thin dressing)
- Salt and black pepper to taste
Instructions
- Bring a large pot of salted water to a boil. Add pasta and cook until al dente (8-10 minutes). Drain and let cool slightly; do not rinse thoroughly.
- While pasta cooks, dice celery, red onion, and pepperoni/ham into 1/4 inch cubes. If using red onion, soak in cold water for 10 minutes to mellow the bite, then drain and pat dry.
- In a small bowl, whisk together mayonnaise, apple cider vinegar, a splash of milk, salt, and black pepper until creamy and tangy.
- In a large mixing bowl, combine cooled pasta, cheddar cheese, celery, onion, and meat.
- Pour dressing over the mixture and gently fold with a spatula until everything is evenly coated.
- Cover and refrigerate for at least one hour before serving to allow flavors to meld.
Notes
Do not rinse the pasta thoroughly as the starch helps the dressing cling. Cook pasta al dente as it will soften further in the fridge. Soaking red onion in cold water reduces sharpness. Store in an airtight container for up to 4 days. Do not freeze.
- Prep Time: 15 minutes
- Cook Time: 10 minutes
- Category: Side Dish
- Cuisine: American
Nutrition
- Serving Size: 1 cup
- Calories: 380
- Sugar: 4
- Sodium: 650
- Fat: 16
- Saturated Fat: 6
- Carbohydrates: 45
- Fiber: 2
- Protein: 12
Keywords: pasta salad, school lunch, make ahead meal, easy lunch, kid-friendly, back to school, meal prep, cooler proof


