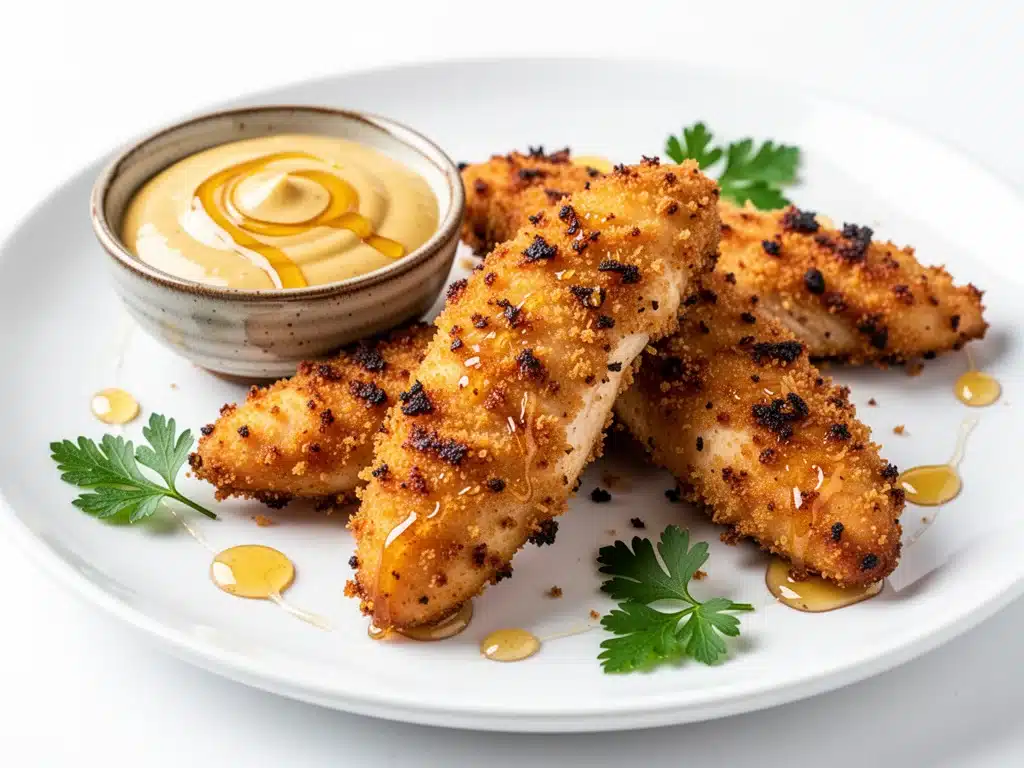
Last Tuesday, I was standing in my kitchen at 6:45 PM, staring at the clock with that specific mix of panic and resignation that every working parent knows too well. The kids were already arguing over who got the “wrong” cup for water, my husband was two hours away from getting home, and the fridge was staring back at me with a half-jar of pickles and a sad, lonely chicken breast. I didn’t have time to marinate. I didn’t have time to stand over a hot stove and worry about splattering oil. I just needed food. On the table. In twenty minutes.
I looked at the air fryer in the corner—the one that had been gathering dust since the pandemic lockdowns ended—and I thought, Why not?
I threw together a quick batch of air fryer chicken tenders with honey mustard dip. I figured, worst case scenario, we’d have crispy chicken nuggets and call it a night. Best case? Maybe we’d actually eat dinner without someone complaining. Thirty minutes later, the kitchen smelled like a gourmet deli, the kids were devouring every bite (no complaints, not even about the crust), and my husband walked in to find a clean pan and happy faces. That was the moment I realized I had finally found the holy grail of busy weeknight dinners.
I’ve made this air fryer chicken tenders recipe at least fifteen times in the last three months. I’ve tweaked the breading, tested different mustards, and even tried swapping the honey for maple syrup when we ran out. Every single time, it comes out juicier than oven-baked and crispier than deep-fried. It’s hands-down the easiest healthy dinner I’ve discovered, and it’s about to become your new best friend, too.
If you’re tired of ordering takeout that arrives cold and expensive, or if you’re tired of the guilt that comes with frying chicken in a pot of oil, this is your answer. It’s fast, it’s clean, and it tastes like a treat. Let me show you exactly how I do it.
Why You’ll Love This Recipe
There are about a dozen reasons I keep making this air fryer chicken tenders recipe, but let’s be real—you care about the big ones. Why should you add another recipe to your rotation when there are a million others out there? Here’s why this one sticks.
Lightning Fast — Seriously, if you can chop a chicken breast, you can make this. From the moment I take the chicken out of the fridge to the moment we sit down to eat, it’s 15 to 20 minutes. That’s it. I make this on the nights when I get home late, when I’m exhausted, or when I just don’t want to think about cooking. It’s the ultimate low-effort, high-reward meal.
Crispy Without the Oil — I know what you’re thinking. Crispy chicken tenders in an air fryer? Really? Yes, really. The hot air circulation crisps up the panko breadcrumb coating beautifully, giving you that restaurant-quality crunch without submerging your chicken in a vat of oil. It’s significantly healthier, with way less fat, but it doesn’t taste “diet.” It tastes like indulgence.
Customizable for Everyone — My picky eater kid loves the honey mustard dip, but my husband prefers a spicy mustard or just plain salt and pepper. The breading is so simple that you can swap in gluten-free panko if needed, or use seasoned breadcrumbs if that’s what you have. It’s flexible enough to handle dietary restrictions without losing flavor.
Crowd-Pleaser — I’ve served these to my vegetarian sister (who just eats the sides, honestly), my gluten-free neighbor (with GF breadcrumbs), and my dad, who claims he “only eats fried food.” They all loved it. It’s the kind of food that brings people together because it’s familiar but elevated.
Easy Cleanup — This is huge for me. Because we use the air fryer basket, there’s no greasy stove to scrub. I line the basket with parchment paper (optional but helpful), and when dinner is done, I just toss the paper and wash the basket. Ten seconds. That’s it. No scrubbing burnt-on oil from a skillet.
This is my go-to when I need dinner to just work. No complicated techniques, no weird ingredients you have to drive to three stores to find, just reliable, delicious food that makes everyone happy.
Ingredients You’ll Need
Here’s the best part: you probably have most of this already in your pantry. I’m particular about three ingredients here, and I’ll tell you exactly why. You don’t need fancy cuts of meat or exotic spices. Just simple, good-quality stuff.
For the Chicken
Chicken breasts (1.5 pounds / 680g) — I use boneless, skinless chicken breasts. Look for ones that are relatively uniform in size so they cook evenly. If they’re huge, you’ll need to butterfly them or cut them into strips. Don’t buy the super-thin, pre-sliced “tenderloin” packs if you can help it; they often dry out. Fresh breasts give you better control.
Buttermilk (1 cup / 240ml) — This is the secret weapon. The acidity in buttermilk tenderizes the chicken, making sure it stays juicy inside the crispy crust. If you don’t have buttermilk, mix 1 cup of milk with 1 tablespoon of lemon juice or vinegar and let it sit for 10 minutes. It’s not quite the same, but it works in a pinch.
Eggs (2 large) — These act as the glue for the breading. Beat them well. Don’t skip this step, or your crumbs will slide right off.
For the Crunchy Coating
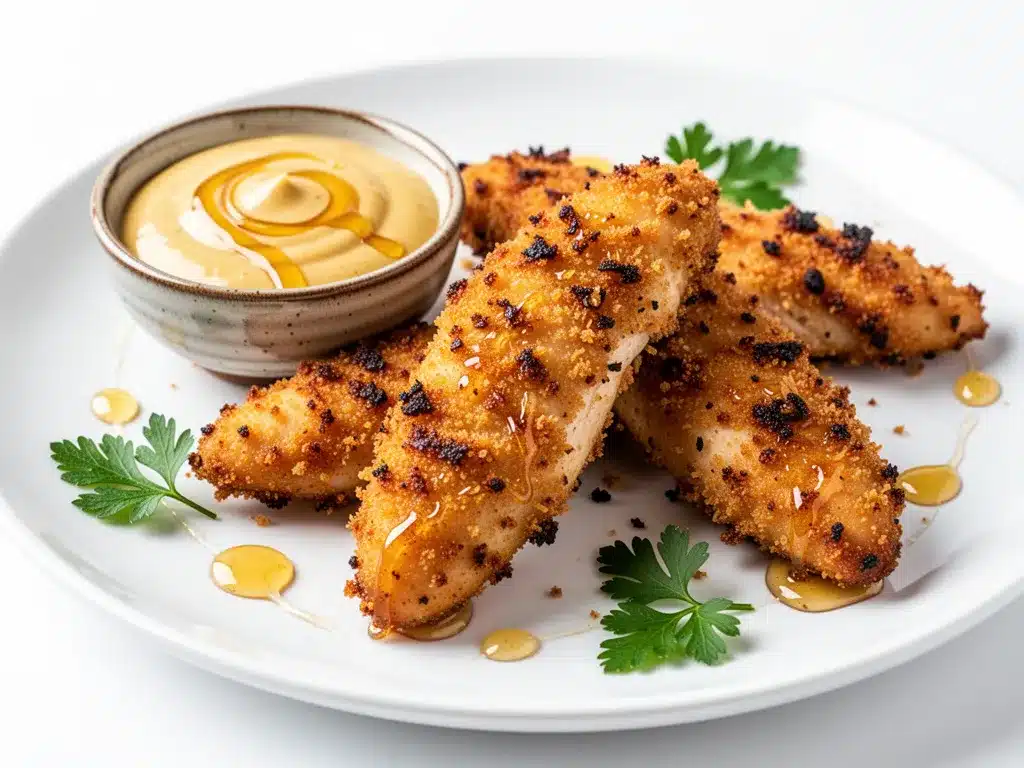
Panko breadcrumbs (1.5 cups / 150g) — I swear by panko for air frying. The flakes are larger and flakier than regular breadcrumbs, which creates that incredible shatteringly crisp texture. Regular breadcrumbs tend to get powdery and dense in the air fryer. Panko is worth the extra few cents.
Garlic powder (1 teaspoon) — Don’t use fresh garlic in the breading; it burns. Powder distributes evenly and gives that classic “chicken finger” flavor.
Onion powder (1 teaspoon) — Adds a subtle sweetness and depth. Again, powder only. Fresh onion would burn in the hot air.
Smoked paprika (1 teaspoon) — This adds a lovely, subtle smokiness that mimics the taste of deep-fried food. It’s not spicy, just flavorful. If you don’t have smoked paprika, regular paprika works, but you’ll miss that depth.
Salt and black pepper (to taste) — I use about 1 teaspoon of kosher salt and half a teaspoon of pepper. Taste your breadcrumbs before coating; they should taste slightly salty on their own.
For the Honey Mustard Dip
Dijon mustard (3 tablespoons) — I prefer Dijon for its tangy kick. Yellow mustard is too sharp and vinegary for this. If you only have yellow, mix it with a little honey to mellow it out, but Dijon is best.
Mayonnaise (3 tablespoons) — Full-fat mayo makes the sauce creamy and rich. Light mayo works but can taste a bit watery.
Honey (2 tablespoons) — The sweetness balances the tang of the mustard. Use good quality honey if you can. Maple syrup is a decent substitute, but the flavor profile changes slightly.
Lemon juice (1 teaspoon) — Just a splash to brighten everything up. It cuts through the richness of the mayo and mustard.
Optional Add-ins — I sometimes add a pinch of cayenne pepper if I want a little heat, or a teaspoon of dried dill for a fresh twist. But the classic trio of Dijon, mayo, and honey is unbeatable.
Equipment Needed
You don’t need fancy equipment for this. Here’s what I actually use. If you’re missing something, there’s usually a workaround, but having the right tools makes life easier.
Air Fryer — Obviously, this is the star of the show. I use a 5.8-quart basket-style air fryer. It fits about 4-5 tenders at a time comfortably. If you have a smaller one, you’ll need to cook in batches. Don’t overcrowd the basket, or the chicken will steam instead of crisp.
Three Shallow Bowls — You’ll need these for the breading station: one for buttermilk, one for beaten eggs, and one for the panko mixture. Wide, shallow bowls work best because they make dipping easier. I use glass pyrex bowls.
Chef’s Knife — For slicing the chicken breasts into strips. A sharp knife is essential. A dull knife will squish the chicken and make uneven cuts.
Pastry Brush or Spray Bottle — I lightly spray the chicken with olive oil before air frying. This helps the breadcrumbs brown evenly. A spray bottle is better than brushing because it gives a more even, light coating without adding too much oil.
Cooling Rack — Optional, but nice. I sometimes transfer the cooked tenders to a wire rack set over a baking sheet to keep them crispy while I finish the batch. If they sit in the hot basket, they can get soggy from steam.
Small Mixing Bowl — For the honey mustard dip. Anything small works.
Meat Mallet or Rolling Pin — If your chicken breasts are thick, you’ll need to pound them down. I use a meat mallet, but a heavy rolling pin works fine. You want the strips to be about half an inch thick for even cooking.
How to Make It: Step-by-Step
Alright, let’s make this! I’m walking you through exactly how I do it, including the little tricks I’ve picked up over time. It’s simple, but attention to detail makes the difference between good and amazing.
Step 1: Prep the Chicken (5 minutes)
Take your chicken breasts and pat them dry with paper towels. This sounds minor, but removing surface moisture helps the breading stick better. If you have large breasts, place them between two sheets of plastic wrap and gently pound them with a meat mallet until they’re about half an inch thick. Then, slice them into strips, roughly one inch wide. Try to keep the strips uniform in size so they cook at the same rate.
Step 2: Set Up Your Breading Station (5 minutes)
Get out three shallow bowls. In the first, pour the buttermilk. In the second, beat the two eggs until they’re fully blended. In the third, combine the panko breadcrumbs, garlic powder, onion powder, smoked paprika, salt, and pepper. Mix the dry ingredients well with a fork. This ensures the seasoning is distributed evenly throughout the crust.
Step 3: Coat the Chicken (5 minutes)
Dip each chicken strip into the buttermilk, letting the excess drip off. Then, dip it into the egg mixture, coating it completely. Finally, press it into the panko mixture. Press down gently with your fingers to make sure the crumbs adhere well. I like to press a little extra on the ends, as those are the parts that tend to fall off. Place the coated tenders on a clean plate or baking sheet. Repeat with the rest of the chicken.
Step 4: Preheat the Air Fryer (2 minutes)
While you’re coating the chicken, preheat your air fryer to 400°F (200°C). This usually takes about 3-5 minutes, but check your manual. Preheating is crucial for getting that initial crisp. Don’t skip this step.
Step 5: Cook the Tenders (12-15 minutes)
Lightly spray the air fryer basket with olive oil. Arrange the chicken tenders in a single layer in the basket. Do not overlap them! Air needs to circulate around each piece. If you have a smaller basket, cook in batches. Spray the tops of the chicken lightly with oil. This helps them brown.
Place the basket in the air fryer and cook at 400°F (200°C) for 12-15 minutes. Flip the tenders halfway through the cooking time (around the 6-7 minute mark) to ensure even browning. The chicken is done when the internal temperature reaches 165°F (74°C) and the crust is golden brown and crispy.
Step 6: Make the Honey Mustard Dip (5 minutes)
While the chicken is cooking, whisk together the Dijon mustard, mayonnaise, honey, and lemon juice in a small bowl. Taste and adjust. Want it sweeter? Add more honey. Want it tangier? Add more mustard. It’s your dip, so make it how you like it. It should be smooth and creamy.
Step 7: Serve
Remove the chicken from the air fryer and let it rest for 2-3 minutes. This allows the juices to redistribute, keeping them moist. Serve immediately with the honey mustard dip on the side. Garnish with a sprinkle of parsley if you have it, but it’s not necessary.
Expert Tips & Tricks
Here’s everything I’ve learned from making this dozens of times. These tips will save you from my mistakes.
Don’t Overcrowd the Basket
This is the #1 mistake people make. If the chicken pieces are touching, they will steam each other. You’ll get soft, soggy chicken instead of crispy tenders. Cook in batches. It takes an extra 5 minutes, but it’s worth it for the texture. I usually cook 4-5 at a time.
Press the Crumbs On
When you coat the chicken, don’t just roll it in the crumbs. Press them on. Use your fingers to press the panko into the egg layer. This creates a mechanical bond that prevents the coating from sliding off in the air fryer. I’ve had tenders come out with bare spots because I was too gentle.
Spray the Top
The air fryer cooks by circulating hot air, but it doesn’t add fat. To get that golden-brown color, you need a little oil on the surface. A light spray of olive oil or avocado oil oil is essential. I’ve tried not spraying, and the results were pale and bland. Don’t skip it.
Use a Meat Thermometer
Chicken tenders cook fast, and it’s easy to overcook them, resulting in dry, rubbery chicken. A digital meat thermometer is your best friend. Pull them out as soon as they hit 165°F (74°C). They’ll continue to cook slightly from residual heat.
Keep the Dip Cold
If you’re making the dip ahead of time, keep it in the fridge until serving. The flavors meld and get better as they sit, but cold dip contrasts nicely with hot chicken.
Variations & Substitutions
Once you’ve nailed the basic version, here’s how you can mix it up. I’ve tried all of these.
Spicy Honey Mustard
Add a teaspoon of hot sauce or a pinch of cayenne pepper to the dip. It adds a nice kick that balances the sweetness. My husband loves this version.
Gluten-Free
Simply swap the panko breadcrumbs for gluten-free panko or crushed gluten-free crackers. The texture might be slightly different, but it still works. I’ve used store-bought GF panko and it’s very close to regular.
Baked Version
If you don’t have an air fryer, you can bake these on a wire rack set over a baking sheet at 400°F (200°C) for 20-25 minutes, flipping halfway. They won’t be as crispy, but they’ll still be good.
Different Dips
Not a fan of honey mustard? Try ranch dressing, BBQ sauce, or a simple garlic aioli. These tenders are a blank canvas for any sauce you like.
Veggie Tenders
You can actually use this same breading technique for zucchini sticks or eggplant slices. Just salt them first to draw out moisture, pat dry, and follow the same coating steps. It’s a great side dish.
Serving & Storage
How to Serve:
I usually serve these straight from the air fryer basket with the dip in a small bowl in the center of the plate. It looks rustic and stays warm. But here are other ways I’ve enjoyed them:
Side Dishes:
- French fries — Classic combo. I often air fry fries in the same air fryer (cook them after the chicken, as they take longer).
- Steamed broccoli — A simple, healthy side that balances the richness.
- Coleslaw — Creamy coleslaw is a perfect partner for crispy chicken.
- Rice pilaf — If I’m serving a larger family, I add a starch like rice or mashed potatoes.
Toppings Bar:
When I have guests, I put out extra dips, hot sauce, and fresh lemon wedges. Everyone customizes their plate.
Storage Instructions:
Refrigerator: Store leftover chicken tenders in an airtight container for up to 3 days. They will lose some crispiness in the fridge, which is normal.
Reheating: The best way to reheat is in the air fryer. Heat at 375°F (190°C) for 3-4 minutes. This restores the crispiness. Don’t microwave them, or they’ll get chewy and soft. If you must microwave, do it for 30 seconds and then finish in a toaster oven if you have one.
Freezing: You can freeze the uncooked, breaded tenders. Place them on a baking sheet in the freezer until solid, then transfer to a freezer bag. They’ll keep for up to 3 months. Cook from frozen, adding 2-3 minutes to the cooking time. Do not freeze cooked tenders; they become soggy when thawed.
Nutrition Information
I’m not a nutritionist, but here’s the breakdown if you’re tracking. Please note that these are estimates and can vary based on the specific brands of ingredients you use.
Per Serving (based on 4 servings, excluding dip):
- Calories: 320
- Protein: 30g
- Carbs: 25g
- Fiber: 1g
- Sugar: 2g
- Fat: 12g
- Saturated Fat: 2g
- Cholesterol: 95mg
- Sodium: 450mg
What’s Good:
- High in protein, which keeps you full.
- Lower in fat than deep-fried versions.
- Easy to control sodium by adjusting the salt in the breading.
What to Know:
- Contains gluten (from panko) and dairy (from buttermilk and mayo).
- Sodium can be high if you use pre-salted breadcrumbs.
My Take:
Look, this is chicken and breading. It’s not a salad. But compared to deep-fried tenders, it’s significantly lighter. I consider this a balanced meal when paired with veggies. When I want to make it lighter, I use less breading and more chicken, or I serve it with a big green salad instead of fries.
Final Thoughts
So that’s my go-to air fryer chicken tenders with honey mustard dip! I’ve probably talked your ear off at this point, but when you make a recipe this often, you have a lot to say about it.
This has saved weeknight dinners more times than I can count. It’s my answer to “what’s for dinner” when I’m tired, don’t want takeout, and still want something that tastes really good. My kids are happy, my husband’s happy, and I’m happy because I’m not stressed about cooking.
Make it yours! Try different dips, swap in your favorite spices, or add veggies to the breading. The best recipes are the ones you adapt to your family’s tastes.
If you make this, drop a comment and let me know what you think! I love hearing how recipes turn out in your kitchen. And if something doesn’t work, tell me that too—I’m here to help troubleshoot.
Happy cooking! And I hope your kitchen smells half as good as mine does right now.
Frequently Asked Questions
Can I use chicken tenderloins instead of breasts?
Yes! Tenderloins are actually ideal because they’re already the right shape and size. Just make sure they’re uniform. If you buy pre-packaged tenderloins, they’re often smaller, so check the cooking time—they might be done in 10 minutes instead of 15.
Why did my chicken tenders come out soggy?
Usually, this means you overcrowded the basket, or you didn’t spray them with oil. Air needs to circulate. If the pieces are touching, they steam. Also, make sure your air fryer is preheated. Cold start = soggy finish.
Can I make this ahead for a dinner party?
You can prep the chicken and bread them ahead of time, then store them in the fridge on a baking sheet for up to 24 hours. Cook them right before serving. Don’t cook them ahead and reheat, because they’ll lose their crispiness. The air fryer is fast enough that you can cook them fresh while your guests are arriving.
Is the honey mustard dip healthy?
It’s moderate. It contains mayo and honey, which add calories, but it’s much better than store-bought sugary dips. You control the ingredients. If you want to lighten it, use Greek yogurt instead of mayo and less honey. It’s still creamy and tasty.
Can I freeze the cooked chicken tenders?
I don’t recommend it. Cooked chicken tenders tend to get dry and lose their texture when frozen and reheated. It’s better to freeze the uncooked, breaded tenders. Then you can cook them fresh whenever you need them.
What if I don’t have panko breadcrumbs?
You can use regular breadcrumbs, but the texture will be denser and less crispy. You can also crush some saltine crackers or cornflakes for a different kind of crunch. Just make sure they’re dry and fine enough to stick to the egg.
Pin This Recipe!
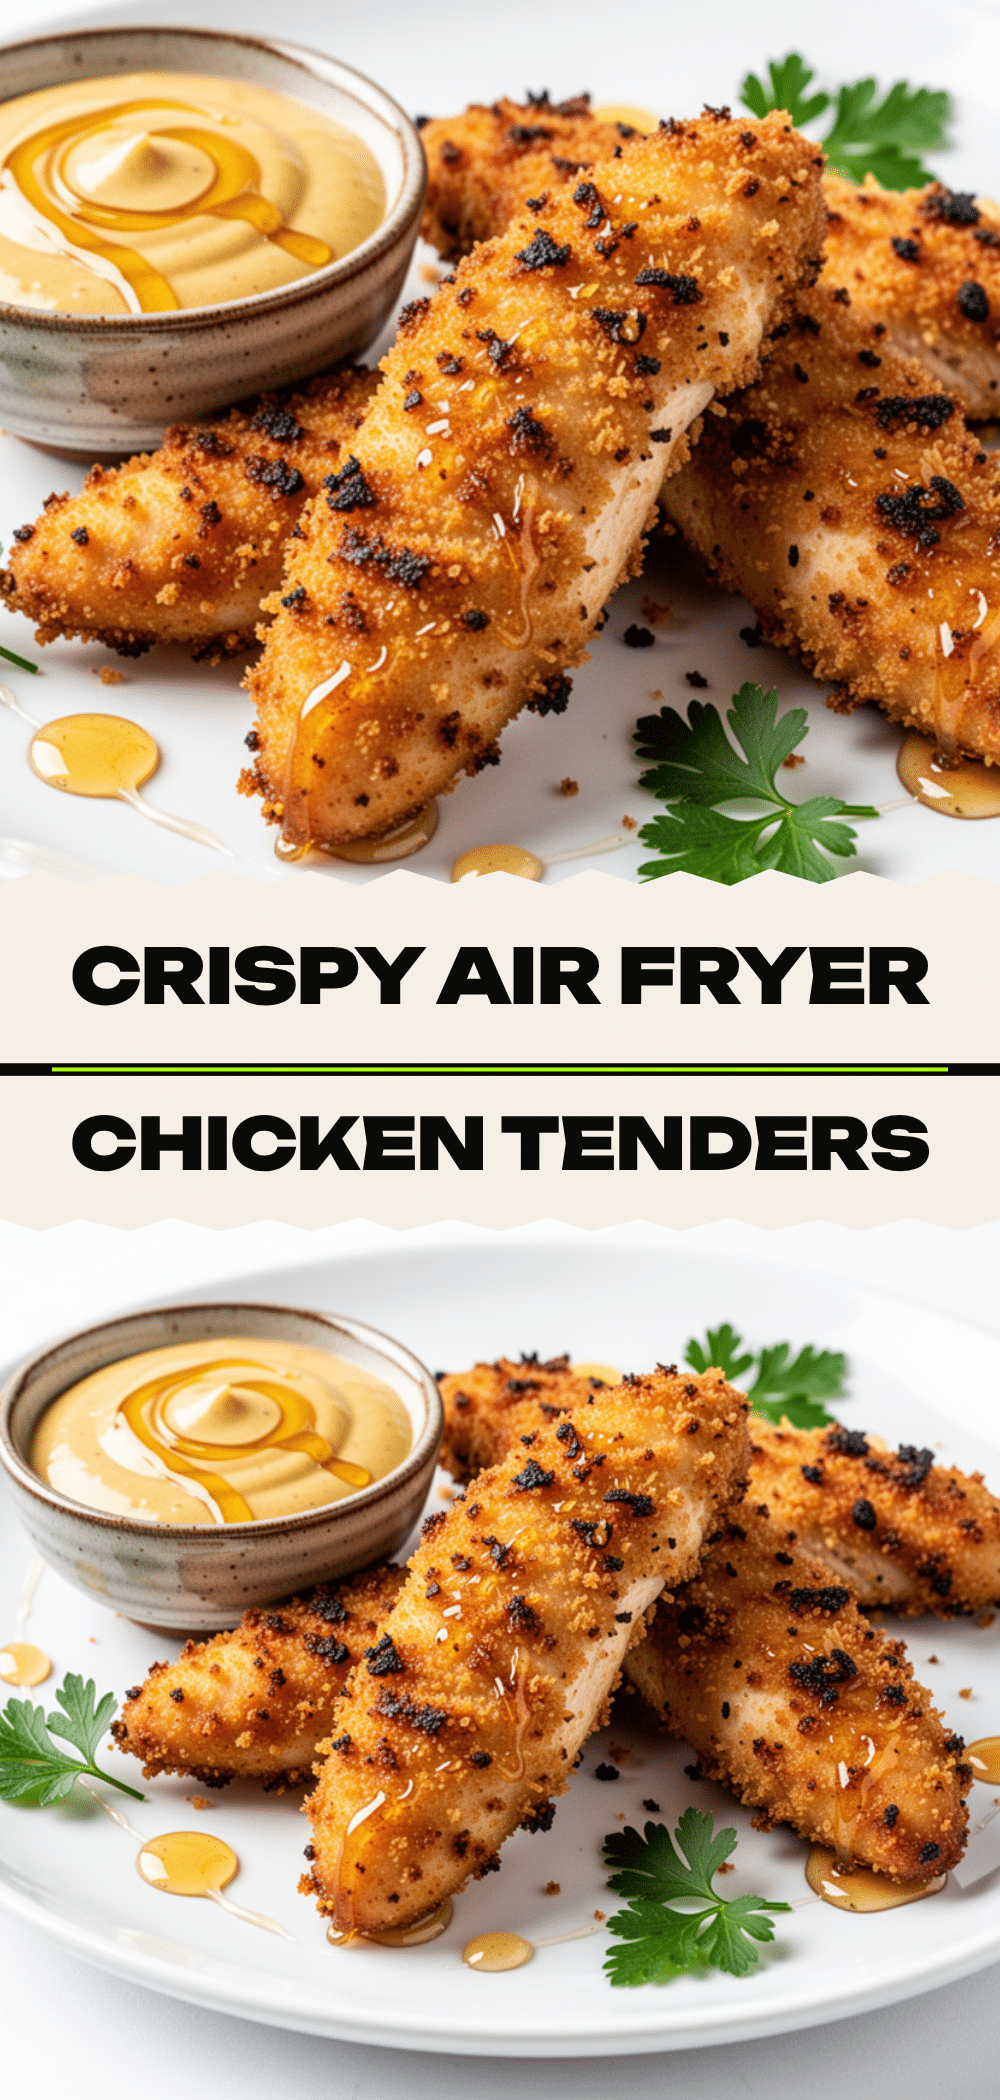
Air Fryer Chicken Tenders: Easy 15-Minute Healthy Dinner
- Total Time: 30 minutes
- Yield: 4 servings 1x
Description
Crispy, juicy chicken tenders made in an air fryer with a simple panko coating and served with a homemade honey mustard dip. This healthy, low-oil recipe is ready in under 20 minutes, making it perfect for busy weeknights.
Ingredients
- 1.5 pounds boneless, skinless chicken breasts
- 1 cup buttermilk
- 2 large eggs, beaten
- 1.5 cups panko breadcrumbs
- 1 teaspoon garlic powder
- 1 teaspoon onion powder
- 1 teaspoon smoked paprika
- 1 teaspoon kosher salt
- 0.5 teaspoon black pepper
- Olive oil spray
- 3 tablespoons Dijon mustard
- 3 tablespoons mayonnaise
- 2 tablespoons honey
- 1 teaspoon lemon juice
Instructions
- Pat chicken breasts dry and pound to 0.5-inch thickness if necessary, then slice into 1-inch wide strips.
- Set up a breading station with three shallow bowls: one with buttermilk, one with beaten eggs, and one with panko mixed with garlic powder, onion powder, smoked paprika, salt, and pepper.
- Dip each chicken strip into buttermilk, then egg, then press firmly into the panko mixture to coat.
- Preheat air fryer to 400°F (200°C).
- Lightly spray the air fryer basket with olive oil and arrange chicken tenders in a single layer without overlapping.
- Spray the tops of the tenders lightly with oil.
- Cook at 400°F (200°C) for 12-15 minutes, flipping halfway through, until internal temperature reaches 165°F (74°C) and crust is golden brown.
- While chicken cooks, whisk together Dijon mustard, mayonnaise, honey, and lemon juice to make the honey mustard dip.
- Let chicken rest for 2-3 minutes before serving with the dip.
Notes
Do not overcrowd the air fryer basket to ensure crispiness; cook in batches if necessary. Press crumbs firmly onto the chicken to prevent them from falling off. Spray the tops with oil for better browning. For a gluten-free version, swap panko for gluten-free breadcrumbs. Do not freeze cooked tenders as they become soggy; freeze uncooked breaded tenders instead.
- Prep Time: 15 minutes
- Cook Time: 12-15 minutes
- Category: Main Course
- Cuisine: American
Nutrition
- Serving Size: 4 tenders per servin
- Calories: 320
- Sugar: 2
- Sodium: 450
- Fat: 12
- Saturated Fat: 2
- Carbohydrates: 25
- Fiber: 1
- Protein: 30
Keywords: air fryer chicken tenders, healthy dinner, quick meals, honey mustard dip, crispy chicken, weeknight dinner, gluten-free option


