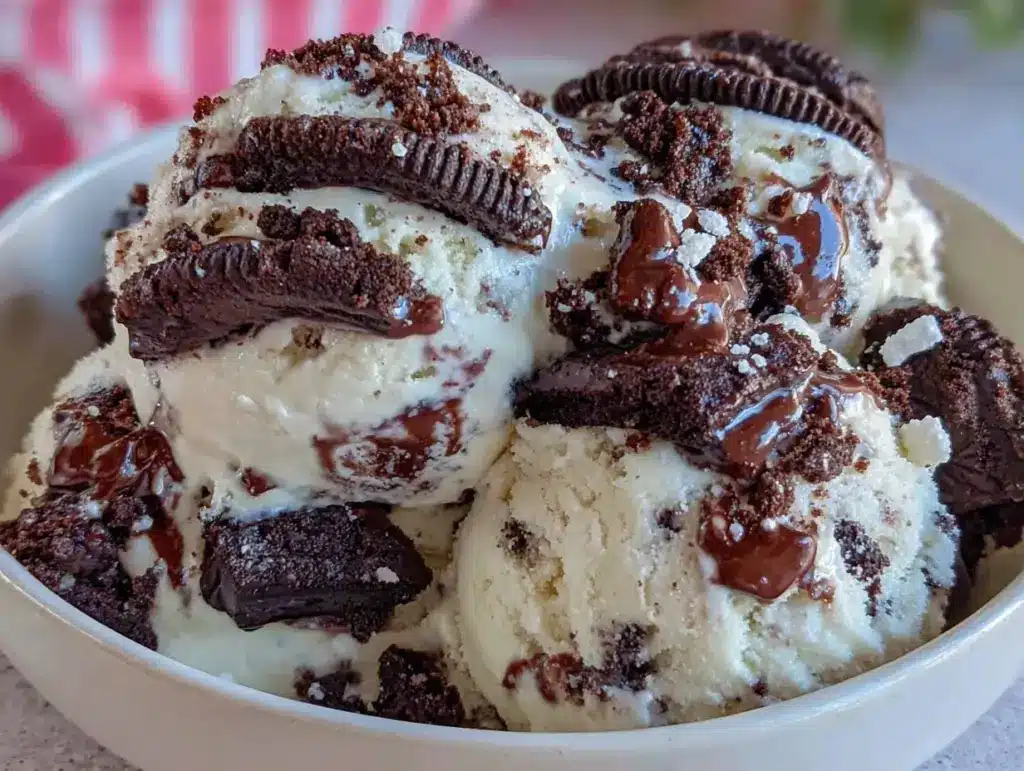
SEO Title Tag: No-Churn Cookies and Cream Ice Cream (No Machine)
Meta Description: Make creamy no-churn cookies and cream ice cream in minutes with no machine. Just 4 ingredients and 5 minutes of prep for a perfect summer treat.
URL Slug: /no-churn-cookies-and-cream-ice-cream/
I have a confession to make: I used to think ice cream making was a luxury reserved for people with huge freezers, expensive machines, and, most importantly, time I didn’t have. For years, I bought the pint at the grocery store, ate half of it while watching TV, and then felt guilty about the waxiness of the texture. It wasn’t until a few summers ago, when the heat was oppressive and I desperately wanted something cold but didn’t want to drive to the store, that I decided to try a hack. I whipped some heavy cream, folded in crushed Oreos, and poured it into a loaf pan. I assumed it would be icy and sad. Instead, it was incredible. Rich, creamy, and genuinely better than anything I’d bought in the freezer aisle.
This no-churn cookies and cream ice cream is the result of that accidental discovery. It’s not just a substitute for “real” ice cream; it is legitimately delicious on its own terms. The trick lies in the ratio of whipped cream to sweetened condensed milk, which creates a structure that stays scoopable even without a churning mechanism to break up ice crystals. I’ve tested this recipe dozens of times—sometimes using generic store-brand cookies, sometimes using the premium name brand—and the result is always that perfect balance of sweet cream and crunchy cookie bits.
Why does this matter to me? Because life is busy. We don’t always have 24 hours to wait for a churner to do its job, and we certainly don’t want to deal with the cleanup. This recipe requires five minutes of active time. That’s it. You whisk, you fold, you freeze. It’s the ultimate answer to “5pm and nothing planned,” except instead of dinner, you’re making a dessert that feels like a treat but costs a fraction of the price of artisanal pints. If you’re looking for other ways to simplify your meal prep without sacrificing flavor, you might also enjoy these high protein egg white muffins for breakfast or this cucumber tomato feta salad for a quick lunch. But for dessert? This is the winner.
Quick Facts
- Prep Time: 5 minutes
- Cook Time: 0 minutes
- Total Time: 5 minutes (plus 6 hours freezing)
- Servings: 8-10
- Course: Dessert
- Cuisine: American
If your site uses a recipe card plugin, feed these fields into it directly — that’s what generates the schema markup Google needs. This article’s HTML intentionally doesn’t include schema tags itself.
Why You’ll Love This No-Churn Cookies and Cream Ice Cream
Let’s be real for a second. The biggest barrier to making homemade ice cream is the equipment. You need an ice cream maker, you need to freeze the bowl in advance (which takes 24 hours), and you need to wait for the machine to churn while you stand there watching it. It’s a lot of commitment for a snack. This no-churn method removes every single one of those hurdles.
Zero Equipment Required — The only tools you need are a mixing bowl and a whisk (or an electric mixer). No heavy machinery, no frozen bowls to hunt down in the back of your freezer. It’s literally just a bowl and a whisk. If you can make a vinaigrette, you can make this ice cream.
It’s Actually Creamy — I know, I know. “No-churn” usually implies “slushy.” But the secret is sweetened condensed milk. It’s thick, sugary, and stabilizes the fat in the heavy cream. When you whip the cream, you’re incorporating air. When you fold in the condensed milk, you’re locking that air in place. The result is a texture that is incredibly smooth, almost like soft-serve, rather than icy blocks. I’ve had friends taste this and swear it’s store-bought premium brand, and they are genuinely shocked when I tell them I made it in five minutes.
Customizable Crunch — One of the best parts about making this at home is controlling the cookie ratio. Store-bought cookies and cream ice cream often feels like it’s mostly ice with a few sad crumbs on top. Here, you decide how much cookie you want. I love a heavy cookie-to-cream ratio because it gives you that satisfying crunch in every bite. You can also crush them differently—some people like fine crumbs, I like chunky pieces. It’s your canvas.
Perfect for Meal Prep — This is one of those recipes that saves you later. If you have a summer dinner party or just want a guaranteed treat for the week, you make this on Monday, and it’s ready by Wednesday. It keeps perfectly in the freezer, so you’re never caught without dessert. It pairs wonderfully with lighter dishes, so if you’re planning a full meal, check out this healthy Greek yogurt chicken salad with grapes to balance out the sweetness of the ice cream later.
Ingredients You’ll Need
This recipe relies on a very short ingredient list. That’s the beauty of it. You probably have most of these in your pantry or fridge right now. The quality of your ingredients matters more here than in complicated recipes, so I’ll highlight what to look for.
Heavy Whipping Cream (2 cups / 480ml) — This is the base. It must be cold. I mean, fridge-cold. If your cream is warm, it won’t whip up stiff peaks, and your ice cream will be dense and heavy. Look for cream with at least 35% fat content. Low-fat or half-and-half will not work; they don’t have enough fat to hold the air bubbles that create the creamy texture.
Sweetened Condensed Milk (14 oz / 397g can) — Do not confuse this with evaporated milk. Evaporated milk is unsweetened and thin. Sweetened condensed milk is thick, syrupy, and very sweet. It acts as both the sweetener and the stabilizer. This is what prevents ice crystals from forming. Keep the can refrigerated until you’re ready to use it.
Vanilla Extract (1-2 teaspoons) — This adds depth. Since the flavor profile is simple, the vanilla helps round out the sweetness. Use real vanilla extract, not imitation vanilla flavoring. It makes a noticeable difference in the final taste. If you want a more intense flavor, you can increase this to 2 teaspoons, but be careful not to overpower the cookie flavor.
Cookies and Cream Cookies (20-24 cookies) — I use standard sandwich cookies with a cream filling. The classic Oreo is the gold standard here, but you can use any brand you prefer. Just avoid cookies that are too hard (like shortbread) or too soft (like macarons), as they won’t provide the right texture. You want something that crushes into chunks but holds its shape slightly when frozen.
Optional: Sea Salt Pinch — I almost always add a tiny pinch of flaky sea salt. It cuts through the sweetness of the condensed milk and makes the chocolate flavor pop. It’s a small detail, but it elevates the whole thing from “good” to “gourmet.”
Equipment Needed
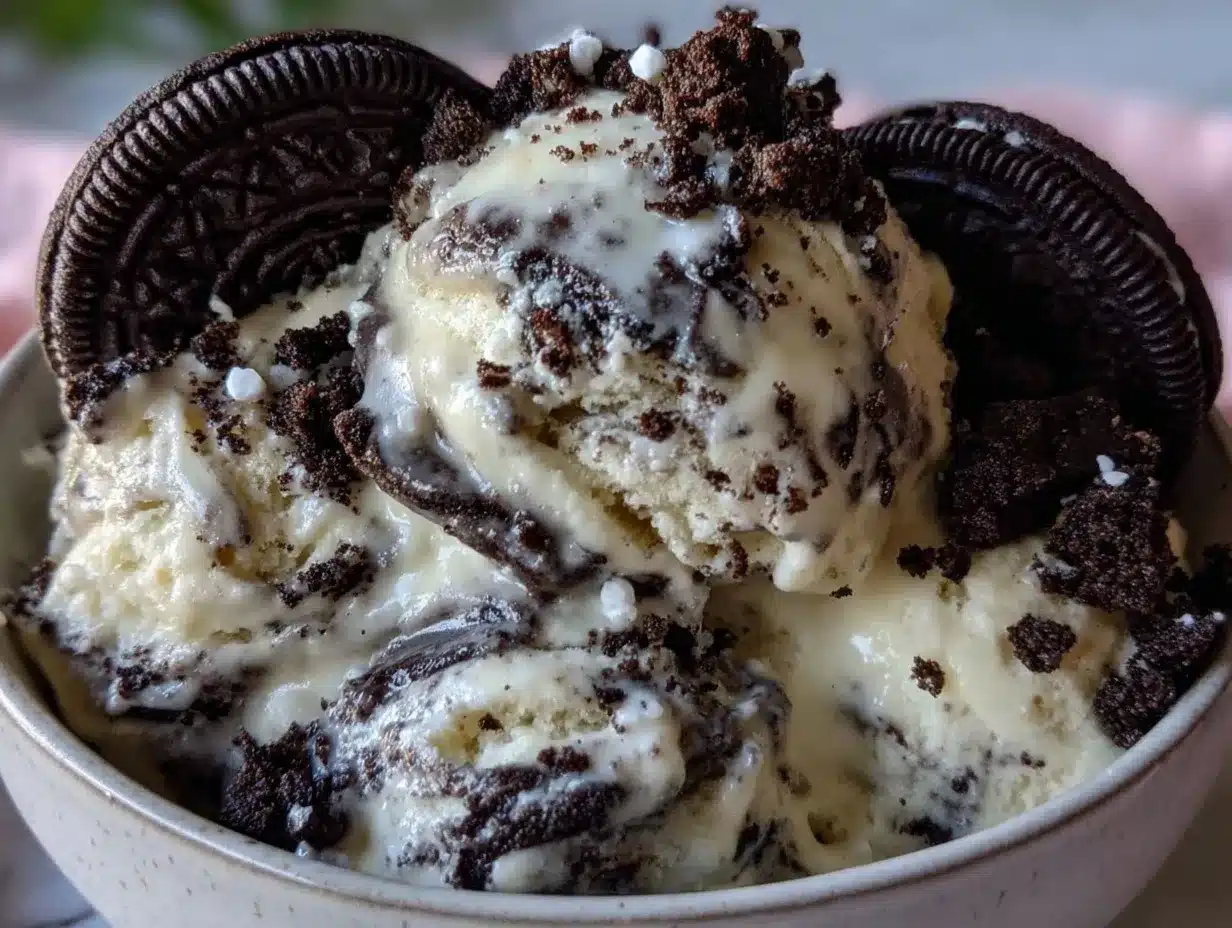
You don’t need much. A large mixing bowl (glass or metal works best), a hand mixer or stand mixer with whisk attachments, a rubber spatula for folding, and an 8×4 inch loaf pan (or a similar freezer-safe container). If you don’t have a mixer, you can whip the cream by hand, but it will take about 10-15 minutes of arm workout. For the lazy method, I recommend the electric mixer. It’s worth the effort.
How to Make No-Churn Cookies and Cream Ice Cream
Here’s the thing about no-churn ice cream: the technique is less about cooking and more about handling. You’re not heating anything. You’re just manipulating air and fat. Here is exactly how to do it, step by step.
Step 1: Prep Your Container
Take your loaf pan or freezer-safe container and line it with parchment paper. Leave some overhang on the sides so you can lift the ice cream out later if you want to slice it or transfer it to a serving bowl. This isn’t strictly necessary, but it makes cleanup a breeze and gives you a neat block of ice cream to work with.
Step 2: Whip the Cream
Pour your cold heavy whipping cream into the mixing bowl. If you’re using a hand mixer, start on medium speed and gradually increase to high. Whip until you see soft peaks form. This means when you lift the beaters, the cream holds a shape but droops over slightly. Don’t over-whip it into butter! Stop just before it looks stiff. If you over-whip, it will become grainy when you fold in the milk.
Step 3: Sweeten and Flavor
Open your can of sweetened condensed milk. Pour it into the whipped cream along with the vanilla extract and salt. Now, switch to your rubber spatula. This is the critical part. You need to fold the milk into the cream gently. Use a cutting motion: cut down through the center, scoop up from the bottom, and turn the bowl. Do this slowly. You want to incorporate the milk without deflating all the air you just whipped into the cream. It should take about 30-60 seconds. The mixture will thicken and become glossy.
Step 4: Crush the Cookies
While you’re folding, or right after, crush your cookies. You can do this in a food processor for 10 seconds, or put them in a zip-top bag and smash them with a rolling pin. I prefer the rolling pin method because it’s more fun and less noisy. Aim for a mix of fine crumbs and larger chunks. Large chunks are better for that “cookies and cream” experience. If you crush them too fine, they’ll just dissolve into the cream and you won’t get the crunch.
Step 5: Fold and Freeze
Gently fold the crushed cookies into the cream mixture. Use about three-quarters of the cookies for folding in, and save the rest to sprinkle on top. Spread the mixture into your prepared loaf pan. Smooth the top with your spatula. Sprinkle the reserved cookies on top for that extra visual appeal and crunch. Cover tightly with plastic wrap or a lid. Freeze for at least 6 hours, but overnight is best. This gives the ice cream time to set fully.
How do you know when the ice cream is ready to eat?
After 6 hours, it should be firm enough to scoop. If you poke it with a spoon and it yields easily but doesn’t feel icy or watery, it’s ready. If it’s still too soft to hold a shape, give it another hour. Remember, no-churn ice cream is softer than churned ice cream straight out of the freezer, so don’t panic if it’s a bit scoopable at 6 hours. It firms up as it sits.
Total active time: 5 minutes. Total time: 6 hours freezing.
Expert Tips & Tricks
I’ve made this recipe so many times that I’ve learned a few shortcuts and pitfalls to avoid. Here is how to ensure your first attempt is your best attempt.
Keep Everything Cold — I cannot stress this enough. If your cream is warm, it will not whip. If your bowl is warm, it will not whip. Keep your bowl and beaters in the freezer for 15 minutes before you start if you live in a hot climate. Cold cream whips faster and holds more volume, which means a lighter, airier ice cream.
Don’t Skip the Salt — Sweetened condensed milk is incredibly sweet. Without a pinch of salt, the flavor can become cloying and one-dimensional. The salt balances the sugar and highlights the chocolate notes in the cookies. It’s a non-negotiable for me.
Crush Them Properly — If you use a food processor, be careful not to puree the cookies. You want texture. If you’re using a rolling pin, aim for uneven sizes. Uniform crumbs look nice but don’t provide the same mouthfeel as chunky bits. I like to crush half the cookies into crumbs and leave the other half in large pieces.
Let It Sit Before Scooping — No-churn ice cream is denser than churned ice cream. If you take it straight out of the freezer and try to scoop it, it might be too hard. Let it sit on the counter for 5-10 minutes before serving. This makes it much easier to scoop and improves the texture, making it creamier on the tongue.
Variations & Substitutions
One of the best things about this base recipe is how adaptable it is. Once you master the cream and condensed milk ratio, you can change the flavor in seconds.
Chocolate Chip Cookie Dough — Instead of cookies and cream cookies, use chocolate chip cookie dough pieces. You can buy them frozen or make your own. Fold them in with the cream for a rich, chewy texture. This is a personal favorite for holiday gatherings.
Biscoff Cookie Butter — If you love Biscoff cookies, crush them up and fold them in. You can also swirl in a tablespoon of Biscoff spread into the cream before freezing for a caramel-like flavor. This pairs well with the keto Biscoff blondies if you want a full Biscoff-themed dessert night.
Mint Chip — Add 1 teaspoon of peppermint extract to the cream and use mint chocolate chip cookies. It’s a refreshing twist that’s perfect for summer. Just be careful not to add too much peppermint, or it will taste like toothpaste.
Dairy-Free Option — You can substitute the heavy cream with coconut cream (the thick part from a can of full-fat coconut milk) and use a dairy-free sweetened condensed milk. The texture will be slightly different, but it’s still creamy and delicious. Just make sure your coconut cream is very cold.
Serving & Storage
How long does no-churn ice cream last in the fridge?
It lasts in the freezer for up to 2 weeks. After that, it might start to develop ice crystals or absorb freezer odors. For the best texture, try to eat it within the first week. Store it in an airtight container to prevent freezer burn. If you notice it getting hard, just let it sit at room temperature for 5 minutes before scooping.
When serving, this ice cream is great on its own, but it also pairs well with warm brownies, fresh berries, or a drizzle of hot fudge. It’s a versatile base for dessert toppings. If you’re serving it for a dinner party, consider pairing it with a light appetizer like this crispy shrimp tacos with chipotle lime slaw to balance the meal before the heavy dessert.
Nutrition Information
Please note that the following nutrition information is an estimate only. It is calculated based on standard ingredients and does not account for variations in brands or serving sizes. For precise dietary tracking, use a recipe calculator app.
| Nutrient | Per Serving (approx. 1/8 of loaf) |
|---|---|
| Calories | 450 kcal |
| Total Fat | 32g |
| Saturated Fat | 20g |
| Cholesterol | 95mg |
| Sodium | 250mg |
| Total Carbohydrates | 40g |
| Sugars | 35g |
| Protein | 6g |
Final Thoughts
Making ice cream at home doesn’t have to be a complicated project. This no-churn cookies and cream recipe is proof that simple ingredients, when handled correctly, can create something truly special. It’s creamy, it’s crunchy, and it’s ready in minutes of active time. I hope you give it a try. It’s become a staple in my summer routine, and I think it will become one in yours too. Don’t be afraid to experiment with different cookies or add-ins. The base is forgiving, and the results are always delicious.
If you try this recipe, I’d love to hear how it turned out. Leave a comment below with your favorite cookie brand or any variations you tried. And remember, if you need more quick and easy recipes to simplify your life, check out the other posts on the site. Happy freezing!
Frequently Asked Questions
Can I use whipped topping instead of heavy cream?
Yes, you can use thawed Cool Whip, but the texture will be lighter and less rich. Heavy whipping cream provides the necessary fat content for a creamy, scoopable texture. If you use Cool Whip, the ice cream will be more like a mousse and may melt faster. For the best results, stick to heavy cream.
Why is my no-churn ice cream icy?
This usually happens if the cream wasn’t whipped stiff enough or if the ice cream wasn’t frozen long enough. Make sure you whip the cream to soft peaks and fold in the condensed milk gently to keep the air bubbles. Also, ensure your freezer is at 0°F (-18°C) or colder. If your freezer is too warm, the ice cream will form large ice crystals.
Can I freeze this ice cream in ice cube trays?
Absolutely. This is a great way to make individual servings. Just pour the mixture into ice cube trays, freeze for 4 hours, and then transfer the cubes to a freezer bag. They’re perfect for adding to milkshakes or eating as a quick snack.
What if I don’t have a loaf pan?
Any freezer-safe container will work. You can use a 9×5 inch bread pan, a plastic storage container with a lid, or even a ceramic baking dish. Just make sure it’s airtight to prevent freezer burn. The shape doesn’t matter as much as the ability to store it without air exposure.
Can I use milk chocolate cookies instead of chocolate sandwich cookies?
You can, but the texture will be different. Milk chocolate cookies are often softer and may dissolve into the cream. Chocolate sandwich cookies (like Oreos) hold their structure better and provide the classic “chunks” in the ice cream. If you use milk chocolate cookies, crush them into finer crumbs to distribute the flavor more evenly.
Is this recipe gluten-free?
Not as written, since standard cookies contain gluten. However, you can easily make it gluten-free by using gluten-free sandwich cookies. There are many brands that offer gluten-free versions that crush and freeze just like regular cookies. Just check the label to ensure they are certified gluten-free.
Can I add mix-ins like nuts or candy?
Yes! This is a great base for add-ins. Chopped nuts, candy bars, or even crushed graham crackers work well. Just fold them in at the same time as the cookies. Be mindful of the sweetness level if you’re adding candy, as the condensed milk is already quite sweet.
Consider linking to 2-3 related recipes on your site here (e.g. similar dishes, other dessert recipes) — internal links to relevant content help both ranking and time-on-site.
Pin This Recipe!
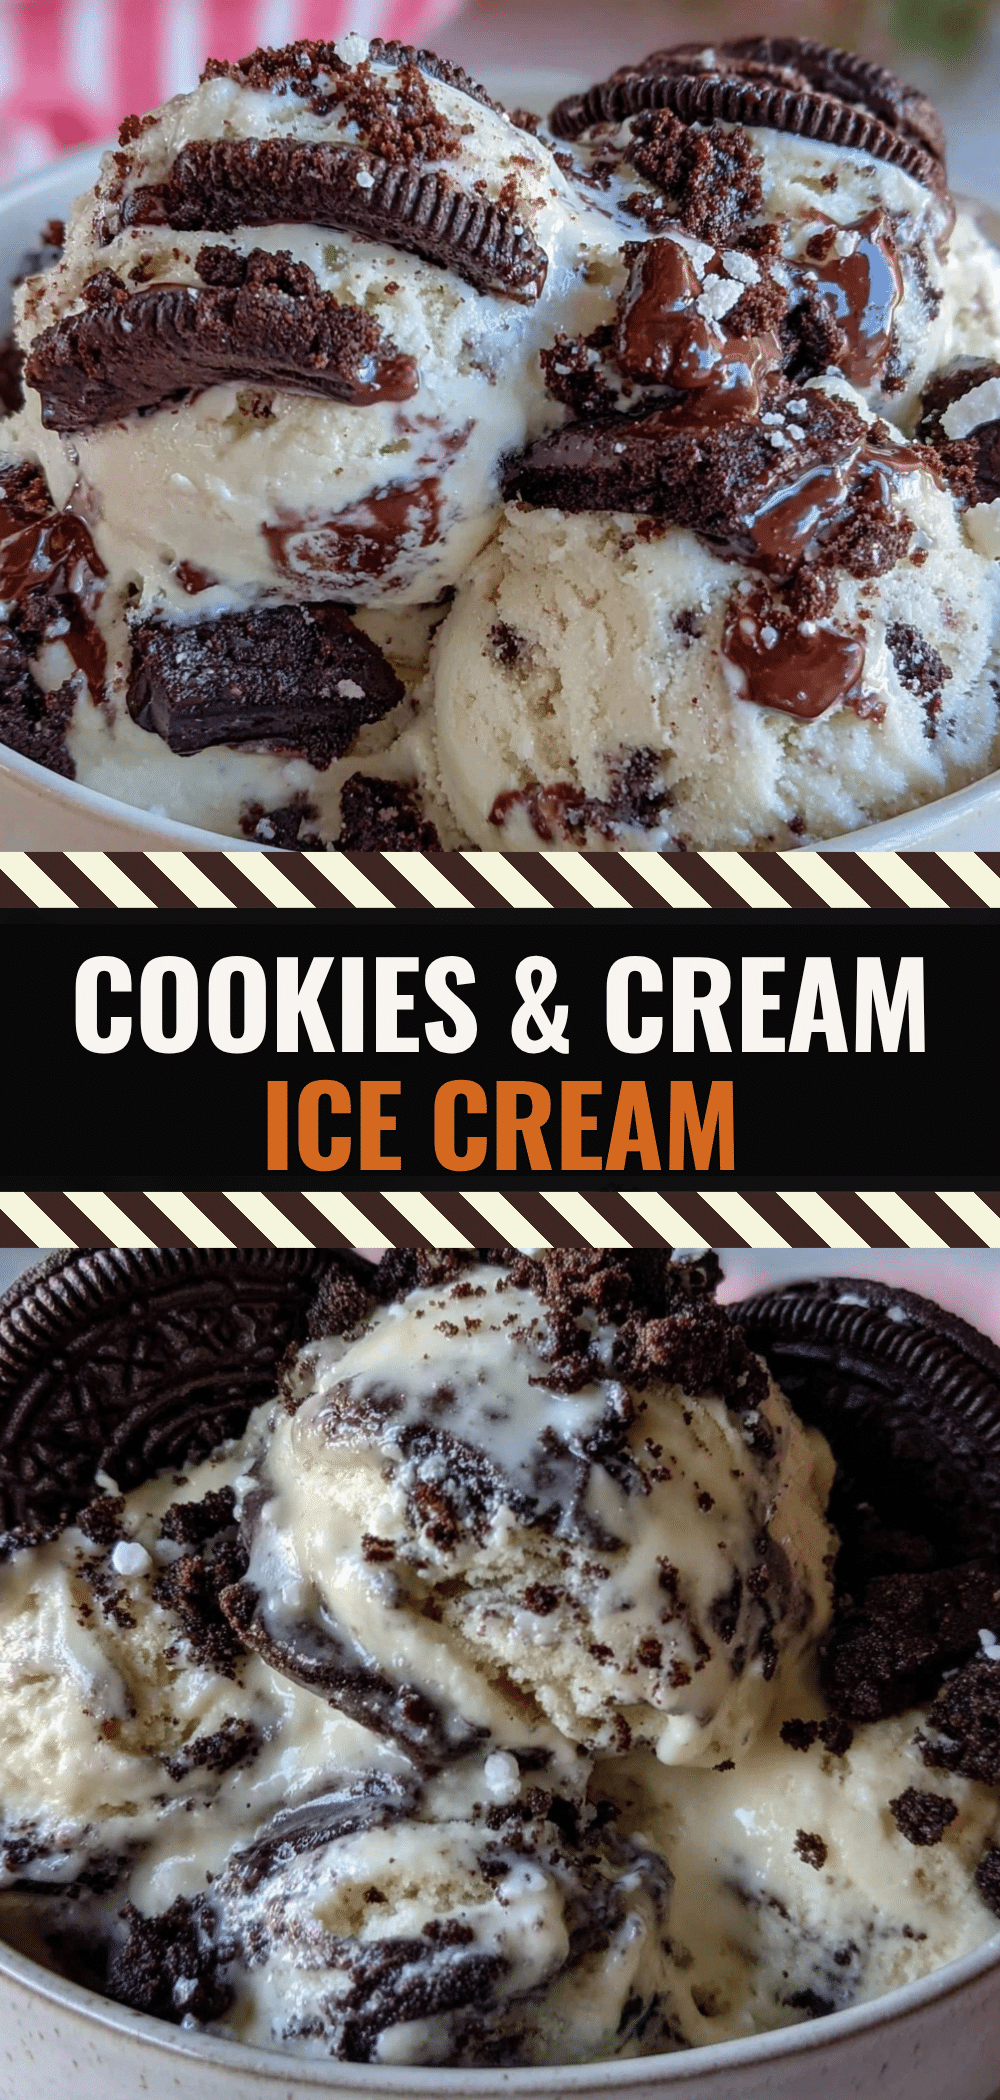

Easy No-Churn Cookies and Cream Ice Cream in Minutes
- Total Time: 5 minutes (plus 6 hours freezing)
- Yield: 8-10 servings 1x
Description
Make creamy no-churn cookies and cream ice cream in minutes with no machine. Just 4 ingredients and 5 minutes of prep for a perfect summer treat.
Ingredients
- 2 cups heavy whipping cream (cold)
- 14 oz sweetened condensed milk
- 1–2 teaspoons vanilla extract
- 20–24 cookies and cream cookies (e.g., Oreos)
- Pinch of sea salt (optional)
Instructions
- Line an 8×4 inch loaf pan with parchment paper, leaving overhang on the sides.
- Pour cold heavy whipping cream into a mixing bowl and whip until soft peaks form.
- Add sweetened condensed milk, vanilla extract, and salt to the whipped cream.
- Gently fold the milk mixture into the cream using a rubber spatula until combined and glossy.
- Crush the cookies into a mix of fine crumbs and larger chunks.
- Fold three-quarters of the crushed cookies into the cream mixture.
- Spread the mixture into the prepared loaf pan and smooth the top.
- Sprinkle the remaining cookies on top.
- Cover tightly and freeze for at least 6 hours or overnight.
- Let sit on the counter for 5-10 minutes before scooping to soften.
Notes
Keep all equipment and ingredients cold for best whipping results. Do not over-whip the cream. Let ice cream sit for 5-10 minutes before serving for easier scooping. Can be stored in the freezer for up to 2 weeks.
- Prep Time: 5 minutes
- Cook Time: 0 minutes
- Category: Dessert
- Cuisine: American
Nutrition
- Serving Size: 1/8 of loaf
- Calories: 450
- Sugar: 35
- Sodium: 250
- Fat: 32
- Saturated Fat: 20
- Carbohydrates: 40
- Protein: 6
Keywords: no-churn ice cream, cookies and cream, ice cream without machine, easy dessert, summer treat, homemade ice cream


