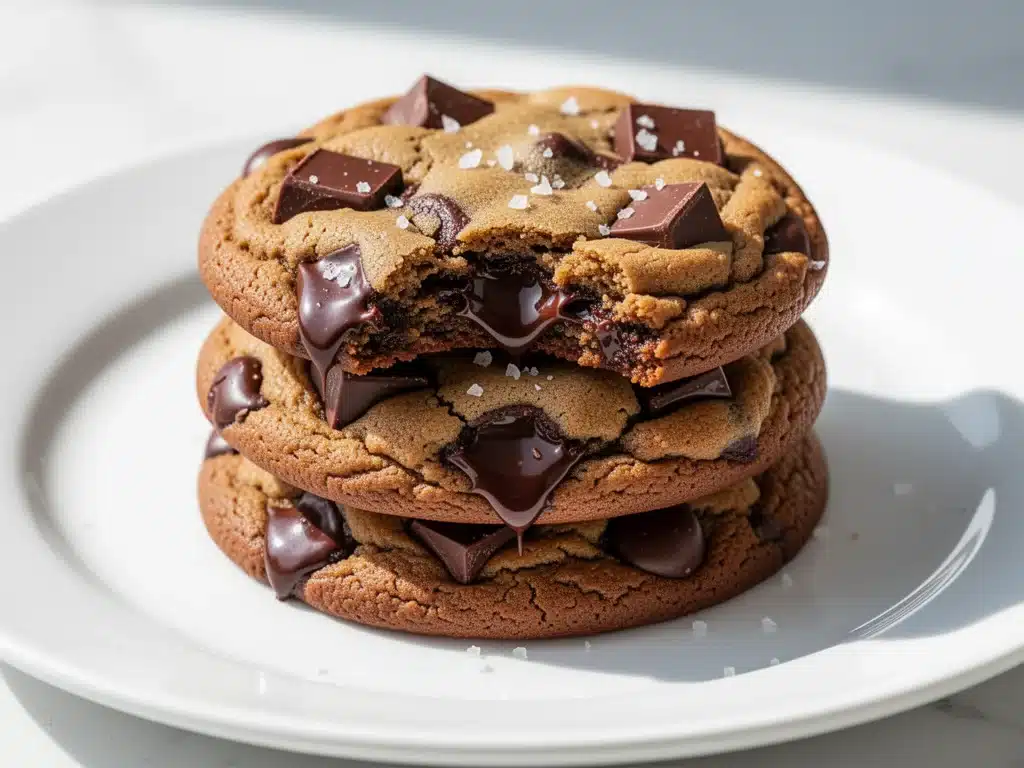
I still remember the exact moment I knew this batch was different. It was a Tuesday night, raining sideways, and I had just pulled a tray of cookies from the oven. The smell hit me first—that deep, nutty, toasty aroma of browned butter that makes your stomach growl before you even take a bite. I picked one up, still warm enough to burn my fingertips, and took a bite. It wasn’t just chewy. It wasn’t just crispy. It was dense, fudgy, and packed with those melty chocolate pockets that make you close your eyes and forget about your email inbox for thirty seconds.
I ate three. Just three. In one sitting. And I didn’t even feel guilty because, honestly, who can resist that? But the real test came the next morning. I found a half-eaten cookie on the counter, wrapped loosely in foil like someone was saving it for later. They weren’t stale. They weren’t dry. They were still soft in the center, with a slight crisp on the edges. That’s when I knew I had something special. These ultra-fudgy brown butter chocolate chip cookies are the ones everyone always asks for. Not because they’re complicated, but because they hit every single texture button in your brain.
I’ve made these cookies probably 20 times over the last year. I’ve tweaked the flour ratio, tested different types of chocolate, and argued with my husband about whether sea salt should go on top or bottom (it goes on top, obviously). Through all those iterations, one thing stayed constant: the brown butter. It changes everything. It adds this sophisticated, almost caramel-like depth that regular melted butter just can’t touch. If you’ve ever wondered why bakery cookies taste better than homemade ones, this is usually why. It’s not magic. It’s just chemistry and patience.
So, why do I keep making them? Because they’re reliable. They’re impressive without being difficult. And because every time I bring a batch to a potluck, office party, or family gathering, they disappear within minutes. People ask for the recipe. They text me asking if I’m making more. They show up at my door with empty Tupperware containers. That’s the power of a really good cookie. And I’m going to show you exactly how to make them, step by step, so you can become the hero of your next gathering.
Why You’ll Love This Brown Butter Chocolate Chip Cookie Recipe
There are a million cookie recipes out there. I have a folder on my phone with at least fifty. But this one sits at the top, pinned and starred and printed out because it just works. Here’s why these ultra-fudgy brown butter chocolate chip cookies have earned their place in your rotation.
- They Actually Stay Fudgy — Most cookie recipes dry out by day two. These stay soft in the middle for days. I’ve kept a batch in an airtight container for four days and the center was still pillowy. The brown butter locks in moisture in a way regular butter doesn’t.
- The Flavor Is Next Level — That nutty, toasted butter flavor adds a complexity that makes people stop chewing and think. It’s not just sweet; it’s savory-sweet. It’s the kind of flavor that makes you take another bite even when you’re full.
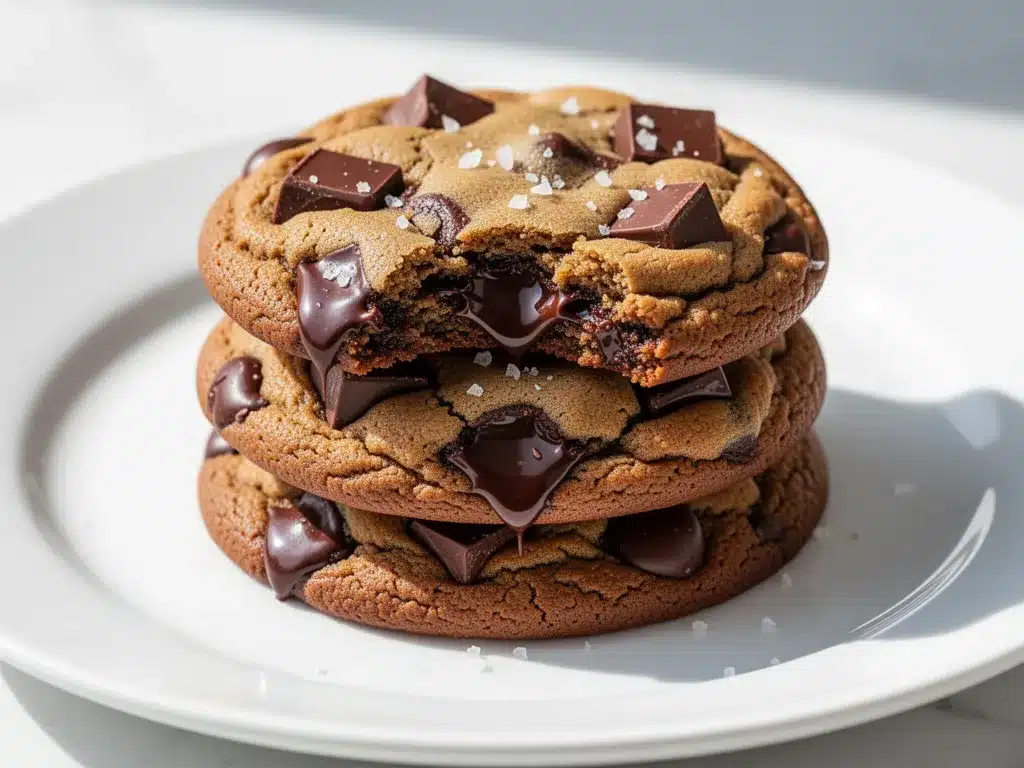
- Perfect Texture Contrast — Crispy edges, chewy center, melty chocolate. It’s the holy trinity of cookie textures. I’ve tested dozens of recipes and this ratio of flour to sugar to butter is the sweet spot. No cakey cookies here.
- Impressive But Easy — You don’t need fancy equipment. No stand mixer required (though it helps). Just a saucepan for the butter and a bowl. The hardest part is waiting for the cookies to cool. Seriously.
- They Freeze Like a Dream — I make double batches and freeze the dough balls. When friends come over, I pull them out, bake them fresh, and no one knows the difference. They taste like they were made an hour ago.
This recipe is my go-to when I want to feel like a baking pro without actually being one. It’s comforting, reliable, and absolutely delicious. Once you try them, you’ll understand why everyone always asks for the recipe.
Ingredients You’ll Need
Here’s the best part: you probably have most of this already. This isn’t a recipe that requires a trip to three different specialty stores. It’s pantry-friendly, with just a few key items that make the difference.
For the Brown Butter Base
Unsalted butter (1 cup / 226g) — This is where the magic happens. Use high-quality butter if you can. I like Land O’Lakes or Plugrá. You’re going to cook it down, so you want good flavor to start. Don’t use margarine. Don’t use whipped butter. Just solid, cold, unsalted butter.
Granulated sugar (½ cup / 100g) — This helps with the crisp edges. It spreads the cookie and creates that caramelized crunch. Don’t skip it or reduce it too much, or you’ll lose that texture.
Brown sugar (1 cup / 220g) — Packed. This is the fudgy part. The molasses in the brown sugar keeps the center soft and chewy. Light brown sugar works, but dark brown sugar gives you a deeper, more caramel-like flavor. I prefer dark.
Large eggs (2 large) — Room temperature is best. They help bind everything together and add structure. If your eggs are cold, just run them under warm water for a minute.
Egg yolk (1 large yolk) — This is the secret weapon. Adding an extra yolk boosts the fat content, which makes the cookies richer and fudgier. It’s what separates these from average cookies.
For the Dry Ingredients
All-purpose flour (2¼ cups / 280g) — Don’t use cake flour or bread flour. All-purpose is the standard for a reason. It gives the right amount of structure without being tough. Spoon and level your flour! Don’t scoop it straight from the bag, or you’ll pack in too much and get dry cookies.
Baking soda (1 teaspoon) — This helps the cookies spread and brown. Make sure it’s fresh. If it’s been sitting in your cabinet for two years, toss it and buy new. Test it with a little vinegar to see if it fizzes.
Salt (1 teaspoon) — Just regular table salt or kosher salt in the dough. It balances the sweetness.
For the Chocolate and Finish
Semi-sweet chocolate chips (1½ cups / 250g) — I use Ghirardelli or Nestlé Toll House. But honestly? Chop up a chocolate bar. Chopped chocolate creates those uneven, melty pockets that are so much better than uniform chips. I do both—chips for structure, chunks for flavor.
Flaky sea salt (like Maldon) — For sprinkling on top. This is non-negotiable. The contrast between sweet cookie and salty flakes is addictive. Don’t use table salt for topping; it’s too sharp. Use the big, delicate flakes.
Vanilla extract (1 tablespoon) — Use real vanilla. I know it’s expensive, but it makes a huge difference in flavor. Fake vanilla tastes chemical. You deserve better.
Equipment Needed
You don’t need fancy gear for this. Here’s what I actually use.
Saucepan — Medium-sized, heavy-bottomed is best. You need to watch the butter closely as it browns. A thin pan might burn the butter before you realize it.
Whisk — For mixing the dough. A whisk incorporates air and mixes things evenly. I use a silicone whisk because it’s easy to clean.
Mixing bowls — One medium for the wet ingredients, one large for the dry. Glass or stainless steel work best. Plastic can retain odors.
Baking sheets — Two half-sheet pans. I use cookie sheets with no rim. Rimmed baking sheets work too, just make sure your cookies aren’t touching the sides.
Parchment paper — Line your baking sheets. This prevents sticking and makes cleanup a breeze. I never bake cookies directly on metal anymore. Trust me.
Cooling rack — To cool the cookies after baking. If you skip this, the bottoms get soggy from the residual heat.
Ice cream scoop — Or a large spoon. I use a 2-tablespoon scoop for uniform cookies. It helps them bake evenly.
How to Make It: Step-by-Step
Alright, let’s make these cookies! I’m walking you through exactly how I do it, including the little tricks I’ve picked up over dozens of batches.
Step 1: Brown the Butter (10 minutes)
This is the most important step. Cut the butter into cubes and put them in your saucepan over medium heat. Stir frequently with a wooden spoon. The butter will melt, then foam up, then start to crackle. Watch it closely. You’re looking for the foam to subside and the milk solids at the bottom to turn golden brown. It should smell nutty, like toasted almonds or hazelnuts. This takes about 5-7 minutes. Don’t walk away. Once it’s browned, immediately pour it into a heatproof bowl to stop the cooking. If you leave it in the hot pan, it’ll keep cooking and burn. Let it cool for 10-15 minutes until it’s just warm to the touch.
Step 2: Mix the Wet Ingredients (3 minutes)
In your large mixing bowl, whisk together the cooled brown butter, granulated sugar, and brown sugar until well combined. The mixture should look glossy and smooth. Add the eggs, egg yolk, and vanilla extract. Whisk vigorously for about a minute. You want to incorporate air here. The mixture should lighten in color slightly. This step helps create that crisp edge.
Step 3: Combine Dry Ingredients (2 minutes)
In a separate medium bowl, whisk together the flour, baking soda, and salt. Make sure there are no lumps of baking soda. This ensures even distribution.
Step 4: Bring It Together (2 minutes)
Gradually add the dry ingredients to the wet ingredients. Use a spatula or wooden spoon to fold them together. Stop as soon as the flour disappears. Do not overmix. Overmixing develops gluten, which makes cookies tough. You want tender, fudgy cookies, not bread. Once combined, fold in the chocolate chips and chopped chocolate chunks.
Step 5: Chill the Dough (30 minutes – 24 hours)
This is the step most people skip, but I swear by it. Cover the bowl with plastic wrap and refrigerate for at least 30 minutes. Ideally, chill it for 24 hours. Chilling hydrates the flour and solidifies the fat, which means less spreading and more flavor development. If you bake the dough warm, the cookies will spread into flat, greasy discs. Chilled dough gives you thick, fudgy cookies with crispy edges. I usually make the dough the night before and bake them the next day.
Step 6: Scoop and Bake (12-14 minutes)
Preheat your oven to 350°F (175°C). Line two baking sheets with parchment paper. Scoop the dough into balls, about 2 tablespoons each. Place them on the baking sheets, spacing them at least 2 inches apart. They will spread. Bake for 12-14 minutes. You want the edges to be golden brown and set, but the centers to still look slightly underdone and soft. They will continue to cook on the hot pan after you take them out. If you bake them until they look fully done in the oven, they’ll be dry by the time they cool.
Step 7: Salt and Cool (5 minutes)
Immediately after removing the cookies from the oven, sprinkle a few flakes of sea salt on top of each one. The heat will help the salt stick. Let them cool on the baking sheet for 5 minutes, then transfer to a wire rack to cool completely. Or, if you can’t wait (and I don’t blame you), eat one warm. Just be careful—it’s hot inside.
Expert Tips & Tricks
Here’s everything I’ve learned from making these dozens of times. These tips will save you from my mistakes.
- Don’t Skip the Chill — I know it’s tempting to bake them right away. But chilling the dough is what makes them thick and fudgy. If you’re in a rush, freeze the dough balls for 15 minutes instead of refrigerating for 30. It’s not the same, but it helps.
- Underbake Slightly — The number one mistake is overbaking. These cookies should look soft and slightly underdone when you take them out. They firm up as they cool. If they look done in the oven, they’ll be dry on the counter.
- Use a Combination of Chocolate — Chips hold their shape. Chopped bars melt into pools. Use both. I chop a 6-ounce bar of semi-sweet chocolate into chunks and add a cup of chips. It gives you the best of both worlds.
- Watch the Butter Color — Brown butter can go from perfect to burnt in seconds. The smell is your best guide. When it smells like toasted nuts, it’s done. If it smells like burnt toast, start over. Burnt butter tastes bitter and ruins the cookies.
- Salt on Top, Not Just In — Sprinkling flaky sea salt on top right after baking adds a crunch and a burst of saltiness that contrasts with the sweet dough. It’s the finishing touch that makes them feel fancy.
Variations & Substitutions
Once you’ve nailed the basic version, here’s how you can mix it up. I’ve tried all of these.
- Peanut Butter Swirl — Drop a teaspoon of peanut butter on top of each dough ball before baking. Swirl it in with a knife. It adds a salty, nutty twist.
- White Chocolate Macadamia — Swap the semi-sweet chocolate for white chocolate chips and add 1 cup of toasted macadamia nuts. It’s sweet, chewy, and tropical.
- Dark Chocolate Intense — Use 70% dark chocolate instead of semi-sweet. These cookies will be less sweet and more sophisticated. Great for coffee pairing.
- Gluten-Free — Use a 1:1 gluten-free flour blend. I’ve used Bob’s Red Mill and King Arthur, and both work well. Add an extra 1-2 minutes to baking time if needed.
- Vegan — Use vegan butter (like Miyoko’s), flax eggs instead of regular eggs, and vegan chocolate chips. The texture will be slightly different, but still delicious.
Serving & Storage
How to serve and store these beauties.
How to Serve
I usually serve these warm, right out of the oven. They’re best enjoyed with a cold glass of milk or a cup of coffee. For a dinner party, arrange them on a platter with a small bowl of flaky sea salt on the side for people to sprinkle on their own. They also make great gifts! Pack them in a tin with a ribbon and a handwritten recipe card.
Storage Instructions
Room Temperature: Store in an airtight container at room temperature for up to 5 days. They stay soft for days. If they start to dry out, put a slice of bread in the container. The cookies will absorb moisture from the bread and stay soft.
Freezing Dough: Scoop the dough into balls and freeze them on a baking sheet until solid. Then transfer to a freezer bag. They’ll keep for up to 3 months. Bake straight from frozen, adding 1-2 minutes to the baking time.
Freezing Baked Cookies: Once completely cooled, freeze in an airtight container for up to 2 months. Thaw at room temperature. They won’t be quite as crisp as fresh, but still good.
Reheating: Warm in the microwave for 10-15 seconds to get that fresh-baked texture. Or bake at 350°F for 5 minutes if you have multiple leftovers.
Nutrition Information
I’m not a nutritionist, but here’s the breakdown if you’re tracking. Keep in mind that these are rich, calorie-dense cookies, so portion control is key.
Per Cookie (makes about 24 cookies):
- Calories: 220
- Fat: 12g
- Carbs: 28g
- Fiber: 1g
- Sugar: 18g
- Protein: 3g
These are definitely a treat, not a health food. But they’re made with real ingredients, and they’re way better than store-bought. When I want to make them lighter, I use half the butter and more oats, but honestly? I rarely do. I just enjoy them in moderation.
Final Thoughts
So that’s my ultra-fudgy brown butter chocolate chip cookie recipe. I’ve probably talked your ear off at this point, but when you make a recipe this often, you have a lot to say about it. These cookies have saved me from boring snack times, impressed picky eaters, and brought joy to rainy Tuesdays. They’re my answer to “what can I bake that’s easy but impressive?”
Make them your own! Try different chocolates, add nuts, or change the salt. The best recipes are the ones you adapt to your taste. If you make these, I’d love to hear how they turn out. Drop a comment and let me know if you added anything special. And if something doesn’t work, tell me that too—I’m here to help troubleshoot.
Happy baking! And I hope your kitchen smells half as good as mine does right now.
Frequently Asked Questions
Can I use salted butter instead of unsalted?
You can, but you’ll need to reduce the salt in the dough. Salted butter varies in salt content, so start by omitting the 1 teaspoon of salt in the recipe. Taste the dough (don’t worry, it’s safe with baking soda) and add more salt if needed. I prefer unsalted because it gives me more control.
Why did my cookies spread too much?
This usually means the dough was too warm when it went into the oven. Make sure you chill the dough for at least 30 minutes. Also, check that your butter wasn’t too hot when you mixed it with the sugar. If the butter is melted, it will make the cookies spread. Brown butter should be cooled to just warm, not hot.
Can I freeze the dough?
Absolutely! This is my favorite way to prep ahead. Scoop the dough into balls, freeze them on a tray, then transfer to a bag. Bake straight from frozen. You might need to add 1-2 minutes to the baking time. They freeze beautifully for up to 3 months.
What’s the best chocolate to use?
I love semi-sweet chocolate chips for structure, but chopping up a high-quality semi-sweet or dark chocolate bar adds those melty pockets. I use Ghirardelli 60% Cacao or Lindt 70%. Avoid chocolate chips that are labeled “baking chips” if you want better flavor—they often have less cocoa butter.
Can I make these gluten-free?
Yes! Use a 1:1 gluten-free flour blend like Bob’s Red Mill or King Arthur. Make sure the blend contains xanthan gum, or add ½ teaspoon yourself. The texture will be slightly more tender, but still delicious. I’ve tested this with both brands and both work well.
Why are my cookies dry?
You probably overbaked them. Remember, these cookies should look slightly underdone when you take them out of the oven. They continue to cook on the hot pan. If you bake them until they look fully set, they’ll be dry. Also, make sure you’re measuring your flour correctly—scoop and level, don’t pack it in.
Pin This Recipe!
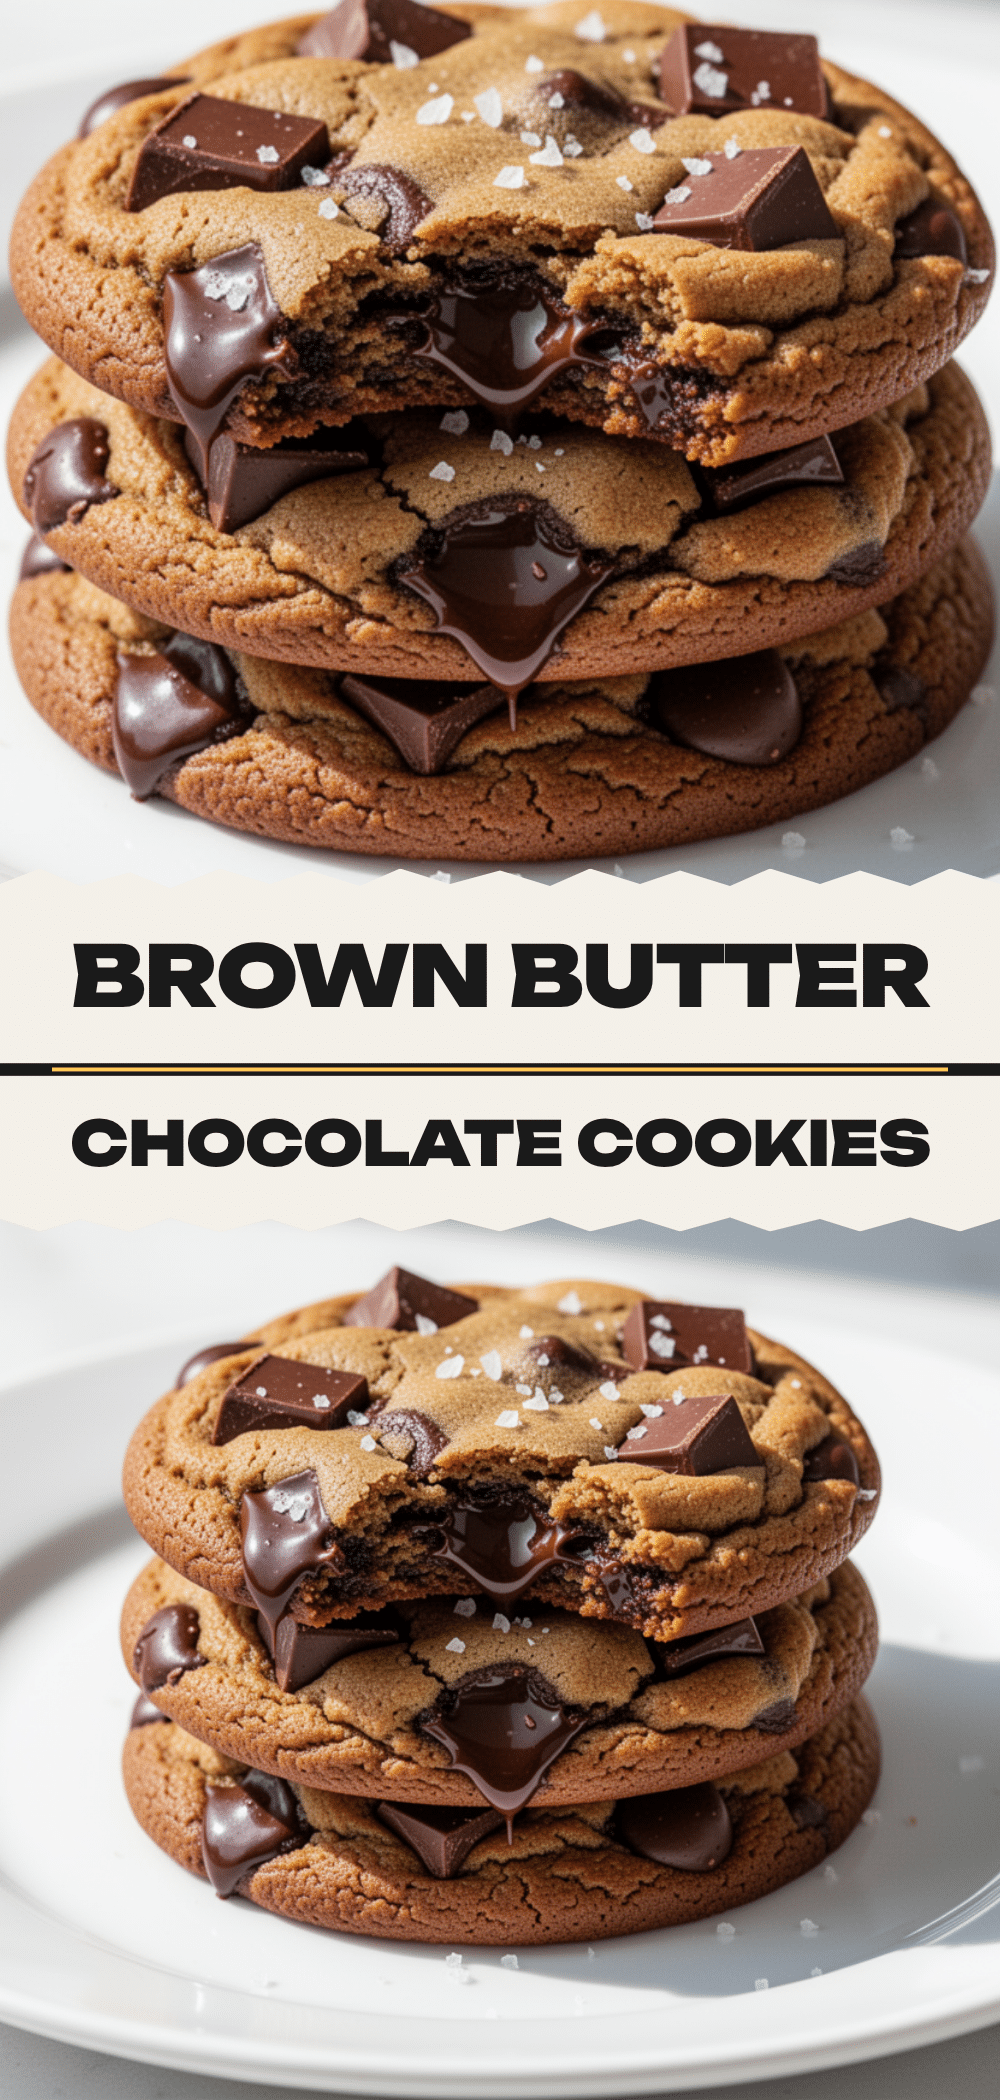
Ultra-Fudgy Brown Butter Chocolate Chip Cookies
- Total Time: 45 minutes
- Yield: 24 cookies 1x
Description
These ultra-fudgy brown butter chocolate chip cookies feature crispy edges, a chewy center, and deep nutty flavor from browned butter. They are reliable, impressive, and stay soft for days.
Ingredients
- 1 cup (226g) unsalted butter
- ½ cup (100g) granulated sugar
- 1 cup (220g) packed brown sugar (dark preferred)
- 2 large eggs (room temperature)
- 1 large egg yolk
- 2¼ cups (280g) all-purpose flour
- 1 teaspoon baking soda
- 1 teaspoon salt
- 1½ cups (250g) semi-sweet chocolate chips
- 1 tablespoon vanilla extract
- Flaky sea salt (like Maldon) for topping
Instructions
- Brown the butter: Cut butter into cubes and melt in a saucepan over medium heat. Stir frequently until foam subsides and milk solids turn golden brown and smell nutty (5-7 minutes). Pour into a heatproof bowl and cool for 10-15 minutes until just warm.
- Mix wet ingredients: In a large bowl, whisk cooled brown butter, granulated sugar, and brown sugar until glossy. Add eggs, egg yolk, and vanilla. Whisk vigorously for about a minute until mixture lightens slightly.
- Combine dry ingredients: In a separate medium bowl, whisk together flour, baking soda, and salt.
- Bring it together: Gradually add dry ingredients to wet ingredients. Fold with a spatula until flour disappears. Do not overmix. Fold in chocolate chips and chopped chocolate chunks.
- Chill dough: Cover bowl and refrigerate for at least 30 minutes (ideally 24 hours) to hydrate flour and solidify fat.
- Scoop and bake: Preheat oven to 350°F (175°C). Line baking sheets with parchment paper. Scoop dough into 2-tablespoon balls, spacing 2 inches apart. Bake for 12-14 minutes until edges are golden but centers look slightly underdone.
- Salt and cool: Immediately sprinkle flaky sea salt on top. Cool on baking sheet for 5 minutes, then transfer to a wire rack to cool completely.
Notes
Chilling the dough is crucial for thick, fudgy cookies. Do not overbake; cookies should look slightly underdone when removed from the oven as they continue to cook on the hot pan. Use flaky sea salt on top for contrast. Dough can be frozen for up to 3 months.
- Prep Time: 15 minutes
- Cook Time: 12-14 minutes
- Category: Dessert
- Cuisine: American
Nutrition
- Serving Size: 1 cookie
- Calories: 220
- Sugar: 18
- Sodium: 150
- Fat: 12
- Saturated Fat: 7
- Carbohydrates: 28
- Fiber: 1
- Protein: 3
Keywords: brown butter cookies, chocolate chip cookies, fudgy cookies, baking, dessert, cookies, brown butter


