It was a humid July afternoon, the kind where the air feels thick enough to chew, and I was standing in my kitchen sweating over a cast-iron skillet that seemed determined to smoke out the entire house. I had promised my in-laws—people who take their Southern cooking very, very seriously—that I would make fried chicken for Sunday dinner. Big mistake. I had watched a dozen YouTube tutorials, read every article, and followed three different “proven” recipes. The result? Tough, dry chicken with a coating that cracked off in chunks and a flavor profile that tasted like regret.
My mother-in-law took one bite, smiled politely, and asked if I wanted seconds. Seconds? I was ready to cry. That night, after they left, I sat at the table staring at the cold, soggy remains of my effort. I called my aunt Linda, who has been making fried chicken since the Carter administration. She didn’t give me a lecture. She didn’t even ask for the recipe. She just said, “You’re using too much oil and not enough patience. And you’re skipping the most important step.”
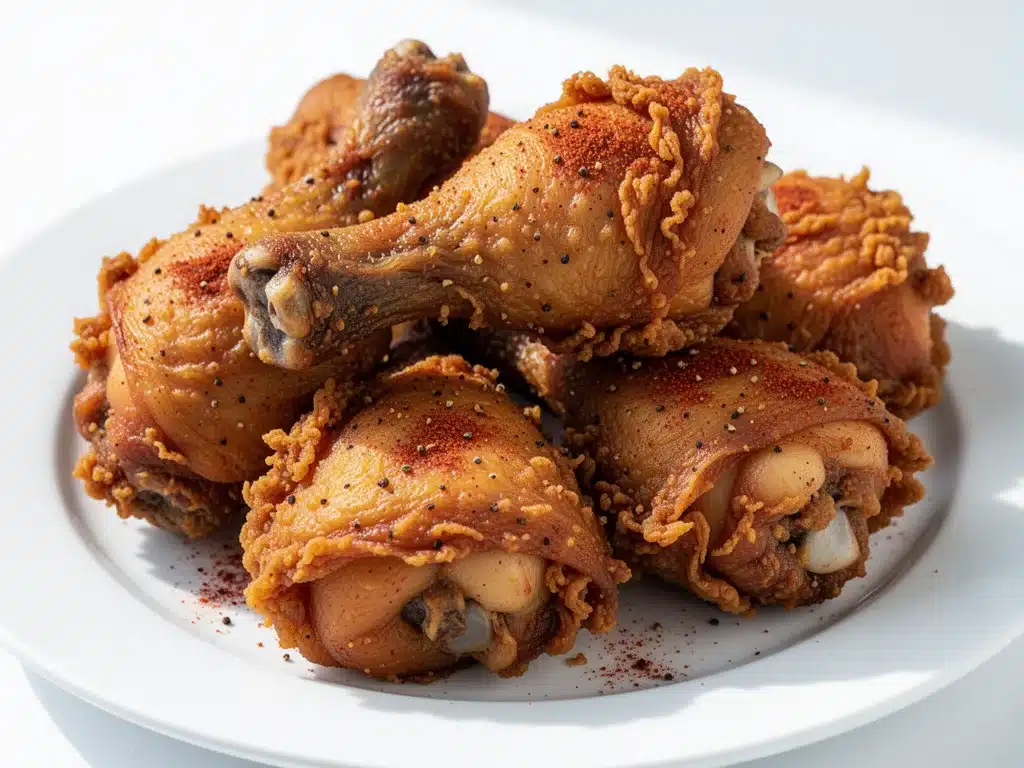
That step? The brine. Specifically, a good old-fashioned buttermilk soak with a spice blend that actually respects the bird. I spent the next month testing batches, burning fingers, and adjusting ratios until I hit the sweet spot. The result? This crispy buttermilk fried chicken with southern spice coating your whole family will crave. It’s the kind of chicken that makes you close your eyes when you take the first bite. It’s crunchy on the outside, juicy on the inside, and smells like heaven drifting through the house. Three months later, my in-laws still ask for this specific recipe. And honestly? So do I.
Why You’ll Love This Crispy Buttermilk Fried Chicken
I’ve made this recipe more times than I care to count, and it has earned a permanent spot in my weekly rotation. It’s not just because it tastes incredible (though it does), but because it solves the biggest problem home cooks face: getting that restaurant-quality crunch without needing a commercial deep fryer.
- Actually Crispy, Not Just Breaded — Most recipes give you a coating that falls off. This one sticks. The combination of buttermilk and the specific ratio of cornstarch to flour creates a shatteringly crisp crust that stays crunchy even under gravy. I’ve left leftovers out overnight, and they still snap.
- Juicy Meat Guaranteed — The secret isn’t the frying; it’s the brine. Soaking the chicken in buttermilk for 12-24 hours breaks down the proteins, ensuring the meat stays tender and juicy. I’ve had people tell me this is the juiciest chicken they’ve ever eaten, and they’re skeptical.
- Simple Southern Spice Blend — You don’t need a cabinet full of exotic spices. This uses pantry staples: paprika, garlic powder, onion powder, cayenne, and black pepper. It’s warm, savory, and has just enough kick to keep it interesting without burning your tongue.
- Forgiving Cooking Method — I use a two-stage frying process (medium heat to cook through, then high heat to crisp). It sounds technical, but it’s just timing. If you mess it up once, you’ll get it right the second time. I promise.
- Family-Approved Flavor — My picky 10-year-old nephew, who usually only eats nuggets, asked for seconds. My husband, who claims he can cook better, admitted defeat after one bite. That’s the seal of approval I look for.
This isn’t just dinner; it’s a memory in the making. It’s the kind of meal that brings people together, leaves them full and happy, and has them asking, “When are you making this again?”
Ingredients You’ll Need
Here’s the good news: you probably have most of these ingredients already. I’m not asking you to run to three different specialty stores. This is accessible, rustic, Southern cooking. That said, quality matters. Don’t skimp on the chicken or the buttermilk.
For the Chicken
Whole Chicken or Pieces (3-4 pounds / 1.5-2 kg) — I prefer a mix of thighs and drumsticks for maximum juiciness, but breast meat works if you’re careful not to overcook. Bone-in, skin-on is non-negotiable for flavor and texture. Skinless chicken will dry out.
Buttermilk (2 cups / 480ml) — This is your brine. It tenderizes and adds tang. If you can’t find buttermilk, make a substitute: 2 cups milk + 2 tablespoons white vinegar or lemon juice. Let it sit for 10 minutes until it curdles. It won’t be identical, but it works in a pinch.
For the Southern Spice Coating
All-Purpose Flour (2 cups / 250g) — The base of the crust. It provides structure.
Cornstarch (½ cup / 60g) — This is the secret weapon. Cornstarch absorbs moisture and creates that shatteringly crisp texture. Without it, you get a doughy coating. With it, you get crunch.
Smoked Paprika (2 teaspoons) — Adds depth and a subtle smokiness. Regular paprika works, but smoked gives it that authentic Southern BBQ vibe.
Garlic Powder (1 teaspoon) — Fresh garlic burns in hot oil. Powder distributes evenly and infuses the crust with flavor.
Onion Powder (1 teaspoon) — Complements the garlic. Don’t skip it; it adds savory complexity.
Cayenne Pepper (½ teaspoon) — For heat. Adjust based on your spice tolerance. I like a little kick, but you can use ¼ teaspoon if you’re sensitive.
Black Pepper (1 teaspoon) — Freshly cracked is best. It adds a sharp, peppery bite.
Salt (1 tablespoon) — Kosher salt is ideal because it’s easier to control. Table salt is saltier by volume, so reduce if using that.
White Pepper (½ teaspoon) — Optional, but traditional in Southern cooking. It adds a different kind of heat that lingers.
For Frying
Vegetable Oil or Peanut Oil (about 4 cups / 1 liter) — Needs a high smoke point. Peanut oil adds a nutty flavor, but vegetable or canola oil is neutral and works perfectly. Do not use olive oil (burns too easily) or butter (burns instantly).
Paper Towels & Wire Rack — Essential for draining. Never put fried chicken on paper towels alone; it gets soggy. A wire rack over a baking sheet allows air circulation.
Equipment Needed
You don’t need fancy gadgets. Here’s what I actually use:
- Large Dutch Oven or Cast-Iron Skillet (6-8 quarts) — I use a 12-inch cast-iron skillet. It holds heat well, which is crucial for consistent frying. A Dutch oven is great for larger batches.
- Candy Thermometer or Deep-Fry Thermometer — This is non-negotiable. Guessing the oil temperature leads to greasy or burnt chicken. I keep a clip-on thermometer on the side of my pot.
- Large Baking Sheet — For the wire rack setup.
- Wire Rack — To drain the chicken. Keeps the bottom crisp.
- Tongs — Long-handled, heavy-duty tongs. You’re dealing with hot oil and sharp chicken bones.
- Whisk — For mixing the dry ingredients thoroughly.
- Two Large Bowls — One for buttermilk, one for the flour mixture.
Pro Tip: I love my crispy garlic chicken technique, which uses similar equipment, but frying chicken requires more oil volume, so ensure your pot is deep enough to prevent splattering.
How to Make It: Step-by-Step
Alright, let’s get cooking. This process takes patience, but the steps are straightforward. I’m walking you through exactly how I do it, including the little tricks I’ve picked up.
Step 1: The Buttermilk Brine (12-24 Hours Before)
In a large bowl, combine the buttermilk, 1 tablespoon of salt, and half of your spice blend (save the rest for the flour). Add the chicken pieces, ensuring they are fully submerged. Cover tightly with plastic wrap and refrigerate. This step is crucial. The acid in the buttermilk tenderizes the meat, and the salt seasons it from the inside out. I usually brine overnight. If you’re short on time, 4 hours works, but 12 is ideal.
Step 2: Prepare the Dredge
In a large shallow dish (like a pie plate or baking sheet), whisk together the flour, cornstarch, and remaining spices. Mix thoroughly. You want the spices evenly distributed. If you clump the spices, you’ll get spicy bites and bland ones. Set aside.
Step 3: Heat the Oil
Fill your Dutch oven or skillet with about 2 inches of oil. Heat over medium-high heat to 350°F (175°C). Use your thermometer. If you don’t have one, drop a pinch of flour into the oil; if it sizzles immediately, it’s ready. If it burns, it’s too hot. If it sinks, it’s too cold.
Step 4: Dredge the Chicken
Remove a piece of chicken from the buttermilk, letting the excess drip off. Press it firmly into the flour mixture. Flip and press again. Make sure every nook and cranny is coated. Shake off excess flour. I press the flour into the chicken to create a “shaggy” crust—that’s what gives you the crunch. Repeat with all pieces.
Step 5: Fry the Chicken
Carefully lower the chicken into the hot oil, skin-side down. Do not overcrowd the pot. Fry in batches if necessary. The oil temperature will drop; wait for it to return to 325°F (160°C). Fry for 12-15 minutes for dark meat, 8-10 minutes for breasts. Flip halfway through. The chicken is done when the internal temperature reaches 165°F (74°C) for breasts and 175°F (80°C) for thighs.
Step 6: Drain and Rest
Remove the chicken and place it on the wire rack over a baking sheet. Do not stack them. Let them rest for 5-10 minutes. This allows the juices to redistribute and the crust to set. If you cut into it immediately, the juices run out, and the meat dries up.
Step 7: Second Fry (Optional but Recommended)
For extra crispiness, increase the oil heat to 375°F (190°C). Fry the chicken for 2-3 minutes on each side. This drives off excess moisture from the crust, making it shatteringly crisp. I always do this step. It’s worth the extra two minutes.
Expert Tips & Tricks
Here’s everything I’ve learned from making this dozens of times. These tips will save you from my mistakes.
- Temperature is Everything — If the oil is too hot, the outside burns before the inside cooks. If it’s too cool, the chicken absorbs oil and gets greasy. Keep it between 325°F and 350°F. Adjust the heat as needed.
- Don’t Skip the Cornstarch — I’ve tried making this without it, and the crust is soft. Cornstarch is the key to crunch. It creates a lighter, airier crust that doesn’t get soggy.
- Patience with the Brine — Don’t rush the brine. 12 hours is the sweet spot. Less time, and the meat isn’t as tender. More than 24 hours, and the texture can get mushy.
- Use a Thermometer — I know, it’s annoying. But guessing leads to undercooked or dry chicken. A probe thermometer is your best friend. Insert it into the thickest part, avoiding the bone.
- Rest the Chicken — I know you want to eat it now. Wait. Resting allows the juices to settle. Cutting into it too early releases the moisture, and you lose the juiciness.
Common Mistakes:
- Overcrowding the Pot: This drops the oil temperature drastically. Fry in batches.
- Using Too Much Flour: Shake off excess. A thick, clumpy coating will be doughy.
- Not Preheating the Oil: Cold oil = greasy chicken. Always preheat to 350°F.
Variations & Substitutions
Once you’ve nailed the basic version, here’s how you can mix it up. I’ve tried all of these.
- Spicy Version: Double the cayenne pepper and add 1 teaspoon of crushed red pepper flakes to the flour mixture. For extra heat, add a few drops of hot sauce to the buttermilk.
- Herb-Crusted: Add 1 tablespoon of dried thyme and 1 tablespoon of dried rosemary to the flour. Adds a nice aromatic flavor.
- Gluten-Free: Swap the all-purpose flour for a 1:1 gluten-free flour blend. Use cornstarch as usual. The texture will be slightly different but still crispy.
- Baked Version: For a lighter option, place the dredged chicken on a wire rack over a baking sheet. Spray lightly with oil and bake at 400°F (200°C) for 35-40 minutes, flipping halfway. It won’t be as crispy as fried, but it’s healthier.
- Chicken Tenders: Use breast strips. Fry for 6-8 minutes. Perfect for kids or appetizers.
Dietary Modifications:
- Dairy-Free: Buttermilk contains dairy. Use a dairy-free milk alternative (like almond or oat milk) mixed with vinegar to create a substitute.
- Lower Fat: Bake instead of fry. Or use an air fryer at 375°F for 15-18 minutes, flipping halfway.
Serving & Storage
How to Serve:
I usually serve this straight from the wire rack, piled high on a platter. It looks rustic and stays warm. Here are my favorite sides:
- Mashed potatoes with gravy (obviously)
- Coleslaw (the crunch contrasts perfectly with the chicken)
- Biscuits with butter
- Corn on the cob
- Green beans with bacon
Storage Instructions:
- Refrigerator: Store in an airtight container for up to 3 days. The crust will soften, but the flavor remains good.
- Reheating: The best way to reheat is in the oven. Preheat to 400°F (200°C). Place chicken on a wire rack over a baking sheet. Bake for 10-15 minutes until crispy and heated through. Avoid the microwave; it makes the crust soggy.
- Freezing: Yes, you can freeze fried chicken! Freeze it completely cooled, then wrap tightly in plastic wrap and foil. Freeze for up to 3 months. Reheat in the oven at 350°F for 20-25 minutes.
Pro Tip: If you’re meal-prepping, fry the chicken fully, let it cool, and freeze it. Reheat in the oven for a quick, delicious meal. It tastes almost as good as fresh.
Nutrition Information
I’m not a nutritionist, but here’s the breakdown if you’re tracking. Keep in mind, this is rich, comfort food.
Per Serving (based on 4 servings, 1 piece dark meat):
- Calories: 450
- Protein: 35g
- Carbs: 25g
- Fat: 25g
- Saturated Fat: 6g
- Cholesterol: 120mg
- Sodium: 600mg
What’s Good:
- High protein from the chicken
- Relatively low carb (if you skip the breading, though I don’t recommend it)
What to Know:
- Higher in calories and fat due to frying
- Contains gluten and dairy
My Take:
Look, this is fried chicken. It’s indulgent. It’s not a diet food. But it’s homemade, so you control the ingredients. When I want to make it lighter, I bake it or air-fry it. But usually? I just enjoy a reasonable portion and savor every bite.
Final Thoughts
So that’s my go-to crispy buttermilk fried chicken with southern spice coating. I’ve probably talked your ear off at this point, but when you make a recipe this often, you have a lot to say about it. This has saved Sunday dinners more times than I can count. It’s my answer to “what’s for dinner” when I want to feed a crowd and impress everyone. My kids are happy, my husband’s happy, and I’m happy because I’m not stressed about cooking.
Make it yours! Try different spice blends, swap in your favorite cuts of chicken, adjust the heat. The best recipes are the ones you adapt to your family’s tastes. If you make this, drop a comment and let me know what you think! I love hearing how recipes turn out in your kitchen. And if something doesn’t work, tell me that too—I’m here to help troubleshoot.
Happy cooking! And I hope your kitchen smells half as good as mine does right now.
Frequently Asked Questions
Can I use chicken breast instead of dark meat?
Yes, but be careful. Breast meat cooks faster and can dry out easily. Reduce the frying time to 8-10 minutes and check the temperature frequently. Aim for 165°F (74°C). Dark meat (thighs and drumsticks) is more forgiving and stays juicier, which is why I prefer it.
Why did my coating fall off during frying?
This usually happens if the chicken wasn’t dry enough before dredging, or if the oil wasn’t hot enough. Pat the chicken dry after removing it from the buttermilk. Also, ensure the oil is at 350°F before adding the chicken. The heat sets the crust quickly. If the oil is too cool, the coating slides off.
Can I make this ahead of time?
You can brine the chicken up to 24 hours in advance. Keep it covered in the fridge. When you’re ready to cook, dredge and fry as directed. Do not dredge and then refrigerate; the flour will get soggy. Dredge right before frying.
How do I know when the chicken is done?
Use a meat thermometer. Insert it into the thickest part, avoiding the bone. Dark meat should reach 175°F (80°C), and breasts should reach 165°F (74°C). If you don’t have a thermometer, cut into the thickest piece. The juices should run clear, and the meat should be opaque, not pink.
Can I use butter for frying?
No. Butter burns at a low temperature (350°F), so your chicken will taste burnt. Use oils with a high smoke point, like vegetable, canola, peanut, or sunflower oil. If you want butter flavor, add a small amount of clarified butter (ghee) to the oil, but don’t use regular butter alone.
Why is my chicken greasy?
This happens if the oil temperature is too low, causing the chicken to absorb oil instead of sealing the crust. Also, if you overcrowd the pot, the temperature drops. Fry in batches, and ensure the oil is at 350°F. After frying, let the chicken rest on a wire rack, not paper towels, to allow excess oil to drain.
Can I bake this instead of frying?
Yes, for a healthier option. Preheat the oven to 400°F (200°C). Place the dredged chicken on a wire rack over a baking sheet. Spray lightly with cooking spray or brush with oil. Bake for 35-40 minutes, flipping halfway, until the internal temperature reaches 165°F-175°F. The crust won’t be as crispy as fried, but it’s still delicious.
Pin This Recipe!
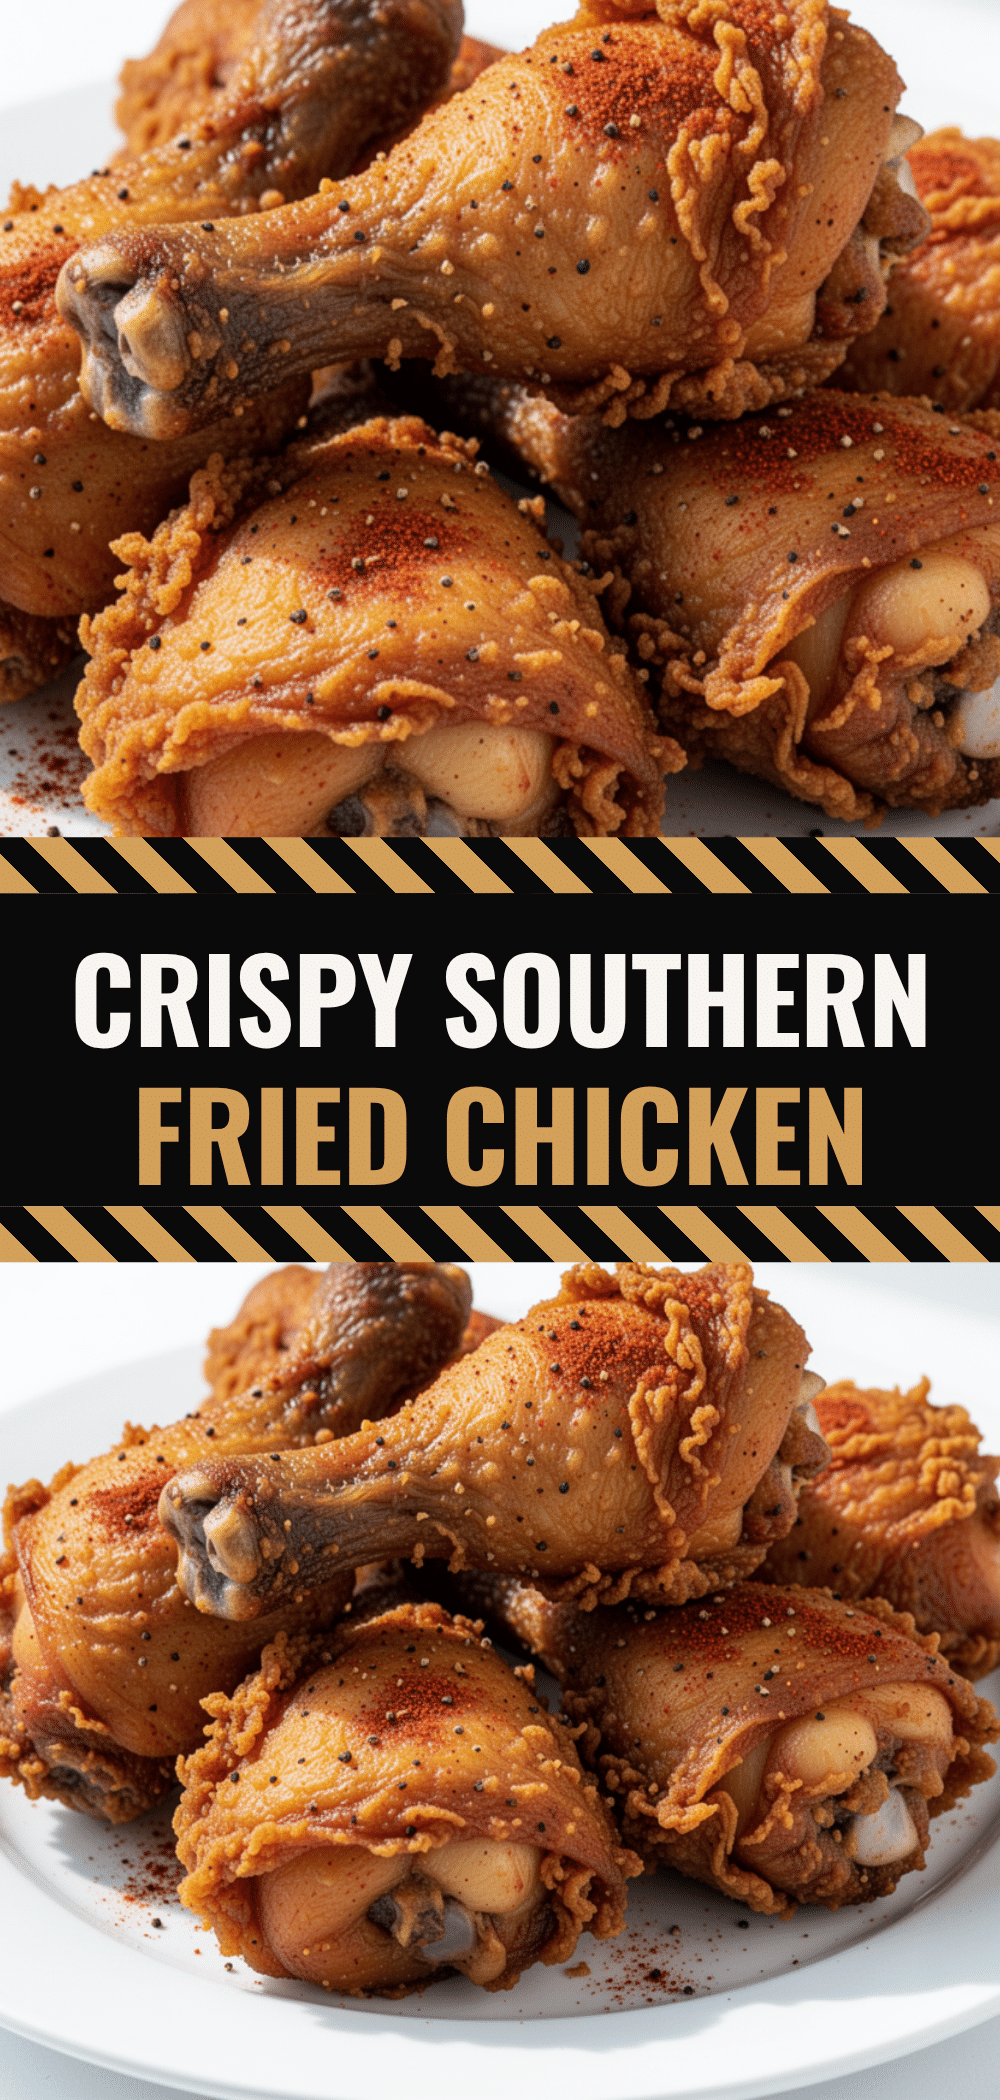

Crispy Buttermilk Fried Chicken: 3-Ingredient Southern Spice
- Total Time: 12 hours 30 minutes
- Yield: 4 servings 1x
Description
This recipe delivers restaurant-quality crunch and juicy meat through a simple buttermilk brine and a specific cornstarch-to-flour ratio, seasoned with a classic Southern spice blend.
Ingredients
- 3–4 pounds chicken pieces (bone-in, skin-on thighs and drumsticks preferred)
- 2 cups buttermilk
- 2 cups all-purpose flour
- 1/2 cup cornstarch
- 2 teaspoons smoked paprika
- 1 teaspoon garlic powder
- 1 teaspoon onion powder
- 1/2 teaspoon cayenne pepper
- 1 teaspoon black pepper
- 1 tablespoon kosher salt
- 1/2 teaspoon white pepper (optional)
- 4 cups vegetable oil or peanut oil
Instructions
- Combine buttermilk, 1 tablespoon salt, and half of the spice blend in a large bowl. Add chicken pieces, ensuring they are fully submerged. Cover and refrigerate for 12-24 hours.
- In a large shallow dish, whisk together the flour, cornstarch, and remaining spices until evenly distributed.
- Heat oil in a Dutch oven or cast-iron skillet to 350°F (175°C).
- Remove chicken from buttermilk, letting excess drip off. Press firmly into the flour mixture, flipping to coat all sides. Shake off excess flour.
- Carefully lower chicken into hot oil, skin-side down, without overcrowding the pot. Fry in batches if necessary.
- Fry dark meat for 12-15 minutes and breasts for 8-10 minutes, flipping halfway. Oil temperature should return to 325°F (160°C).
- Chicken is done when internal temperature reaches 165°F (74°C) for breasts and 175°F (80°C) for thighs.
- Remove chicken and place on a wire rack over a baking sheet. Rest for 5-10 minutes.
- For extra crispiness, increase oil heat to 375°F (190°C) and fry for 2-3 minutes on each side.
Notes
Do not use olive oil or butter for frying as they burn easily. Ensure oil is at 350°F before adding chicken to prevent greasy results. Resting the chicken on a wire rack rather than paper towels keeps the bottom crust crisp.
- Prep Time: 12 hours (plus brining time)
- Cook Time: 30 minutes
- Category: Main Course
- Cuisine: Southern
Nutrition
- Serving Size: 1 piece dark meat
- Calories: 450
- Sodium: 600
- Fat: 25
- Saturated Fat: 6
- Carbohydrates: 25
- Protein: 35
Keywords: fried chicken, buttermilk chicken, southern cooking, crispy chicken, homemade fried chicken, comfort food


