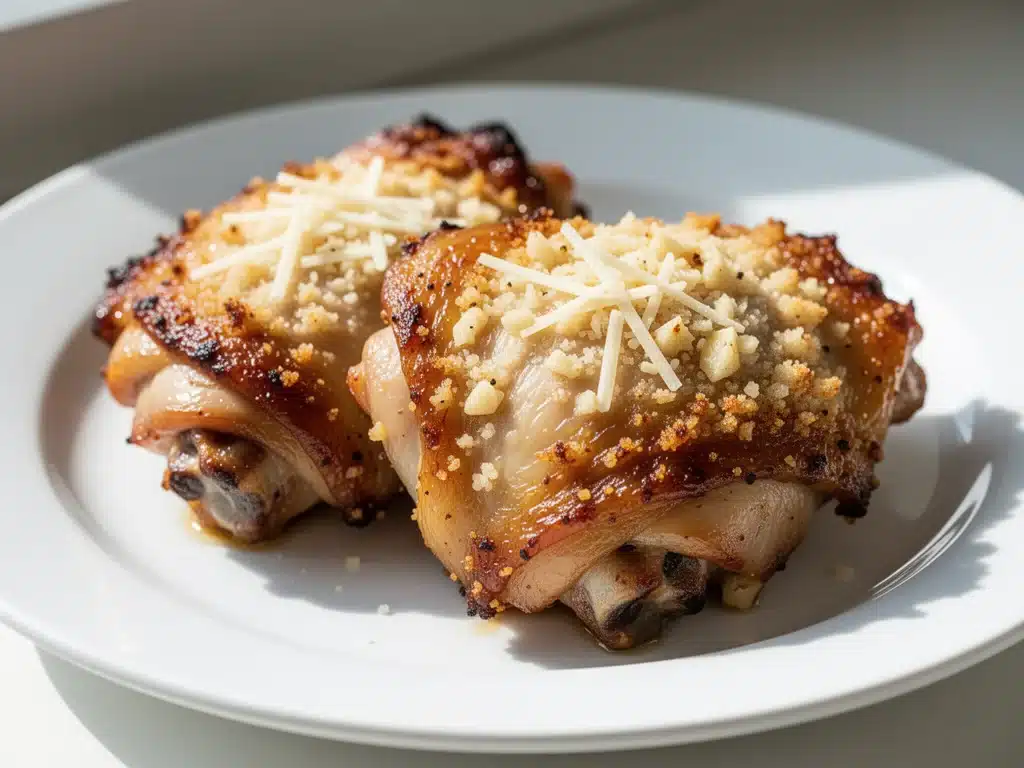
Three years ago, I almost threw my oven out the window. It wasn’t the oven’s fault, exactly. It was mine. I had promised my in-laws a “fancy” dinner, which in my head meant roasted chicken, but in my execution meant dry, rubbery breast meat that tasted like sadness and regret. They were polite, of course. My mother-in-law took a bite, chewed slowly, and said, “It’s… tender.” It wasn’t tender. It was a hockey puck.
I spent the next six months living on takeout, too embarrassed to cook for guests. Then, I stumbled onto a forum post about using bone-in, skin-on chicken thighs for roasting. Skeptical? Yes. Desperate? Absolutely. I bought a package of thighs, ignored the recipe, and just threw them in the oven with some garlic, parmesan, and herbs. I expected disaster. I got instead the crispiest, juiciest, most flavorful chicken I’d ever tasted.
That was the day I stopped fearing dinner parties. And that was the day I discovered crispy baked chicken thighs with garlic parmesan crust. This isn’t just a recipe; it’s my safety net. It’s the dish I make when I need to impress but don’t have the energy to fuss. It’s the reason my husband now thinks I’m a culinary genius (even though it’s just 20 minutes of prep and 45 minutes of baking).
Here’s the thing about chicken thighs: they’re forgiving. Unlike breasts, which dry out if you look at them wrong, thighs have enough fat to stay juicy even if you overcook them slightly. But the real magic? The crust. By combining panko breadcrumbs, sharp parmesan, and plenty of garlic, you get a crunch that rivals fried chicken, without the grease or the cleanup nightmare. I’ve tested this method so many times that I can probably make it with my eyes closed. And trust me, once you try this, you’ll never go back to bland, dry chicken again.
Why You’ll Love This Recipe
Look, I’m not going to sit here and tell you this is a “diet” meal. It’s got parmesan, oil, and breadcrumbs. But it’s the kind of comfort food that makes you feel good, not guilty. I’ve made this for picky teenagers, skeptical vegetarians (who still ate it), and dinner parties where people asked for the recipe before the plate was empty. Here’s why it keeps coming back to my menu:
- Zero Guesswork — Seriously, if you can throw ingredients in a bowl and put a pan in the oven, you can make this. I’ve walked my teenage son through it over FaceTime while he was stuck in a hotel room. He nailed it.
- Insanely Crispy — I know, I know. “Baked” and “crispy” don’t usually go together. But the panko-parmesan mix creates a shatteringly crisp exterior that stays crunchy even after it sits for a few minutes. It’s not soggy. It’s not sad. It’s perfect.
- One-Pan Wonder — This is huge for me. I hate doing dishes. This recipe uses one baking sheet and maybe a small bowl for the coating. That’s it. Dinner is served, and cleanup takes two minutes.
- Flavor Bomb — Garlic and parmesan is a classic combo for a reason. It’s savory, salty, and aromatic. Every bite has a burst of flavor. My husband says it tastes like something from an upscale bistro.
- Meal Prep Friendly — I make a double batch on Sundays. These reheat beautifully in the oven (not the microwave, obviously) and stay crispy for days. It’s my go-to lunch protein all week long.
This is my answer to “what’s for dinner?” when I’m tired, stressed, and don’t want to order Uber Eats. It’s reliable, delicious, and makes everyone happy. Even the dog looks at me with respect when I bring this out.
Ingredients You’ll Need
Here’s the best part: you probably have most of this already in your kitchen. I’m particular about three things here, and I’ll tell you exactly why. Don’t skip the details—it matters.
For the Chicken
Chicken thighs (2 pounds, bone-in, skin-on) — This is non-negotiable. Boneless, skinless thighs work, but they dry out faster and don’t get as crispy. Bone-in, skin-on thighs stay juicy and the skin helps crisp up the crust. If you must use boneless, reduce cooking time by 10 minutes.
Garlic (4 cloves, minced) — Fresh only. No jarred garlic. I know it’s more work, but jarred garlic has a metallic taste that ruins the delicate balance. Mince it fine so it sticks to the chicken.
Olive oil (2 tablespoons) — Use extra virgin for flavor. This helps the breadcrumbs stick and adds richness.
For the Garlic Parmesan Crust
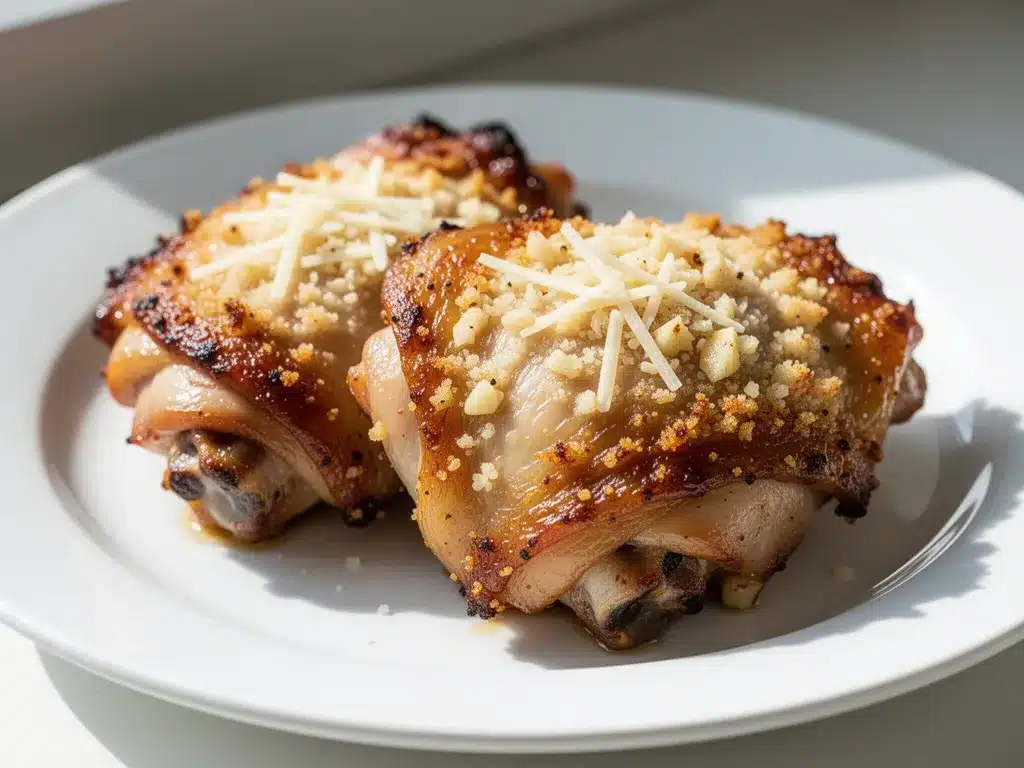
Panko breadcrumbs (1 cup) — This is the secret weapon. Panko is lighter and crispier than regular breadcrumbs. It creates that shatteringly crunchy texture. If you can’t find panko, use regular breadcrumbs, but the crunch won’t be the same.
Parmesan cheese (½ cup, freshly grated) — Buy the block and grate it yourself. Pre-grated cheese has anti-caking agents that prevent it from melting properly, leaving you with a grainy, clumpy crust. It takes 3 minutes and makes a huge difference.
Dried parsley (1 teaspoon) — Adds color and a fresh, herbal note. It balances the richness of the cheese.
Onion powder (½ teaspoon) — Adds depth without the bite of raw onion. Don’t skip it.
Salt and black pepper (to taste) — Season the chicken well. I use about 1 teaspoon of salt and ½ teaspoon of pepper for the whole batch.
Optional but recommended:
- Red pepper flakes (½ teaspoon) — For a little kick. I add this because I like a bit of heat.
- Lemon wedges — Served on the side. The acidity cuts through the richness of the parmesan.
Substitutions
No panko? Use crushed cornflakes. It’s weird, but it works for crunch. No parmesan? Pecorino Romano is a good substitute, just use less because it’s saltier. Can’t have dairy? Use nutritional yeast for a cheesy flavor, though the texture won’t be the same.
Equipment Needed
You don’t need fancy equipment for this. Here’s what I actually use.
Baking sheet — I use a standard half-sheet pan. Make sure it’s large enough to hold all the chicken in a single layer. Crowding the pan leads to steaming, not crisping.
Parchment paper — I line my baking sheet with parchment. It prevents sticking and makes cleanup a breeze. You can use foil, but parchment is better for even browning.
Small bowl — For mixing the breadcrumb and parmesan coating.
Tongs — For handling the chicken. I prefer tongs because they’re less likely to tear the skin.
Pastry brush — Optional, but helpful for brushing the olive oil over the coated chicken. It helps the crust adhere.
Cheese grater — Box grater or microplane. I use a box grater because it’s faster for large amounts of cheese.
Cutting board and knife — For mincing the garlic. Sharp knife, please. Dull knives make you cry.
How to Make It: Step-by-Step
Alright, let’s make this! I’m walking you through exactly how I do it, including the little tricks I’ve picked up over the years.
Step 1: Prep the Oven and Pan (5 minutes)
Preheat your oven to 400°F (200°C). Line a large baking sheet with parchment paper. This is crucial. If you don’t use parchment, the cheese might stick and burn. Parchment saves you from scrubbing a pan later.
Step 2: Dry the Chicken (2 minutes)
Pat the chicken thighs dry with paper towels. This seems like a small step, but it’s important. Moisture is the enemy of crispiness. If the chicken is wet, the crust will slide off. Dry it thoroughly.
Step 3: Season the Chicken (2 minutes)
Place the chicken thighs on the prepared baking sheet. Sprinkle generously with salt and black pepper. Rub it in. I like to season both sides. This ensures the chicken itself is flavorful, not just the crust.
Step 4: Make the Crust Mixture (3 minutes)
In a small bowl, combine the panko breadcrumbs, grated parmesan, minced garlic, dried parsley, onion powder, and red pepper flakes (if using). Mix well. You want an even distribution of garlic and cheese in every bite.
Step 5: Coat the Chicken (5 minutes)
Drizzle the olive oil over the chicken thighs. Use your hands or a brush to coat them evenly. Then, take a handful of the breadcrumb mixture and press it firmly onto the top of each thigh. Don’t just sprinkle it—press it in. You want it to stick. Flip the chicken and do the same on the other side, or just coat the top if you prefer a simpler method. I coat both sides for maximum crunch.
Step 6: Bake (40-45 minutes)
Place the baking sheet in the preheated oven. Bake for 40-45 minutes, or until the chicken is cooked through (internal temperature of 165°F / 74°C) and the crust is golden brown and crispy. I rotate the pan halfway through to ensure even browning. If the crust is browning too fast, cover it loosely with foil.
Step 7: Rest and Serve (5 minutes)
Remove the chicken from the oven and let it rest for 5 minutes. This allows the juices to redistribute. If you cut into it immediately, the juices will run out, and the chicken will be dry. Serve with lemon wedges and a side of roasted vegetables or a simple salad.
Total Time: About 60 minutes (15 minutes active, 45 minutes baking)
Troubleshooting
- Crust falling off? You didn’t press it in enough, or the chicken was too wet. Dry the chicken well and press the crust firmly.
- Not crispy enough? Your oven might not be hot enough. Use an oven thermometer to check. Also, make sure you’re using panko, not regular breadcrumbs.
- Chicken is dry? You overcooked it. Thighs are forgiving, but 45 minutes is usually enough. Check the temperature with a meat thermometer.
Expert Tips & Tricks
Here’s everything I’ve learned from making this dozens of times. These tips will save you from my mistakes.
Don’t Skip the Parchment
I’ve tried this without parchment, and the cheese sticks to the pan like glue. Parchment is worth the $2. It’s a game-changer for cleanup.
Use a Meat Thermometer
I used to guess, but I stopped. A meat thermometer takes the guesswork out. Insert it into the thickest part of the thigh, avoiding the bone. 165°F is the target. If it’s 160°F, take it out—it’ll continue cooking as it rests.
Press, Don’t Sprinkle
This is the most important tip. If you just sprinkle the breadcrumbs, they’ll fall off in the oven. Press them in firmly. I use my fingers to pack the mixture onto the chicken. It creates a bond that holds up to the heat.
Add Fresh Herbs at the End
If you have fresh parsley or basil, chop it up and sprinkle it over the chicken after it comes out of the oven. It adds a pop of color and freshness that dried herbs can’t match.
Double the Batch
This recipe doubles easily. Just make sure you have a large enough baking sheet. If you don’t, use two sheets. Don’t overcrowd the pan, or the chicken will steam instead of roast.
Variations & Substitutions
Once you’ve nailed the basic version, here’s how you can mix it up. I’ve tried all of these.
Spicy Version
Add 1 teaspoon of cayenne pepper and 1 teaspoon of smoked paprika to the breadcrumb mixture. It adds a smoky heat that’s addictive. My husband loves this version.
Herb-Infused
Add 1 teaspoon of dried thyme and 1 teaspoon of dried rosemary to the crust. It gives it a more French bistro vibe. Great with roasted potatoes.
Gluten-Free
Use gluten-free panko breadcrumbs. They work just as well. I’ve tried several brands, and they all hold up to the heat.
Dairy-Free
Replace the parmesan with nutritional yeast. It’s not the same, but it adds a cheesy, savory flavor. You can also use a dairy-free butter alternative for the oil.
Veggie Add-ins
Roast some broccoli or asparagus on the same baking sheet. Just make sure they’re in a single layer so they crisp up. They’ll absorb the garlic parmesan flavor from the chicken.
Protein Swap
You can use this method for chicken breasts, but reduce the cooking time to 25-30 minutes. Be careful not to overcook them, or they’ll be dry. Pork chops also work well with this crust.
Serving & Storage
How to Serve:
I usually serve this straight from the baking sheet at the dinner table—it looks rustic and stays warm. But here are other ways I’ve enjoyed it:
- With a side salad — A simple arugula salad with lemon vinaigrette cuts through the richness.
- With roasted vegetables — Broccoli, asparagus, or cauliflower work well.
- With mashed potatoes — The crust crumbs mixed into the potatoes are amazing.
- With rice — A simple white rice or pilaf is a good base.
Toppings Bar:
When I have guests, I put out: extra parmesan, red pepper flakes, fresh parsley, lemon wedges, and hot sauce. Everyone customizes their plate.
Storage Instructions:
Refrigerator: Store in an airtight container for up to 3 days. The crust will soften slightly, but it’s still good.
Reheating: Best method: Reheat in the oven at 375°F for 10-15 minutes. This restores the crispiness. Microwave method: It will get soggy. Avoid if you can.
Freezing: You can freeze the cooked chicken for up to 3 months. Thaw in the fridge and reheat in the oven. You can also freeze the uncooked coated chicken, but the crust might not adhere as well after thawing.
Nutrition Information
I’m not a nutritionist, but here’s the breakdown if you’re tracking.
Per Serving (based on 4 servings, 2 thighs each):
- Calories: 450
- Protein: 35g
- Carbs: 12g
- Fiber: 1g
- Sugar: 1g
- Fat: 28g
- Saturated Fat: 8g
- Cholesterol: 150mg
- Sodium: 400mg
What’s Good:
- High protein
- Low carb (if you skip the breadcrumbs, it’s keto-friendly)
- Calcium from parmesan
What to Know:
- Higher in calories due to cheese and oil
- Contains dairy and gluten
- Moderate sodium
My Take:
Look, this is comfort food. It’s not a diet recipe. But it’s way better than takeout, costs less, and I know exactly what’s in it. When I want to make it lighter, I reduce the breadcrumbs and use less oil. But usually? I just eat a reasonable portion and enjoy it.
Final Thoughts
So that’s my go-to crispy baked chicken thighs with garlic parmesan crust! I’ve probably talked your ear off at this point, but when you make a recipe this often, you have a lot to say about it.
This has saved weeknight dinners more times than I can count. It’s my answer to “what’s for dinner” when I’m tired, don’t want takeout, and still want something that tastes really good. My kids are happy, my husband’s happy, and I’m happy because I’m not stressed about cooking.
Make it yours! Try different add-ins, swap in your favorite vegetables, adjust the garlic (though more is always better in my opinion). The best recipes are the ones you adapt to your family’s tastes.
If you make this, drop a comment and let me know what you think! I love hearing how recipes turn out in your kitchen. And if something doesn’t work, tell me that too—I’m here to help troubleshoot.
Happy cooking! And I hope your kitchen smells half as good as mine does right now.
Frequently Asked Questions
Can I use chicken breasts instead of thighs?
You can, but breasts are leaner and dry out faster. If you use breasts, reduce the cooking time to 25-30 minutes. Check the temperature frequently. Thighs are more forgiving, so I recommend them for this recipe.
Why is my crust not crispy?
Usually, this happens because the chicken was too wet, or you didn’t use panko. Make sure you pat the chicken dry, and use panko breadcrumbs. Also, ensure your oven is at the correct temperature. An oven thermometer can help.
Can I make this ahead of time?
Yes! You can coat the chicken and store it in the fridge for up to 24 hours before baking. Just take it out 15 minutes before cooking to take the chill off. This is great for meal prep.
How do I reheat leftovers without it getting soggy?
Do not microwave it. Reheat in the oven at 375°F for 10-15 minutes. This will restore the crispiness. You can also use an air fryer at 350°F for 5-7 minutes.
Can I freeze the coated chicken before baking?
You can, but the crust might not adhere as well after thawing. It’s better to bake it first, then freeze the cooked chicken. Thaw and reheat in the oven.
Is this recipe gluten-free?
Not as written, because of the panko breadcrumbs. But you can use gluten-free panko, and it will work perfectly. Everything else is naturally gluten-free.
Can I use pre-minced garlic?
You can, but fresh garlic tastes so much better. Pre-minced garlic has a different flavor profile and can be bitter. If you must use it, use half the amount because it’s stronger.
Pin This Recipe!
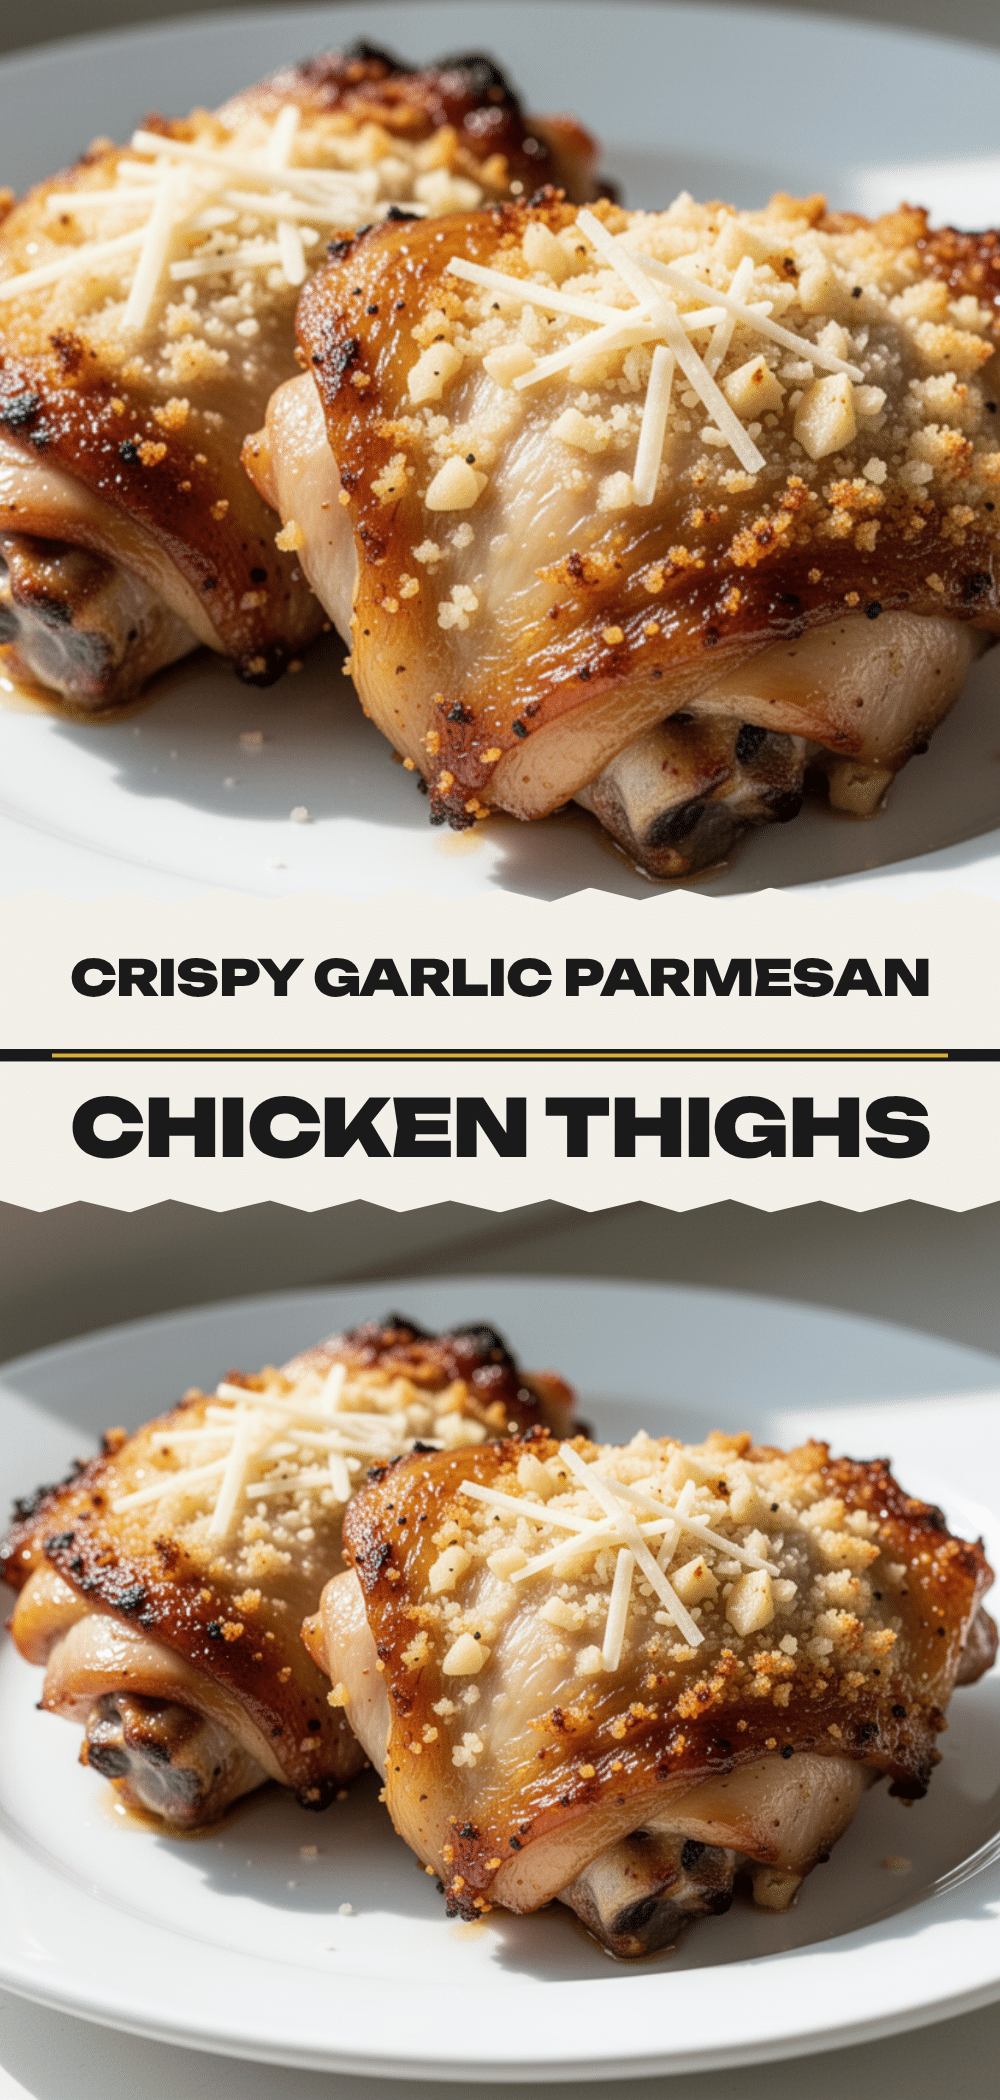
Crispy Baked Chicken Thighs: Easy Garlic Parmesan Crust
- Total Time: 60 minutes
- Yield: 4 servings 1x
Description
A foolproof recipe for juicy, bone-in chicken thighs coated in a shatteringly crisp garlic, parmesan, and panko breadcrumb crust. Baked to perfection with minimal cleanup.
Ingredients
- 2 pounds bone-in, skin-on chicken thighs
- 4 cloves garlic, minced
- 2 tablespoons extra virgin olive oil
- 1 cup panko breadcrumbs
- ½ cup freshly grated parmesan cheese
- 1 teaspoon dried parsley
- ½ teaspoon onion powder
- 1 teaspoon salt
- ½ teaspoon black pepper
- ½ teaspoon red pepper flakes (optional)
Instructions
- Preheat oven to 400°F (200°C). Line a large baking sheet with parchment paper.
- Pat chicken thighs dry thoroughly with paper towels to ensure crispiness.
- Place chicken on the prepared baking sheet and season generously with salt and black pepper on both sides.
- In a small bowl, combine panko breadcrumbs, grated parmesan, minced garlic, dried parsley, onion powder, and red pepper flakes (if using). Mix well.
- Drizzle olive oil over the chicken thighs and coat evenly.
- Press the breadcrumb mixture firmly onto the top of each thigh. Flip and coat the other side, or coat only the top for a simpler method.
- Bake for 40-45 minutes, rotating the pan halfway through, until the internal temperature reaches 165°F (74°C) and the crust is golden brown.
- Remove from oven and let rest for 5 minutes before serving.
Notes
Patting the chicken dry is crucial for a crispy crust. Press the breadcrumb mixture firmly onto the chicken to prevent it from falling off. For best results, use fresh garlic and freshly grated parmesan. Reheat leftovers in the oven at 375°F to restore crispiness; avoid the microwave.
- Prep Time: 15 minutes
- Cook Time: 45 minutes
- Category: Main Course
- Cuisine: American
Nutrition
- Serving Size: 2 thighs per serving
- Calories: 450
- Sugar: 1
- Sodium: 400
- Fat: 28
- Saturated Fat: 8
- Carbohydrates: 12
- Fiber: 1
- Protein: 35
Keywords: chicken thighs, baked chicken, garlic parmesan, panko crust, easy dinner, one-pan meal, crispy chicken, weeknight dinner


