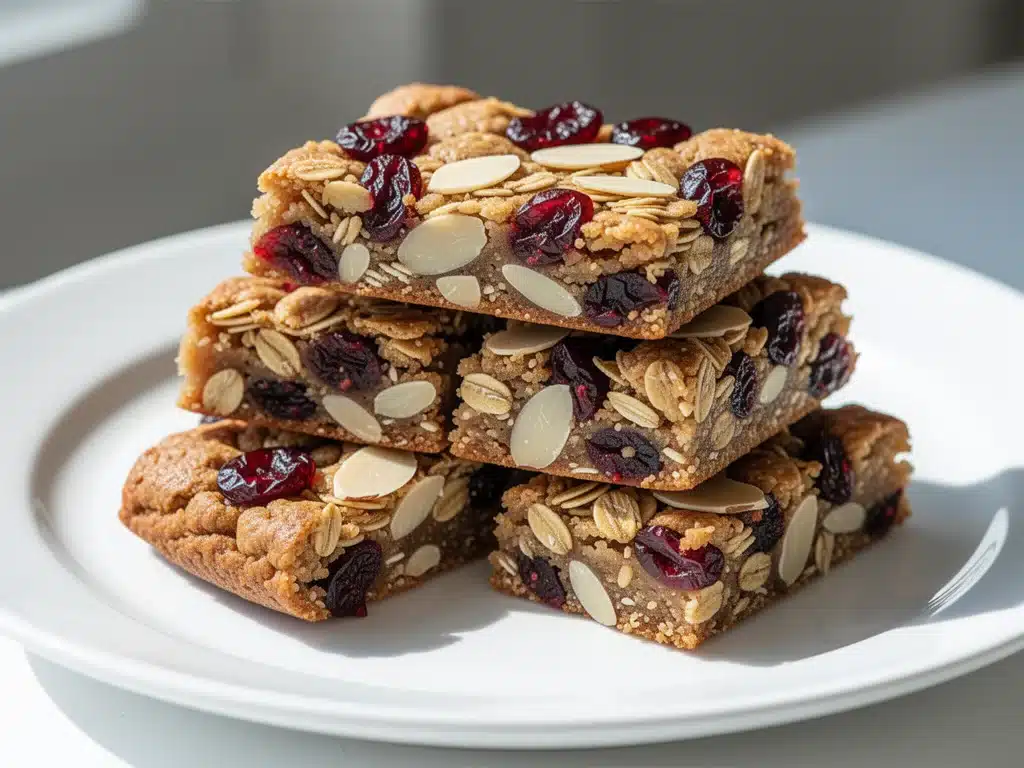
It’s 7:15 AM on a Tuesday in September. The sun is streaming through the kitchen window, birds are singing, and my house is silent. It’s a rare, beautiful moment. I have exactly twelve minutes to get three kids fed, dressed, and out the door before the bus arrives. In that silence, I reach for the container on the counter. It’s the one with the faded label that says “Granola Bars (Do Not Eat Before 8 AM).” I pull out two chewy, almond-studded bars wrapped in wax paper. They are the only thing standing between chaos and a calm car ride.
I’ve been making these back to school granola bars with almonds and dried cranberries for the last five years. Five years of early mornings, five years of bribing reluctant eaters, and five years of knowing that if I have these bars in the fridge, the day is already a win. Before I started making them myself, I was a victim of the grocery store aisle. You know the one—the shelf lined with colorful boxes promising “all-natural energy” but delivering a sugar bomb that crashes by second period. I tried every brand. I bought the expensive ones, the organic ones, the ones with seeds I couldn’t pronounce. My kids hated them. I hated the price. And I definitely hated the sticky residue they left on my hands.
Then, last August, I decided to stop buying snacks and start making them. I wanted something that tasted like a treat but actually fueled a growing brain. I wanted nuts for crunch, dried fruit for that sweet-tart kick that kids actually like, and oats for the chewiness. I wanted it to be simple enough that I wouldn’t quit after one week. The result was this recipe. It’s not complicated. It’s not fancy. It’s just really, really good. And it uses only five ingredients. Yes, five. That’s it.
Here’s the thing about back-to-school mornings: they are not the time for experimenting with new cooking techniques. They are the time for reliability. These bars have become my anchor. I make a batch on Sunday evening while listening to a podcast, let them cool, and then they’re ready to go for the entire week. Sometimes they last three days. Sometimes they vanish in twenty minutes. Either way, I’m happy. If you’re looking for a snack that survives the backpack jostle, doesn’t melt in the lunchbox, and actually tastes better than the store-bought version, you need to make these. They are the easy 5-ingredient snack I wish I’d discovered years ago.
Why You’ll Love This Granola Bar Recipe
There are a dozen reasons I keep coming back to this recipe, but let’s be real—you’re here because you need a solution for the morning rush. Here is why these back to school granola bars with almonds and dried cranberries have taken over my kitchen.
Actually Chewy, Not Crunchy — Most homemade granola bars turn into gravel. You bite into them and it’s just loose oats falling off. Not these. The binder ratio is perfect. They hold together when you wrap them, but they still have a soft, chewy center. My kids describe them as “like a cookie but not a cookie.” That is the highest praise I’ve ever received.
Five Ingredients. Seriously. — I don’t want to check my pantry and realize I’m missing one tiny spice to make dinner work. This recipe uses oats, almonds, dried cranberries, honey, and peanut butter. That’s it. If you have a standard pantry, you already have half of this. It’s the ultimate easy 5-ingredient snack that doesn’t require a trip to the store.
Backpack-Tested — I’ve dropped these bars on the pavement. I’ve left them in hot cars. I’ve shoved them into backpacks next to heavy textbooks. They don’t crumble into dust. They don’t leak sticky honey everywhere (when wrapped properly). They survive the school day. This is a non-negotiable feature for me.
Customizable for Picky Eaters — My oldest loves the cranberries. My youngest thinks dried fruit is “weird.” So, I make half the batch with cranberries and half with chopped dates or raisins. The base recipe stays the same. I can adapt it in five minutes without changing the method. It’s forgiving in a way most baking isn’t.
No Baking Required — In the fall, the weather is still warm. I don’t want to turn on my oven and heat up the house. These bars are mixed in a bowl, pressed into a pan, and chilled. No baking. No heat. No mess. Just cold, calm assembly. It’s perfect for lazy Sunday afternoons.
This recipe has saved me more mornings than I can count. It’s not just food; it’s peace of mind. It’s the difference between rushing out the door stressed and having one less thing to worry about. When I know the kids have a solid, filling snack in their bag, I don’t panic when they come home hungry at 3 PM. These bars are reliable, delicious, and incredibly easy. That’s why I make them on repeat.
Ingredients You’ll Need
Before we start, let’s talk about what goes into these bars. I’m particular about quality here, not because I’m fancy, but because with only five ingredients, you can’t hide bad flavors. If your honey tastes off, you’ll taste it. If your oats are stale, the bars will be sad. Here’s exactly what I use and why.
The Base
Rolled Oats (Old-Fashioned) (3 cups / 270g) — Do not use instant oats. They are too fine and will turn this into a mush. Do not use steel-cut oats. They are too hard and won’t soften in the fridge. You need old-fashioned rolled oats. They have the right texture—chewy but substantial. I buy the store brand in the big blue canister. It’s cheap and works perfectly. Just check the date to make sure they’re fresh.
Raw Almonds (1 cup / 115g) — I use whole, raw almonds. They add that crucial crunch and a boost of protein. Chopped almonds work too, but whole ones give a better bite. If you have an almond allergy, you can swap these for pumpkin seeds or sunflower seeds. It changes the flavor slightly, but the texture holds up. I toast my almonds in a dry pan for 3 minutes before chopping them. It brings out the nuttiness. Don’t skip this step if you can help it.
Dried Cranberries (1 cup / 140g) — This is the star flavor. The tartness cuts through the sweetness of the honey and peanut butter. I prefer unsweetened dried cranberries if I can find them, but the standard sweetened ones work fine too. Just be aware that if you use the super sweet ones, you might want to reduce the honey slightly. I usually stick with the standard bag from the grocery store. It’s a classic combo for a reason.
The Binder
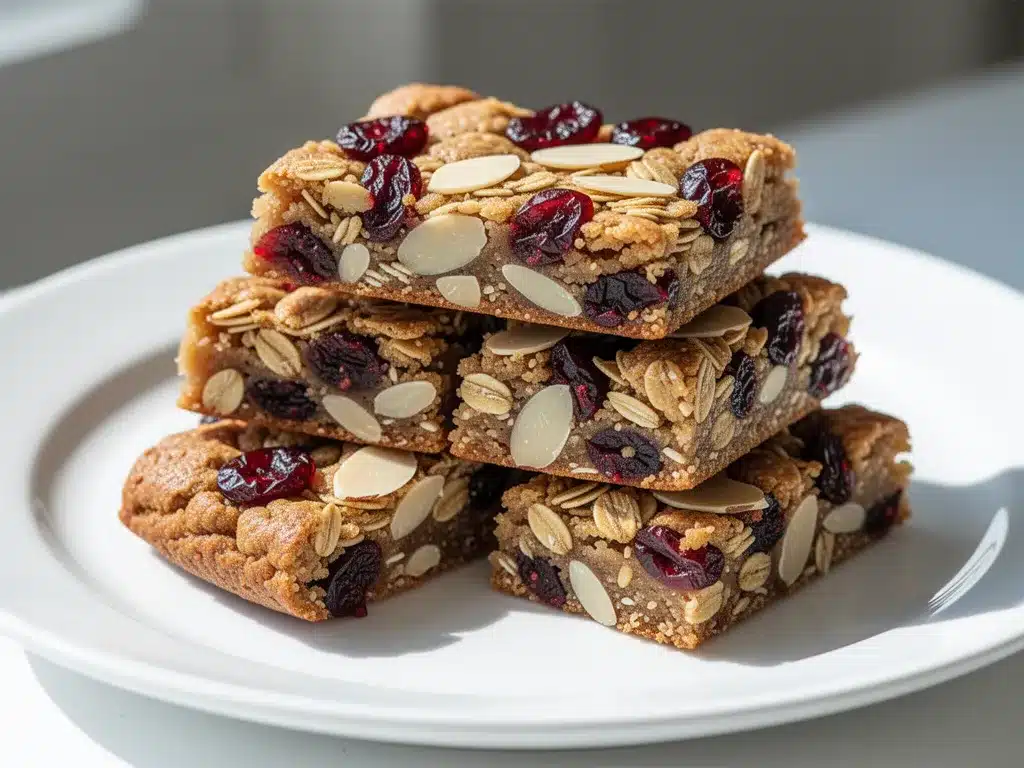
Honey (½ cup / 170g) — Honey is the glue. It keeps the bars chewy and holds everything together. Maple syrup works, but the bars will be softer and stickier. I like honey because it sets up a bit firmer. Use real honey. The cheap, cloudy stuff from the gas station can have a weird aftertaste. Local honey is nice, but not required. Just make sure it’s liquid. If it’s crystallized, microwave it for 15 seconds.
Peanut Butter (½ cup / 130g) — This adds richness, protein, and helps bind the oats. I use creamy, natural peanut butter. The kind where you have to stir the oil in. Do not use “processed” peanut butter with hydrogenated oils, as it can make the bars waxy. If you have a nut allergy, use sunflower seed butter or soy nut butter. The flavor changes, but the texture is almost identical. I’ve tried both, and my nut-free friend is happy.
Optional Boosters
Salt (½ teaspoon) — I always add a pinch of sea salt. It enhances the flavor of the almonds and the honey. It’s easy to forget, but it makes a huge difference. Without salt, the bars taste one-dimensional.
Vanilla Extract (1 teaspoon) — I like a hint of vanilla. It makes the bars taste more like a dessert. If you’re in a rush, skip it. It’s not essential for the structure.
Chocolate Chips (¼ cup) — My kids love adding mini chocolate chips. I usually make half the batch with chips and half without. It’s a great way to stretch the recipe and keep everyone happy. Dark chocolate chips work too if you want less sugar.
Equipment Needed
You don’t need fancy tools for this. Here’s what I actually use, and what you can swap out.
Large Mixing Bowl — I use a 6-quart stainless steel bowl. It needs to be big enough to hold 3 cups of oats plus the sticky wet ingredients. A glass bowl works too, but I prefer metal for easy cleanup. If you don’t have a big bowl, use your biggest one. You need room to stir.
8×8 Inch Baking Pan — This is the standard size for this amount of ingredients. It creates bars that are thick enough to hold together but thin enough to eat easily. If you only have a 9×13 pan, double the recipe. Don’t halve the recipe for an 8×8 pan, or the bars will be too thin and crumbly.
Parchment Paper — Line your pan with parchment. This is non-negotiable. These bars are sticky. Without parchment, you will be scraping honey out of your pan for days. It makes removing the bars easy and cleanup a breeze. I use the kind with grid lines—it helps me cut straight bars.
Small Saucepan — I heat the honey and peanut butter together in a small saucepan over low heat. This makes them mixable. If you don’t have a saucepan, use a microwave-safe bowl. Microwave in 15-second bursts, stirring in between, until melted.
Wooden Spoon or Spatula — You need something sturdy to mix the thick, sticky dough. A silicone spatula works great because it scrapes the sides of the bowl. A wooden spoon is fine too. Just make sure it’s clean.
Knife or Pizza Cutter — To cut the bars after they’ve chilled. A sharp knife works, but a pizza cutter is easier. It glides through the chilled bars without squishing them. I keep a dedicated pizza cutter for this. It’s the best kitchen hack I’ve discovered.
How to Make It: Step-by-Step
Alright, let’s make these back to school granola bars with almonds and dried cranberries. I’m walking you through exactly how I do it, including the little tricks I’ve picked up over five years of making this.
Step 1: Prep Your Pan and Nuts (5 minutes)
Line your 8×8 inch baking pan with parchment paper. Leave some overhang on the sides so you can lift the bars out later. This is crucial for clean removal. While the pan preps, toast your almonds in a dry skillet over medium heat for 3-4 minutes. Shake the pan occasionally so they don’t burn. You want them golden and fragrant. Let them cool completely, then chop them roughly. Don’t mince them—they should be visible chunks. If you skip toasting, the bars will lack depth of flavor.
Step 2: Mix the Dry Ingredients (2 minutes)
In your large mixing bowl, combine the 3 cups of rolled oats, the chopped toasted almonds, and the 1 cup of dried cranberries. Stir them together with a wooden spoon. I usually do this while the honey mixture is heating up. It keeps the process moving. Make sure the oats are evenly distributed so every bar has a bit of everything.
Step 3: Heat the Binder (3 minutes)
In a small saucepan over low heat, combine the ½ cup of honey and ½ cup of peanut butter. Stir constantly until the mixture is smooth and liquid. This takes about 3 minutes. Do not let it boil. You just want it warm enough to pour and mix easily. If you’re using natural peanut butter, it might take a minute longer to melt. If you’re in a hurry, use the microwave, but watch it closely. Peanut butter burns easily.
Step 4: Combine Wet and Dry (2 minutes)
Pour the warm honey-peanut butter mixture over the dry ingredients. Add the ½ teaspoon of salt and 1 teaspoon of vanilla (if using). Stir vigorously. This is the hardest part because the mixture is thick and sticky. Use a spatula to scrape the sides of the bowl. Make sure every oat is coated. If you see dry patches of oats, keep stirring. It should look like a cohesive, shiny dough.
Step 5: Press Into the Pan (3 minutes)
Pour the mixture into your prepared pan. Use a spatula or your hands (lightly greased with oil) to press it down firmly. This is the most important step for texture. You need to press it down tightly. If it’s loose, the bars will crumble. Press with the bottom of a measuring cup or a flat spatula. Go all the way to the corners. The surface should be smooth and level.
Step 6: Chill (1 hour)
Place the pan in the refrigerator for at least 1 hour. This sets the bars. If you try to cut them warm, they will be a mess. I usually make them on Sunday night and let them chill overnight. By Monday morning, they are perfectly firm. If you’re in a rush, 45 minutes is the minimum, but an hour is better. Do not skip this step.
Step 7: Cut and Store
Once firm, lift the bars out of the pan using the parchment overhang. Place them on a cutting board. Use a sharp knife or pizza cutter to slice into 12 bars. Wrap each bar individually in wax paper or plastic wrap. This keeps them fresh and makes them easy to pack. Store them in an airtight container in the fridge for up to 2 weeks, or in the freezer for up to 3 months.
Expert Tips & Tricks
Here’s everything I’ve learned from making these dozens of times. These tips will save you from my mistakes.
Press Firmly — I cannot stress this enough. The texture of these bars depends on how tightly you press them. If you are lazy with pressing, you get crumbly bars. If you press hard, you get chewy bars. Take the extra 30 seconds to press down.
Toast the Nuts — Raw almonds are fine, but toasted almonds are better. It adds a layer of flavor that makes the bars taste homemade. It’s a small step that makes a big difference.
Use Natural Peanut Butter — Processed peanut butter has stabilizers that can make the bars waxy. Natural peanut butter gives a smoother, cleaner texture. Just remember to stir the oil in before measuring.
Chill Before Cutting — If you cut them warm, they will stick to the knife and fall apart. Patience pays off. Let them set completely.
Wrap Individually — These bars are sticky. If you stack them in a container without wrapping, they will fuse together. Wrap each one in wax paper. It makes them easy to grab and go.
Variations & Substitutions
Once you’ve nailed the basic version, here’s how you can mix it up. I’ve tried all of these.
Butter-Free Version — Use sunflower seed butter instead of peanut butter. It works perfectly for nut-free schools.
Chocolate Lover’s — Add ¼ cup mini chocolate chips to the dry mix. Or drizzle melted chocolate on top after chilling.
Coconut Crunch — Swap almonds for toasted coconut flakes. Add ½ cup unsweetened coconut to the dry mix.
Maple Sweetened — Substitute honey with pure maple syrup. The bars will be softer, so chill for at least 2 hours.
Serving & Storage
How to Serve: — I serve these straight from the fridge. They are best cold and firm. I pack them in lunchboxes or backpacks. They are a perfect breakfast-on-the-go or afternoon snack.
Storage: — Refrigerator: Store in an airtight container for up to 2 weeks. Freezer: Store wrapped bars in a freezer bag for up to 3 months. Thaw at room temperature for 10 minutes before eating.
Nutrition Information
I’m not a nutritionist, but here’s the breakdown if you’re tracking. Per bar (makes 12):
- Calories: 180
- Protein: 5g
- Carbs: 22g
- Fiber: 2g
- Sugar: 14g
- Fat: 9g
- Sodium: 45mg
Look, these are made with honey and peanut butter. They are not diet food. But they are better than a candy bar. They have protein and fiber to keep your kids full. When I make these, I know exactly what’s in them. No preservatives, no weird chemicals. Just real food.
Final Thoughts
So that’s my go-to back to school granola bars with almonds and dried cranberries. I’ve probably talked your ear off at this point, but when you make a recipe this often, you have a lot to say about it. These bars have saved me more mornings than I can count. They are my answer to “what’s for breakfast?” when I’m tired, don’t want to cook, and still want something healthy. My kids are happy, I’m happy, and the morning rush is a little less stressful.
Make it yours! Try different nuts, different dried fruits, different nut butters. The best recipes are the ones you adapt to your family’s tastes. If you make this, drop a comment and let me know what you think! I love hearing how recipes turn out in your kitchen. And if something doesn’t work, tell me that too—I’m here to help troubleshoot.
Happy cooking! And I hope your kitchen smells half as good as mine does right now.
Frequently Asked Questions
Can I use instant oats instead of rolled oats?
I really don’t recommend it. Instant oats are too fine and will make the bars gummy and dense. Old-fashioned rolled oats give the right chewy texture. If you only have instant, you can pulse them in a blender for a few seconds to break them up, but it won’t be the same.
Why did my bars crumble?
Usually, this means you didn’t press them down firmly enough, or you didn’t chill them long enough. Make sure you pack the mixture tightly into the pan. Also, ensure your honey and peanut butter mixture was warm and sticky when you mixed it. If it was cold and clumpy, it won’t bind well.
Can I freeze these granola bars?
Yes! These freeze beautifully. Wrap each bar individually in wax paper or plastic wrap, then put them in a freezer-safe bag. They last for up to 3 months. Thaw them at room temperature for 10-15 minutes before eating. They taste just as good fresh from the freezer.
Can I use almond butter instead of peanut butter?
Absolutely. Almond butter works perfectly in this recipe. It will make the bars taste more like a fancy almond butter cup. Just make sure it’s natural almond butter without added oils, so it mixes evenly.
How do I keep the bars from sticking to the pan?
Parchment paper is your best friend. Line the pan with parchment, leaving an overhang on the sides. This allows you to lift the entire block of bars out of the pan once they are chilled. Then you can cut them on a cutting board without any sticking.
Can I make these gluten-free?
Yes, as long as you use certified gluten-free oats. Regular oats are often processed in facilities that handle wheat, so cross-contamination is possible. If gluten-free is a concern, buy oats labeled specifically as gluten-free. The rest of the ingredients are naturally gluten-free.
Pin This Recipe!
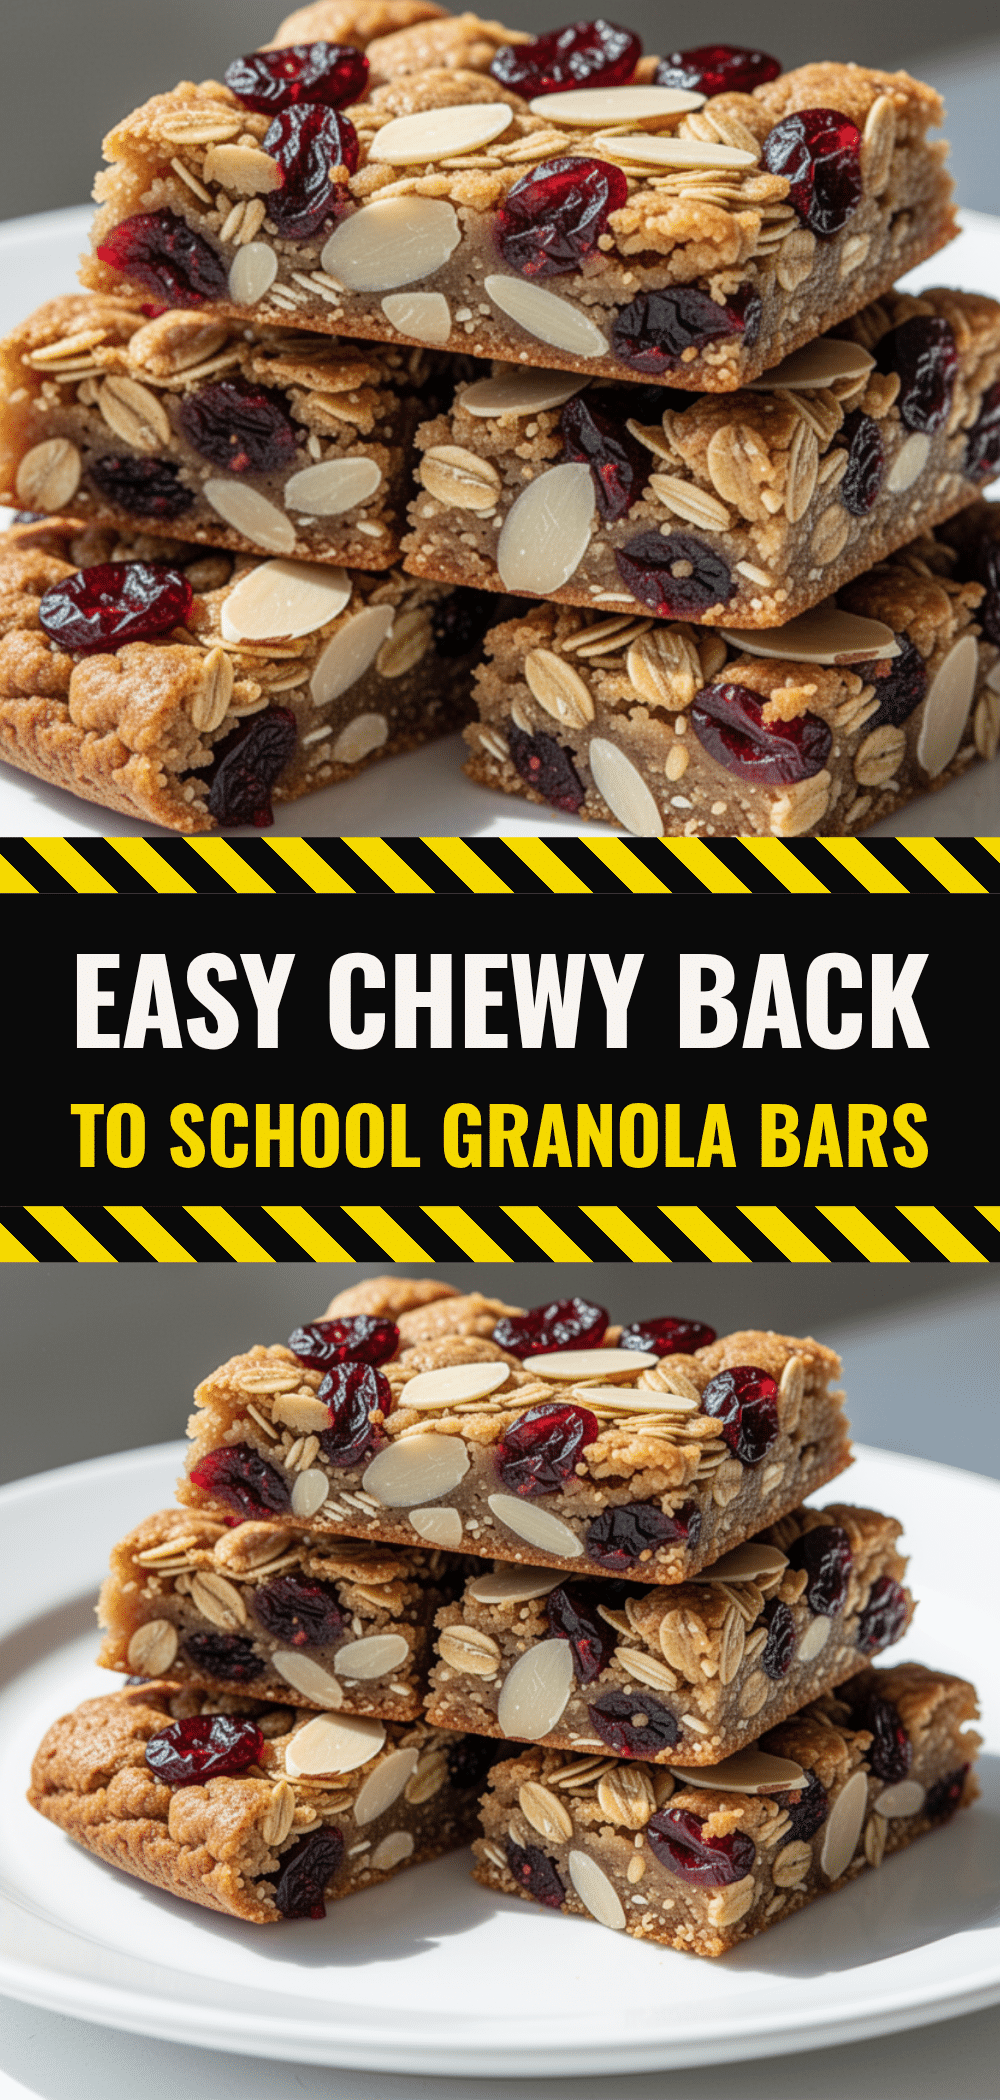
Back to School Granola Bars: Easy 5-Ingredient Snack
- Total Time: 1 hour 10 minutes
- Yield: 12 servings 1x
Description
Chewy, almond-studded granola bars made with just five ingredients. No baking required, these bars are perfect for busy school mornings and survive the backpack test.
Ingredients
- 3 cups old-fashioned rolled oats
- 1 cup raw almonds (toasted and chopped)
- 1 cup dried cranberries
- 1/2 cup honey
- 1/2 cup natural creamy peanut butter
- 1/2 teaspoon sea salt
- 1 teaspoon vanilla extract (optional)
- 1/4 cup mini chocolate chips (optional)
Instructions
- Line an 8×8 inch baking pan with parchment paper, leaving an overhang on the sides for easy removal.
- Toast the almonds in a dry skillet over medium heat for 3-4 minutes until golden and fragrant. Let cool completely, then chop roughly.
- In a large mixing bowl, combine the rolled oats, chopped toasted almonds, and dried cranberries.
- In a small saucepan over low heat, combine the honey and peanut butter. Stir constantly until smooth and liquid (about 3 minutes). Do not boil.
- Pour the warm honey-peanut butter mixture over the dry ingredients. Add salt and vanilla (if using). Stir vigorously until every oat is coated and the mixture forms a cohesive, shiny dough.
- Pour the mixture into the prepared pan. Press down firmly and tightly using a spatula or the bottom of a measuring cup to ensure the bars hold together.
- Refrigerate for at least 1 hour (or overnight) until firm.
- Lift the bars out of the pan using the parchment overhang. Slice into 12 bars using a sharp knife or pizza cutter.
- Wrap individually in wax paper or plastic wrap. Store in an airtight container in the fridge for up to 2 weeks or freeze for up to 3 months.
Notes
Do not use instant oats as they will make the bars gummy. Old-fashioned rolled oats are required for the correct texture. Press the mixture firmly into the pan to prevent crumbling. Toasting the almonds enhances the flavor. If using natural peanut butter, ensure it is stirred well before measuring. For nut-free versions, substitute peanut butter with sunflower seed butter.
- Prep Time: 10 minutes
- Cook Time: 0 minutes
- Category: Snack
- Cuisine: American
Nutrition
- Serving Size: 1 bar
- Calories: 180
- Sugar: 14
- Sodium: 45
- Fat: 9
- Saturated Fat: 1.5
- Carbohydrates: 22
- Fiber: 2
- Protein: 5
Keywords: granola bars, back to school snacks, easy 5 ingredient snack, no bake granola bars, healthy kids snacks, almond granola bars, dried cranberry bars


