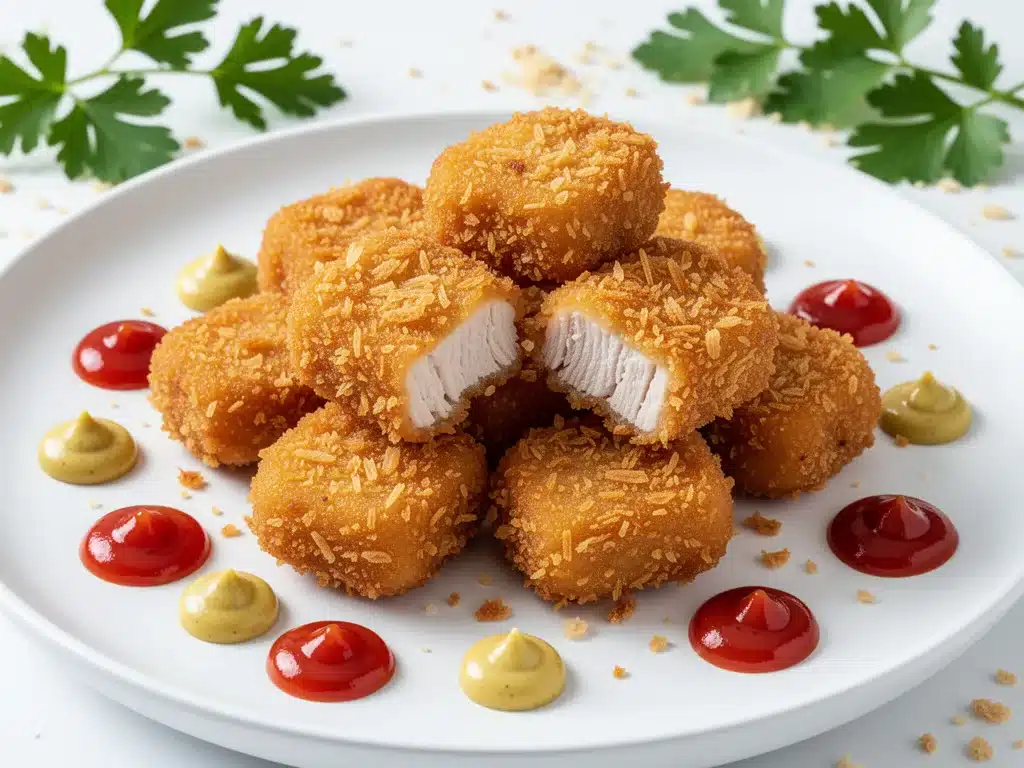
Last Tuesday, I was standing in our kitchen at 6:45 PM, watching the clock tick toward dinner chaos. The kids had just gotten home from soccer practice, hungry enough to eat the furniture, and I had exactly forty-five minutes before bedtime routines kicked into high gear. I opened the freezer, stared at the half-empty bag of store-bought chicken nuggets, and felt that familiar wave of guilt. You know the one. They’re okay, sure. But they’re also full of sodium, mystery ingredients, and they lack that glorious, shattering crunch that makes chicken nuggets actually worth the calorie count.
So I did something I hadn’t done in years. I took out a whole chicken breast, grabbed the panko breadcrumbs from the back of the pantry, and decided to make real chicken nuggets. I’ll be honest: I expected them to be dry. I expected them to take forever. I expected my kids to send them back.
Instead, they devoured three plates. My seven-year-old, who usually picks the coating off anything breaded, asked for the “good nuggets” again the next day. That’s when I knew I had struck gold. These Back to School Crispy Chicken Nuggets aren’t just a snack; they’re a weeknight dinner savior. They’re crispy, juicy, and surprisingly easy to make if you know the one trick that keeps them from turning into dry hockey pucks.
I’ve tested this Back to School Crispy Chicken Nuggets with Panko Breading recipe at least a dozen times over the last few months. I’ve tweaked the spices, played with the breading ratios, and figured out the perfect oil temperature so you don’t end up with greasy messes. The result? Nuggets that are better than any fast-food joint, cheaper than delivery, and ready in under 30 minutes. Once you try this method, you’ll never go back to the frozen aisle again. Trust me on this.
Why You’ll Love This Panko Chicken Nugget Recipe
There are a lot of chicken nugget recipes out there. I’ve tried the oven-baked ones (too dry), the air-fryer versions (great, but limited batch size), and the deep-fried ones from restaurants (delicious, but too much work for a Tuesday). This Back to School Crispy Chicken Nuggets with Panko Breading recipe sits in that perfect sweet spot. It’s crispy like deep-fried, healthy-ish like baked, and fast enough for busy families.
Here’s why this recipe has earned a permanent spot in our weekly rotation:
That Shattering Crunch — Regular breadcrumbs are fine, but panko? Panko is the game-changer. Because panko flakes are larger and airier, they create a jagged, crispy shell that stays crunchy even after sitting in the fridge for a bit. My kids describe it as “sound-effect crunchy.” You know the kind.
Under 30 Minutes Total — From prep to plate, this takes about 25 minutes. I’m talking real time. No marinating overnight, no complicated techniques. Just chop, dip, roll, and fry. It’s perfect for those nights when you need dinner on the table before the homework pile grows taller.
Actually Juicy Inside — The biggest mistake people make with homemade nuggets is using lean breast meat without protection. By using a simple buttermilk brine (just 20 minutes!), the meat stays tender and juicy even after hitting the hot oil. I’ve had guests ask for the secret, and it’s just good technique.
Kid-Approved (and Adult-Approved) — I’ve served these to my picky eaters, my food-snobby sister-in-law, and my husband who claims he can’t cook. Everyone loves them. Plus, they’re great for dipping. We do a whole station: ketchup, BBQ sauce, honey mustard, ranch, and even sriracha mayo. It’s a meal, not just a snack.
Budget-Friendly — Buying a whole chicken breast and making your own breadcrumbs is significantly cheaper than buying pre-made nuggets. You’re controlling the quality of the meat and the oil, and you’re spending less money per serving. I calculated it, and this Back to School Crispy Chicken Nuggets with Panko Breading costs about $2.50 per serving for a family of four. That’s a steal.
This recipe has saved me from ordering takeout more times than I can count. It’s reliable, it’s delicious, and it makes everyone happy. No stress, no mess, just good food.
Ingredients You’ll Need for the Perfect Crispy Nuggets
Here’s the best part: you probably have most of these ingredients already. This Back to School Crispy Chicken Nuggets with Panko Breading recipe relies on simple, pantry-friendly staples. The magic isn’t in exotic spices; it’s in the technique and the quality of the panko.
For the Chicken
Chicken breasts (1.5 pounds / 680g) — Boneless, skinless chicken breasts are ideal because they’re lean and cook quickly. Thighs work too if you want more flavor and moisture, but breasts give that classic nugget texture. Look for uniform pieces so they cook evenly.
Buttermilk (1 cup / 240ml) — This is your brine. Buttermilk contains lactic acid, which tenderizes the meat and helps the breading stick. If you don’t have buttermilk, mix 1 cup of whole milk with 1 tablespoon of lemon juice or white vinegar. Let it sit for 5 minutes until it curdles slightly. It’s not the same, but it works in a pinch.
Egg (1 large) — This acts as the glue between the chicken and the panko. Whisk it well before dipping.
For the Breading
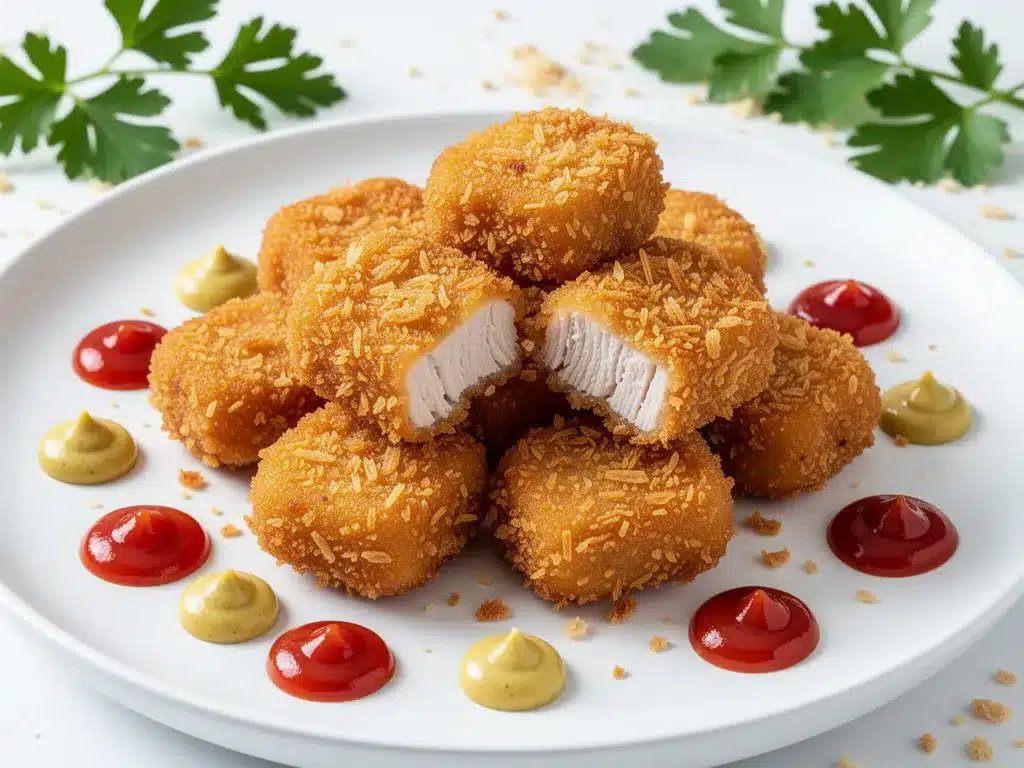
Panko breadcrumbs (2 cups / 160g) — This is non-negotiable. Do not substitute with regular fine breadcrumbs if you want true crunch. Japanese-style panko creates those big, crispy flakes. I recommend buying the bag from the Asian aisle or the baking section. Brands like Kikkoman or House Foods are reliable.
All-purpose flour (½ cup / 60g) — A light dusting of flour helps the egg adhere to the chicken. It creates a dry base so the breading doesn’t slide off during frying.
Garlic powder (1 teaspoon) — Adds savory depth. Don’t skip this. It’s subtle but essential.
Onion powder (1 teaspoon) — Complements the garlic. Again, keep it simple. You want the chicken flavor to shine.
Smoked paprika (½ teaspoon) — This adds a hint of smokiness and a beautiful golden color. If you don’t have smoked paprika, regular paprika works, but you’ll miss that subtle BBQ-like note.
Salt and black pepper (1 teaspoon each) — Season the breading generously. If the coating isn’t salty, the nugget will taste bland. Taste the flour mixture before you start breading; it should taste like good seasoning.
For Frying
Vegetable oil (2 cups / 480ml) — You need enough oil to shallow fry the nuggets. Vegetable oil, canola oil, or peanut oil are best because they have high smoke points. Avoid olive oil (it burns at high heat) or butter (it browns too fast).
Cooking spray (optional) — If you want to reduce oil slightly, you can spray the nuggets after frying, but it’s not necessary for this recipe.
Pro Tip: I always keep a bag of panko in my pantry specifically for this recipe. It lasts forever and makes life so much easier. Also, buy a block of Parmesan cheese and grate it yourself if you want to try a variation, but for classic nuggets, plain panko is king.
Equipment Needed
You don’t need fancy gadgets for this. Here’s what I actually use in my kitchen.
Large skillet — I use a 12-inch cast iron skillet or a heavy-bottomed stainless steel pan. It needs to hold enough oil to come up about ½ inch in the pan. Cast iron holds heat beautifully, which helps keep the oil temperature stable.
Three shallow bowls — You’ll need three bowls for your breading station: one with flour, one with whisked egg, and one with panko. I use pie plates or shallow casserole dishes. They’re wide enough to roll the chicken in comfortably.
Instant-read thermometer — This is my most important tool. Chicken is safe to eat at 165°F (74°C). A thermometer takes the guesswork out. I use a ThermoWorks ChefAlarm or a simple dial thermometer. It’s worth the $10 investment.
Tongs — Use long-handled tongs to turn the nuggets. It keeps your hands safe from hot oil and lets you flip them evenly.
Wire rack and baking sheet — After frying, place the nuggets on a wire rack set over a baking sheet. This allows air to circulate underneath so the bottoms don’t get soggy. I’ve tried paper towels, but they trap steam and make the crust soft. The rack is superior.
Cutting board and sharp knife — For slicing the chicken breasts into uniform strips. A sharp knife makes this quick and safe.
Cooking thermometer — Again, really. Don’t guess. 350°F (175°C) is the sweet spot for frying.
How to Make It: Step-by-Step
Alright, let’s make this! I’m walking you through exactly how I do it, including the little tricks I’ve picked up over the years.
Step 1: Prep the Chicken (10 minutes)
Take your chicken breasts and place them on a cutting board. If they’re thick or uneven, slice them horizontally to create uniform cutlets. You want them about ½ inch thick. Then, cut the cutlets into bite-sized strips, roughly 1 inch wide and 2 inches long. Uniform size is key so they all cook at the same rate. Place the strips in a large bowl.
Step 2: The Buttermilk Brine (20 minutes)
Pour the buttermilk over the chicken strips. Make sure they’re fully submerged. If you need to, weigh them down with a plate. Let them sit at room temperature for 20 minutes. This tenderizes the meat and adds flavor. Don’t skip this step! It’s the secret to juicy nuggets. If you’re rushing, you can do 10 minutes, but 20 is ideal.
Step 3: Set Up Your Breading Station (5 minutes)
While the chicken marinates, set up three bowls. In the first bowl, mix the flour, garlic powder, onion powder, smoked paprika, salt, and pepper. In the second bowl, whisk the egg with a splash of milk (about 1 tablespoon) to make it easier to dip. In the third bowl, pour in the panko breadcrumbs. I like to season the panko too—add a pinch of salt and pepper. It adds an extra layer of flavor.
Step 4: Bread the Nuggets (10 minutes)
Remove the chicken from the buttermilk, letting excess drip off. Dredge each strip in the flour mixture, shaking off any excess. Then dip it into the egg wash, coating it completely. Finally, press it into the panko breadcrumbs. Use your hands to press the crumbs firmly onto the chicken. You want a thick, even coat. Place the breaded nuggets on a clean plate or parchment paper. Repeat with all the chicken.
Tip: If the breading starts to get clumpy, give it a quick stir with a fork. This keeps the crumbs loose and crispy.
Step 5: Heat the Oil (5 minutes)
Pour about ½ inch of vegetable oil into your large skillet. Heat it over medium-high heat until it reaches 350°F (175°C). Use your thermometer to check. If you don’t have one, drop a single panko breadcrumb into the oil. If it sizzles and turns golden in 30 seconds, the oil is ready.
Step 6: Fry the Nuggets (10-12 minutes)
Working in batches, carefully place the nuggets into the hot oil. Don’t overcrowd the pan! If you put too many in, the oil temperature drops, and the nuggets will absorb oil instead of frying. Fry for 2-3 minutes per side, or until golden brown and crispy. The internal temperature should reach 165°F (74°C).
Sensory Cue: You’ll hear a steady sizzle. The nuggets will float to the top when they’re almost done. The crust should be a deep golden brown, not pale yellow.
Step 7: Drain and Serve (2 minutes)
Remove the nuggets with tongs and place them on the wire rack. Let them rest for 1-2 minutes before serving. This allows the juices to redistribute and the crust to set. Serve immediately with your favorite dipping sauces.
Total Time: About 30 minutes (10 minutes prep, 20 minutes cooking)
Troubleshooting Tips
Breading falling off? Make sure you’re pressing the panko firmly onto the chicken. Also, ensure the flour layer is thin but even. If the breading slides off, your oil might be too cool.
Nuggets too greasy? Your oil temperature is likely too low. If the oil isn’t hot enough, the nuggets soak it up. Keep it around 350°F.
Chicken undercooked? Use a thermometer. If the nuggets are brown but not 165°F, lower the heat slightly and cook for another minute or two.
Expert Tips & Tricks
Here’s everything I’ve learned from making this dozens of times. These tips will save you from my mistakes.
Don’t Skip the Resting Time
After frying, let the nuggets rest on the wire rack for at least 2 minutes. This is crucial. If you pile them up immediately, the steam gets trapped and makes the crust soggy. The rack lets them breathe.
Maintain Oil Temperature
Frying is a balancing act. After adding the nuggets, the temperature will drop. Wait for it to come back up to 350°F before adding the next batch. If you rush, you’ll get greasy nuggets. Patience pays off.
Double Dip for Extra Crunch
For super crispy nuggets, do a double dip. Dip in flour, then egg, then panko. Then dip back into the egg and back into the panko. It creates a thicker, shatteringly crunchy shell. I do this for my kids—they love it.
Season Generously
Season the flour, the egg wash (add a pinch of salt), and the panko. Seasoning only the chicken isn’t enough. The coating needs to be flavorful too.
Use a Thermometer
I can’t stress this enough. Visual cues are good, but a thermometer is reliable. 165°F is safe. 170°F is juicy. 180°F is dry. Aim for 165-170°F.
Variations & Substitutions
Once you’ve nailed the basic version, here’s how you can mix it up. I’ve tried all of these.
Spicy Nuggets
Add 1 teaspoon of cayenne pepper and 1 teaspoon of chili powder to the flour mixture. For extra heat, add a few drops of hot sauce to the egg wash.
Cheesy Nuggets
Sprinkle a little grated Parmesan or cheddar cheese into the panko before dredging. Or, add a small cube of mozzarella inside the chicken strip before breading (like a mozzarella stick).
Baked Version
Preheat oven to 400°F (200°C). Place nuggets on a wire rack over a baking sheet. Spray generously with cooking oil. Bake for 15-20 minutes, flipping halfway, until golden and crispy. They’re less crunchy than fried, but healthier.
Air Fryer Version
Preheat air fryer to 375°F (190°C). Spray nuggets with oil. Cook for 10-12 minutes, flipping halfway. They come out surprisingly crispy and use minimal oil.
Gluten-Free
Use gluten-free panko breadcrumbs. Most brands work well, but check the label. The technique stays the same.
Serving & Storage
How to Serve:
I usually serve these straight from the rack with a variety of dipping sauces. We love ketchup, honey mustard, BBQ sauce, and ranch. For a fun twist, try a sriracha mayo (mix mayo with sriracha and a squeeze of lime). Serve with roasted vegetables or a simple green salad for a complete meal.
Storage:
Store leftover nuggets in an airtight container in the refrigerator for up to 3 days. The breading will soften slightly, but they’re still good.
Reheating:
The best way to reheat is in the oven or air fryer. Preheat to 375°F (190°C) and heat for 5-7 minutes. This restores the crunch. Microwaving makes them soggy, so avoid it if you can. If you must microwave, do it for 30 seconds and then finish in a toaster oven.
Freezing:
You can freeze unbreaded or breaded nuggets. Place breaded nuggets on a baking sheet and freeze for 1 hour. Then transfer to a freezer bag. They’ll keep for 2 months. Fry from frozen, adding 2-3 minutes to the cooking time. This is great for meal prep!
Nutrition Information
I’m not a nutritionist, but here’s the breakdown if you’re tracking. This is per serving (based on 6 servings).
| Nutrient | Amount |
|---|---|
| Calories | 320 |
| Protein | 28g |
| Carbs | 22g |
| Fat | 14g |
| Sodium | 450mg |
What’s Good: High protein, satisfying crunch.
What to Know: Contains gluten and dairy (if using buttermilk). Can be made gluten-free and dairy-free with substitutions.
Final Thoughts
So that’s my go-to Back to School Crispy Chicken Nuggets with Panko Breading! I’ve probably talked your ear off at this point, but when you make a recipe this often, you have a lot to say about it.
This recipe has saved weeknight dinners more times than I can count. It’s my answer to “what’s for dinner” when I’m tired, don’t want takeout, and still want something that tastes really good. My kids are happy, my husband’s happy, and I’m happy because I’m not stressed about cooking.
Make it yours! Try different spices, swap in your favorite dipping sauces, or add veggies to the side. The best recipes are the ones you adapt to your family’s tastes.
If you make this, drop a comment and let me know what you think! I love hearing how recipes turn out in your kitchen. And if something doesn’t work, tell me that too—I’m here to help troubleshoot.
Happy cooking! And I hope your kitchen smells half as good as mine does right now.
Frequently Asked Questions
Can I use chicken thighs instead of breasts?
Yes! Chicken thighs are juicier and more flavorful. Just make sure to cut them into uniform pieces so they cook evenly. They might take 1-2 minutes less to cook than breasts, so keep an eye on the temperature.
Why did my breading fall off?
This usually happens if the chicken wasn’t dry enough before dredging, or if you didn’t press the panko firmly enough. Make sure to pat the chicken dry after the buttermilk bath, and press the crumbs on with your fingers. Also, ensure your oil is hot enough (350°F) so the breading sets quickly.
Can I make these ahead of time?
Yes! You can bread the nuggets and store them on a baking sheet in the fridge for up to 24 hours. When you’re ready to cook, just fry them as usual. You can also freeze them unbreaded or breaded for later.
What’s the best oil for frying?
Vegetable oil, canola oil, or peanut oil are best because they have high smoke points. Avoid olive oil (it burns) or butter (it browns too fast). Neutral oils are key for crispy nuggets.
How do I keep the nuggets crispy for lunch?
Store them in the fridge on a wire rack, not in a sealed container where steam builds up. Reheat in the oven or air fryer at 375°F for 5-7 minutes to restore crunch. Microwaving will make them soggy.
Can I bake these instead of frying?
Absolutely. Preheat oven to 400°F (200°C). Place nuggets on a wire rack over a baking sheet. Spray generously with cooking oil. Bake for 15-20 minutes, flipping halfway. They’re less crunchy than fried, but still delicious and healthier.
How long do these nuggets last?
In the fridge, they last up to 3 days. In the freezer, unbreaded or breaded nuggets last up to 2 months. Reheat in the oven or air fryer for best results.
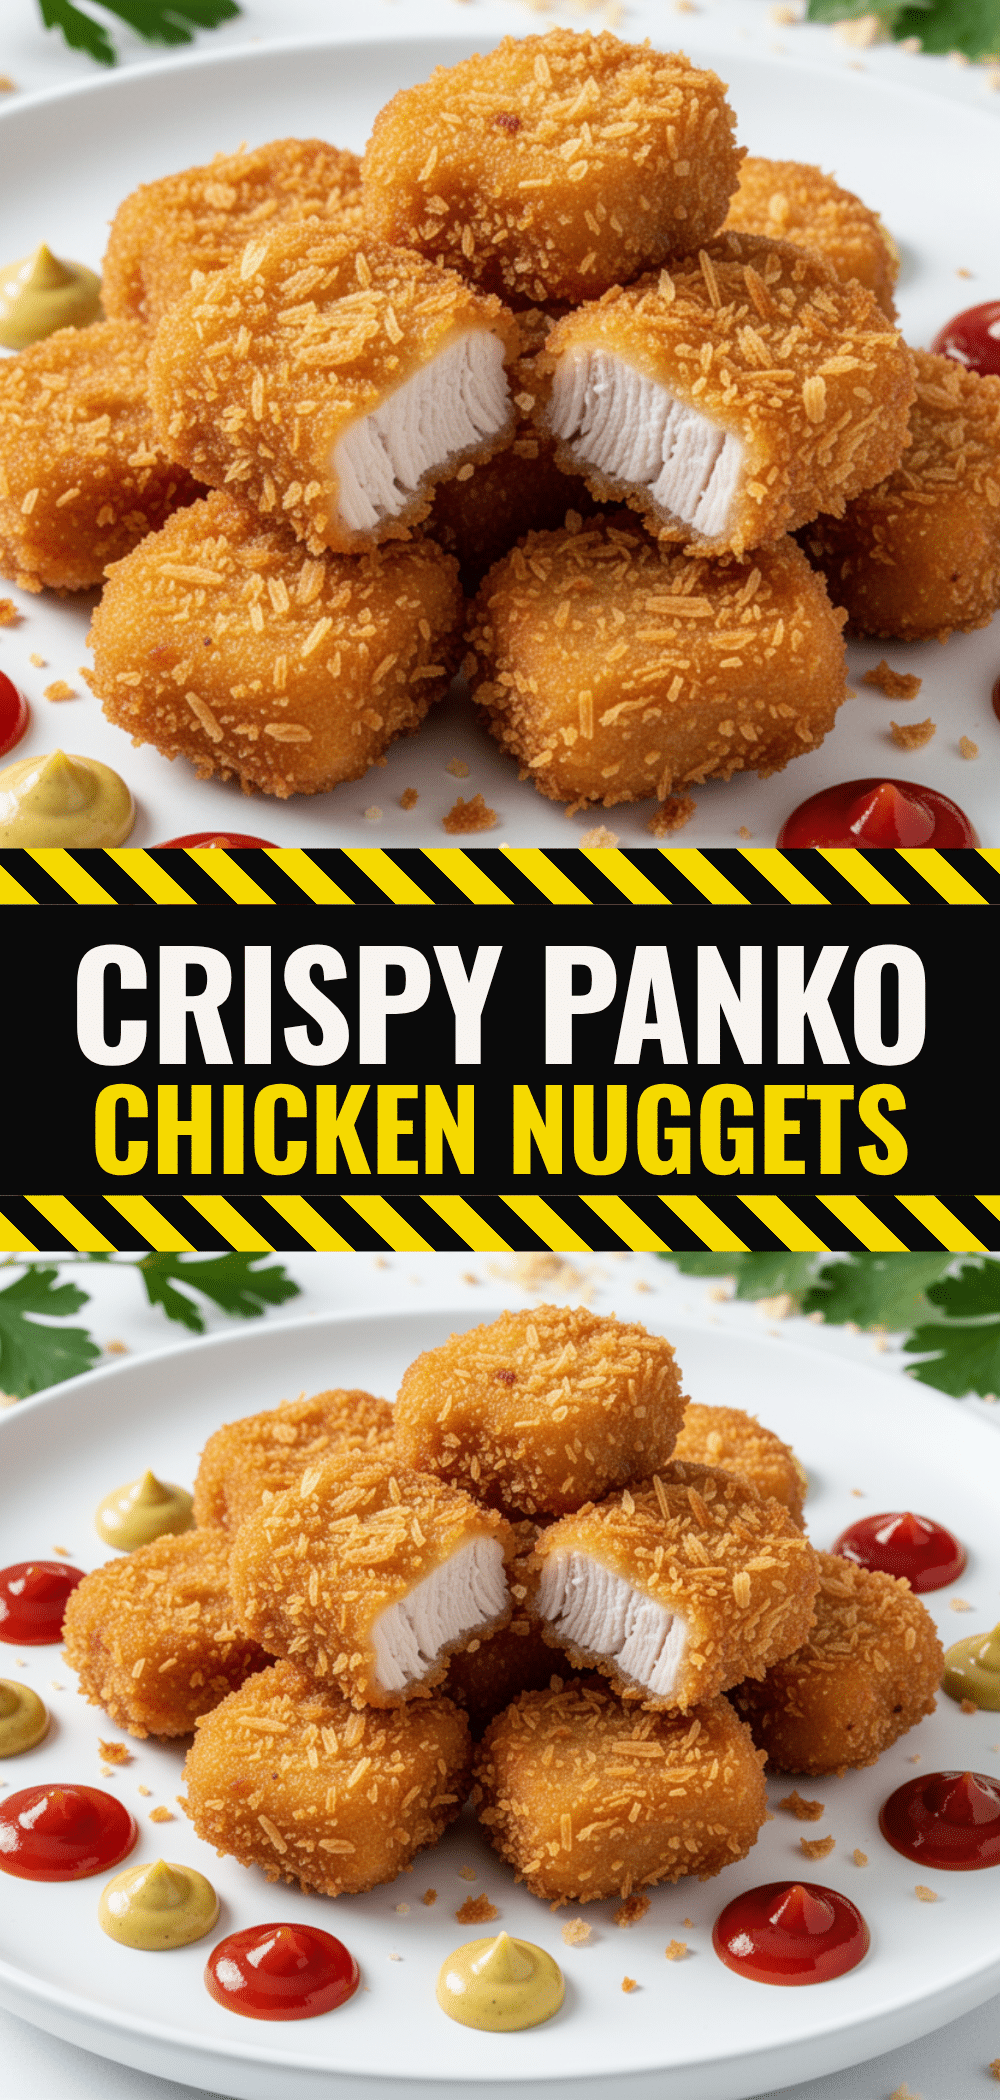
Pin This Recipe!
Back to School Crispy Chicken Nuggets: Easy Panko Recipe
- Total Time: 30 minutes
- Yield: 6 servings 1x
Description
These homemade crispy chicken nuggets use a buttermilk brine and panko breadcrumbs to create a shattering crunch while keeping the chicken juicy inside. Ready in under 30 minutes, they are a kid-approved, budget-friendly weeknight dinner savior.
Ingredients
- 1.5 pounds boneless, skinless chicken breasts
- 1 cup buttermilk
- 1 large egg
- 2 cups panko breadcrumbs
- 1/2 cup all-purpose flour
- 1 teaspoon garlic powder
- 1 teaspoon onion powder
- 1/2 teaspoon smoked paprika
- 1 teaspoon salt
- 1 teaspoon black pepper
- 2 cups vegetable oil (for frying)
- Cooking spray (optional)
Instructions
- Slice chicken breasts horizontally to create uniform cutlets, then cut into 1-inch wide by 2-inch long strips.
- Place chicken strips in a bowl and pour buttermilk over them to submerge. Let sit at room temperature for 20 minutes to tenderize.
- Set up a breading station with three shallow bowls: one with flour mixed with garlic powder, onion powder, smoked paprika, salt, and pepper; one with whisked egg and a splash of milk; and one with panko breadcrumbs seasoned with salt and pepper.
- Remove chicken from buttermilk, letting excess drip off. Dredge in flour, dip in egg wash, then press firmly into panko breadcrumbs.
- Heat vegetable oil in a large skillet to 350°F (175°C).
- Fry nuggets in batches for 2-3 minutes per side until golden brown and crispy, ensuring internal temperature reaches 165°F.
- Transfer fried nuggets to a wire rack set over a baking sheet to rest for 1-2 minutes before serving.
Notes
For extra crunch, double dip the chicken in egg and panko. Ensure oil temperature stays around 350°F to prevent greasy nuggets. Do not overcrowd the pan. Reheat in oven or air fryer to maintain crispiness; avoid microwaving.
- Prep Time: 10 minutes
- Cook Time: 20 minutes
- Category: Main Course
- Cuisine: American
Nutrition
- Serving Size: 1 serving (approx. 2
- Calories: 320
- Sugar: 2
- Sodium: 450
- Fat: 14
- Saturated Fat: 3
- Carbohydrates: 22
- Fiber: 1
- Protein: 28
Keywords: chicken nuggets, panko recipe, crispy chicken, easy dinner, kid-friendly meals, weeknight dinner, homemade nuggets, buttermilk brine


