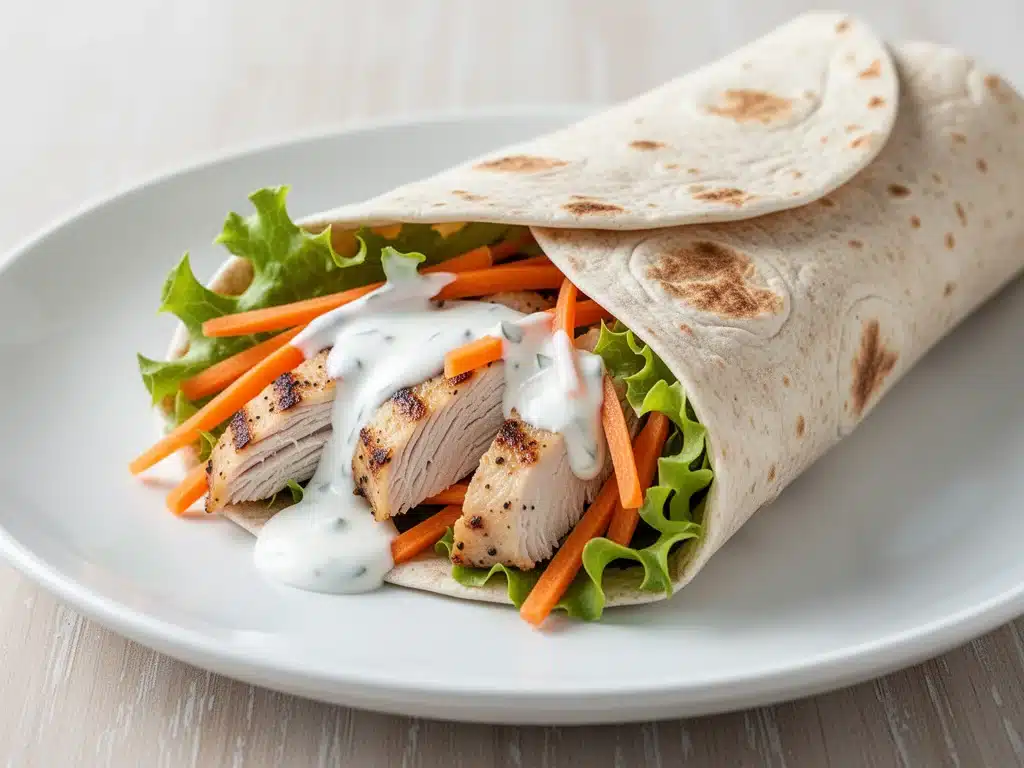
Last August, I was standing in my kitchen at 6:45 AM, holding a Tupperware container that looked suspiciously like a science experiment gone wrong. It was a sad, soggy mess of chicken and rice, and my ten-year-old looked at it like I’d handed him a bug. That was the third day in a row of “healthy” lunches that ended up in the trash can by lunchtime. I was exhausted, running on three hours of sleep, and ready to just buy the cafeteria pizza every day (don’t judge me, I’ve been there).
But then I remembered those wraps my friend Sarah used to make. The kind that stayed firm, didn’t leak, and actually made my kids ask for seconds. I rushed to the store, grabbed some whole wheat tortillas, and threw together what I thought would be a quick fix. It turned out to be so good that for the next four months, those wraps were the only thing my kids would touch. They became the backbone of our school mornings—fast, nutritious, and surprisingly delicious.
That’s why I’m sharing these back to school healthy chicken wraps with you. They aren’t just a quick lunch hack; they’re a lifesaver for busy parents who want to avoid the daily lunchbox panic. I’ve tested dozens of combinations over the last two years, tweaking the spices and the veggies until I found the perfect balance. These aren’t dry, boring diet food. They’re packed with flavor, stay fresh in the fridge for days, and are sturdy enough to survive the backpack jumble.
If you’re tired of the same old sandwich routine or worried about sugar-filled store-bought options, this is your solution. I’ve included five distinct variations so you never get bored, plus all the tips I’ve learned to keep them from getting soggy. Let’s get into it.
Why You’ll Love These Back to School Healthy Chicken Wraps
There are about ten reasons I keep making these wraps, but here are the big ones that convinced my family to stick with them all school year long.
Stupid Simple Assembly — Seriously, if you can spread cream cheese and lay down lettuce, you can make these. I’ve walked my teenage son through making his own wrap over FaceTime. It takes about 5 minutes once everything is prepped. No cooking required (if you use rotisserie chicken).
Meal Prep Magic — I make five of these on Sunday night. They sit in the fridge all week, and by Wednesday, I’m still glad I did it. They taste just as good on Wednesday as they did on Sunday. This is my secret weapon for those nights when I come home from work and don’t want to turn on the stove.
No Soggy Disaster — The biggest enemy of any wrap is moisture. I’ve cracked the code on layering that keeps the tortilla firm even after sitting in a lunchbox for four hours. No more opening a bag to find a wet, torn mess. These stay intact.
Picky-Eater Approved — My youngest is what I call a “texture detective.” He’ll pull out every carrot stick and complain about the chicken if it’s not exactly right. These wraps work because the flavors are familiar (like a chicken Caesar salad) but the format is fun. He actually eats them.
Customizable for Everyone — My husband loves the spicy version with jalapeños. My daughter prefers the mild ranch one. My son wants the one with extra cheese. One recipe, five different outcomes. It stops the “I don’t want what you have” arguments.
Budget-Friendly — Using a rotisserie chicken from the grocery store makes this incredibly cheap. A whole chicken costs about $8-10, which gives you enough meat for 10-12 wraps. That’s less than $1 per wrap. Compare that to a $6 lunch at the school cafeteria, and you’re saving money too.
This is my go-to when I need lunch to just work. No complicated techniques, no weird ingredients, just reliable, delicious food that makes everyone happy. And honestly? It makes me feel like a good parent, even when I’m running late.
Ingredients You’ll Need
Here’s the best part: you probably have most of this already. These wraps rely on simple, fresh ingredients that don’t require a trip to a specialty store. I’m particular about three things here—the tortillas, the chicken, and the binder—and I’ll tell you exactly why.
For the Base
Large whole wheat tortillas (10-inch / 25cm) — This is non-negotiable. Small tortillas break when you wrap them. Large ones give you enough room to fold without bursting. I use whole wheat for the fiber, but flour works too if your kids are picky about the color. Look for ones that are still pliable; if they’re stiff, microwave them for 10 seconds.
Cooked chicken (2-3 cups / 450-680g, diced or shredded) — I always use rotisserie chicken from the grocery store. It’s juicy, flavorful, and saves so much time. If you want to cook it yourself, poach chicken breasts in broth for 15 minutes, then shred. Don’t use dry, baked chicken—it’ll make the wrap taste like cardboard.
Greek yogurt (½ cup / 120g) — This is my secret weapon for the binder. It replaces mayo, cutting the calories and adding protein. Use plain, full-fat Greek yogurt for the creamiest texture. It holds up better than light yogurt, which can be watery.
Fresh lettuce (2 cups / 60g, chopped) — I use romaine or iceberg for crunch. Romaine adds more flavor, but iceberg is crunchier and stays crisp longer in the fridge. Avoid leaf lettuce; it wilts too fast and gets slimy.
For the Flavor
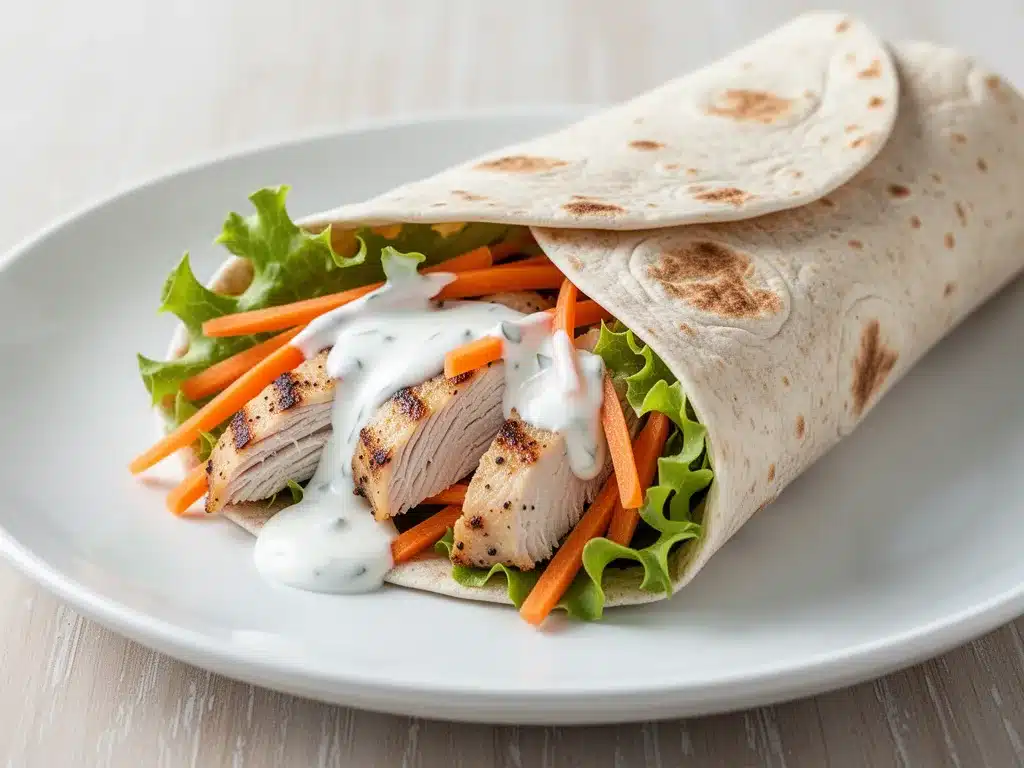
Shredded cheddar cheese (1 cup / 115g) — Sharp cheddar has more flavor, so you need less. I like the contrast of the sharp cheese with the mild chicken. You can also use Mexican blend if you’re doing the spicy version.
Red bell pepper (1 medium, diced / about 150g) — Adds sweetness and color. It doesn’t cook, so it stays crunchy. If you’re sensitive to raw pepper, you can roast it first, but raw is classic for wraps.
Green onions (4 stalks, sliced / about 40g) — These add a mild onion bite without being overwhelming. They look pretty and taste fresh. If you don’t like them, swap for red onion, but slice it thin.
Ranch seasoning (2 teaspoons / 10g) — I use dry ranch seasoning mix (like Hidden Valley or store brand). It’s cheaper and less watery than bottled ranch dressing. It flavors the whole wrap without making it soggy.
Lemon juice (1 tablespoon / 15ml) — Just a squeeze. It brightens up the yogurt and chicken, cutting through the richness. It’s a small detail, but it makes the wrap taste fresher.
Optional Add-ins
Avocado (1 medium, sliced) — Adds healthy fats and creaminess. I add this right before packing so it doesn’t brown. If you’re meal prepping, leave it out and add fresh slices in the morning.
Cranberries (¼ cup / 30g, dried) — For the sweet and savory version, these add a chewy texture and tartness. My kids love the surprise of sweetness.
Jalapeños (2 tablespoons, sliced) — For the spicy version. Fresh or pickled both work. Pickled adds a nice tang.
Shopping Tips
- Tortillas: I buy the largest ones I can find. If they come in a pack of 8, buy two packs on sale.
- Chicken: Check the expiration date on rotisserie chickens. If you’re not using it immediately, freeze half in a ziplock bag.
- Yogurt: Strain the yogurt in a cheesecloth for 15 minutes if it looks too runny. This prevents soggy wraps.
Equipment Needed
You don’t need fancy equipment for this. Here’s what I actually use.
Large mixing bowl — I use a 4-quart glass bowl. It needs to be big enough to toss the chicken and yogurt together without spilling. I’ve used small bowls and ended up with yogurt on my counter. Don’t learn that the hard way.
Cutting board — Any size works. I use a medium plastic one because it’s easy to clean. Make sure it’s stable so you don’t slip when dicing peppers.
Sharp knife — For chopping the chicken (if you’re shredding it) and dicing the veggies. A dull knife is dangerous and makes a mess. I keep a small paring knife for the green onions.
Measuring spoons — For the ranch seasoning and lemon juice. I have a set from the dollar store that works fine. Just make sure you level them off for accuracy.
Plastic wrap or parchment paper — For rolling the wraps. I prefer parchment paper because it’s easier to peel off and less wasteful. Plastic wrap works too, but it sticks sometimes.
Airtight containers — For storing in the fridge. I use glass containers with snap lids. They keep the wraps fresh and don’t absorb odors. Plastic containers are fine too, just make sure the lid seals tight.
Optional: Food processor — If you’re chopping a lot of veggies, a food processor with a pulse blade saves time. But for this recipe, a knife is faster because the quantities are small.
How to Make It: Step-by-Step
Alright, let’s make these back to school healthy chicken wraps! I’m walking you through exactly how I do it, including the little tricks I’ve picked up to ensure they stay fresh and tasty.
Step 1: Prep the Chicken (5 minutes)
If you’re using rotisserie chicken, pull the meat off the bones and shred it with two forks. If you’re cooking it yourself, poach the breasts, let them cool, then shred. Dice the chicken into bite-sized pieces. You want them small enough to eat easily in a wrap but large enough to taste like chicken. Set aside in a bowl.
Step 2: Make the Binder (2 minutes)
In a medium bowl, combine the Greek yogurt, ranch seasoning, and lemon juice. Whisk until smooth. Taste it. It should be tangy and herby. If it’s too thick, add a splash of milk or water. If it’s too thin, add more yogurt. This is the base of your flavor, so get it right.
Step 3: Combine Chicken and Binder (2 minutes)
Add the shredded chicken to the yogurt mixture. Toss gently until every piece is coated. Don’t overmix; you don’t want to break up the chicken. Set this aside. This is your chicken filling. It can sit in the fridge for up to 3 days.
Step 4: Prep the Veggies (5 minutes)
Chop the lettuce into thin strips. Dice the bell pepper. Slice the green onions. Keep them separate if you’re making different variations. If you’re making one big batch, mix them all together. The key is to keep them dry. Pat the lettuce dry with a paper towel if it’s wet from washing. Moisture is the enemy.
Step 5: Assemble the Wraps (10 minutes)
Lay a tortilla flat on your counter. Place a handful of lettuce in the center, leaving a 2-inch border at the bottom and sides. Top with the chicken mixture, then the cheese and veggies. Don’t overload it! A little goes a long way. If you pack it too tight, it will burst.
Step 6: Roll It Up (2 minutes)
Fold the bottom of the tortilla up over the filling. Fold in the sides. Roll it up tightly from the bottom. Use a piece of parchment paper or plastic wrap to hold it tight while you roll. This ensures a secure wrap that won’t unravel. Slice in half diagonally. This makes it easier to eat and looks nicer.
Step 7: Store or Pack
Place the wrapped halves in an airtight container. Stack them if you need to, but don’t stack more than two layers high or they might get squished. Refrigerate until ready to pack. If packing for school, add an ice pack to keep the chicken safe.
Total Time: About 20 minutes for the whole batch (makes 5 wraps).
Built-in Troubleshooting
- Wrap is too big: Use a smaller tortilla or fold it in half first to create a smaller square.
- Filling is leaking: You used too much filling. Use less next time, or add a layer of cheese against the tortilla to create a barrier.
- Tortilla is cracking: It’s too dry. Microwave it for 10 seconds to soften it before rolling.
Expert Tips & Tricks
Here’s everything I’ve learned from making these dozens of times. These tips will save you from my mistakes.
The Barrier Method
This is the #1 tip. Before you add the chicken, place a layer of cheese or lettuce directly against the tortilla. This creates a moisture barrier. Without it, the yogurt soaks into the tortilla, making it soggy and likely to break. I learned this after my first three wraps disintegrated in my son’s backpack.
Don’t Skip the Drying
Washed veggies are wet. Wet veggies make soggy wraps. Always pat your lettuce, peppers, and onions dry with paper towels. It takes an extra minute, but it makes a huge difference in texture. If you’re in a rush, just shake them in a salad spinner.
Use Full-Fat Greek Yogurt
Low-fat yogurt is watery and thin. It doesn’t coat the chicken well and can make the wrap soggy. Full-fat Greek yogurt is thick and creamy. It holds up better in the fridge and tastes richer. Don’t skimp here.
Roll Tightly
A loose wrap is a leaking wrap. Roll it tight, using parchment paper to help. If you’re packing it for school, secure it with a toothpick or a small rubber band (remove before eating). It keeps the shape and prevents the filling from shifting.
Make Ahead Strategy
You can prep the chicken mixture and veggies up to 2 days ahead. Store them separately in the fridge. Assemble the wraps the night before or the morning of. This saves time on busy mornings. I usually assemble them on Sunday night and store them in the fridge.
Variations & Substitutions
Once you’ve nailed the basic version, here’s how you can mix it up. I’ve tried all of these, and they’re all winners.
Spicy Jalapeño Chicken
Add 2 tablespoons of sliced jalapeños (fresh or pickled) to the chicken mixture. Add a pinch of cayenne pepper to the yogurt. My husband loves this version—it has a nice kick that wakes up the palate.
Sweet & Tangy Cranberry
Add ¼ cup of dried cranberries to the chicken mixture. Swap the ranch seasoning for honey mustard seasoning. The sweetness balances the savory chicken. My daughter’s favorite. It’s like a salad wrap.
Mediterranean Style
Swap the ranch for Italian seasoning. Add chopped kalamata olives and feta cheese. Use hummus instead of yogurt as the binder. This is a great option for a different flavor profile. It’s lighter and more refreshing.
BBQ Chicken
Mix 2 tablespoons of BBQ sauce into the yogurt. Add cooked bacon bits. This is a crowd-pleaser. The smoky flavor is irresistible. Just be careful not to add too much BBQ sauce, or it will make the wrap soggy.
Veggie-Heavy Version
Double the veggies and reduce the chicken. Add shredded carrots and cucumber slices. This is great for reducing costs and increasing nutrition. My kids still eat it because the flavor is strong.
Dietary Modifications
- Gluten-Free: Use gluten-free tortillas. Everything else is naturally gluten-free.
- Dairy-Free: Use dairy-free yogurt and cheese. Or skip the cheese and use avocado for creaminess.
- Lower Carb: Use large lettuce leaves instead of tortillas. Wrap the filling in the leaves. This is called a “lettuce wrap” and it’s very low carb.
- High Protein: Add an extra egg or use turkey breast instead of chicken. Both are high in protein.
Serving & Storage
How to Serve:
I usually serve these for lunch, but they’re great for dinner too. Pair them with a side of fruit or chips. For dinner, I add a side salad. They’re light but filling.
Storage Instructions:
- Refrigerator: Store in an airtight container for up to 3 days. The tortilla will soften slightly, but it’s still good. If it gets too soft, eat it immediately.
- Freezing: I don’t recommend freezing these. The lettuce and chicken don’t freeze well. They become mushy when thawed. Make them fresh.
Reheating:
These are best eaten cold or at room temperature. If you need to warm them, microwave for 15-20 seconds. Don’t overheat, or the cheese will melt and the tortilla will get tough.
Nutrition Information
I’m not a nutritionist, but here’s the breakdown if you’re tracking. This is per wrap (based on 5 wraps).
| Nutrient | Amount |
|---|---|
| Calories | 320 |
| Protein | 22g |
| Carbs | 28g |
| Fiber | 4g |
| Fat | 12g |
| Sugar | 5g |
| Sodium | 450mg |
What’s Good:
High in protein from the chicken and yogurt. Good fiber from the whole wheat tortilla and veggies. Low in sugar compared to store-bought lunches.
What to Know:
Sodium can be high depending on the tortilla and seasoning. Use low-sodium tortillas and seasoning to reduce this. The fat content is moderate from the yogurt and cheese.
Final Thoughts
So that’s my go-to back to school healthy chicken wraps! I’ve probably talked your ear off at this point, but when you make a recipe this often, you have a lot to say about it.
This has saved our school mornings more times than I can count. It’s my answer to “what’s for lunch?” when I’m tired, don’t want to cook, and still want something healthy. My kids are happy, I’m happy, and I’m not stressed about packing lunch.
Make it yours! Try different add-ins, swap in your favorite veggies, adjust the spices. The best recipes are the ones you adapt to your family’s tastes.
If you make this, drop a comment and let me know what you think! I love hearing how recipes turn out in your kitchen. And if something doesn’t work, tell me that too—I’m here to help troubleshoot.
Happy packing! And I hope your kids’ lunches look half as good as mine do right now.
Frequently Asked Questions
Can I use leftover roasted chicken?
Absolutely! Leftover roasted chicken is perfect for this. Just shred or dice it. It might be slightly drier than rotisserie chicken, so make sure you coat it well in the yogurt mixture. If it’s very dry, add a tablespoon of olive oil or more yogurt.
How do I prevent the tortilla from getting soggy?
The key is the moisture barrier. Place a layer of cheese or lettuce directly against the tortilla before adding the wet chicken mixture. Also, make sure your veggies are dry. Pat them with a paper towel after washing. And don’t overfill the wrap—too much filling creates pressure and leaks.
Can I make these ahead for the week?
Yes! I usually make them on Sunday night. Store them in an airtight container in the fridge for up to 3 days. They stay fresh and firm. If you’re packing them for school, add an ice pack to keep them safe. Just don’t freeze them.
Can I use tortilla chips instead of tortillas?
No, that won’t work. Tortilla chips are brittle and will crumble. You need a flexible tortilla to roll the wrap. If you want a chip flavor, you can add crushed tortilla chips on top of the filling before rolling, but you still need the tortilla base.
What if my kids don’t like ranch?
Try Italian seasoning or honey mustard instead. Or just use plain Greek yogurt with some salt, pepper, and garlic powder. The yogurt is the binder, so the flavor can be customized. Don’t force ranch if they hate it.
Can I use turkey instead of chicken?
Yes! Turkey breast works just as well. It’s leaner, so it might be slightly drier. Add a little more yogurt or olive oil to keep it moist. My family sometimes swaps chicken for turkey, and it’s just as good.
Pin This Recipe!
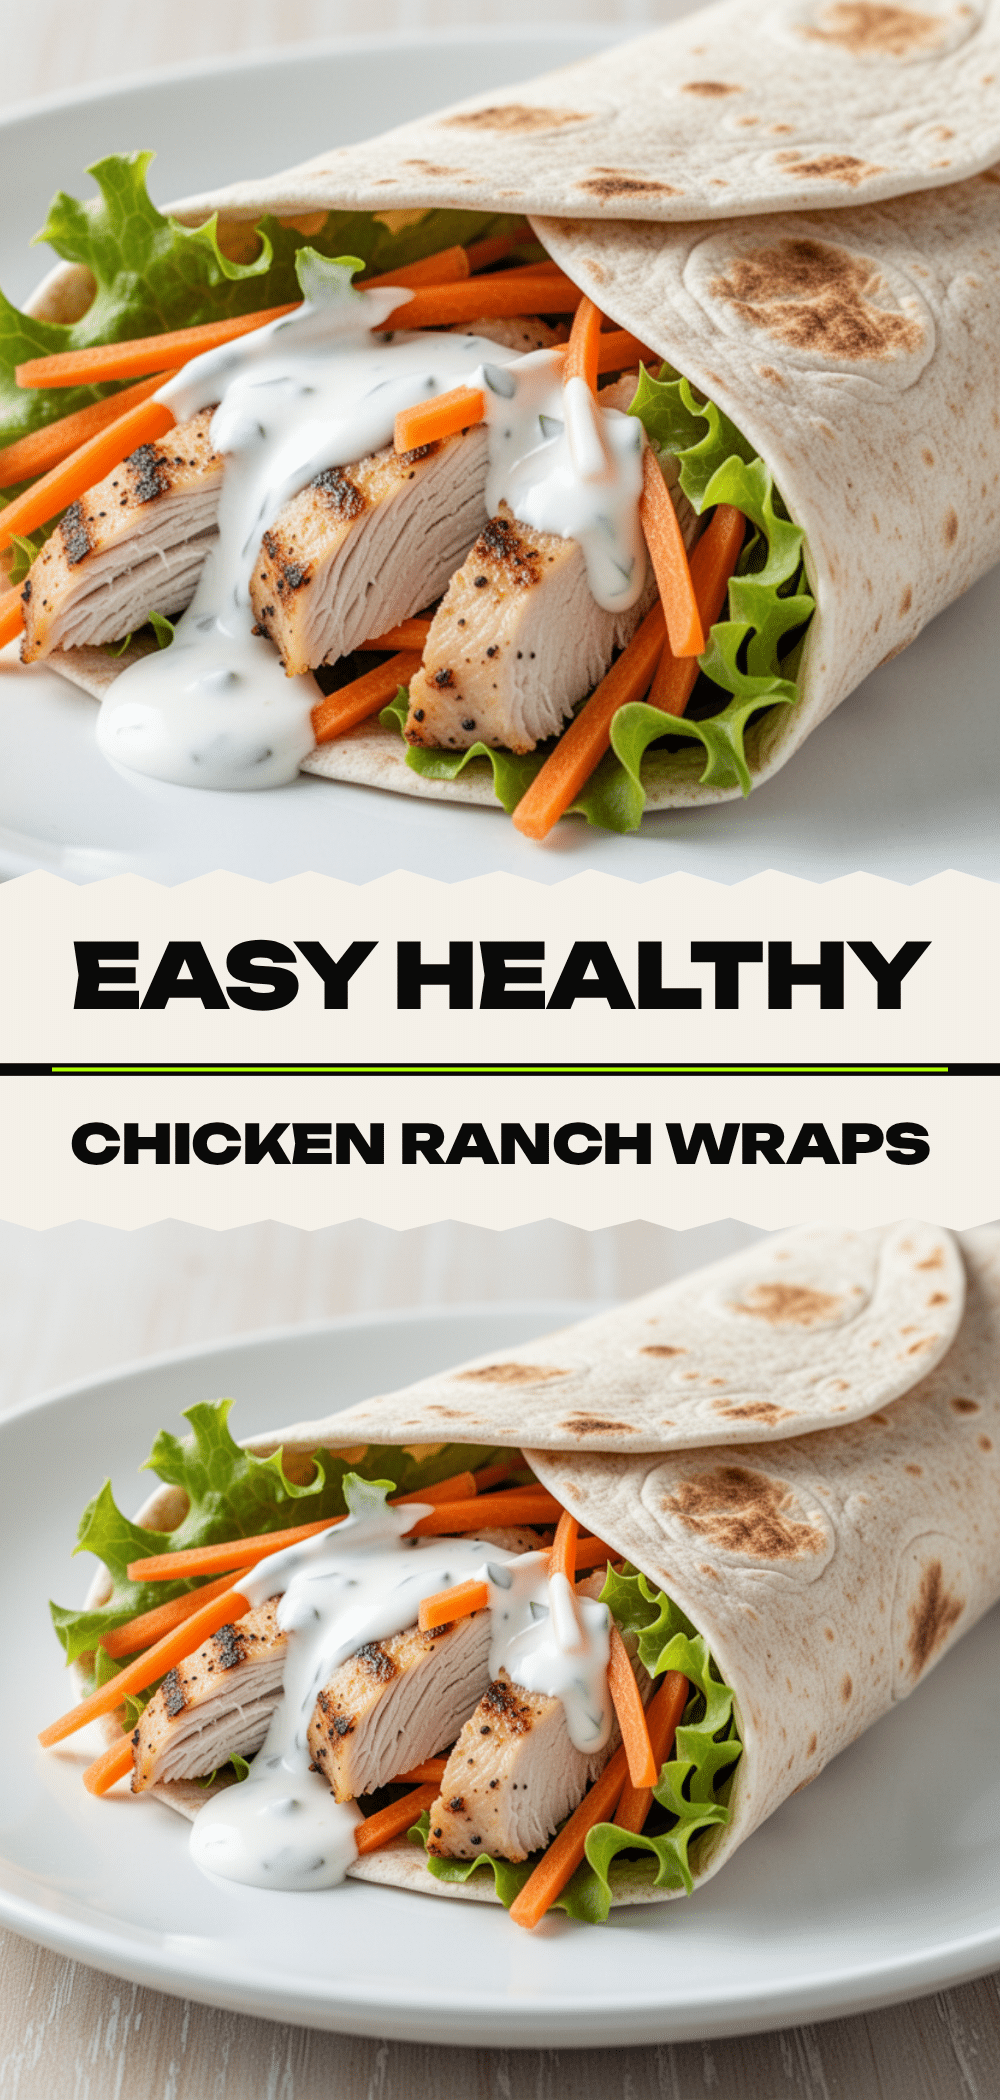
Back to School Healthy Chicken Wraps
- Total Time: 20 minutes
- Yield: 5 servings 1x
Description
A quick, nutritious, and sturdy chicken wrap recipe perfect for busy school mornings. These wraps stay fresh in the lunchbox, avoid sogginess with a moisture barrier technique, and offer five customizable variations to please picky eaters.
Ingredients
- 5 large whole wheat tortillas (10-inch / 25cm)
- 2–3 cups cooked chicken, diced or shredded (rotisserie or poached)
- ½ cup plain full-fat Greek yogurt
- 2 teaspoons dry ranch seasoning mix
- 1 tablespoon lemon juice
- 2 cups fresh lettuce, chopped (romaine or iceberg)
- 1 cup shredded cheddar cheese
- 1 medium red bell pepper, diced
- 4 stalks green onions, sliced
- Optional: 1 medium avocado, sliced
- Optional: ¼ cup dried cranberries
- Optional: 2 tablespoons sliced jalapeños
Instructions
- Prep the chicken: Shred or dice the cooked chicken into bite-sized pieces and set aside in a bowl.
- Make the binder: In a medium bowl, whisk together the Greek yogurt, ranch seasoning, and lemon juice until smooth. Adjust consistency with a splash of milk or water if needed.
- Combine chicken and binder: Add the chicken to the yogurt mixture and toss gently until evenly coated. Set aside.
- Prep the veggies: Chop the lettuce, dice the bell pepper, and slice the green onions. Pat the lettuce dry with a paper towel to remove excess moisture.
- Assemble the wraps: Lay a tortilla flat. Place a layer of lettuce or cheese directly against the tortilla to create a moisture barrier. Add a handful of lettuce, then the chicken mixture, followed by the remaining cheese and veggies. Avoid overfilling.
- Roll it up: Fold the bottom of the tortilla up over the filling, fold in the sides, and roll tightly from the bottom. Use parchment paper to help secure the roll.
- Slice and store: Slice the wrap in half diagonally. Place in an airtight container and refrigerate until ready to pack. Add an ice pack when packing for school.
Notes
To prevent soggy wraps, always pat veggies dry and use a moisture barrier (cheese or lettuce) against the tortilla. Use full-fat Greek yogurt for better texture. These wraps are best eaten cold or at room temperature and should be stored in the fridge for up to 3 days. Do not freeze as the lettuce will become mushy.
- Prep Time: 15 minutes
- Cook Time: 0 minutes
- Category: Lunch
- Cuisine: American
Nutrition
- Serving Size: 1 wrap (half of a la
- Calories: 320
- Sugar: 5
- Sodium: 450
- Fat: 12
- Saturated Fat: 4
- Carbohydrates: 28
- Fiber: 4
- Protein: 22
Keywords: chicken wraps, back to school lunch, healthy lunch ideas, meal prep, rotisserie chicken recipes, kid-friendly lunch, gluten-free options


