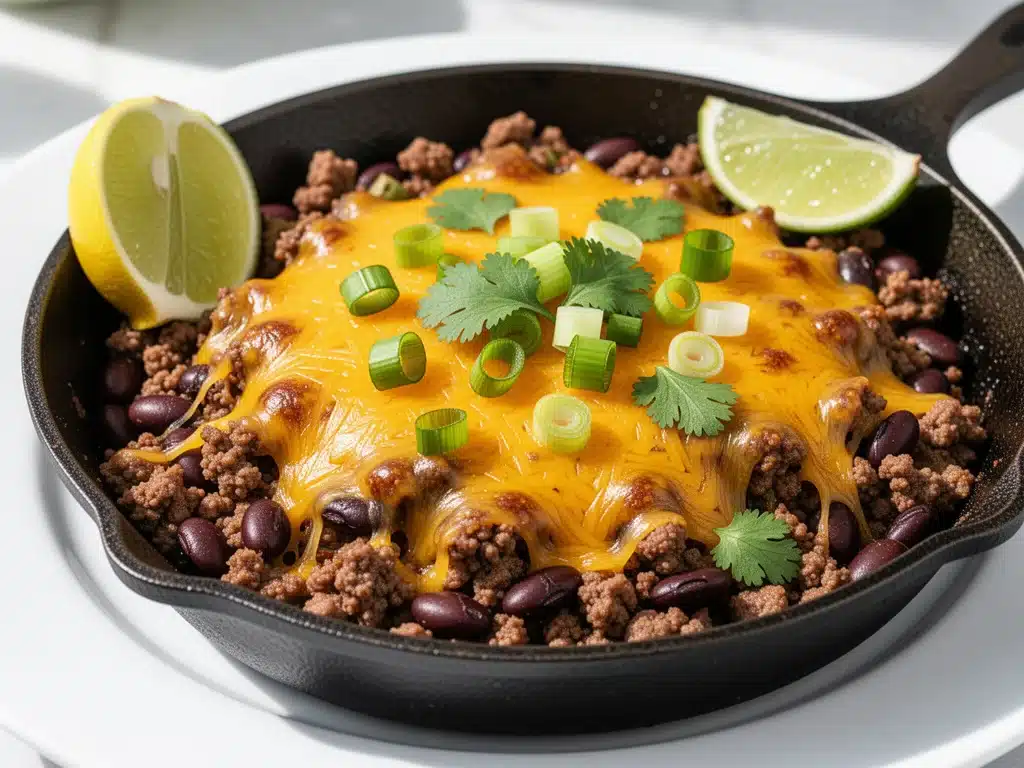
There is a specific kind of panic that sets in at 4:30 PM on the first Tuesday of September. It’s not just the homework that needs to be signed, or the fact that I still haven’t figured out why my kid’s backpack is always empty of lunch money. It’s the dinner dilemma. You’ve just spent your evening energy helping with long division and packing lunches, and now you’re staring at the fridge, wondering how to conjure a meal out of thin air before the clock hits 6:00 PM.
Last week, I was in that exact headspace. I had a pot of laundry in the dryer that needed folding, a cat that was begging for dinner, and a pantry that was dangerously low on “interesting” ingredients. I didn’t have time to chop onions, I didn’t have the energy to marinate chicken, and I definitely didn’t have the patience to explain to my seven-year-old why we couldn’t have nuggets again. That’s when I remembered this Back to School Ground Beef Taco Skillet. It’s become my secret weapon for those chaotic weeknights when I need dinner on the table faster than I can change out of my work clothes.
I’ve tested this recipe at least a dozen times since school started, tweaking the spice levels and the cheese ratios until it was perfect. It’s not just quick—it’s genuinely delicious. The kids think it’s fancy because it’s “taco night,” even though it’s technically a skillet. And the best part? There’s only one pan to clean. Seriously. If you’re drowning in the back-to-school rush, this is the recipe that’s going to save your sanity.
Why You’ll Love This Recipe
I know what you’re thinking. “Another ground beef recipe? Really?” But hear me out. This isn’t your average Tuesday night taco. It’s a complete meal in one pot, packed with flavor, and ready in the time it takes to scroll through social media. Here’s why this Back to School Ground Beef Taco Skillet has earned a permanent spot in our weekly rotation:
- Lightning Fast — We’re talking 15 minutes from start to finish. I’ve timed it. It’s actually 15 minutes if you don’t stop to answer the door or check your email. Perfect for those nights when you’re running on fumes.
- One-Pan Wonder — The holy grail of weeknight cooking. You brown the beef, you make the sauce, you melt the cheese—all in one skillet. Fewer dishes means more time for… well, anything else. I usually use that extra time to actually sit down for a few minutes.
- Kid-Approved — My picky eater, who usually picks out the green peppers like they’re radioactive, asks for seconds. The flavor is bold but not spicy (unless you want it to be), and the cheese pull is real. If it looks like tacos, the kids eat it. Simple psychology.
- Pantry Friendly — You likely have most of this already. Ground beef, taco seasoning, beans, corn, salsa. These are staples. If you’re low on something, it’s easy to swap. I keep a jar of taco seasoning in the back of my cupboard specifically for these emergencies.
- Meal Prep Magic — This reheats beautifully. I make a double batch on Sunday, and it’s lunch for three days. The flavors actually get better as they sit, which is rare for taco stuff. It doesn’t get soggy or weird.
So basically, it’s fast, it’s easy, it tastes amazing, and it keeps the peace in the kitchen. What’s not to love? This is my go-to when I need dinner to just work. No complicated techniques, no weird ingredients, just reliable, delicious food that makes everyone happy.
Ingredients You’ll Need
Here’s the best part: you probably have most of this already. This Back to School Ground Beef Taco Skillet relies on simple, accessible ingredients. I’m particular about a few things, but for the most part, this is a “throw it all in” kind of recipe.
For the Base
Ground beef (1 pound / 450g) — I use 80/20 lean-to-fat ratio. It stays juicy. If you’re health-conscious, 90/10 works, but it can dry out a bit. Don’t use extra lean; you’ll regret it. Drain the grease, but leave a little bit for flavor.
Taco seasoning (1 packet / 28g) — I usually use a store-bought packet like Old El Paso or McCormick for speed. But if you have time, my homemade version is better. For this specific “back to school” rush, the packet is your friend. It’s consistent and fast.
Black beans (1 can / 15oz, drained and rinsed) — Adds bulk and fiber so the meal stretches further. Rinsing them is crucial—it removes that canned taste and stops the sauce from getting slimy.
Frozen corn (1 cup / 140g) — I use frozen because it’s easier to measure and just as good as fresh. It adds those sweet bursts of flavor that kids love. Thawed corn works too, but frozen goes right in.
Salsa (1 cup / 240g) — This is the liquid base for the sauce. I use a mild or medium jarred salsa. If you like it spicy, use hot salsa. Just don’t use chunky salsa with huge pieces of pepper unless you want to chop them out for the kids.
For the Finish
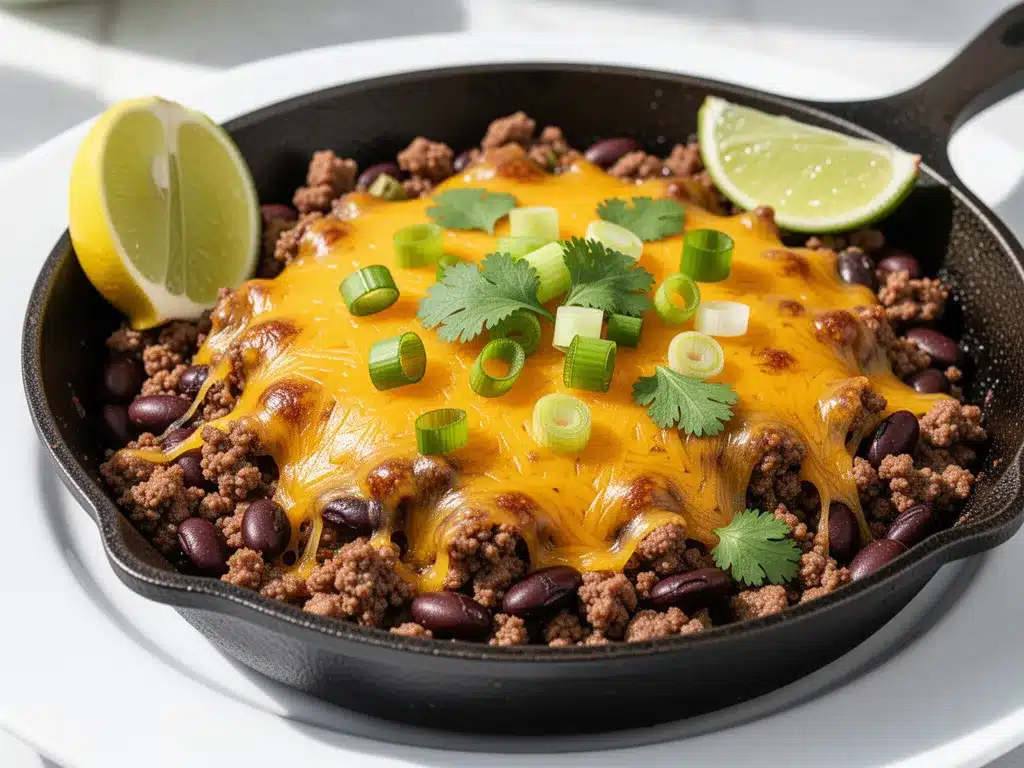
Shredded Mexican blend cheese (1.5 cups / 170g) — Pre-shredded is fine here because it melts evenly and quickly. I don’t stress about grating my own for this one. It’s about speed. Cheddar or Monterey Jack works if you can’t find the blend.
Green onions (2 stalks, sliced) — For garnish. Adds a fresh crunch and color. If you hate green onions, skip it. No judgment.
Optional Add-ins — I often toss in a can of drained corn or black beans if I have them. You can also add diced bell peppers if you want to sneak in veggies. I usually chop them fine so the kids don’t notice.
Personal Tips — I always keep a bag of frozen corn and a can of black beans in the pantry. It’s the “panic button” for weeknights. Also, if you’re using a leaner beef, add a splash of water or broth to the skillet so it doesn’t get dry. And please, drain the beef well. Nobody wants greasy tacos.
Equipment Needed
You don’t need fancy equipment for this. Here’s what I actually use.
Large skillet or Dutch oven — I use a 12-inch non-stick skillet. It needs to be big enough to hold the beef, beans, corn, and salsa without splattering everywhere. My old non-stick from Target works fine. If you have a cast-iron skillet, that’s even better for browning the beef.
Wooden spoon or spatula — For stirring. Silicone works too. Just make sure it’s sturdy enough to break up the meat.
Colander — For rinsing the beans. Or just use the sink if you’re feeling rustic.
Measuring cups — For the corn and salsa. I eyeball it sometimes, but measuring is more consistent.
Optional but nice — A splatter screen. I don’t always use one, but if you’re using salsa, it can pop. Better safe than sorry.
How to Make It: Step-by-Step
Alright, let’s make this! I’m walking you through exactly how I do it, including the little tricks I’ve picked up.
Step 1: Brown the Beef (5 minutes)
Heat your large skillet over medium-high heat. Add the ground beef. Use your wooden spoon to break it up into small crumbles as it cooks. This is important—you want small pieces, not big chunks. Cook until the beef is no longer pink. This takes about 5-6 minutes. Once it’s cooked, drain the excess grease. I leave about a tablespoon for flavor, but drain the rest. If you skip this, your skillet dinner will be swimming in oil.
Step 2: Add the Seasoning (1 minute)
Pour in the taco seasoning. If you’re using a packet, just sprinkle it on. If you’re making your own, add it now. Stir it into the beef until it’s well coated. This is where the smell starts to get amazing. If the beef looks dry, add a splash of water to help the seasoning dissolve.
Step 3: Build the Skillet (3 minutes)
Add the drained black beans, frozen corn, and salsa. Stir everything together. The salsa will start to bubble and simmer. Let it cook for about 3 minutes, stirring occasionally. You want the flavors to meld. The corn will thaw and heat through. The beans will get hot. It’s basically a hot mess, but in a good way.
Step 4: Melt the Cheese (2 minutes)
Turn off the heat. This is crucial. If you keep it on high, the cheese might burn or separate. Sprinkle the shredded cheese evenly over the top. Cover the skillet with a lid for 1-2 minutes. The residual heat will melt the cheese perfectly. If you don’t have a lid, just watch it closely. Once it’s melted, give it a gentle stir.
Step 5: Serve
Top with sliced green onions. Serve immediately. I usually serve this straight from the skillet, or scoop it into tortillas. Toppings like sour cream, avocado, or cilantro are optional but recommended if you have them.
Total Time: About 15 minutes (5 minutes prep, 10 minutes cooking)
Built-in Troubleshooting:
- Too dry? Add a splash of water or broth before adding the cheese.
- Too watery? Let it simmer uncovered for an extra 2-3 minutes after adding the salsa.
- Not spicy enough? Add a pinch of cayenne or use hot salsa next time.
Expert Tips & Tricks
Here’s everything I’ve learned from making this dozens of times. These tips will save you from my mistakes.
Don’t Skip the Rinse
I know it’s one extra step, but rinsing the canned beans removes the sodium and that weird canned liquid. It makes a huge difference in the final taste. I learned this the hard way with a batch that tasted metallic.
Drain the Beef Well
Greasy tacos are sad tacos. Drain the beef thoroughly. If you’re using lean beef, you won’t have much grease, but if you’re using 80/20, you’ll have a pool. Tip it the skillet and use a spoon to soak it up, or drain it in the colander.
Use Frozen Corn
It’s faster than cutting off the cob, and it’s just as sweet. Plus, you can just grab a handful. No chopping, no mess. It’s the ultimate lazy cook hack.
Low Heat for Cheese
Always turn off the heat before adding cheese. High heat makes cheese grainy and oily. I’ve ruined batches by leaving the burner on too long. Trust me, the residual heat is enough to melt it perfectly.
Make it a Taco Bar
If you have guests or picky kids, set out bowls of toppings. Sour cream, guacamole, jalapeños, cilantro. Let everyone customize their bowl. It’s interactive and fun for kids.
Variations & Substitutions
Once you’ve nailed the basic version, here’s how you can mix it up. I’ve tried all of these.
Chicken Version
Swap the ground beef for cooked, shredded chicken. I usually use rotisserie chicken for speed. Add it in at the same step as the beans. It’s lighter and still delicious.
Turkey Version
Ground turkey works great too. I use 93/7 lean turkey. It’s a bit drier, so add a splash of broth when you add the salsa. It’s a healthier option that kids still like.
Veggie-Loaded
Add diced bell peppers or zucchini when you’re browning the beef. Cook them until soft, then proceed with the recipe. It’s a great way to sneak in veggies. I chop them fine so the kids don’t notice.
Gluten-Free
This recipe is naturally gluten-free if you use a gluten-free taco seasoning. Most packets are GF, but check the label. Serve with corn tortillas instead of flour.
Spicy Kick
Add a diced jalapeño with the onions, or use hot salsa. You can also add a pinch of cayenne pepper. I don’t usually make it spicy for my kids, but I add extra to my bowl.
Dietary Modifications
- Lower Carb — Serve over cauliflower rice or in lettuce cups instead of tortillas.
- Dairy-Free — Skip the cheese or use a dairy-free alternative. It’s not the same, but it works.
- Vegetarian — Swap beef for lentils or extra beans. Add some mushrooms for texture.
Serving & Storage
I usually serve this straight from the skillet at the dinner table—it looks rustic and stays warm. But here are other ways I’ve enjoyed it:
Side Dishes
- Simple green salad with lime vinaigrette
- Rice and beans (if you want to double down)
- Corn on the cob
- Chips and guacamole
Toppings Bar
When I have guests, I put out: sour cream, shredded lettuce, diced tomatoes, jalapeños, cilantro, and lime wedges. Everyone customizes their bowl.
Storage Instructions
Refrigerator: Store in an airtight container for up to 3 days. The flavors get better as they sit. I actually prefer it the next day.
Reheating: Reheat in a skillet over medium heat with a splash of water or broth to keep it moist. Microwave works too, but it can dry out the cheese. Add a splash of water if microwaving.
Freezing: This doesn’t freeze well. The cheese separates and the texture gets weird. Make it fresh or store in the fridge for up to 3 days.
Pro tip: If you’re meal prepping, store the filling and the toppings separately. Keep the cheese and sour cream apart until you’re ready to eat. It keeps everything fresh.
Nutrition Information
I’m not a nutritionist, but here’s the breakdown if you’re tracking. This is per serving (based on 4 servings).
- Calories: 450
- Protein: 28g
- Carbs: 35g
- Fiber: 8g
- Sugar: 6g
- Fat: 22g
It’s a solid meal with good protein and fiber. The carbs come from the corn and beans. It’s not a diet recipe, but it’s balanced. When I want to make it lighter, I use turkey and skip the cheese. But usually? I just enjoy it.
Final Thoughts
So that’s my go-to Back to School Ground Beef Taco Skillet! I’ve probably talked your ear off at this point, but when you make a recipe this often, you have a lot to say about it. This has saved weeknight dinners more times than I can count. It’s my answer to “what’s for dinner” when I’m tired, don’t want takeout, and still want something that tastes really good.
My kids are happy, my husband’s happy, and I’m happy because I’m not stressed about cooking. Make it yours! Try different add-ins, swap in your favorite vegetables, adjust the spice level. The best recipes are the ones you adapt to your family’s tastes.
If you make this, drop a comment and let me know what you think! I love hearing how recipes turn out in your kitchen. And if something doesn’t work, tell me that too—I’m here to help troubleshoot. Happy cooking! And I hope your kitchen smells half as good as mine does right now.
Frequently Asked Questions
Can I use ground turkey instead of beef?
Absolutely. Ground turkey is a great leaner option. Just make sure to drain it well, as it can be drier than beef. You might want to add a splash of broth or water when you add the salsa to keep it moist. The flavor is slightly milder, so you might want to add a little extra taco seasoning.
Can I make this ahead of time?
You can make the filling ahead of time and store it in the fridge. Just reheat it in a skillet before serving. Don’t add the cheese until you’re ready to eat, as it can get weird if it sits in the fridge. I make the filling on Sunday and reheat it for dinner during the week.
Why did my sauce turn out watery?
If your sauce is watery, it’s usually because the salsa was too watery or you didn’t simmer it long enough. Let it simmer uncovered for a few extra minutes to reduce. If you’re using fresh salsa, it might have more liquid. Drain it a bit first.
Can I freeze this recipe?
I don’t recommend freezing this. The cheese will separate and the texture of the beans and corn can get mushy. It’s best enjoyed fresh or stored in the fridge for up to 3 days.
What can I serve with this?
This is a complete meal on its own, but it’s great with rice, beans, or a simple salad. I also serve it with tortillas for tacos, or over baked potatoes for a “taco potato” vibe. Chips and guacamole are always a hit too.
Is this recipe spicy?
It’s mild by default. The taco seasoning and salsa are usually mild to medium. If you want it spicy, use hot salsa or add a pinch of cayenne. My kids can handle a little heat, but I usually keep it mild for them and add extra to my bowl.
Can I use canned corn instead of frozen?
Yes, you can. Just drain it well. Frozen corn is easier to measure and doesn’t have the added salt, but canned works fine. Just rinse it to remove the brine.
Pin This Recipe!
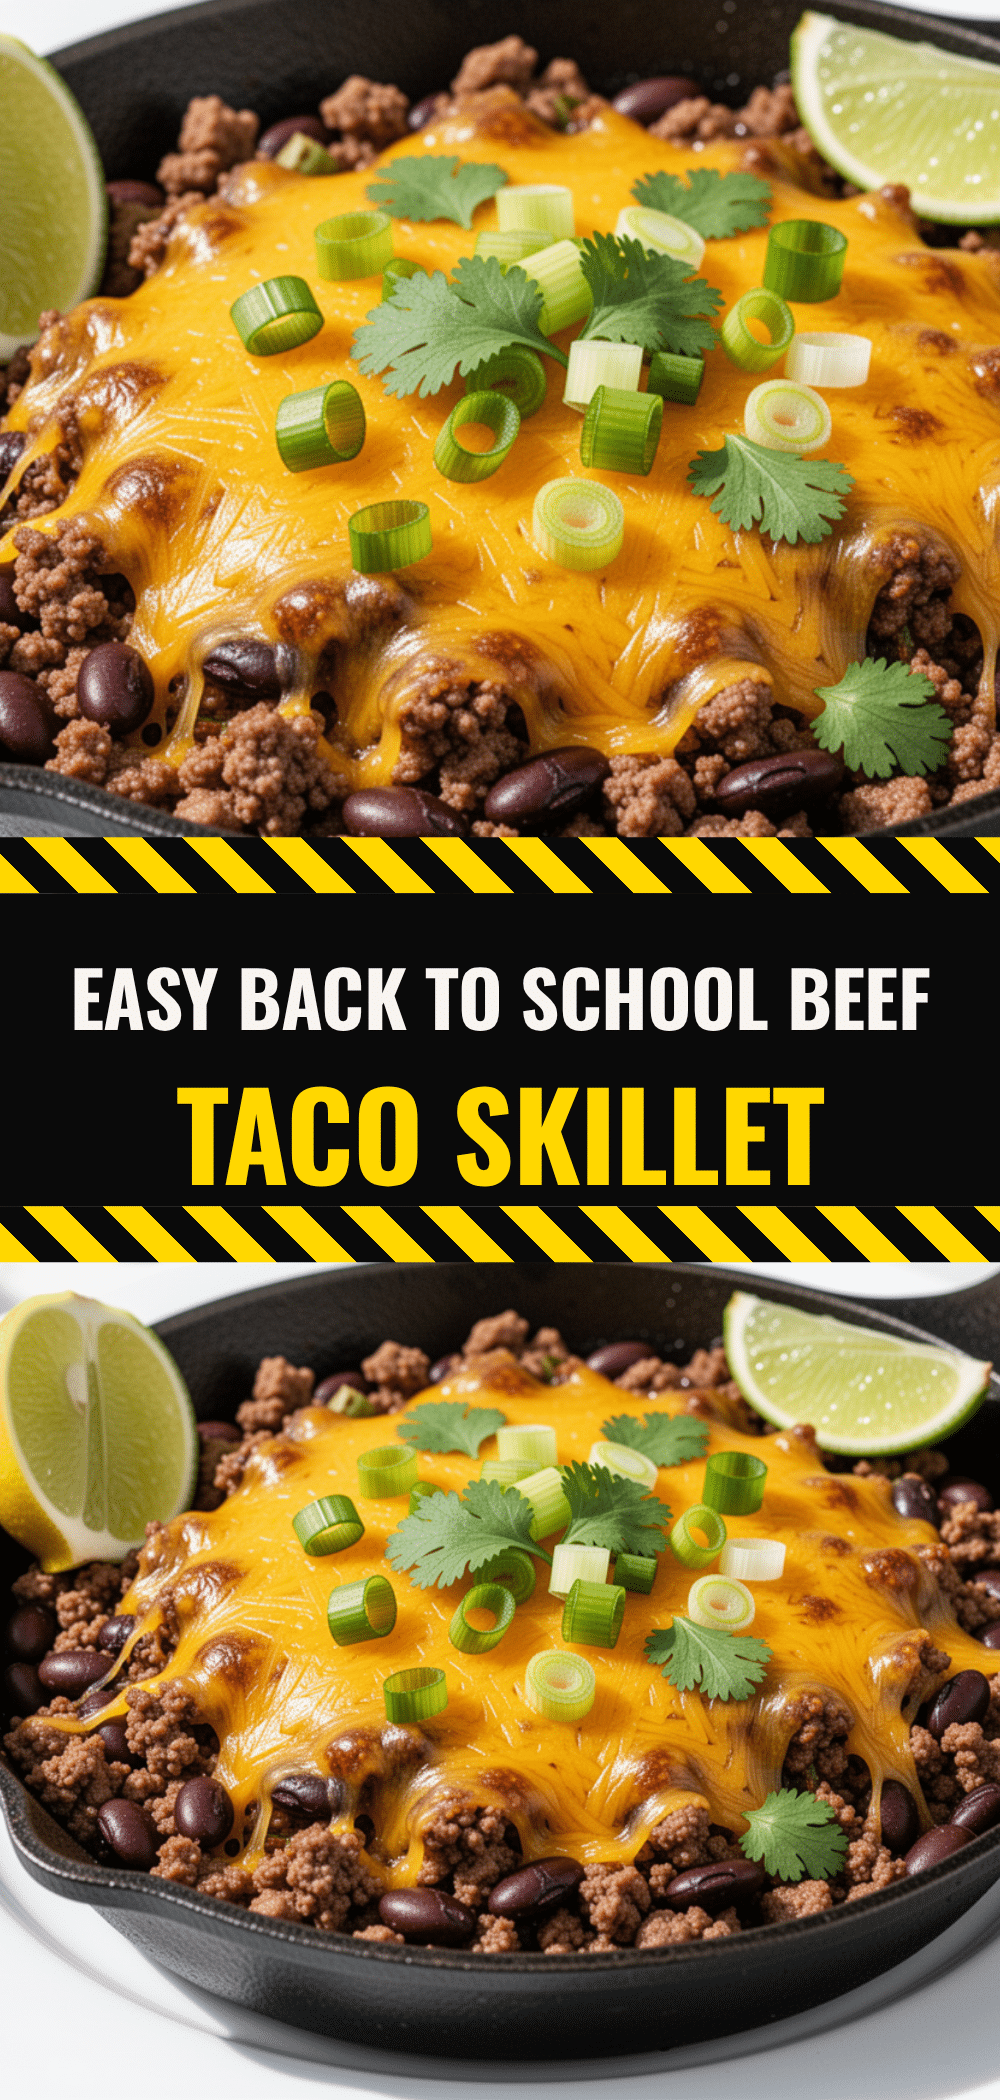

Back to School Ground Beef Taco Skillet: 15-Minute Easy Dinner
- Total Time: 15 minutes
- Yield: 4 servings 1x
Description
A quick, one-pan weeknight dinner featuring ground beef, black beans, corn, and salsa, topped with melted cheese. Ready in just 15 minutes and perfect for busy families.
Ingredients
- 1 pound ground beef (80/20 lean-to-fat ratio)
- 1 packet (28g) taco seasoning
- 1 can (15oz) black beans, drained and rinsed
- 1 cup (140g) frozen corn
- 1 cup (240g) mild or medium salsa
- 1.5 cups (170g) shredded Mexican blend cheese
- 2 stalks green onions, sliced (for garnish)
Instructions
- Heat a large skillet over medium-high heat. Add ground beef and break into small crumbles with a wooden spoon. Cook for 5-6 minutes until no longer pink, then drain excess grease, leaving about a tablespoon for flavor.
- Sprinkle taco seasoning over the beef and stir until well coated. If the mixture looks dry, add a splash of water to help the seasoning dissolve.
- Add the drained black beans, frozen corn, and salsa to the skillet. Stir to combine and let simmer for about 3 minutes until the corn is thawed and flavors meld.
- Turn off the heat. Sprinkle shredded cheese evenly over the top. Cover the skillet with a lid for 1-2 minutes to allow residual heat to melt the cheese. Stir gently once melted.
- Top with sliced green onions and serve immediately with tortillas or as a standalone skillet meal.
Notes
Drain the beef well to avoid greasy tacos. Rinse canned beans to remove metallic taste. Turn off heat before adding cheese to prevent separation. This recipe does not freeze well due to cheese texture issues. Can be made with ground turkey or chicken as a variation.
- Prep Time: 5 minutes
- Cook Time: 10 minutes
- Category: Main Course
- Cuisine: Mexican
Nutrition
- Serving Size: 1/4 of the skillet
- Calories: 450
- Sugar: 6
- Fat: 22
- Carbohydrates: 35
- Fiber: 8
- Protein: 28
Keywords: ground beef, taco skillet, quick dinner, weeknight meals, one pan, family friendly, back to school recipes, easy dinner


