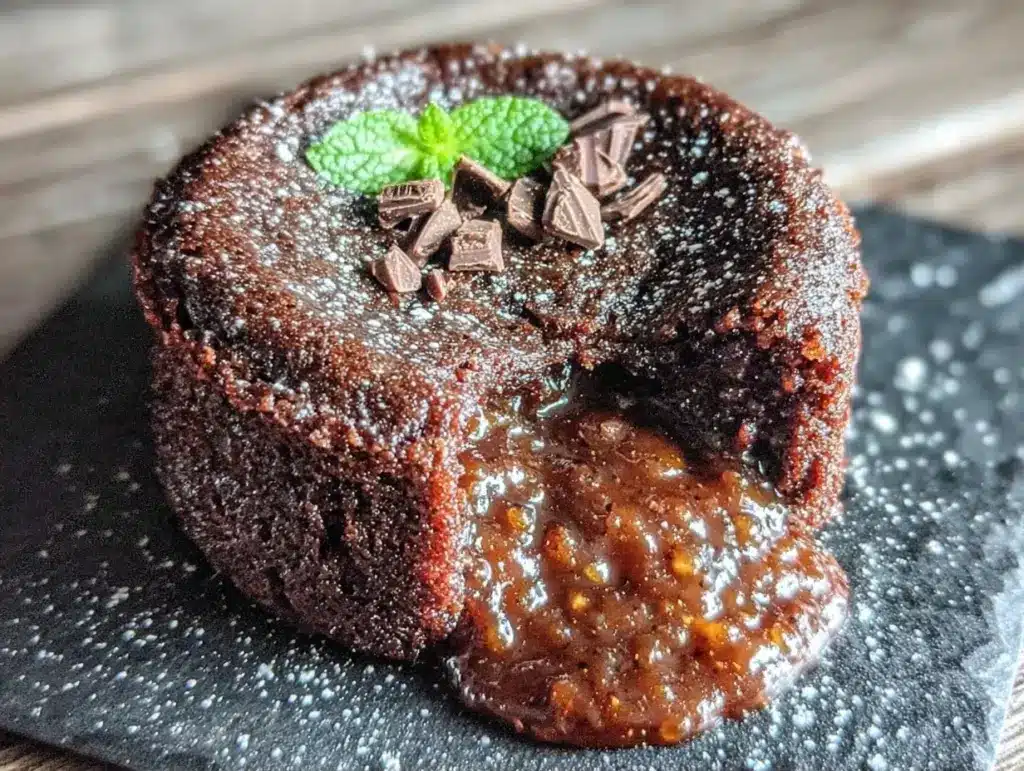
Last November, I attempted to host a “fancy” dinner party for four friends. I wanted to impress them, so I decided to make chocolate lava cakes. Real talk? I had zero experience with them. I thought they were just soufflés that failed. I baked them for 12 minutes instead of 12 seconds. When I pulled them out, they were dense, dry chocolate bricks. My friends were polite, but I saw the look in their eyes. It was the same look I give when someone tries to tell me they like pineapple on pizza.
That failure haunted me. I couldn’t let it go. I spent the next six months testing, burning, and rebaking. I learned that timing isn’t just a suggestion; it’s the entire recipe. I’ve made this Easy Chocolate Lava Cakes recipe over 40 times now. Forty! I know exactly when the batter looks right, exactly how the ramekins feel when they’re ready, and exactly how long to let them rest before inverting. And here is the secret I’m sharing with you today: you don’t need to be a pastry chef. You don’t need fancy equipment. You just need patience and a timer.
There is something magical about cutting into a warm cake and watching that dark, gooey center spill out. It’s theatrical, it’s indulgent, and it tastes like you spent hours in a Parisian bakery. But with this Easy Chocolate Lava Cakes method, you’ll have them on the table in under 30 minutes. My friends from that disastrous November night are now regulars at my dessert table, and they always ask, “How did you make these?” every single time. Let me show you how to get that perfect molten center without the stress.
Why You’ll Love This Recipe
I know what you’re thinking. “Dessert at 7 PM? That sounds like work.” But trust me, once you make this Easy Chocolate Lava Cakes recipe, you’ll see why it’s become my weekend go-to. It’s not just about the taste; it’s about the experience. Here is why this recipe wins every time:
- It Feels Impressive — There is no other way to put it. When you flip a ramekin over and that chocolate flows out like a river, people stop talking. I’ve seen tough guys at the dinner table get quiet. It’s the ultimate “look at me” dessert that actually delivers on the promise.
- It’s Actually Fast — I’m not talking about “prep time” where you chop nuts for an hour. This is 10 minutes of prep, 12 minutes in the oven. I’ve made this after getting home from work, right after helping my kid with homework. The whole process takes less time than ordering takeout.
- It Uses Simple Ingredients — You probably have most of this in your kitchen. Butter, sugar, eggs, flour, and good chocolate. No weird stabilizers or hard-to-find powders. If you can melt chocolate, you can make this.
- It’s Highly Customizable — Hate dark chocolate? Use milk chocolate. Want a kick? Add a pinch of cayenne. Want to surprise your partner? Hide a raspberry inside. This recipe is a blank canvas for your sweet tooth.
- It Beats Takeout — I compared the cost of ingredients for four servings to a dessert menu at a mid-range restaurant. The homemade version is cheaper, fresher, and you know exactly what went into it. Plus, no waiting for a bus to bring you cold food.
- It’s Forgiving (Mostly) — Yes, timing is key. But if you miss it by 30 seconds, it’s still a good cake. If you miss it by two minutes, it’s a brownie. Both are delicious. You can’t really fail here.
This is my go-to when dinner needs to just work, but I want to end the night on a high note. It’s the dessert that says, “I care enough to make something special, but I’m not trying too hard.”
Key Ingredients
Let’s talk about what goes into the bowl. I’ve learned the hard way that ingredient quality matters more here than in any other recipe. You’re not hiding flavors under sugar and cream; the chocolate is the star. Here is exactly what you need, with my honest tips on what to buy and what to skip.
Dark Chocolate (8 oz / 225g)
This is the most critical ingredient. Do not use chocolate chips. Chips contain stabilizers that prevent them from melting smoothly, which can leave your lava cake grainy. Use a high-quality baking bar. I prefer 60-70% cocoa. It’s sweet enough to satisfy but dark enough to have depth. If you use 100% cocoa, it will be bitter. If you use milk chocolate, it won’t set right. Stick to semi-sweet or bittersweet bars. I like Ghirardelli or Lindt. Chop it finely before you melt it to ensure even melting.
Unsalted Butter (1/2 cup / 113g)
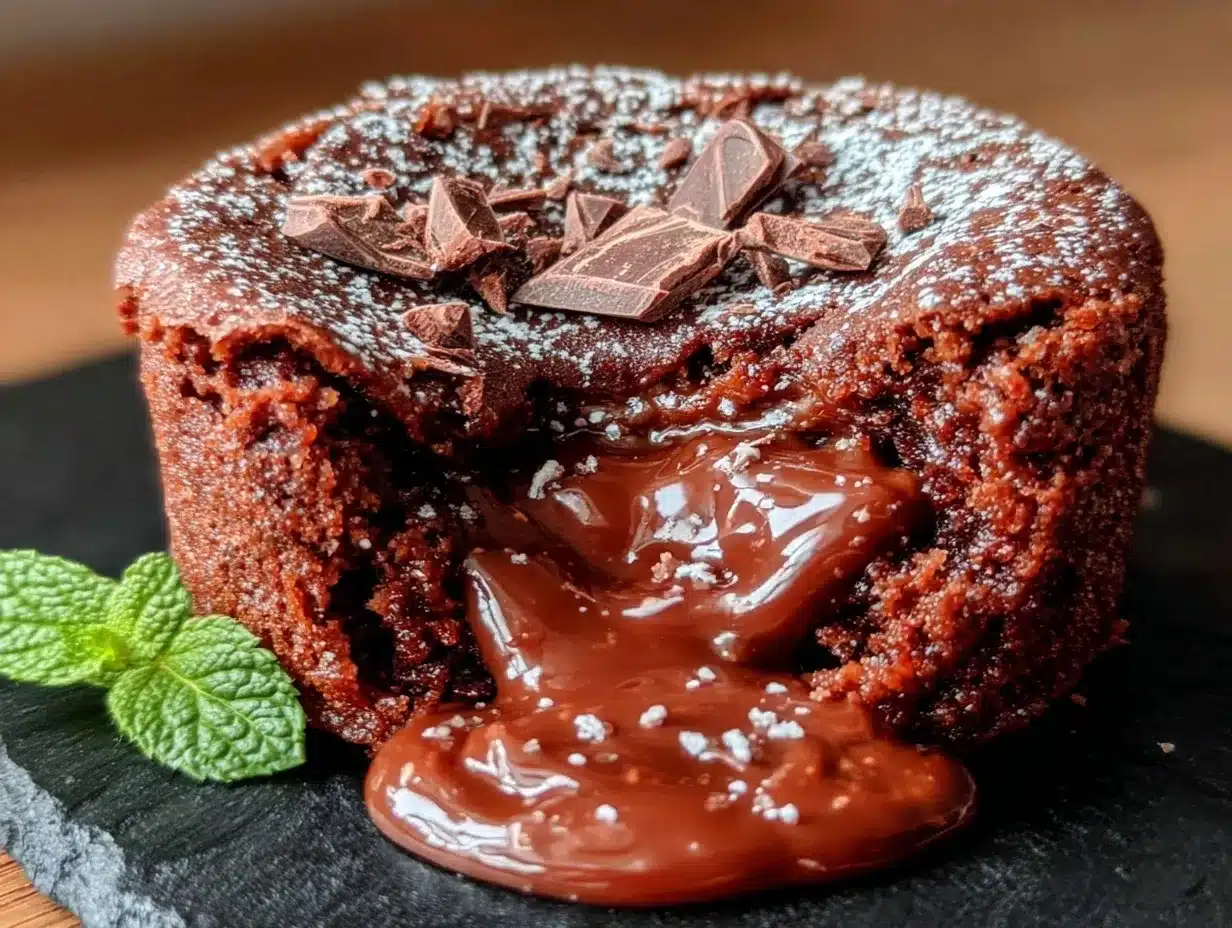
You need real butter. Margarine or butter substitutes will change the texture and flavor. Use high-quality European-style butter if you can find it, like Kerrygold or Plugra. It has a higher fat content, which makes the cake richer. Measure it out before you start. If you’re lazy and just throw in a chunk, you might end up with a greasy cake. Room temperature butter is easier to mix, but for this recipe, we’re melting it with the chocolate anyway.
Large Eggs (3 whole / plus 2 yolks)
This ratio is non-negotiable. The extra yolks add fat and richness, which helps create that thick, gooey center. The whites provide structure. If you use just whole eggs, the center might be too runny or too cakey. I separate my eggs carefully. If you get a yolk in the white, don’t panic, but try to keep them separate. Use large eggs. Jumbo eggs are too big and will throw off the ratio. Small eggs are too small. Large is the sweet spot.
Sugar (1/2 cup / 100g)
Granulated white sugar is the standard. It dissolves easily into the warm chocolate and butter mixture. Some people use brown sugar for a caramel note, but I find it makes the cake too dense. Stick to white sugar for that clean, rich chocolate flavor. If you’re watching your sugar intake, you can reduce it slightly, but don’t cut it by more than 20%, or the texture will suffer.
All-Purpose Flour (2 tbsp / 16g)
Yes, just two tablespoons. The flour provides minimal structure. We don’t want a fluffy sponge; we want a dense, fudgy cake. Sift the flour if you can. It prevents lumps. If you don’t have a sifter, just whisk it vigorously with the sugar before adding it to the batter. Don’t overmix once it’s in. Just fold it in until no white streaks remain.
Salt (1/4 tsp)
Never skip the salt. It isn’t there to make the cake salty; it’s there to make the chocolate taste more like chocolate. It balances the sweetness and enhances the depth of flavor. Use fine sea salt or table salt. If you use kosher salt, you might need a pinch more because the grains are larger. I keep a small bowl of salt next to my stove for this exact reason.
Vanilla Extract (1 tsp)
Pure vanilla extract adds warmth. Avoid imitation vanilla, which tastes chemical and harsh. A good vanilla bean paste is even better if you want those little black specks for presentation, but extract works perfectly fine. It’s the background note that makes the dessert feel complete.
Tools Needed
You don’t need a fancy kitchen to make this Easy Chocolate Lava Cakes recipe. Here is what I use, and what you can substitute if you don’t have it.
Ramekins (6 oz capacity) — I use ceramic ramekins with a fluted edge. They look beautiful when inverted. You can use metal ramekins, but ceramic holds heat better, which helps the outside cook while the inside stays gooey. Make sure they are at least 6 ounces. If they are too small, the cake will overflow. If they are too big, the cake will be too thin.
Microwave-safe bowl — I use a glass Pyrex bowl to melt the chocolate and butter. It’s easy to clean and doesn’t scratch. You can use a double boiler on the stove if you prefer, but the microwave is faster and less likely to burn the chocolate if you watch it closely.
Mixing bowls — Two medium bowls. One for the chocolate mixture, one for the eggs and sugar. Make sure they are clean and dry. Any water in the egg bowl can prevent the eggs from whipping properly.
Whisk and spatula — A silicone spatula is essential for folding in the flour. It scrapes the sides of the bowl so you don’t waste batter. A wire whisk is good for beating the eggs and sugar until they are pale and fluffy.
Pastry brush — I use this to grease the ramekins with butter and dust them with cocoa powder. It gives you more control than a paper towel. If you don’t have one, use your fingers or a small brush. The key is to get every nook and cranny coated.
Timer — This is your most important tool. Set it on your phone, your oven, or a kitchen timer. Do not rely on your internal clock. Ovens vary, and 12 minutes can feel like 20 if you’re distracted by a phone call.
Cooking Instructions
Let’s get into the kitchen. This process is straightforward, but precision is everything. Follow these steps exactly, and you’ll have perfect lava cakes every time.
Step 1: Prep the Ramekins (5 minutes)
Preheat your oven to 425°F (220°C). This high heat is crucial. It sets the outside quickly while keeping the inside raw. While the oven heats, prepare your ramekins. Take your pastry brush and coat the inside of each ramekin generously with softened butter. Get into the ridges. Then, dust each ramekin with unsweetened cocoa powder. Tap out the excess. This creates a non-stick layer and adds a hint of chocolate flavor to the crust. If you skip this, the cakes will stick, and nothing is worse than a broken lava cake when you try to flip it.
Step 2: Melt Chocolate and Butter (2 minutes)
Chop your 8 oz of dark chocolate into small chunks. Put them in a microwave-safe bowl with the 1/2 cup of unsalted butter. Microwave on high for 30 seconds. Stir. If it’s not fully melted, microwave in 15-second intervals, stirring after each. Do not let it boil. You want smooth, glossy chocolate. If it looks grainy, you heated it too much. Let it cool slightly for a minute so it doesn’t cook the eggs when you add them.
Step 3: Whip Eggs and Sugar (3 minutes)
In a separate medium bowl, combine the 3 whole eggs, 2 egg yolks, and 1/2 cup of sugar. Whisk vigorously for about 2-3 minutes. You want the mixture to become pale, thick, and fluffy. This incorporates air, which helps the cake rise. It’s okay if it doesn’t double in volume, but it should look lighter in color. This step takes effort. Don’t rush it.
Step 4: Combine Mixtures (2 minutes)
Pour the warm chocolate-butter mixture into the egg-sugar mixture. Whisk gently to combine. Then, sift in the 2 tablespoons of flour and the 1/4 teaspoon of salt. Fold the flour in with your spatula. Use a gentle hand. Stop as soon as the white streaks disappear. Overmixing develops gluten, which makes the cake tough instead of tender. You want a thick, glossy batter.
Step 5: Fill and Bake (12 minutes)
Divide the batter evenly among the 6 prepared ramekins. Use a small spoon or a piping bag for neatness. Place them on a baking sheet for easy transport. Bake in the preheated oven for exactly 12 minutes. Watch the oven closely. The edges should be firm and set, but the center should still look soft and jiggly. If the edges are browning too much, cover the tops loosely with foil after 10 minutes. Do not open the oven door before 12 minutes. The temperature drop can cause the cakes to collapse.
Step 6: Rest and Invert (3 minutes)
Remove the ramekins from the oven. Let them rest for exactly 1 minute. This allows the cake to set slightly so it doesn’t fall apart when you flip it. Place a small dessert plate over the top of a ramekin. Hold the plate and ramekin firmly together. In one swift, confident motion, flip them over. Lift the ramekin. The cake should slide out cleanly. If it sticks, you didn’t grease it well enough. If it breaks, you waited too long to flip it. Serve immediately while the center is still molten.
Total Time: 10 minutes prep + 12 minutes bake + 3 minutes rest = 25 minutes total.
Expert Tips
Here’s everything I learned from making this too many times. These are the secrets that separate the amateurs from the pros.
Don’t Overmix the Batter
This is the #1 mistake. Once flour meets liquid, gluten develops. Mix just until combined. The first time I made this, I mixed for 2 minutes thinking smooth is better. The bread came out tough. Never again. Fold, don’t stir.
The Resting Period is Critical
I know you want to eat it immediately. But if you flip it right out of the oven, it’s just soup. Let it rest for 60 seconds. This gives the structure time to firm up just enough to hold its shape. I’ve tried skipping this, and I’ve ended up with chocolate puddles on my plate. Don’t make my mistake.
Use a Timer, Not Your Eyes
Ovens lie. Some run hot, some run cold. 12 minutes is the average, but your oven might need 11 or 13. Use a timer. After you’ve made it a few times, you’ll learn your oven’s quirks. But until then, trust the clock.
Make-Ahead Option
You can fill the ramekins up to 4 hours in advance. Cover them with plastic wrap and refrigerate. When you’re ready to bake, take them out and let them sit at room temperature for 15 minutes before baking. You may need to add 1-2 minutes to the bake time. This is great for dinner parties because you can prep while your guests are drinking wine.
Common Problems & Solutions
Cake is too runny: You underbaked it. Next time, add 1 minute. Cake is too dry: You overbaked it. Next time, subtract 30 seconds. Cake stuck to ramekin: You didn’t grease it enough. Use more butter next time.
Pro Tricks
Add a raspberry or a square of white chocolate to the center of the batter before baking. It creates a surprise burst of flavor inside the molten center. It’s a nice touch that looks professional.
Recipe Variations
Once you’ve nailed the basic version, here’s how to mix it up. This Easy Chocolate Lava Cakes recipe is a base, not a rulebook.
White Chocolate Raspberry
Swap the dark chocolate for white chocolate. Add fresh raspberries to the center. The tartness of the raspberry cuts through the sweetness of the white chocolate perfectly. It’s a classic combination for a reason.
Espresso Lava Cakes
Add 1 teaspoon of instant espresso powder to the dry ingredients. It intensifies the chocolate flavor without making it taste like coffee. It’s subtle, but it adds depth. Great for morning desserts or after-dinner treats.
Peanut Butter Cups
Add a teaspoon of peanut butter to the center of each ramekin before adding the batter. When you cut into it, you get a creamy peanut butter center. It’s like a homemade Reese’s Cup. My kids love this variation.
Gluten-Free Version
Substitute the all-purpose flour with a 1:1 gluten-free flour blend. Make sure it contains xanthan gum. If it doesn’t, add 1/4 teaspoon of xanthan gum to the dry ingredients. The texture will be slightly different, but still delicious.
Dairy-Free Option
Use vegan butter and dairy-free chocolate chips (chopped). The texture might be slightly less rich, but it still works. Just make sure the chocolate melts smoothly.
Serving & Storage
How you serve these matters. Don’t just dump them on a plate.
Serving Suggestions
I always serve these with a dollop of whipped cream. Homemade is best, but store-bought works in a pinch. A sprinkle of sea salt flakes on top adds a nice crunch and visual appeal. Fresh berries, like raspberries or strawberries, add color and acidity. I also like a scoop of vanilla bean ice cream. The cold ice cream contrasts with the hot cake. It’s a temperature clash that works perfectly.
Pairing Ideas
These go well with a strong coffee or a glass of red wine. A Cabernet Sauvignon pairs beautifully with dark chocolate. If you want something non-alcoholic, try a cozy fall caramel pumpkin hot chocolate. It’s rich and comforting, just like the cake.
Storage
These are best served immediately. They do not store well as leftovers because the texture changes. If you have leftover batter, you can bake it as a brownie. If you have leftover cake, it will be dry. Don’t bother storing it. Make enough for everyone.
Freezing
You can freeze the unbaked batter in the ramekins. Freeze them for 2 hours, then wrap them in plastic. Bake from frozen, adding 3-5 minutes to the bake time. This is great for meal prepping. Thaw in the fridge overnight if you want to bake them later.
Nutrition Informations
I’m not a nutritionist, but here’s the breakdown. These are rich, calorie-dense desserts.
| Nutrient | Per Serving (1 Cake) |
|---|---|
| Calories | 380 |
| Protein | 6g |
| Carbs | 35g |
| Fiber | 3g |
| Fat | 24g |
| Sodium | 120mg |
My Take: This is comfort food with cream and cheese. Not diet food. But it’s better than takeout and I know what’s in it. Enjoy in moderation. It’s a special treat, not a daily snack.
Final Thoughts
Making Easy Chocolate Lava Cakes is a small culinary adventure. It’s about precision, patience, and the joy of sharing something delicious. I’ve tested this recipe so many times because I want you to succeed. I want you to have that moment of surprise when the chocolate flows out. I want you to feel like a pro in your own kitchen.
If you make this, drop a comment! I love hearing how it turns out in your kitchen. Did you add a raspberry? Did you use a specific brand of chocolate? Share your variations. And if you need more dessert inspiration, check out my easy pumpkin cheesecake brownies for a fall twist on classic flavors.
Happy cooking!
FAQs
Can I make these ahead of time?
Yes! You can fill the ramekins up to 4 hours in advance. Cover them with plastic wrap and refrigerate. When ready to bake, let them sit at room temperature for 15 minutes, then bake as directed. You may need to add 1-2 minutes to the bake time.
Why did my lava cakes turn out dry?
You likely overbaked them. The center should still look slightly soft when you pull them out. If you wait until the center looks set, it will be dry. Next time, reduce the bake time by 30 seconds. Also, check your oven temperature with a thermometer, as ovens can vary.
Can I use milk chocolate instead of dark chocolate?
You can, but the result will be sweeter and the center may not set as nicely. Milk chocolate has more milk solids and less cocoa butter, which affects the texture. If you use milk chocolate, reduce the sugar in the recipe by 1-2 tablespoons.
Do I need ramekins?
You can use muffin tins, but the cakes will be wider and flatter. The baking time will be shorter, so check them at 10 minutes. Ramekins give you the classic “lava” presentation, but muffin tins are a good alternative if you’re feeding a crowd.
What if I don’t have a microwave?
You can melt the chocolate and butter in a double boiler. Place a heatproof bowl over a pot of simmering water. Stir constantly until melted. This method is slower but gives you more control over the temperature.
Can I freeze the baked cakes?
It’s not recommended. The texture will become grainy and the molten center will disappear. Freezing is best done with the unbaked batter in the ramekins. Bake them straight from the freezer, adding a few minutes to the bake time.
How do I know when the eggs are whipped enough?
The mixture should be pale yellow, thick, and hold its shape for a few seconds when you lift the whisk. It doesn’t need to be stiff peaks like a meringue, but it should be noticeably lighter than when you started.
Pin This Recipe!
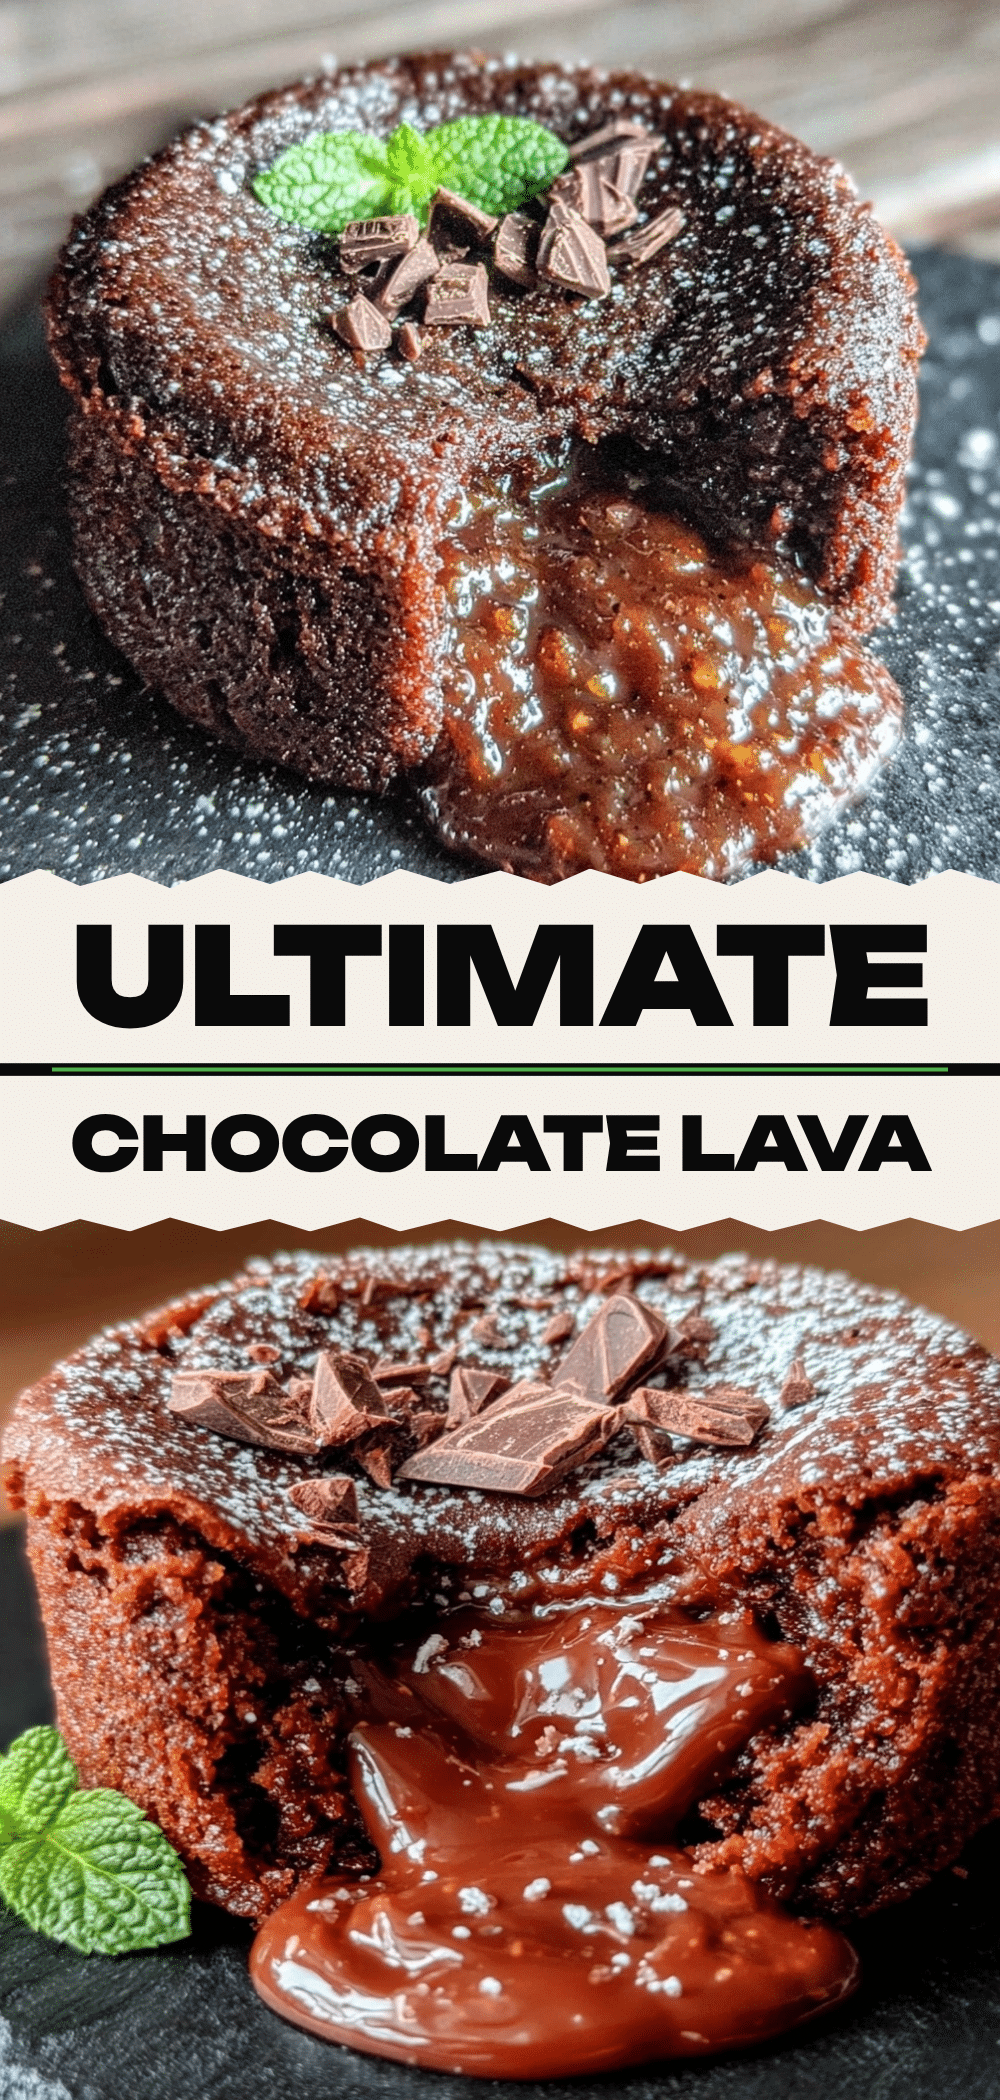
Easy Chocolate Lava Cakes
- Total Time: 25 minutes
- Yield: 4 servings 1x
Description
Rich, indulgent chocolate lava cakes with a molten center that spill out when cut into. This recipe uses simple ingredients and takes less than 30 minutes to make, ensuring a professional-looking dessert without the stress.
Ingredients
- 8 oz (225g) high-quality dark chocolate (60-70% cocoa), chopped finely
- 1/2 cup (113g) unsalted butter
- 3 large eggs
- 2 large egg yolks
- 1/2 cup (100g) granulated white sugar
- 2 tbsp (16g) all-purpose flour, sifted
- 1/4 tsp fine sea salt
- 1 tsp pure vanilla extract
- Butter and cocoa powder for greasing ramekins
Instructions
- Preheat oven to 425°F (220°C).
- Grease six 6-ounce ramekins generously with softened butter, getting into the ridges. Dust with unsweetened cocoa powder and tap out excess.
- In a microwave-safe bowl, combine chopped chocolate and butter. Microwave on high for 30 seconds, stir, then continue in 15-second intervals, stirring after each, until smooth and glossy. Let cool slightly.
- In a separate medium bowl, whisk 3 eggs, 2 egg yolks, and sugar vigorously for 2-3 minutes until pale, thick, and fluffy.
- Pour the warm chocolate mixture into the egg mixture and whisk gently to combine.
- Sift in flour and salt. Fold in gently with a spatula until no white streaks remain. Do not overmix.
- Divide batter evenly among prepared ramekins.
- Bake for exactly 12 minutes. Edges should be firm, center soft and jiggly.
- Remove from oven and let rest for exactly 1 minute.
- Place a dessert plate over a ramekin, hold firmly, and invert swiftly. Lift ramekin to release cake. Serve immediately.
Notes
Timing is critical; use a timer. Do not overmix the batter to avoid tough texture. Let cakes rest for 1 minute before inverting to prevent breaking. Can be made ahead by filling ramekins up to 4 hours in advance and refrigerating.
- Prep Time: 10 minutes
- Cook Time: 12 minutes
- Category: Dessert
- Cuisine: French
Nutrition
- Serving Size: 1 cake
- Calories: 380
- Sugar: 32
- Sodium: 120
- Fat: 24
- Saturated Fat: 14
- Carbohydrates: 35
- Fiber: 3
- Protein: 6
Keywords: chocolate lava cake, molten chocolate cake, dessert, easy dessert, chocolate dessert, ramekin cake, homemade dessert


