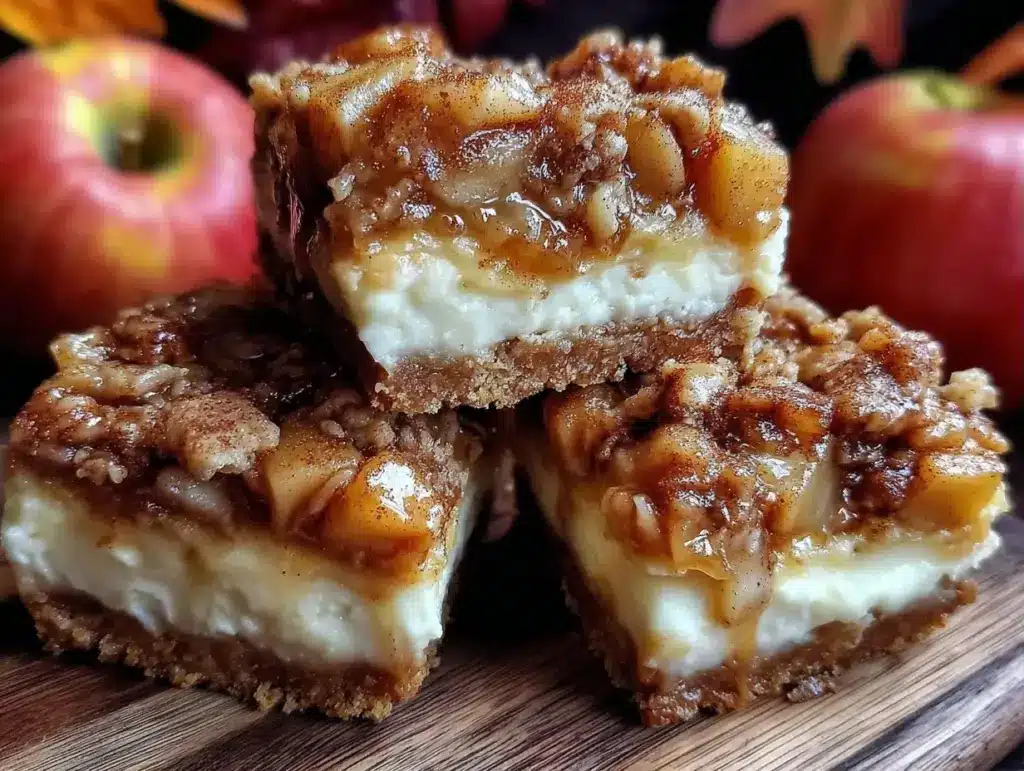
Let me let you in on a secret that might sound a little weird at first. I don’t just meal prep my lunches. I meal prep my desserts. And no, I’m not talking about those sad, freezer-burned fruit bars from 2019 that I still have in the back of my chest freezer. I’m talking about structured, organized, make-ahead desserts that actually taste better after they’ve had time to set. It started three years ago when I realized I was spending every single Sunday evening frantically trying to bake something for the week ahead while simultaneously worrying about Monday morning meetings. It was chaotic. It was stressful. And honestly? The cakes were usually dry.
Then I tried Make-Ahead Fall Apple Cheesecake Bars for the first time. I had them sitting in the fridge, sliced into neat squares, ready to grab on Tuesday, Wednesday, and Thursday. By Friday, I was so grateful I’d planned ahead that I brought the last batch to a potluck and got three different people asking for the recipe before I even introduced myself. That was the moment everything clicked for me. When you treat dessert with the same respect as your weekly meal prep, you win. You get consistent results, you save time, and you never have to panic-buy ice cream on a random Wednesday night because you’re craving something sweet.
These bars are my holy grail for Sunday planning sessions. They combine the comforting, spiced warmth of fall with the rich, creamy texture of cheesecake, all sitting on a buttery shortbread crust. But here’s the real magic: they are designed to be made in advance. In fact, they need to be. The flavors meld together overnight, the crust firms up perfectly, and the texture becomes impossibly smooth. If you make them right before serving, they’re good. If you make them on Sunday and eat them through Thursday? They’re legendary.
I’ve tested this Make-Ahead Fall Apple Cheesecake Bars recipe about a dozen times now, tweaking the apple-to-cheesecake ratio and experimenting with different crusts. I’ve learned what works, what doesn’t, and exactly how to portion them out so you can grab one with your morning coffee or pack it in your lunchbox. This isn’t just a recipe; it’s a strategy for keeping your sweet tooth satisfied without the last-minute stress. Once you master this method, you’ll wonder why you ever baked desserts the old-fashioned way. Let’s get organized and get baking.
Why You’ll Love This Make-Ahead Fall Apple Cheesecake Bars
There’s a specific kind of satisfaction that comes from opening your fridge on a busy Tuesday and seeing a container of perfectly pre-sliced dessert waiting for you. It’s not just about convenience; it’s about control. Here is why this Make-Ahead Fall Apple Cheesecake Bars recipe has become a staple in my weekly rotation:
- True Make-Ahead Superiority — Most cheesecake bars are okay if you wait an hour. This recipe is designed to be made 24 to 48 hours in advance. The overnight rest allows the cranberry and apple compote to settle into the cheesecake layer, creating distinct but harmonious layers. I’ve made them 48 hours ahead, and they tasted fresher than the day they were baked.
- Grab-and-Go Portioning — I cut these into 12 large squares or 24 small bite-sized pieces immediately after cooling. This means no messy slicing at the party or fighting over the last slice. You can pack individual portions in airtight containers for lunchboxes or office snacks. It turns dessert into a planned snack rather than a guilty indulgence.
- Freezer-Friendly Structure — Unlike delicate layer cakes or mousse tarts, these bars hold up incredibly well in the freezer. I often double the recipe and freeze half immediately. You can thaw a single bar on your counter for 30 minutes, and it tastes just like it came out of the oven. This is crucial for my meal prep strategy: bake once, eat four times this week, and freeze the rest for next week.
- Seasonal Flavor Without the Fuss — You get all the cozy vibes of apple pie and pumpkin spice without needing to make a separate pie crust or buy a whole pumpkin. The apples are pre-cooked into a compote, which means no raw, crunchy apple chunks in your cheesecake. It’s smooth, spiced, and perfectly balanced.
- Minimal Cleanup — This is a one-pan dessert (minus the apple compote pot). You press the crust, bake it, mix the filling in a bowl, pour it on top, add the compote, and bake again. No complex piping or delicate layering techniques that require a steady hand and a lot of patience. It’s efficient baking at its finest.
This is my go-to when I need a dessert that respects my schedule. It fits perfectly into a busy week, especially if you’re already making other planned meals like cozy wild rice mushroom soup for dinner. The contrast of a warm soup and a cool, firm cheesecake bar is a meal-prepper’s dream.
Key Ingredients for Make-Ahead Fall Apple Cheesecake Bars
When you’re planning a whole week of desserts, ingredient quality and availability matter. You don’t want to be running to the store on Sunday night for something you forgot. Here’s what you need for this Make-Ahead Fall Apple Cheesecake Bars recipe, with exact measurements so you can scale it if you want to make two batches.
For the Butter Shortbread Crust
Unsalted Butter (1/2 cup / 113g) — Cold butter is key here. We want it to be cut into the flour to create a flaky, shortbread-like texture. If your butter is too warm, the crust will be greasy. I keep a stick of butter in the fridge specifically for baking days.
All-Purpose Flour (1 cup / 125g) — Standard flour works perfectly. No need for fancy pastry flour. Just make sure it’s spooned into your measuring cup and leveled off, not scooped directly from the bag (which packs it down and leads to a dry crust).
Granulated Sugar (1/4 cup / 50g) — Just enough to sweeten the crust and help it brown. Don’t skip this; it provides structure.
Salt (1/4 tsp) — Essential for balancing the sweetness. I use kosher salt.
For the Cheesecake Layer
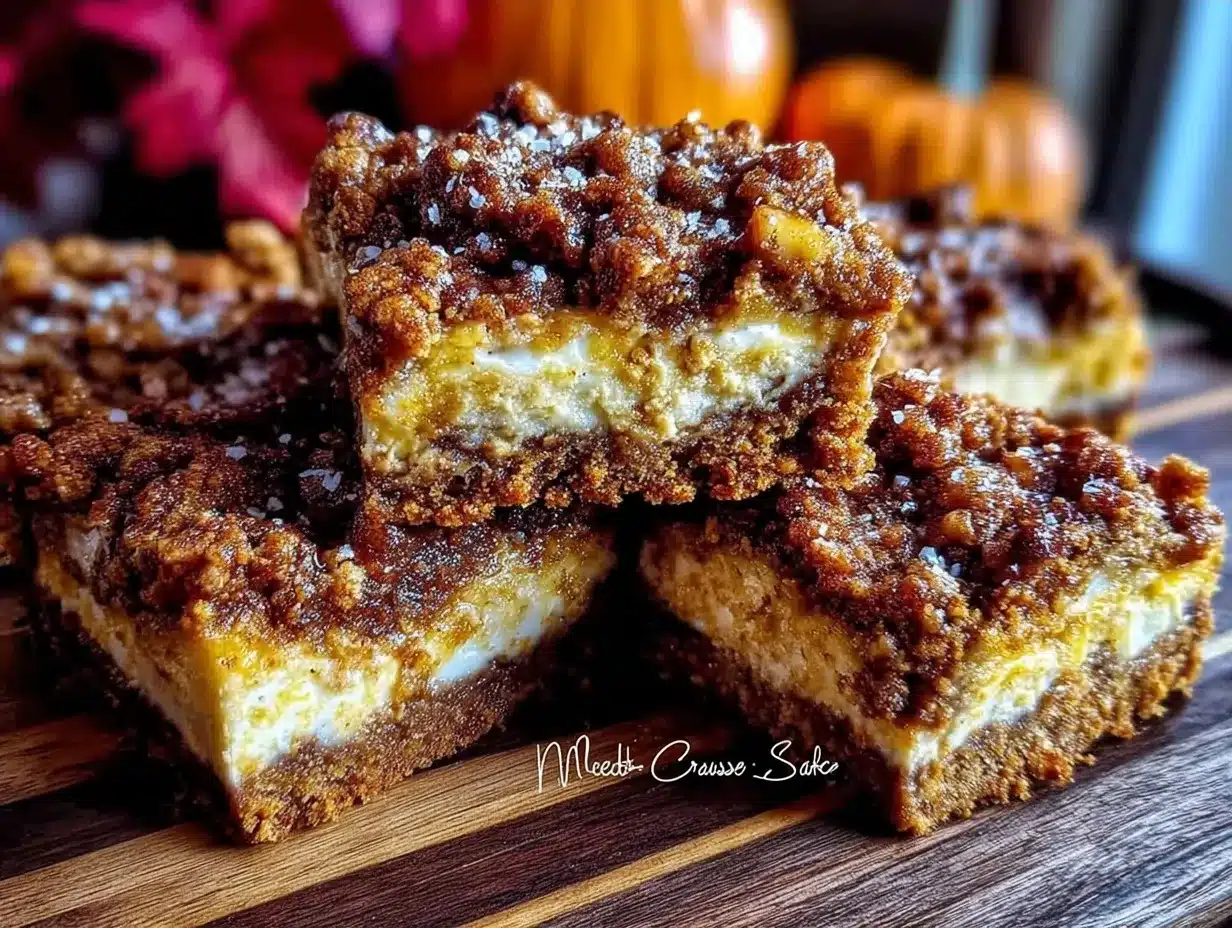
Full-Fat Cream Cheese (24 oz / 680g) — Do not use light cream cheese. It won’t set properly and will taste watery. Let it sit on the counter for 30 minutes before mixing so it’s soft but not melted. Lumps in the cream cheese are the enemy of smooth bars.
Granulated Sugar (3/4 cup / 150g) — This is the main sweetener for the filling.
Eggs (3 large / ~150g total weight) — Room temperature eggs incorporate better into the batter. If you add cold eggs to room-temperature cream cheese, you’ll get curdled batter. I usually take them out of the fridge while I’m prepping the crust.
Sour Cream (1/2 cup / 120g) — This adds tang and richness, preventing the cheesecake from being too heavy. It also helps keep the texture moist, which is important since these bars will sit in the fridge for days.
Vanilla Extract (1 tsp) — Pure vanilla, please. I’ve tried imitation before, and the flavor is flat.
Cinnamon (1/2 tsp) — A subtle hint of spice in the batter itself.
For the Apple Cranberry Compote
Granny Smith Apples (2 medium / ~300g peeled and diced) — I use Granny Smith because they hold their shape during cooking and provide a nice tart contrast to the sweet cheesecake. Honeycrisp works too, but they can get mushy.
Dried Cranberries (1/2 cup / 60g) — These add a chewy texture and a burst of tartness. You can use raisins if you prefer, but cranberries feel more “fall” to me.
Apple Cider (1/4 cup / 60ml) — Concentrated apple flavor. If you can’t find cider, use apple juice, but cider is more intense.
Maple Syrup (2 tbsp / 30g) — Adds depth that sugar alone can’t achieve.
Ground Ginger (1/4 tsp) — Complements the cinnamon and apple beautifully.
Butter (1 tbsp / 14g) — For sautéing the apples.
Flour (1 tsp) — Used to thicken the compote so it’s not watery when you spread it on the bars.
Tools Needed for Make-Ahead Fall Apple Cheesecake Bars
You don’t need a fancy kitchen to pull this off. Here’s what I use to keep things efficient and organized.
9×9 Inch Baking Pan — This is the standard size for bar cookies. It gives the right thickness for the crust and filling. If you only have a 9×13 pan, you’ll need to double the recipe, or the bars will be too thin and fall apart.
Parchment Paper — Essential for lifting the bars out of the pan after they’ve chilled. Line the pan with a cross of parchment paper, leaving overhang on the sides. This is your handle. Without it, you’re playing a dangerous game of “get it out without breaking it.”
Stand Mixer or Hand Mixer — I use my stand mixer with the paddle attachment. It’s faster and ensures the cream cheese is completely smooth. If you mix by hand, you’ll need to whisk vigorously for at least 5 minutes to remove lumps.
Small Saucepan — For cooking the apple compote. A non-stick pan works best to prevent the syrup from burning.
Wire Cooling Rack — Cheesecake bars need to cool completely before you cut them. If you cut them warm, they’ll squish. A rack ensures air circulates underneath.
How to Make Make-Ahead Fall Apple Cheesecake Bars
Here is the step-by-step process. I’ve timed each section so you know exactly where you are in the prep.
Step 1: Prep the Crust (10 minutes)
Preheat your oven to 350°F (175°C). Line your 9×9 inch baking pan with parchment paper. In a medium bowl, whisk together the flour, sugar, and salt. Add the cold, cubed butter. Use a pastry cutter or your fingers to work the butter into the flour until the mixture looks like coarse crumbs with some pea-sized bits of butter remaining. Press this mixture firmly and evenly into the bottom of your prepared pan. Use the bottom of a measuring cup to pack it down tight. This is crucial for a sturdy base.
Step 2: Blind Bake the Crust (15 minutes)
Bake the crust for 15 minutes until it’s lightly golden around the edges. Remove from the oven and let it cool on a wire rack while you make the filling. Do not skip this step; a raw crust will be soggy once the wet cheesecake is added.
Step 3: Make the Apple Cranberry Compote (15 minutes)
While the crust bakes, melt the 1 tablespoon of butter in a small saucepan over medium heat. Add the diced apples and cook for 3-4 minutes until they start to soften. Add the dried cranberries, apple cider, maple syrup, ginger, and the 1 teaspoon of flour. Stir constantly. The mixture will thicken quickly as the flour hydrates and the cider reduces. It should look like a thick, glossy jam. Remove from heat and let it cool completely. If you spread warm compote on the cheesecake, it will melt into the batter and create swirls instead of distinct layers. Patience pays off here.
Step 4: Prepare the Cheesecake Filling (10 minutes)
In your stand mixer fitted with the paddle attachment, beat the softened cream cheese on medium speed until completely smooth and creamy, about 2 minutes. Scrape down the sides and bottom of the bowl. Add the sugar and vanilla. Beat on medium-low until combined. Add the sour cream and cinnamon. Beat until smooth. Finally, add the eggs one at a time, mixing on low speed just until incorporated. Do not overmix once the eggs are in. Overmixing incorporates air, which can cause cracks during baking and a dense texture after chilling. The batter should be thick, glossy, and smooth.
Step 5: Assemble and Bake (45 minutes)
Pour the cheesecake batter over the cooled crust. Spread it evenly with a spatula. Spoon the cooled apple cranberry compote in dollops over the batter. Use a knife to gently swirl the compote into the batter about 3-4 times. You want visible ribbons of apple, not a uniform brown color. Bake at 325°F (160°C) for 40-45 minutes. The edges should be set, but the center should still have a slight jiggle, like Jell-O. It will firm up as it cools.
Step 6: Cool and Chill (4 hours minimum / Overnight preferred)
Let the bars cool in the pan on a wire rack for 1 hour. Then, cover the pan tightly with plastic wrap and refrigerate for at least 4 hours, but ideally overnight. This chilling time is what makes these Make-Ahead Fall Apple Cheesecake Bars truly special. The flavors meld, the texture sets, and the compote becomes part of the bar rather than a separate topping.
Total active time: 35 minutes. Total passive time: 1 hour baking + 4+ hours chilling.
Expert Tips for Perfect Make-Ahead Bars
I’ve made these enough times to know where things can go wrong. Here’s how to avoid the pitfalls.
Room Temperature Ingredients are Non-Negotiable
I cannot stress this enough. If your cream cheese is cold, you will have lumps. If your eggs are cold, your batter will curdle. I plan my baking day by taking the cream cheese and eggs out of the fridge at least an hour before I start. It’s worth the 10 minutes of waiting to avoid a grainy texture.
Don’t Skip the Cooling Step for the Compote
I made the mistake of adding warm apples to the cheesecake once. The heat from the apples started cooking the eggs in the batter, creating weird curds. Always let your compote cool to room temperature before spreading it on the cheesecake layer.
Chill Before You Cut
This is the hardest part. I want to eat these immediately. But if you cut them warm, they will be mushy and unappealing. I usually bake them on Sunday morning, chill them all day, and then cut them on Monday morning. The cold bars cut cleanly and hold their shape perfectly.
Storage is Key
Because these contain dairy and eggs, they must be refrigerated. Store them in an airtight container. If you stack them, place parchment paper between the layers to prevent sticking. They will last in the fridge for up to 5 days. After that, the texture starts to change.
Recipe Variations for Your Meal Prep Week
Once you’ve nailed the basic version, here’s how to mix it up for different days of the week.
Pumpkin Spice Variation
Swap the apple cranberry compote for a pumpkin puree mixed with pumpkin pie spice and a little maple syrup. It’s similar to my easy pumpkin cheesecake brownies but in bar form. The pumpkin adds moisture and a deeper fall flavor.
Chai Spiced Apple
Add a pinch of cardamom, cloves, and black pepper to the apple compote. This gives it a warm, aromatic kick that pairs beautifully with the vanilla cheesecake. It’s sophisticated but easy.
Gluten-Free Option
Use a 1:1 gluten-free flour blend for the crust. The texture will be slightly more crumbly, so be extra careful when pressing it into the pan. You might want to add an extra tablespoon of butter to help it bind.
Dairy-Free Modification
Use vegan cream cheese and dairy-free butter in the crust. For the compote, use coconut milk instead of sour cream. The flavor will be slightly different, but it’s still delicious and satisfying.
Serving & Storage
Serving
I serve these cold, straight from the fridge. They are firm and rich. For a special occasion, I add a dollop of whipped cream and a sprinkle of crushed pecans on top. But honestly? They are perfect on their own. They pair well with a hot cup of cozy fall caramel pumpkin hot chocolate or a simple black coffee.
Storage
Refrigerator: Store in an airtight container for up to 5 days. This is my preferred method for weekly meal prep. I slice them on Monday and pack them into individual containers for grab-and-go snacks.
Freezer: These bars freeze exceptionally well. I wrap individual squares in plastic wrap and then place them in a freezer bag. They can be frozen for up to 3 months. To serve, thaw one square on the counter for 30 minutes. Do not thaw in the microwave, or the texture will become gummy.
Meal Prep Tip: If you want to save time, make two batches on Sunday. Eat half the week, freeze the other half. Then you’ll have dessert ready for next week without any extra effort. This is the ultimate “make it once, eat it four times this week” strategy.
Nutrition Information
I’m not a nutritionist, but here’s the breakdown per bar (makes 12 bars).
| Nutrient | Amount |
|---|---|
| Calories | 380 |
| Protein | 6g |
| Carbs | 42g |
| Fiber | 1g |
| Fat | 22g |
| Sodium | 250mg |
My Take: This is definitely an indulgent dessert. It has cream cheese, butter, and sugar. It’s not a health food. But it’s homemade, so you know exactly what’s in it. Compared to a slice of pie from a bakery, it’s actually lighter because the crust is thinner and the portion size is controlled. I enjoy one bar as a treat with my afternoon coffee. It satisfies the craving without making me feel sluggish.
Final Thoughts
There is something deeply satisfying about having your week planned down to the dessert course. These Make-Ahead Fall Apple Cheesecake Bars are more than just a sweet treat; they are a tool for managing your time and your cravings. They are reliable, delicious, and forgiving. You can make them on Sunday, eat them through Thursday, and freeze the rest for next week. They fit seamlessly into a busy lifestyle.
If you make this, I’d love to hear how it turns out in your kitchen. Do you stick to the classic apple cranberry, or do you try the pumpkin variation? Drop a comment below and let me know! And remember, the key to success is patience. Let the bars chill. Let the flavors meld. You’ll be rewarded with the best cheesecake bars you’ve ever had.
Happy cooking!
FAQs
Can I make these bars ahead of time?
Yes, that’s the whole point! These bars are designed to be made 24-48 hours in advance. In fact, they taste better after they’ve had time to set in the fridge. I recommend making them on Sunday for a mid-week treat. They will last in the fridge for up to 5 days.
Can I freeze these cheesecake bars?
Absolutely. They freeze very well. Wrap individual squares tightly in plastic wrap and place them in a freezer-safe bag or container. They will keep for up to 3 months. Thaw on the counter for 30 minutes before eating. Do not refreeze after thawing.
Why did my cheesecake bars crack?
Cracking usually happens if you overmix the batter after adding the eggs, which incorporates too much air. It can also happen if you bake them at too high a temperature. Make sure you’re mixing on low speed once the eggs are in, and bake at 325°F. Also, avoid opening the oven door during the last 20 minutes of baking, as sudden temperature changes can cause cracks.
Can I use a different type of apple?
You can, but I recommend sticking to firm apples like Granny Smith, Honeycrisp, or Braeburn. Softer apples like Red Delicious will turn into mush when cooked. Granny Smith provides the best tartness to balance the sweet cheesecake.
Do I need to use a water bath?
No, a water bath is not necessary for these bars. Because they are in a shallow pan and baked at a lower temperature, they cook gently enough that cracking is less likely. If you’re worried, you can cover the pan loosely with foil for the first 30 minutes of baking.
Can I substitute the dried cranberries?
Yes, you can use raisins, chopped dried apricots, or even dried cherries. Dried cranberries add a nice tartness, but other dried fruits will work well. Just make sure they are chopped if they are large.
How do I store leftovers?
Store leftovers in an airtight container in the refrigerator. Place parchment paper between layers if you stack them. They will stay fresh for up to 5 days. If you notice any condensation forming, transfer them to a fresh container to prevent sogginess.
Pin This Recipe!
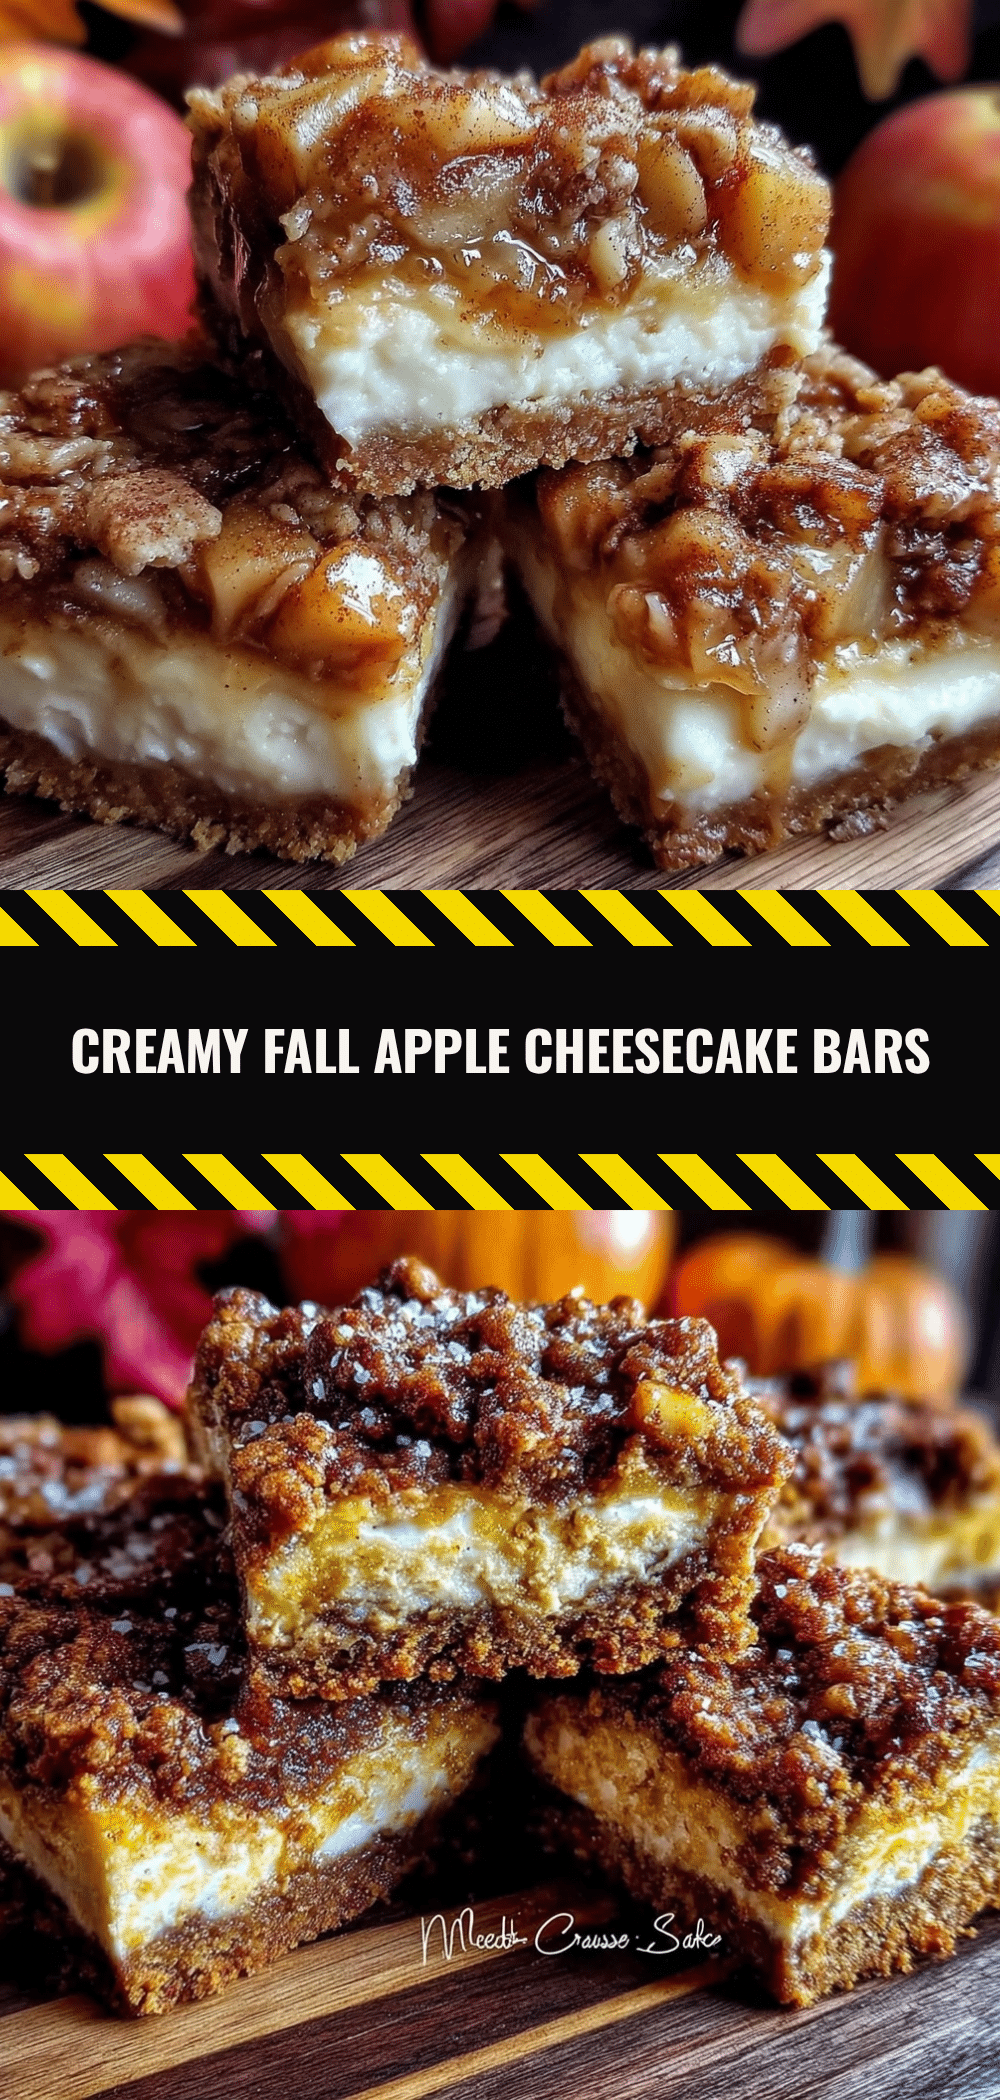
Make-Ahead Fall Apple Cheesecake Bars
- Total Time: 5 hours 45 minutes
- Yield: 12 servings 1x
Description
These structured, make-ahead dessert bars combine a buttery shortbread crust, rich cream cheese filling, and spiced apple cranberry compote. Designed for meal prep, they taste better after chilling overnight and can be frozen for later.
Ingredients
- For the Butter Shortbread Crust:
- 1/2 cup (113g) unsalted butter, cold and cubed
- 1 cup (125g) all-purpose flour
- 1/4 cup (50g) granulated sugar
- 1/4 tsp salt
- For the Cheesecake Layer:
- 24 oz (680g) full-fat cream cheese, softened
- 3/4 cup (150g) granulated sugar
- 3 large eggs, room temperature
- 1/2 cup (120g) sour cream
- 1 tsp vanilla extract
- 1/2 tsp cinnamon
- For the Apple Cranberry Compote:
- 2 medium Granny Smith apples, peeled and diced
- 1 tbsp unsalted butter
- 1/2 cup (60g) dried cranberries
- 1/4 cup (60ml) apple cider
- 2 tbsp (30g) maple syrup
- 1/4 tsp ground ginger
- 1 tsp flour
Instructions
- Preheat oven to 350°F (175°C). Line a 9×9 inch baking pan with parchment paper.
- Whisk together flour, sugar, and salt for the crust. Cut in cold butter until mixture resembles coarse crumbs.
- Press crust mixture firmly into the bottom of the prepared pan.
- Blind bake the crust for 15 minutes until lightly golden. Remove and let cool on a wire rack.
- While crust bakes, melt 1 tbsp butter in a small saucepan over medium heat. Add diced apples and cook for 3-4 minutes.
- Add dried cranberries, apple cider, maple syrup, ginger, and 1 tsp flour to the apples. Stir constantly until mixture thickens into a glossy jam. Remove from heat and cool completely.
- In a stand mixer, beat softened cream cheese until smooth. Add sugar and vanilla, beat until combined.
- Add sour cream and cinnamon, beat until smooth. Add eggs one at a time on low speed, mixing just until incorporated. Do not overmix.
- Pour cheesecake batter over the cooled crust and spread evenly.
- Spoon cooled apple compote in dollops over the batter and gently swirl 3-4 times with a knife.
- Bake at 325°F (160°C) for 40-45 minutes until edges are set but center jiggles slightly.
- Cool in pan on a wire rack for 1 hour, then cover and refrigerate for at least 4 hours or overnight.
- Cut into 12 large squares or 24 small pieces before serving.
Notes
Ensure cream cheese and eggs are at room temperature to prevent lumps and curdling. The compote must be completely cool before adding to the cheesecake to avoid melting the batter. Bars must be chilled thoroughly before cutting to ensure clean slices. Store in an airtight container in the fridge for up to 5 days or freeze for up to 3 months.
- Prep Time: 35 minutes
- Cook Time: 1 hour 10 minutes
- Category: Dessert
- Cuisine: American
Nutrition
- Serving Size: 1 bar
- Calories: 380
- Sugar: 30
- Sodium: 250
- Fat: 22
- Saturated Fat: 12
- Carbohydrates: 42
- Fiber: 1
- Protein: 6
Keywords: make-ahead dessert, apple cheesecake bars, fall baking, meal prep desserts, cranberry compote, shortbread crust, batch baking


