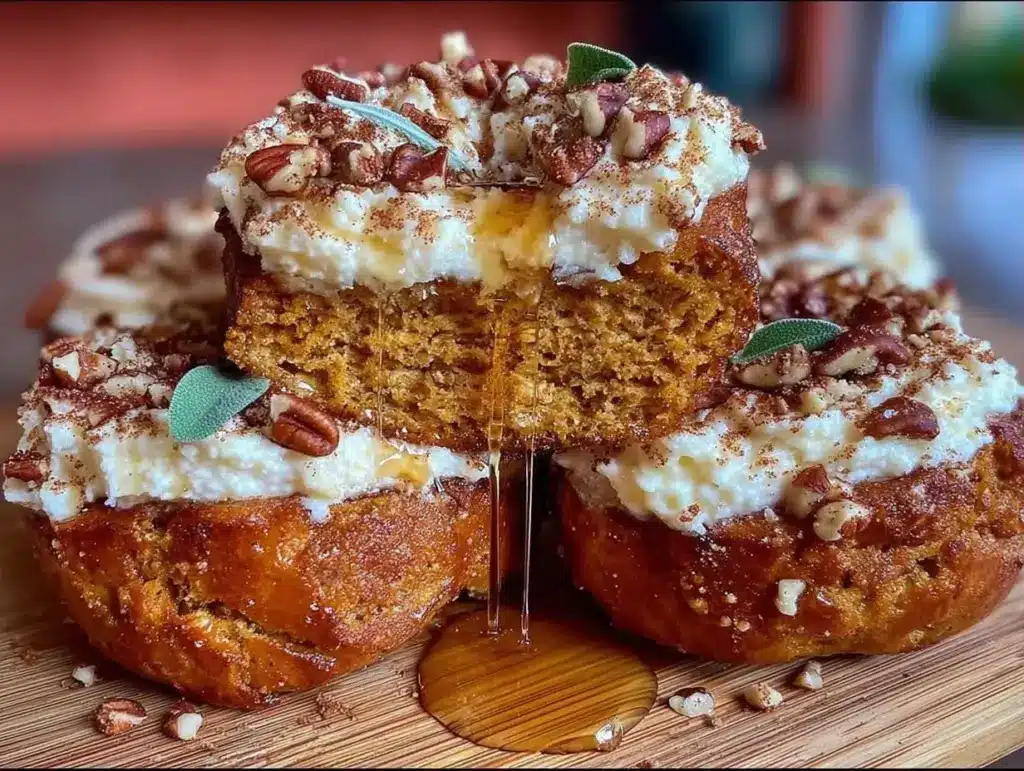
Last Tuesday, I was standing in my kitchen at 6:30 AM, staring at the last two dollars in my coffee can. The grocery store was an hour away, and my morning routine usually involves something that requires at least three ingredients I didn’t already have. But then I spotted a can of pumpkin puree in the back of the pantry—the kind you buy for $1.50 in October and forget about until next year. It wasn’t just pumpkin; it was potential. It was a cheap, shelf-stable way to stretch a single serving into something that tasted like autumn, even if my bank account said it was just Tuesday.
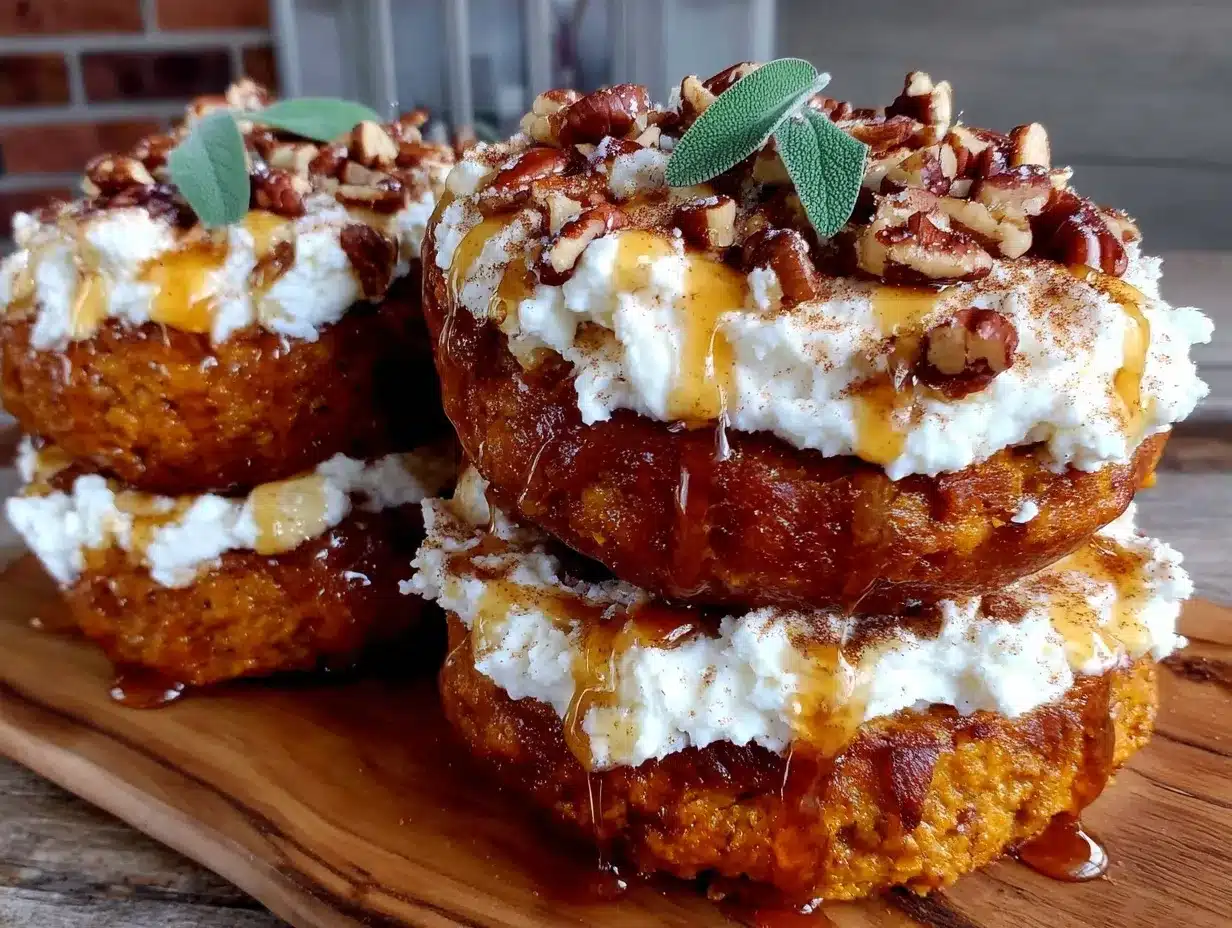
I decided to make these Budget-Friendly Fall Pumpkin Bagels. I didn’t have fancy flour or expensive spices. I had all-purpose flour, a pinch of salt, baking powder, and that pumpkin. The result? A soft, slightly sweet, spiced bagel that cost me less than $1.50 to make. No expensive specialty ingredients. No trip to the store. Just smart cooking with what I had.
Here’s the thing about single-serving recipes: they often feel like a compromise. You don’t want to buy a whole block of cheese for one slice, or use half a jar of sauce. But this pumpkin bagel recipe changes the game. It uses pantry staples you likely already own. It’s quick. And honestly? It’s better than the $6 artisanal bagel from the café that tastes like cardboard. I’ve been making this single-serving hack for months, and it’s become my go-to when I need breakfast that feels special but doesn’t wreck my weekly budget. This Budget-Friendly Fall Pumpkin Bagels recipe is proof that you don’t need a lot of money to eat well in the fall.
Why You’ll Love This Single-Serving Recipe
Let’s be real. Cooking for one can feel tedious. But these bagels solve that problem in the best way possible. Here’s why this recipe has earned a permanent spot in my weekly rotation:
- Cost Per Serving Under $2 — I’m talking about ingredients you already have. Flour, pumpkin, spices. If you buy the pumpkin on sale, this costs less than a dollar. That’s a massive win compared to store-bought.
- One Bowl, No Mess — I hate doing dishes after breakfast. This recipe mixes in a single mug or small bowl. One bowl to wash. That’s it. It’s perfect for lazy mornings or busy workdays.
- Uses Canned Pumpkin, Not Pie Filling — This is crucial. We’re using plain pumpkin puree, which is cheap and versatile. It’s not sweetened, so you control the sugar. It’s the same stuff I use in my easy pumpkin cheesecake brownies, but savory-sweet and perfect for breakfast.
- Ready in 10 Minutes — From mixing to eating, it’s under 10 minutes. I make this while my coffee brews. It’s faster than boiling water for instant oatmeal.
- Freezer Friendly — I often make two at once (still cheap!) and freeze one for later. It reheats perfectly in the toaster. No more stale bread.
- Dietary Flexibility — Naturally dairy-free and egg-free, this recipe is easy on the wallet and easy on the stomach. If you need gluten-free, swap the flour. It works.
This is my go-to when I need breakfast to just work. It’s warm, it’s spiced, and it feels like a treat without the guilt. I’ve tried so many expensive “healthy” breakfasts that left me hungry an hour later. This Budget-Friendly Fall Pumpkin Bagels keeps me full and happy.
Key Ingredients: What You Need (and What to Skip)
You don’t need a specialty store for this. Here’s exactly what I use, with exact measurements for one perfect bagel.
All-Purpose Flour (1/2 cup / 60g)
This is your base. Don’t get fancy with bread flour for a single-serving mug cake style. All-purpose gives it that soft, tender crumb. If you’re watching carbs, you can swap this for a 1:1 gluten-free flour blend, but the texture will be slightly denser. I stick to AP flour because it’s cheap and reliable.
Baking Powder (1/2 tsp)
This is your lift. Without it, you’ll have a dense puck. Make sure it’s fresh. If your baking powder is older than six months, it might not work. I learned this the hard way when I made a dense pancake last winter. Fresh baking powder = fluffy bagel.
Canned Pumpkin Puree (2 tbsp / 30g)
Not pumpkin pie filling! Pie filling has sugar and spices added. We want pure pumpkin. It adds moisture, flavor, and that beautiful orange color. It’s also why this recipe is so budget-friendly; a can lasts for months. I keep one in my pantry year-round. If you have fresh pumpkin, you can use 2 tbsp of mashed cooked pumpkin, but canned is way easier for a single serving.
Pumpkin Pie Spice (1/2 tsp)
This is the magic. It’s usually a blend of cinnamon, ginger, nutmeg, and cloves. If you don’t have it, mix your own: 1/4 tsp cinnamon, 1/8 tsp ginger, 1/8 tsp nutmeg. It adds that warm, cozy fall smell that fills the kitchen. It’s a small cost for a big flavor impact.
Maple Syrup or Honey (1 tbsp / 15ml)
For sweetness. I prefer maple syrup because it pairs with the pumpkin. But honey works too. This is where you can control the sugar. If you’re on a low-sugar diet, skip this or use a zero-calorie sweetener. But honestly, a little sweetness makes the savory spices pop.
Milk (2-3 tbsp / 30-45ml)
To bring it together. Use whatever milk you have. Dairy, almond, oat—it doesn’t matter. This is budget cooking; use what’s in your fridge. If you’re out of milk, water works in a pinch, but milk adds richness.
Salt (1 pinch)
Never skip the salt. It balances the sweetness and enhances the spice. Just a tiny pinch goes a long way.
Tools Needed
You don’t need fancy equipment. Here’s what I use:
- Mug or Small Bowl (12-16 oz) — I use a large coffee mug. It has to be microwave-safe. If you don’t have one, a small microwave-safe bowl works.
- Fork or Small Whisk — For mixing. No electric mixer needed. Just get it smooth.
- Toaster or Toaster Oven — For the final crisp. You can eat it soft, but toasting makes it feel like a real bagel.
That’s it. No stand mixer. No scale. Just simple tools.
How to Make Budget-Friendly Fall Pumpkin Bagels
Here’s exactly how I do it. It’s simple, but there are a few tricks to get the texture right.
Step 1: Mix Dry Ingredients (1 minute)
In your mug or bowl, add the 1/2 cup flour, 1/2 tsp baking powder, 1/2 tsp pumpkin pie spice, and a pinch of salt. Whisk or stir with a fork until there are no lumps. This ensures even rising. If you don’t mix well, you’ll get pockets of baking powder that taste bitter.
Step 2: Add Wet Ingredients (1 minute)
Add the 2 tbsp pumpkin puree, 1 tbsp maple syrup, and 2 tbsp milk. Start with 2 tbsp of milk. Stir vigorously. The batter should be thick, like peanut butter. If it’s too dry, add the remaining 1 tbsp of milk. The key is a thick batter, not a thin cake batter. If it’s too runny, your bagel will be soggy.
Step 3: Shape the Bagel (1 minute)
Here’s the trick. Take the dough out of the mug and put it on a plate. Shape it into a ball, then poke a hole in the middle with your thumb. Flatten it slightly. It doesn’t have to be perfect. This shape helps it cook evenly. If you leave it in the mug, the center stays raw. Shaping it ensures a bagel texture, not a muffin top.
Step 4: Microwave (1.5 – 2 minutes)
Place the shaped bagel on a microwave-safe plate. Microwave on high for 1.5 minutes. Check it. If it’s still wet in the center, microwave for 30-second intervals. Do not overcook, or it will become rubbery. It should look slightly matte, not shiny. The smell will be amazing—like pumpkin pie, but better.
Step 5: Toast (2-3 minutes)
Let it cool for 1 minute. Then, toast it in your toaster or toaster oven on medium-high for 2-3 minutes. This crisps the outside and keeps the inside soft. This step is non-negotiable. It transforms the texture from “steamed dough” to “bagel.”
Total time: 6-7 minutes. Total cost: ~$1.20.
Expert Tips for Perfect Texture
Here’s everything I learned from making this too many times.
The Batter Consistency is Key
This is the #1 mistake. If your batter is too wet, your bagel will be gummy. It should be thick enough to hold its shape when you poke the hole. If it’s dripping off your spoon, add a teaspoon of flour. I’ve ruined several bagels by being too generous with the milk.
Don’t Skip the Toast
Microwaving steams the dough. Toasting dries the outside. Without toasting, it feels like a dense cake. With toasting, it feels like a bagel. I know it’s one extra step, but it’s worth it. If you don’t have a toaster, broil it in the oven for 1-2 minutes.
Storage Hack
If you’re making two, eat one and freeze the other. Wrap it in parchment paper, then plastic. It freezes for up to 3 months. Reheat directly from frozen in the toaster. It tastes fresh.
Recipe Variations
Once you’ve nailed the basic version, here’s how to mix it up.
Brown Sugar Cinnamon
Add 1 tbsp brown sugar and 1/2 tsp extra cinnamon. Skip the pumpkin spice. This tastes like a cinnamon roll bagel. It’s sweeter, but still cheap.
Everything Bagel
Add 1/2 tsp everything bagel seasoning to the dry mix. This adds a savory crunch. It’s great with cream cheese.
Gluten-Free
Swap the all-purpose flour for a 1:1 gluten-free blend. The texture will be slightly more crumbly, but it still works. Add an extra tsp of milk if it’s too dry.
Dairy-Free
Use almond or oat milk. The base recipe is already dairy-free, so this is just a choice of milk.
Serving & Storage
Serving
I serve this with a smear of cream cheese or peanut butter. It’s simple. You can also eat it plain. The pumpkin flavor is strong enough on its own. Pair it with a black coffee or a cozy fall pumpkin coffee cake if you want a full spread (but that’s two carbs, so maybe just one).
Storage
Eat immediately for best texture. It doesn’t store well at room temperature because it stales quickly. Freeze leftovers immediately. Do not leave it out.
Nutrition Information
I’m not a nutritionist, but here’s the breakdown per bagel:
| Nutrient | Amount |
|---|---|
| Calories | ~220 |
| Protein | 6g |
| Carbs | 42g |
| Fiber | 4g |
| Fat | 2g |
| Sodium | 150mg |
My Take: This is comfort food. It’s not low-carb, and it’s not a salad. But it’s better than a $6 pastry, and you know exactly what’s in it. It’s a reasonable breakfast if you’re active.
Final Thoughts
These Budget-Friendly Fall Pumpkin Bagels are proof that you don’t need to spend a lot to eat well. They’re warm, spiced, and satisfying. I make them when I’m broke, when I’m busy, and when I just want something cozy. If you make this, drop a comment! I love hearing how it turns out in your kitchen. Happy cooking!
FAQs
Can I use fresh pumpkin instead of canned?
Yes, but you need to cook and mash it first. Use 2 tbsp of mashed cooked pumpkin. Canned is easier and cheaper, but fresh works if you have it.
Why is my bagel rubbery?
You probably overcooked it in the microwave. Microwave for 1.5 minutes, then check. Add time in 30-second bursts. Overcooking dries out the moisture, making it chewy.
Can I make this in the air fryer?
Yes! Shape the dough, place in air fryer basket, and cook at 350°F for 6-8 minutes. Check at 6 minutes. It might not get as soft inside, but it will be crispy outside.
How do I store leftovers?
Wrap in plastic and freeze. Do not store at room temperature. It stales quickly. Freeze for up to 3 months.
Can I double the recipe?
Yes, but cook them separately in the microwave. They won’t fit in one mug. Or use a larger dish and bake in the oven at 350°F for 15 minutes.
Pin This Recipe!
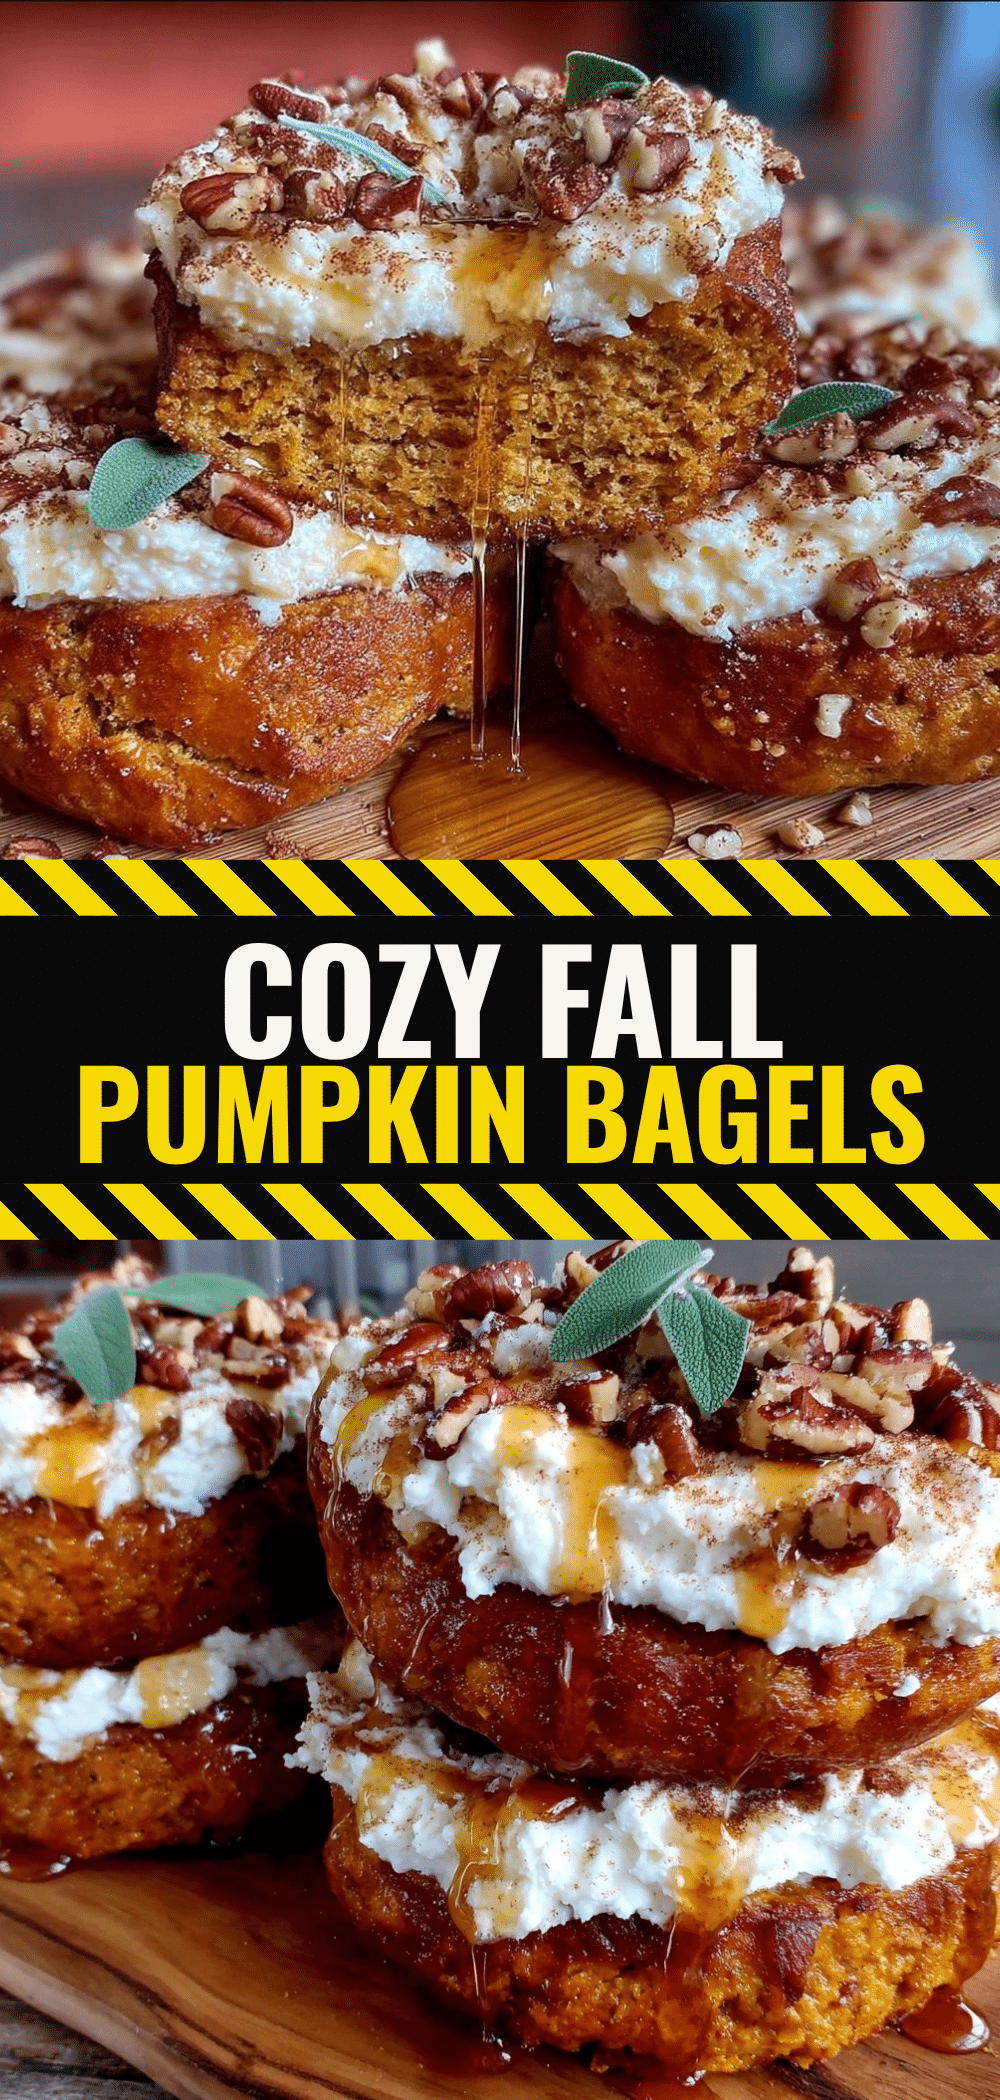
Budget-Friendly Fall Pumpkin Bagels
- Total Time: 7 minutes
- Yield: 1 serving 1x
Description
A quick, single-serving microwave pumpkin bagel made with pantry staples. This dairy-free, egg-free recipe costs less than $2 and takes under 10 minutes to prepare.
Ingredients
- 1/2 cup all-purpose flour
- 1/2 tsp baking powder
- 1/2 tsp pumpkin pie spice
- 1 pinch salt
- 2 tbsp canned pumpkin puree
- 1 tbsp maple syrup or honey
- 2–3 tbsp milk (dairy or non-dairy)
- Optional: 1 tbsp brown sugar and 1/2 tsp cinnamon for variation
- Optional: 1/2 tsp everything bagel seasoning for variation
Instructions
- In a microwave-safe mug or bowl, whisk together the flour, baking powder, pumpkin pie spice, and salt until no lumps remain.
- Add the pumpkin puree, maple syrup, and 2 tbsp of milk. Stir vigorously until the batter is thick and smooth, resembling peanut butter. Add the remaining 1 tbsp of milk only if the batter is too dry.
- Remove the dough from the mug and place it on a plate. Shape it into a ball, poke a hole in the center with your thumb, and flatten slightly to form a bagel shape.
- Place the shaped bagel on a microwave-safe plate and microwave on high for 1.5 minutes. Check for doneness; if wet in the center, microwave in 30-second intervals. Do not overcook.
- Let the bagel cool for 1 minute, then toast in a toaster or toaster oven on medium-high for 2-3 minutes until the outside is crisp.
- Serve immediately with cream cheese, peanut butter, or enjoy plain.
Notes
Ensure the batter is thick, not runny, to avoid a gummy texture. Toasting is essential to achieve a bagel-like texture rather than a steamed cake. For gluten-free, swap all-purpose flour for a 1:1 gluten-free blend. Store leftovers by wrapping in parchment and plastic, then freezing for up to 3 months.
- Prep Time: 3 minutes
- Cook Time: 4-5 minutes
- Category: Breakfast
- Cuisine: American
Nutrition
- Serving Size: 1 bagel
- Calories: 220
- Sugar: 12
- Sodium: 150
- Fat: 2
- Carbohydrates: 42
- Fiber: 4
- Protein: 6
Keywords: pumpkin bagel, single serving recipe, budget breakfast, microwave bagel, fall recipes, dairy-free breakfast, quick breakfast, pumpkin puree recipes


